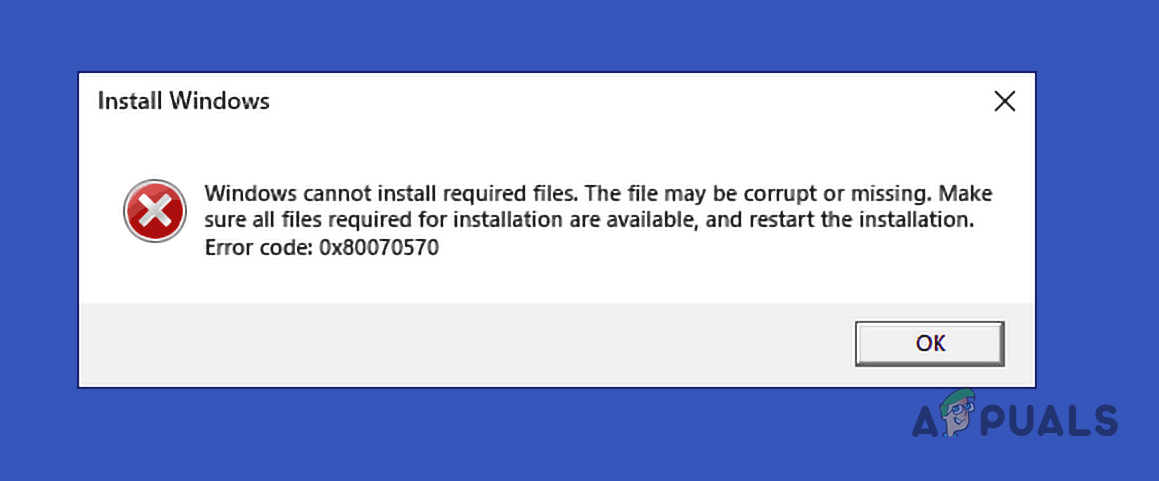
How to Fix “Error Code: 0x80070570” When Installing Windows 11?
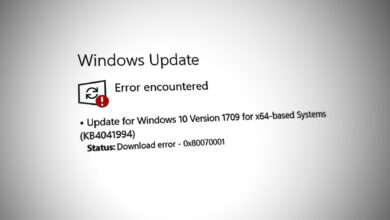
The error code 0x80070570 appears during the installation process of Windows 11 and it is usually caused by any corruption in the ISO file that you downloaded. You can verify this by checking the hash file that is downloaded alongside the ISO file and then cross-checking it with the hash provided by Microsoft on the website. If the hash is different, then it would be obvious that there is corruption in the downloaded ISO file.
In addition to that, the reason may sometimes differ if you are trying to install the operating system on a virtual machine. That said, we will be showing you how to resolve the error code in question in this article. As it turns out, Windows 11 has been released for quite some time now and still, the process of upgrading to Windows 11 can be hindered by various issues and error codes.
For the 0x80070570 error code in specific, any disk errors can also play a role in causing the issue in which case you will have to make sure your disk health is good. On top of that, in rare cases, a third party antivirus can also cause the issue especially when you are performing an in-place upgrade so that is something to consider as well. With that said, let us get started and show you the different methods you can use to get rid of the issue in question.
1. Disable Third Party Antivirus (if applicable)
The first thing that you should do when you encounter the error code in question is to make sure that a third party security program could not be interfering with the installation process. It goes without saying that this applies especially if you are performing an in-place upgrade in which case the background processes can intervene and cause the installation to not go smoothly.
If this case is applicable, we would recommend starting off with disabling your third party security program to see if that fixes the issue. Quite frankly, using a third party antivirus is pretty much overkill at this point since the Windows Defender has improved so much over the years and it is able to keep your computer clean throughout your usage.

2. Perform a Clean Boot
Just like we mentioned above, when performing an in-place upgrade, the background processors can sometimes interfere with the installation process and thus prevent it from going through smoothly. This can be caused by any background process and so trying to close each process or app one by one would not be an effective way of doing this.
In such a scenario, what you can do instead is perform a clean boot which starts your computer with only the required services running in the background. Thus, you won’t have to worry about any background processes interfering with the installation process and it should be able to go through smoothly if this indeed was the cause. To perform a clean boot, follow the instructions that have been given down below:
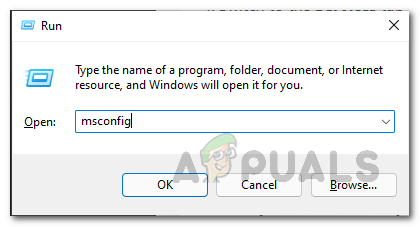
- First of all, press the Windows key + R keys on your keyboard to open up the Run dialog box.
- In the Run dialog box, type in msconfig and then hit the Enter key.
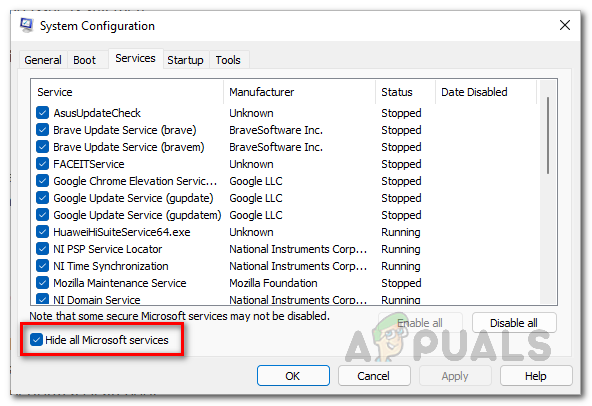
Opening up System Configuration - This will bring up the System Configuration window. There, switch to the Services tab.
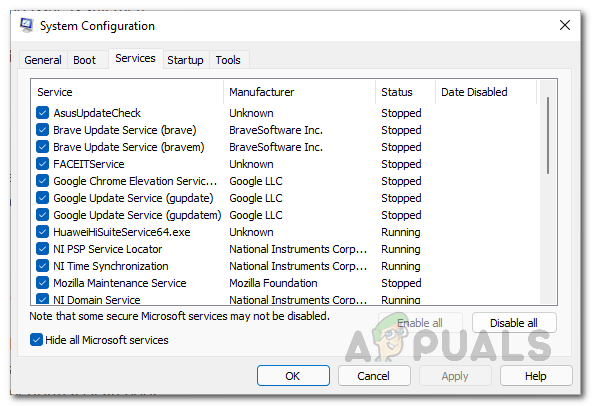
System Configuration Services Tab - There, tick the Hide all Microsoft services tickbox and then click the Disable all button provided. Then, click Apply.
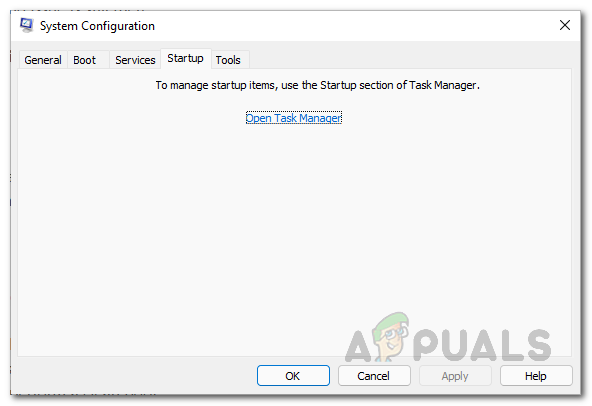
Hiding All Microsoft Services - With that done, switch to the Startup tab and click on the Open Task Manager option.
System Configuration Startup Tab - On the Task Manager window, choose each app individually and then click the Disable button provided at the bottom right corner.
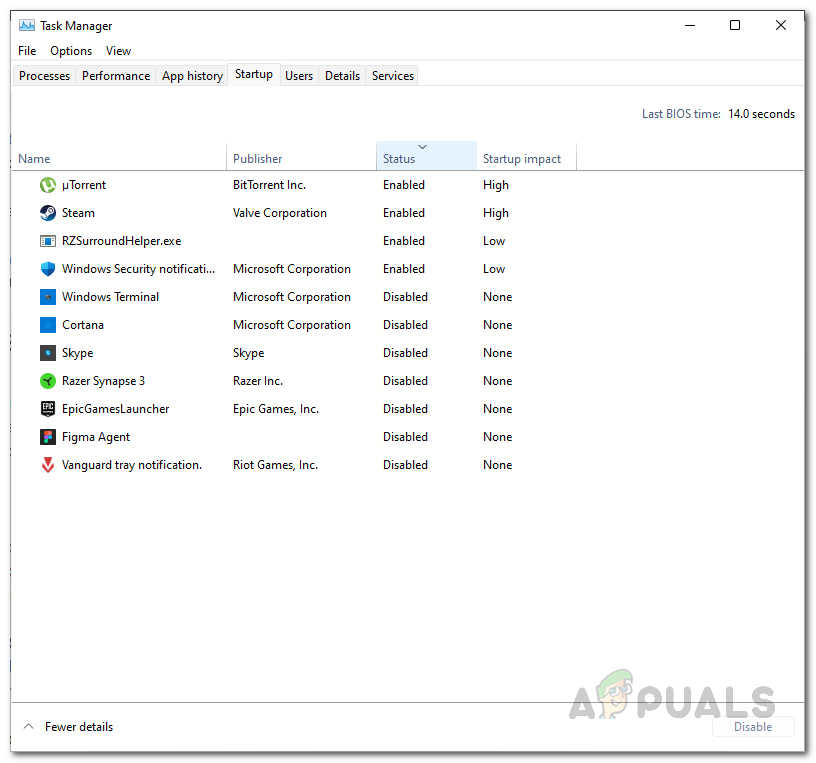
Disabling Startup Applications - With that done, go ahead and restart your computer.
- Once your PC boots up, try running the in-place upgrade again to see if the issue has been resolved.
- To get out of a clean boot, open up the System Configuration window again and under the General tab, choose the Normal startup option provided.
3. Create New VHD (if applicable)
As it turns out, if you are trying to install Windows 11 on a virtual machine, it is very likely that the issue may be caused by a corrupted VHD. For those not familiar with VHD (Virtual Hard Disk), it is essentially a file format that is used by a hypervisor (virtualization software) to encapsulate a hard disk into a single file that is then used by the operating system that you install on the virtual machine.
If this case is applicable, you will have to create a new VHD on your respective hypervisor, be it VMware, VirtualBox or any other and then try installing the operating system on it. The process is essentially as simple as allocating more space to a VHD, however, here you will have to delete the previous VHD and then create a new one so that all of the errors are removed. You can find documentation on how to do this on the websites of the respective software that you are using.
4. Download ISO Again
Finally, if none of the above methods has fixed the problem for you, then the issue is most probably caused by a corrupted ISO file. As we have mentioned above, you can verify this by cross-checking the hash file with the hash provided by Microsoft on their website. In case of any differences, the file is corrupted and thus you will have to download it again.
As it turns out, while downloading the official Windows ISO file, make sure that you have a stable internet connection so that you don’t face any disconnections which can mess with the downloading process. Once the ISO file has been downloaded, try installing Windows 11 again to see if the issue has been resolved.