How to Create your Own Debloated Windows 11 ISO?
Windows 11 has been around for a while, and it has left many older systems unsupported. Despite the system requirements, installing Windows 11 on older hardware is not optimal, as the performance of the operating system is below par. This can be attributed to the installation disc or ISO image of the operating system provided by Microsoft.

The ISO image contains all of the components that will be installed on your computer. Most of these features are not used by users, so they serve no purpose at all. On the contrary, some of us tend to disable a number of features after performing a fresh install of the Windows operating system.
One possible way to circumvent these problems is to create a custom ISO image for yourself. There are numerous custom third-party ISO images available that have been stripped down to offer better performance on low-end computers. However, these third-party ISO images are not always recommended due to potential security risks and more.
In such a scenario, what you can do is create a custom ISO image of your own, where you can choose to remove the features that you do not use from the image and keep the ones that are important to you. This will result in a stripped-down installation of the Windows operating system, and ideally, it will even perform better.
1. Download the Windows 11 image.
To get started, the first thing you need to do is download the latest version of the Windows 11 ISO image on your computer. This can be found easily on the UUP Dump website. In this article, we will disclose two different tools that allow you to create custom images of the Windows operating system.
To download the latest Windows 11 image, follow the instructions below:
- First of all, head to the official UUP Dump website by clicking here.
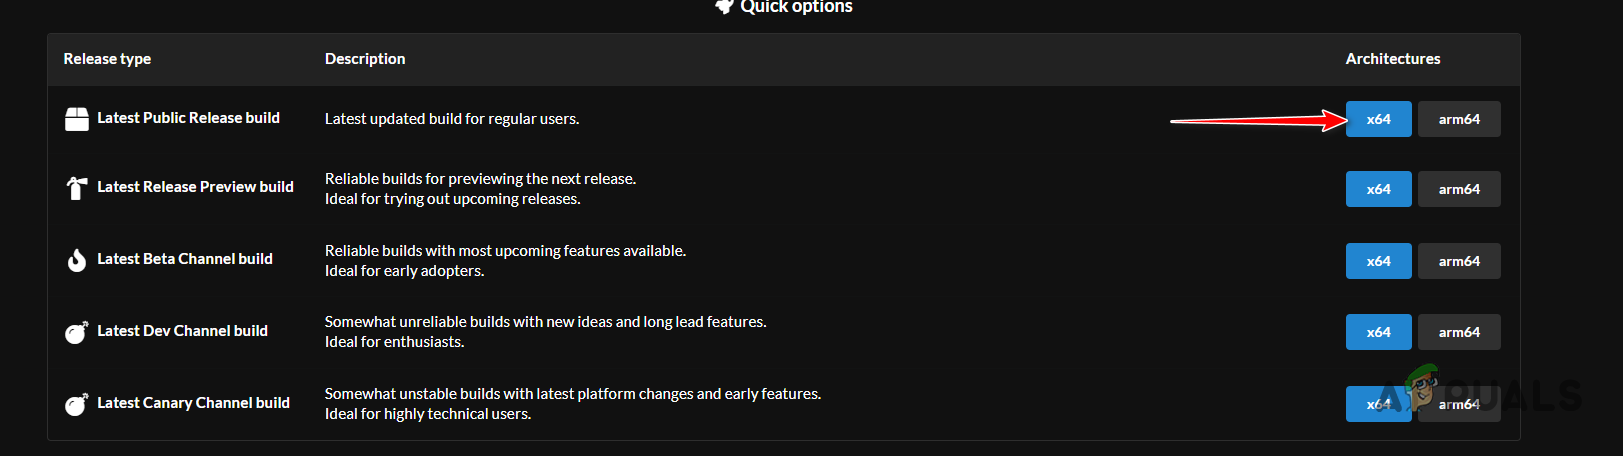
- On the UUP Dump website, click on the x64 option for the Latest Public Release build.
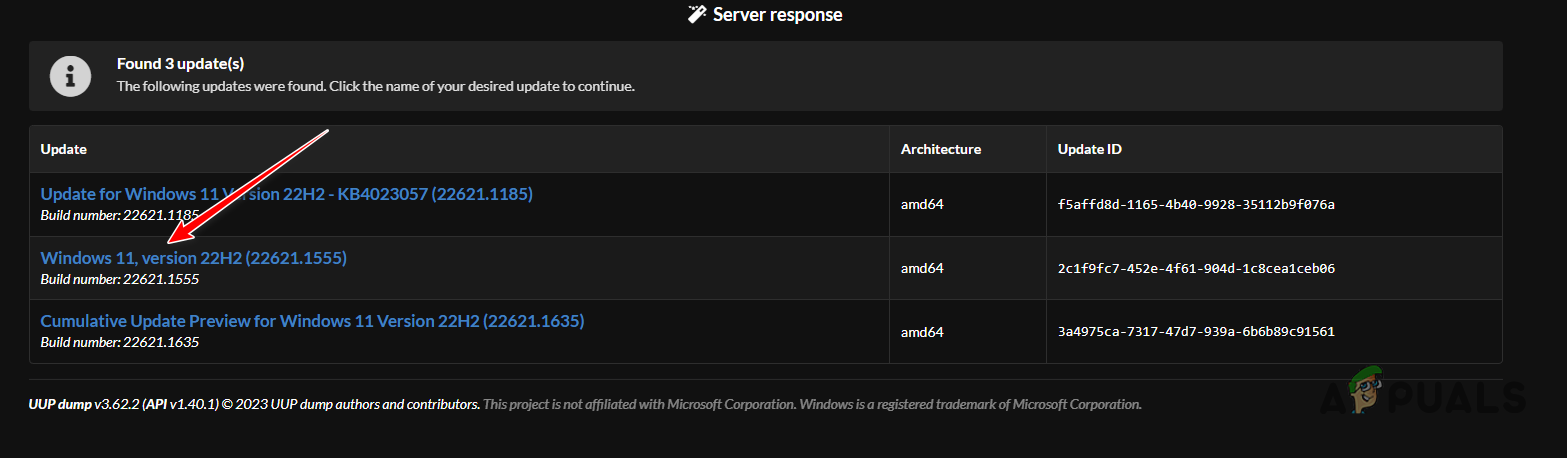
Navigating to the Latest Public Releases - After that, click on the latest Windows 11 version. Make sure not to click on the update options here.
Downloading Windows 11 - On the next page, select your Language and click Next.
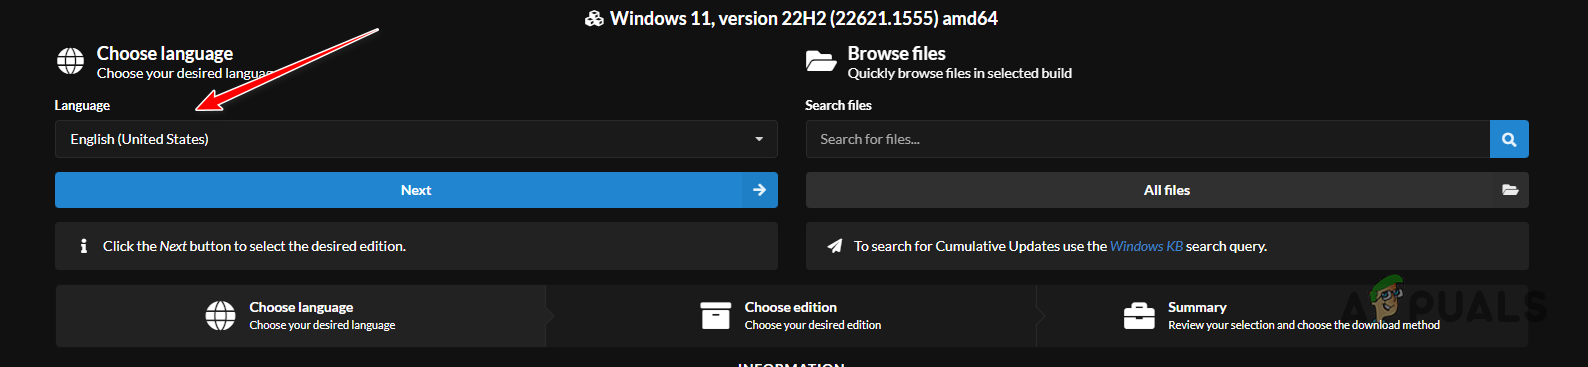
Choosing Windows Language - Then, select only Windows Pro from the Edition checkbox options and click Next.

Choosing Windows 11 Pro Edition - On the Summary page, check the “Run component cleanup” (Windows converter only) checkbox and click the “Create download package” option.

Downloading Windows 11 ISO Image - This will download a .zip file to your computer. Extract the file to any desired location on your PC.
- Navigate to the extracted directory and run the uup_download_windows.cmd file.
- A command prompt window will open which will start downloading the required files for you.
- Once the process is completed, you can press 0 on your keyboard to exit the script.
2. Use MSMG Toolkit.
MSMG Toolkit is a famous tool for tweaking Windows ISO images. The utility allows you to make any changes to the ISO image according to your requirements and specifications. This includes adding specific drivers to the ISO image, incorporating potential updates, or even removing components from the ISO image, which is the focus of this article.
An arguable downside of the MSMG Toolkit is that it uses a command-line interface; therefore, there is no graphical user interface that allows you to make these changes. If you would like to use a graphical user interface, refer to the following method below.
In this section, we will be showing you how to remove components from the Windows ISO image with the help of the MSMG Toolkit. Removing components from the ISO image also reduces the overall size of the ISO image, which as a result, reduces the installation size of Windows. Additionally, the number of processes running on your computer is also reduced, which can give you a performance boost.
Follow the instructions below to use the MSMG Toolkit for tweaking the Windows ISO:
- First, navigate to the official download page for the MSMG Toolkit by clicking here.
- From there, download the latest version of the MSMG Toolkit on your computer.
- Extract the downloaded file to any desired location.
- After that, double-click on the downloaded Windows ISO image on your PC. This will mount the ISO image.
- Then, copy the contents of the ISO image.
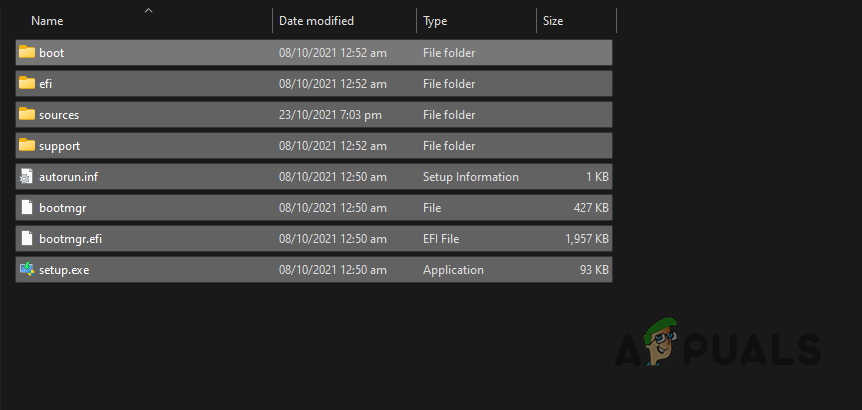
Copying Windows ISO Files - Navigate to the MSMG Toolkit folder and paste the contents into the DVD folder.
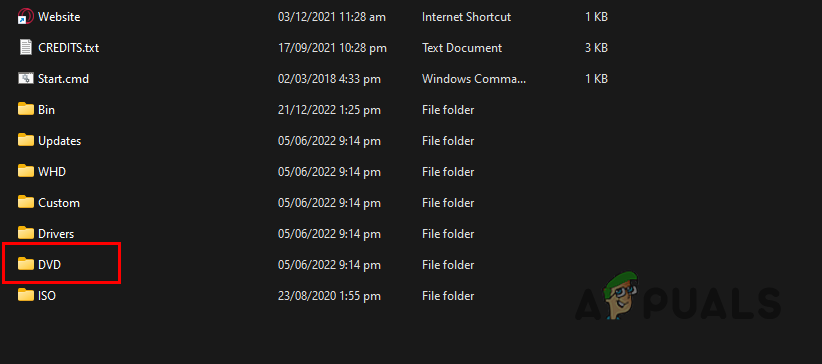
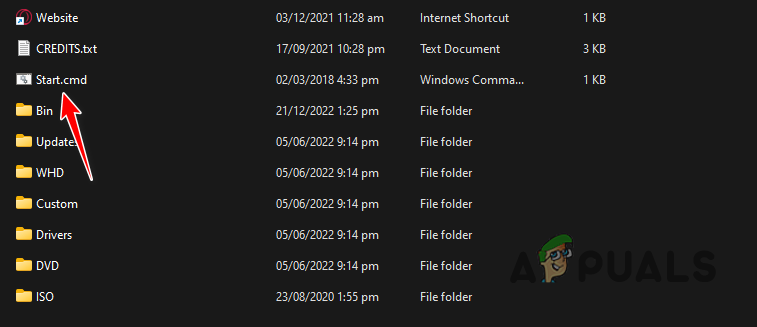
Navigating to the DVD Folder - Finally, go back and run the Start.cmd script. In the User Account Control dialog box, click Yes.
Running Start Script - On the EULA screen, press A on your keyboard to accept.
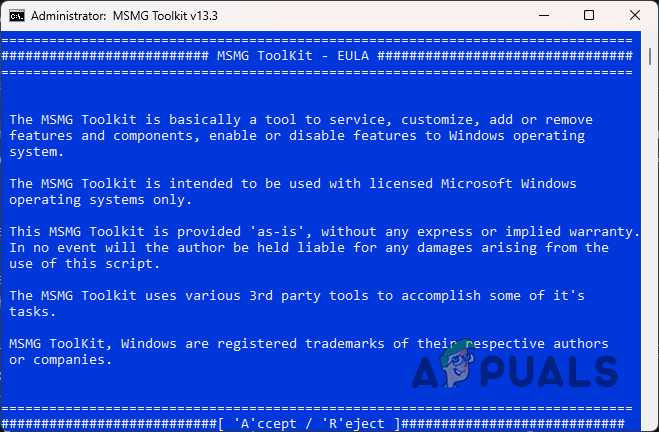
Accepting MSMG Toolkit EULA - After that, press 1 on your keyboard to navigate to Sources.
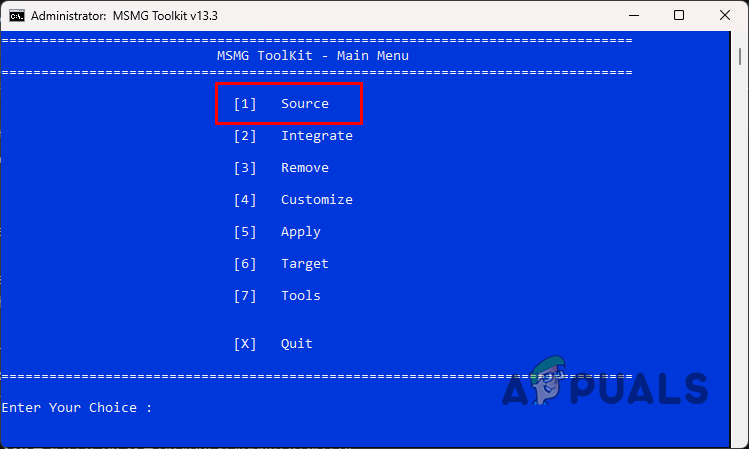
Navigating to Source Menu - Press 1 again to choose the Select Source from <DVD> Folder.
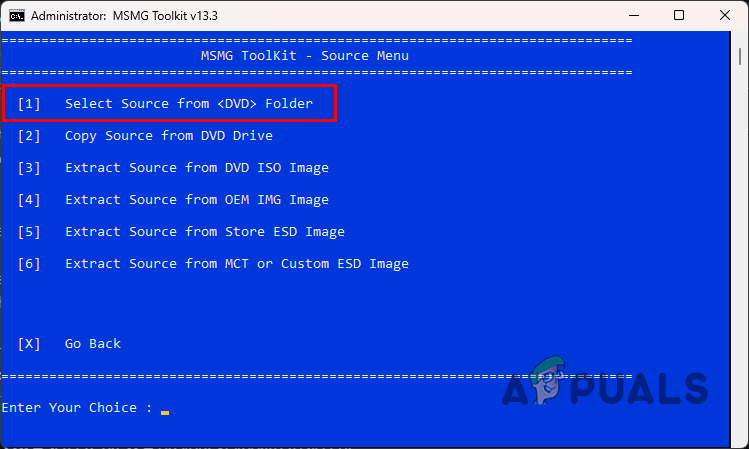
Selecting Source from DVD - Finally, press 1 once more to select the downloaded ISO image, Windows 11 Pro.

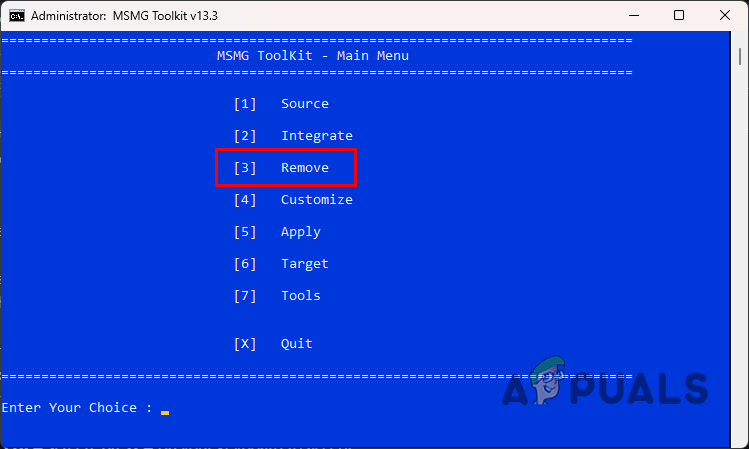
Selecting Windows 11 Pro - On the follow-up questions, select No. Then, press any key to continue to the main menu.
- After that, press 3 to navigate to the Remove menu.
Navigating to Remove Menu - Here, all of the different components are divided into their respective category.
- Navigate the Remove menu and select the respective options to remove any component from the ISO image.
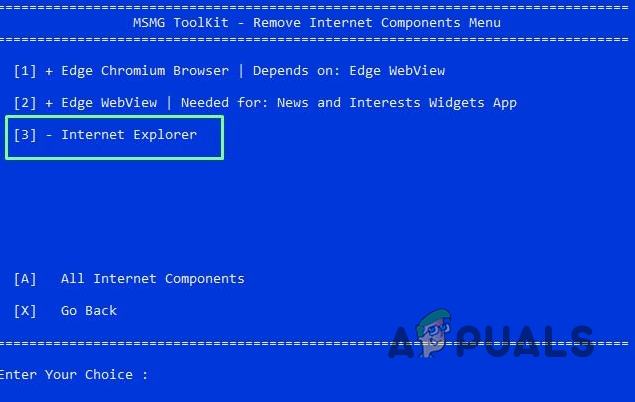
- For instance, if you wish to remove Internet Explorer, select 1 to open the Internet category.
- After that, press 3 to select Internet Explorer for removal from the ISO image.
Removing Internet Explorer - Once you have selected all of the components you wish to remove, choose the [2] Start Removing Windows Components by pressing 2 on your keyboard in the Remove menu.
- The removal process can take a while so make sure to give it time.
- Then, go back to the main menu and press 5 to choose Apply.
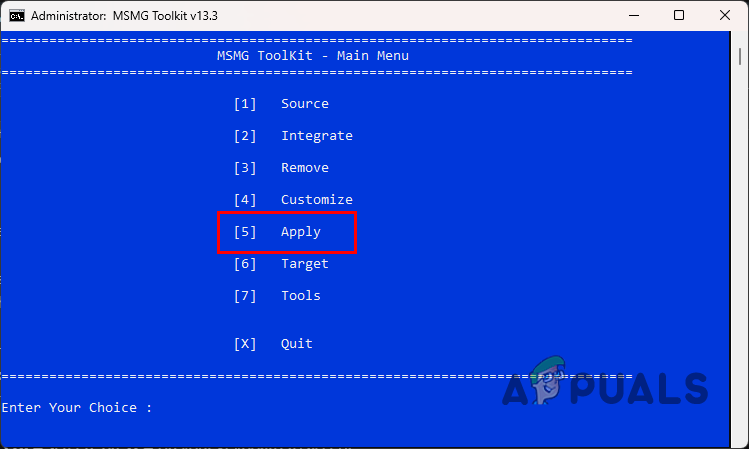
Navigating to Apply Menu - After that, select the Cleanup Source Images option by pressing 1 on your keyboard.
- Finally, select the “Apply & Save Changes to Source Images” option by pressing 2. When prompted to clean up the image folder, press “Y” on your keyboard.
- At this point, everything is ready and you can create the final ISO image. To do this, choose the Target option on the main menu by pressing 6.
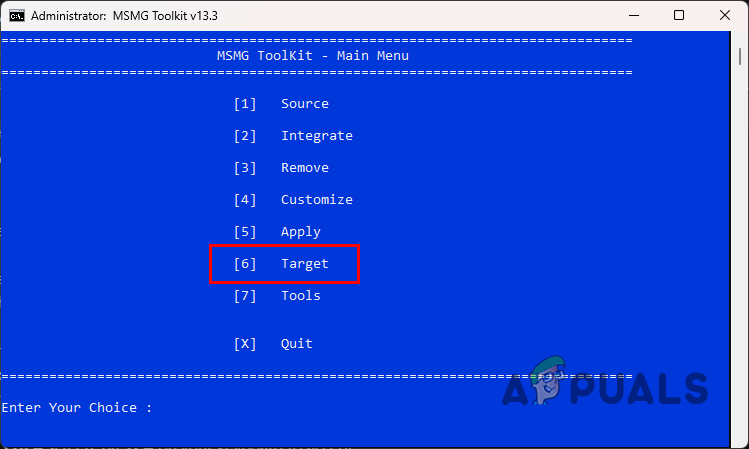
Navigating to Target Menu - On the Target menu, choose the Make a DVD ISO Image option by pressing 1.
- When asked for ISO Image Details, provide E: as the ISO Volume Label and follow it up by providing a name.
- Wait for the ISO image to be created. Once it is done, you will be able to view it inside the ISO folder of the directory.
3. Use NTLite.
NTLite is another utility that you can use to tweak Windows ISO images. It was essentially developed to reduce the footprint of Windows installation, but it comes with a number of features that you can use, including removing components from an ISO image.
NTLite even allows you to remove Windows 11 TPM and RAM requirements, along with providing a graphical user interface for all of this. Follow the instructions below to use NTLite on your computer:
- First, navigate to the official NTLite website and download the latest version available by clicking here.
- Run the setup file to install NTLite on your computer.
- After that, right-click on the downloaded Windows ISO image and extract it to any folder on your computer. You need to have WinRAR or 7-zip installed to do this.
- Open NTLite on your system.
- Click the Add option in the top-left corner and choose the Image directory option.
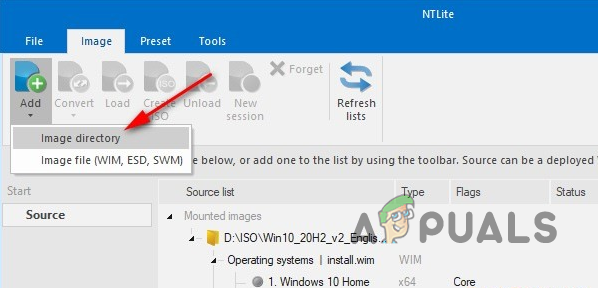
Adding Image to NTLite - Then, choose the folder where you extracted the Windows ISO image.
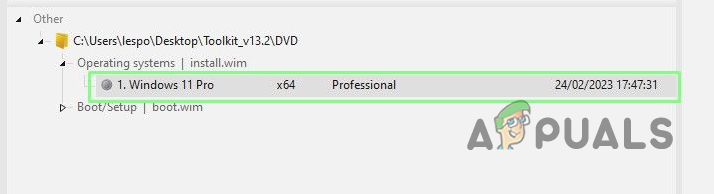
- After that, expand the added folder and right-click on Windows 11 Pro. Select “Load” from the drop-down menu.
Loading Windows 11 Image - Once you have loaded the ISO image, you can go through the various categories and remove the components you do not want in your custom ISO image.
- To remove a component, simply uncheck the checkbox next to the component or feature.
- After you are done, click Apply on the left-hand side.
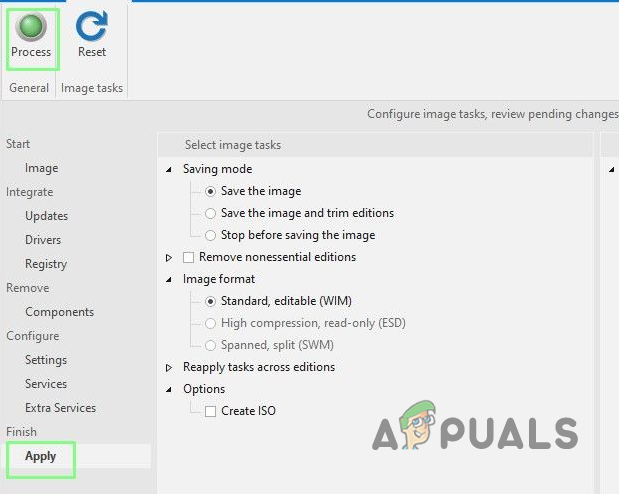
Applying Changes to ISO - Finally, click the Create ISO option in the top-left corner to create a custom ISO image and save it in your desired location.
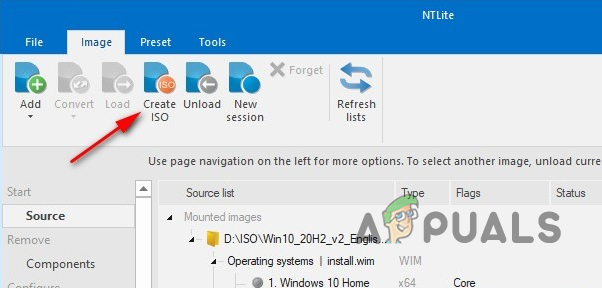
Creating ISO Image