Fix: Error Codes -7 and -130 in the Steam Client
Error code -7 and error code -130 show up whenever the Steam client tries to load a web page for you, but for whatever reason, fails to retrieve it from Steam’s servers. The complete error message these error codes are accompanied by reads:
Error Code: -7 or Error Code: -130
Failed to load web page (unknown error)

Error codes -7 and -130 can rear their ugly heads on any pages within the Steam client from the utterly inconsequential Update News page to the all-important Inventory page and everything in between. It is when this issue makes its way to the more important Steam pages like Store, where it ends up preventing people from looking for games to buy, that it truly becomes a problem that needs to be dealt with. The most common culprit behind this error would be a lack of internet access, but if you have a working internet connection, there might be other causes at play.
What causes error code -7 and error code -130 in the Steam client?
- Some kind of a temporary issue with your Steam client inhibiting it from connecting to Steam’s servers.
- Third-party software such as antivirus programs, or firewalls (stock or otherwise) blocking your Steam client’s connection to Steam servers and preventing it from retrieving web pages from them.
- Corrupt or otherwise damaged files that are needed by the Steam client to effectively communicate with Steam servers.
- Your computer somehow associating the wrong IP address with the URL for a Steam web page within its DNS cache, resulting in the Steam client being unable to resolve that URL and retrieve the web page that exists on the URL.
- A temporary issue that most likely exists on your internet connection and is rendering the Steam client unable to communicate with and retrieve web pages from some or all Steam servers.
1. Restart the Steam client
If there exists some kind of an issue with the Steam client that has left the program temporarily unable to connect to Steam servers or retrieve web pages from certain URLs, restarting the Steam client might help resolve it. To restart the Steam client, you need to:
- In the top right corner of the Steam window, click on Steam.
- In the resulting context menu, click on Exit.
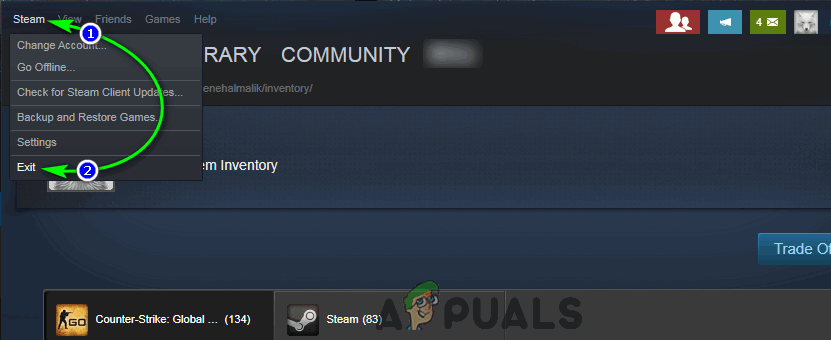
Click on Steam > Exit - Wait for the Steam client to perform its closing rituals and close itself.
- When Steam has closed, press Ctrl + Shift + Esc to open the Task Manager, navigate to the Processes tab and check to make sure there are no Steam processes running. If there is even one Steam process running, Steam is still in the process of shutting down. If there are no Steam processes running, you may proceed.
- Launch Steam and check to see if the issue has been resolved.
2. Disable any and all antivirus software
Third-party software, especially antivirus programs, can often mess with the Steam client and its ability to effectively communicate with Steam servers. If you have any antivirus programs installed and enabled on your computer, you should disable them in order to see if they are what’s causing you to see error codes -7 and -130 in the Steam client. Or better yet, you could completely uninstall the antivirus programs you have on your computer for the time being and see if doing so alleviates this problem.
3. Reinstall Steam
Reinstalling the Steam client will make it so Steam starts afresh on your computer, with any damaged or corrupted files replaced by new, fully functional ones.
- In the top right corner of the Steam window, click on Steam.
- In the resulting context menu, click on Exit.
Click on Steam > Exit - Wait for the Steam client to perform its closing rituals and close itself.
- Press the Windows Logo key + R to to open a Run dialog.

Press the Windows Logo key + R - Type the following into the Run dialog, replacing X: with the full path for the directory the Steam folder is located in on your computer:
X:\Steam\uninstall.exe - Press Enter to launch the uninstaller for the Steam client.
- Follow the onscreen prompts and instructions to uninstall the Steam client from your computer.
- Once the Steam client has been successfully uninstalled from your computer, download the installer for the Steam client.
Download the installer for the Steam client - When the installer has been downloaded, navigate to the directory it was saved to, launch it, and follow the onscreen instructions to install the Steam client.
- As soon as Steam has been reinstalled, launch it and check to see if error codes -7 and -130 still persist.
4. Flush your computer’s local DNS cache
When you flush your computer’s local DNS cache, you force it to request an IP address for every URL it tries to connect to instead of relying on its own library of URLs and associated IP addresses. So even if your computer somehow had the wrong IP addresses associated with some or all Steam URLs, when you try and visit them after you flush the DNS cache, your computer will be forced to request and then save the right IP addresses. This solution is especially effective in cases where the affected user only sees error code -7 and -130 on certain pages within the Steam client. To flush your computer’s local DNS cache, you need to:
- Press the Windows logo key + R to open a Run dialog.
Press the Windows Logo key + R - Type cmd into the Run dialog and press Enter to launch a fresh instance of the Command Prompt.
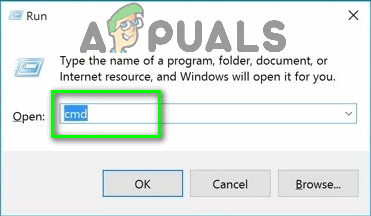
Type “cmd” into the Run dialog - Type the following into the Command Prompt and press Enter:
ipconfig /flushdns
Type “ipconfig /flushdns” into the Command Prompt - Wait for the command to be fully executed.
- Launch the Steam client and check to make sure the problem has been resolved.
5. Wait out the storm (or contact your ISP!)
If all else fails, there’s s a good chance there is simply something wrong with your internet connection that’s preventing the Steam client from contacting and retrieving web pages from Steam servers. If this is indeed the case, you might just have no other option than to wait for this storm to pass and for the underlying issue to be resolved by your Internet Service Provider. You can and should, in the meantime, contact your ISP and register a complaint about the issue you are facing to make sure they are at least aware of and actively trying to resolve it. Be sure to inform your ISP of the specifics of this problem so as to help them better diagnose and deal with its cause.