How to Open an Elevated Command Prompt on Windows?
A lot of the fixes and tweaks featured on the web will require you to open a Command Prompt window as an administrator. This can be confusing for non-technical persons because a lot of articles don’t mention the actual steps of opening an elevated Command Prompt.
Most of the time, opening a Command Prompt window as a regular user is more than enough. But there are some situations where you’ll need administrative privileges – you will be required to perform certain actions in an elevated Command Prompt window.
What is an elevated command prompt?
The elevated Command Prompt mode was introduced with Windows Vista and has been an integral part of this OS up until Windows 11. In an attempt o protect the user from those potentially harmful commands, Microsoft restricted the functionality of some commands to the elevated mode only. This means that some commands will only work as long as you run them from an elevated Command Prompt.
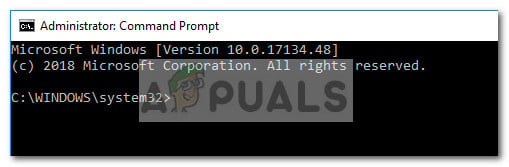
Note: You can easily distinguish between a normal Command Prompt window and an elevated one by looking at the starting point. The Elevated Command Prompt starts in the System32 folder while the normal Command Prompt window starts in the User Profile folder.
As with most Windows-related things, you can open an elevated Command Prompt in several different ways. While most of the methods featured in this article can be replicated on the older Windows versions, keep in mind that this article was tailored specifically for Windows 10 and Windows 11.
Here’s a list of different methods that can be used to open an elevated Command Prompt on the latest operating systems released by Microsoft.
Note: Keep in mind that not all methods will work on both Windows 10 or Windows 11. Pay attention to the label under each method to see if it’s compatible with your Windows version.
Open an elevated Command Prompt via the Start menu
Works on Windows 10 & Windows 11.
This is the standard approach that most people use on every Windows version. It’s arguably the longest route but can be considered the most simple method since all the steps are done through the user interface.
Here’s a quick guide to opening an elevated Command Prompt via the Start menu:
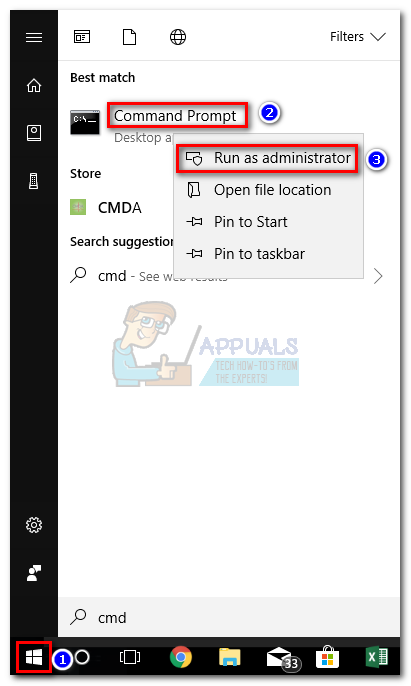
- Click the Start menu in the bottom left corner. You can also press the Windows key for the same result.
- With the start menu opened, type “cmd” to automatically use the search function. Wait until the search results are generated, then right-click on Command Prompt and choose Run as Administrator.
 Note: You can also use the Ctrl + Shift + Enter keyboard combination if you want o to avoid right-clicking.
This is the classic approach. If you’re looking for a quicker way, move to the other methods below.
Open an Elevated Command Prompt via the Power User Menu
Only works on Windows 10.
If you’re on Windows 10, you can open an Elevated Command Prompt directly from the Power User Menu.
Note: Keep in mind that the Command Prompt (Admin) sub-menu is no longer available on Windows 11.
To access the Power User Menu, right-click on the Start icon or press Windows key + X. Then, simply click on Command Prompt (Admin) to open an Elevated Command Prompt. You will then be asked to confirm the administrative permissions via a User Account Control (UAC) window – hit Yes at the prompt to open the Elevated Command Prompt.
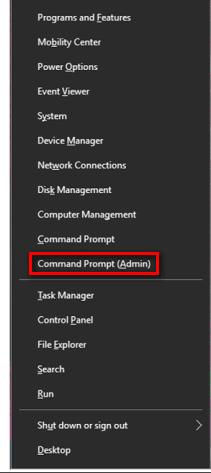
Update: Update Keep in mind that if you have updated your Windows 10 version with the Creators Update, you will see Windows Powershell (Admin) instead of Command Prompt (Admin). This change was implemented by Microsoft in order to tempt more users to migrate to Powershell. On Windows 11, the equivalent is Windows Terminal (Admin).
Note: If you want the old behavior back on Windows 10, you can follow this article (here) to replace the Windows Powershell (Admin) with Command Prompt.
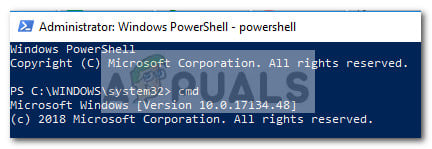
But you can also click on Windows Powershell (Admin) and then type “cmd” inside the Elevated Powershell window to switch to an Elevated Command Prompt window.
Use the Run box to open an Elevated Command Prompt
Works on Windows 10 & Windows 11.
Another way to go around opening an Elevated Command Prompt window is to make use of the run box. Normally, opening Command Prompt from the Run box will not have administrative privileges, but we have a workaround for this.
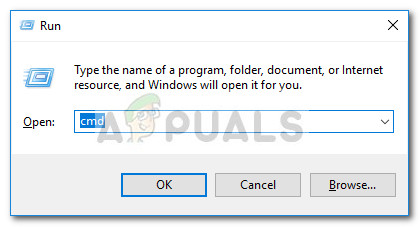
To open an Elevated Command Prompt window via the Run box, press Windows key + R to bring up the Run menu. Then, type ” cmd ” but instead of pressing Enter directly, press Ctrl + Shift + Enter to open it with administrative privileges. You’ll then be prompted by a UAC (User Account Control) window in which you’ll have to hit Yes.
Create an elevated Command Prompt shortcut
Works on Windows 10 & Windows 11.
If you find yourself running Command Prompt command that requires administrative privileges, it makes sense to create a dedicated shortcut for an Elevated Command Prompt. This is arguably the most efficient way of opening an Elevated Command Prompt window, but it requires some time setting it up.
Here’s a quick guide to creating a shortcut for an Elevated Command Prompt:
- Right-click anywhere on a free space (on the desktop or in a folder) and choose New > Shortcut.
 Note: Right-clicking on Windows 11 will bring up the newer, slimmer context menu. Click on Show More Options to make the old menu visible.
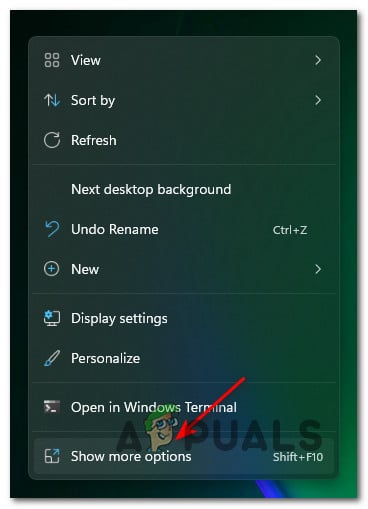
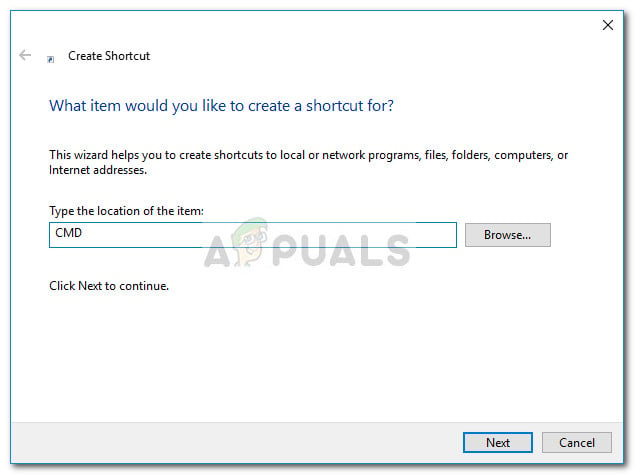
Show More Options on Windows 11 - In the box directly under “Type the location of the item” type ” CMD ” and hit the Next button.
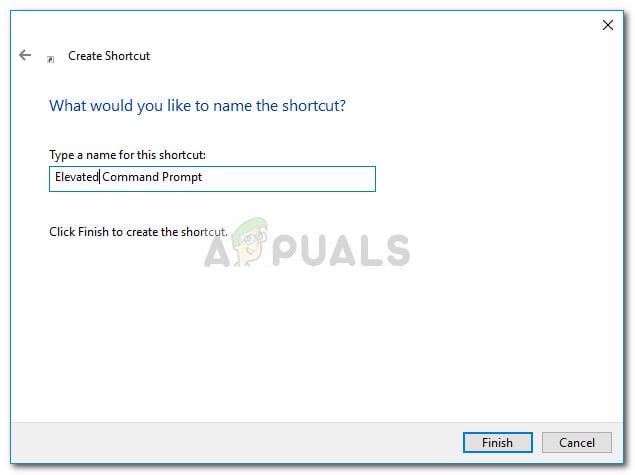
- At the next button, grant the newly created shortcut a name and hit the Finish button to finish the process.
- Next, right-click on the newly created shortcut and choose Properties. Then, go to the Shortcut tab, and click the Advanced button.
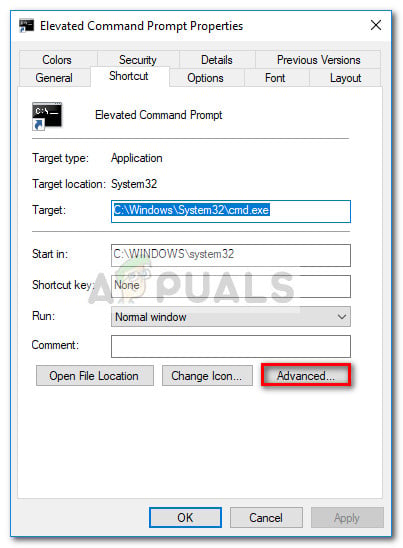
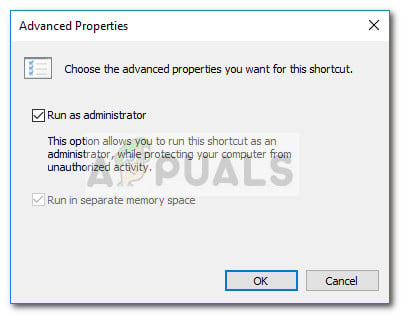
- In the Advanced Properties window, check the box next to Run as administrator and hit OK. Finally, click on Apply to save the changes.
Open a CMD Prompt using the Quick Link Menu
Only works on Windows 11.
- Press Windows key + X key to open up the Quick Link menu on Windows 11.
- From the list of available options, click on Windows Terminal (Admin).

Accessing the Windows Terminal app on Windows 11 Note: This is the newer terminal app available with Windows 11. It allows you to input both CMD and Powershell commands.
That’s it. Your Elevated Command Prompt window is configured and ready to be used. But keep in mind that even if you set it to run with administrative privileges, you’ll still be prompted by the UAC window.
Run CMD Commands from the Terminal App via Search
Only works on Windows 11.
- Press Windows key + S key to open up the Windows Search functionality on Windows 11.
- In the search box that just appeared, type Windows Terminal.
- Next, right-click on Windows Terminal from the list of results and click on Run as Administrator from the context menu.
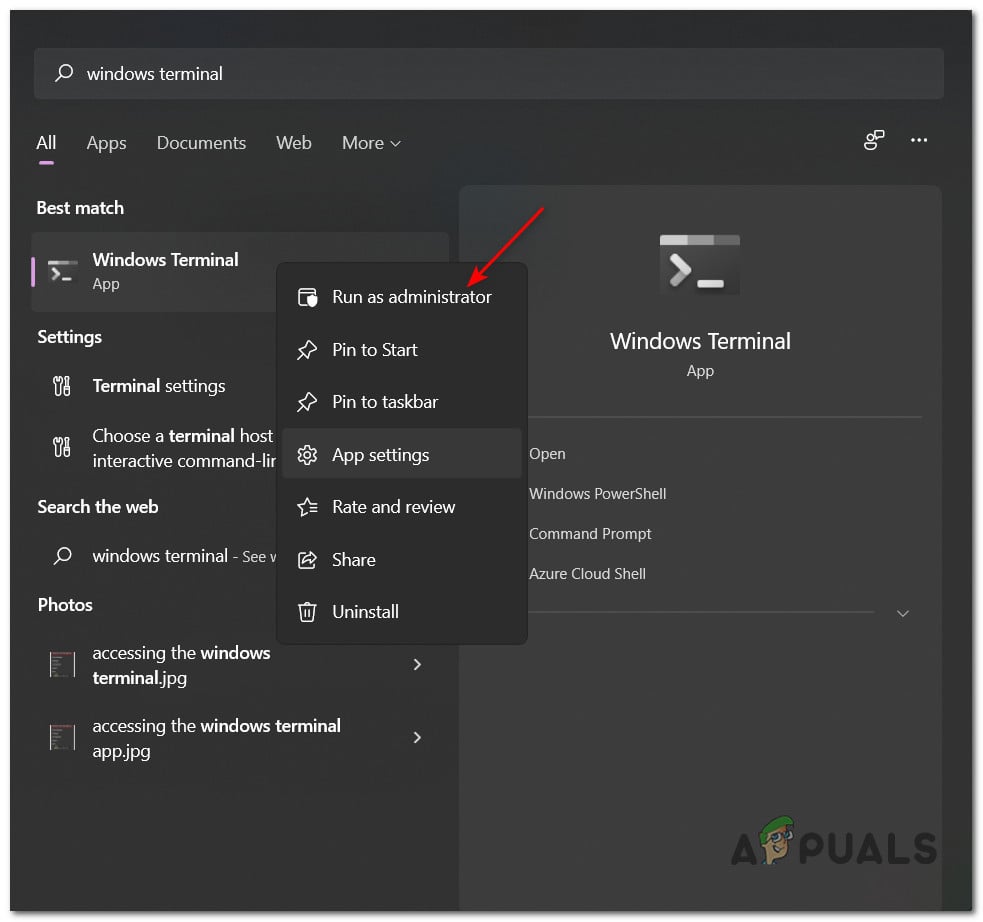
Run the Windows Terminal app with admin access - Run the CMD commands inside the newly opened Windows Terminal app.
Run CMD commands in Windows Terminal opened via Task Manager
Only works on Windows 11.
- Press Ctrl + Shift + Esc to open up Task Manager.
- Once you’re inside the Task Manager, click on More details if the simple interface just opened.
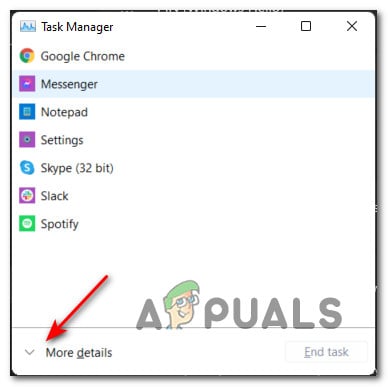
Expanding the Task Bar interface Note: If you are already on the regular interface, skip this step altogether.
- next, click on File from the ribbon menu at the top, then click on Run New Task.
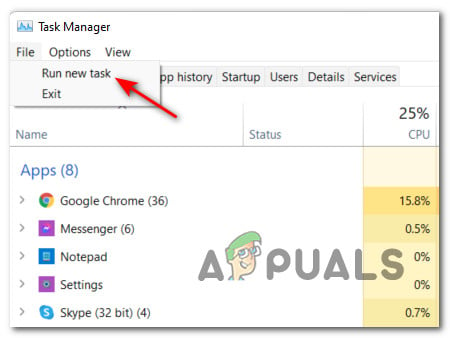
Running a new task - Inside the Create new task box that just appeared, type ‘wt’ and then check the box associated with Create this task with administrative privileges before clicking Ok.
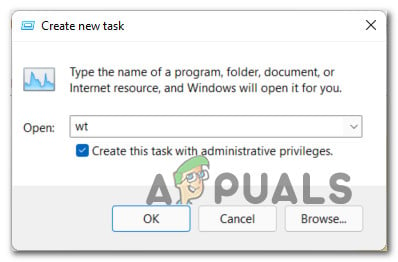
Creating a new task - Once you’re inside the Windows Terminal interface, you can input your CMD commands.
Run CMD commands in Windows Terminal opened via Run box
Only works on Windows 11.
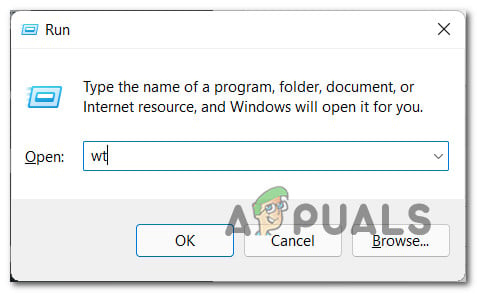
- Press Windows key + R to open up a Run dialog box.
- Inside the newly appeared Run box, type ‘wt’ and press Ctrl + Shift + Enter to open up a Windows Terminal app with admin privileges.
Open up a Windows Terminal app - Inside the elevated Windows Terminal, type the CMD commands as you would usually do.