How to Resolve the “Trojan:HTML/Phish!pz” Alert in Windows Defender?
When Windows Defender flags the “Trojan:HTML/Phish!pz” threat, it generally means the detection is within application cache files, such as those of Firefox, typically during system backups or following updates. The most prevalent cause for this alert is the interaction between Windows Defender’s detection algorithms and cached web browser data, which might inadvertently be labeled as a phishing attempt.
Other contributing factors include the timing of software updates and the inclusion of certain files in system backup snapshots or shadow copies, which can lead to false positives. It’s crucial to recognize that this detection may not represent a true threat but could instead be a misclassification of harmless data as harmful.
The incorrect malware detection by Microsoft Defender in this instance originated after a security intelligence update in December, specifically version 1.403.1079.0. In most cases, the issue can be resolved by whitelisting the Profiles folder.
This guide will demonstrate how to address the Microsoft Defender detection using various methods, covering different scenarios.
Check Malware Detection Source
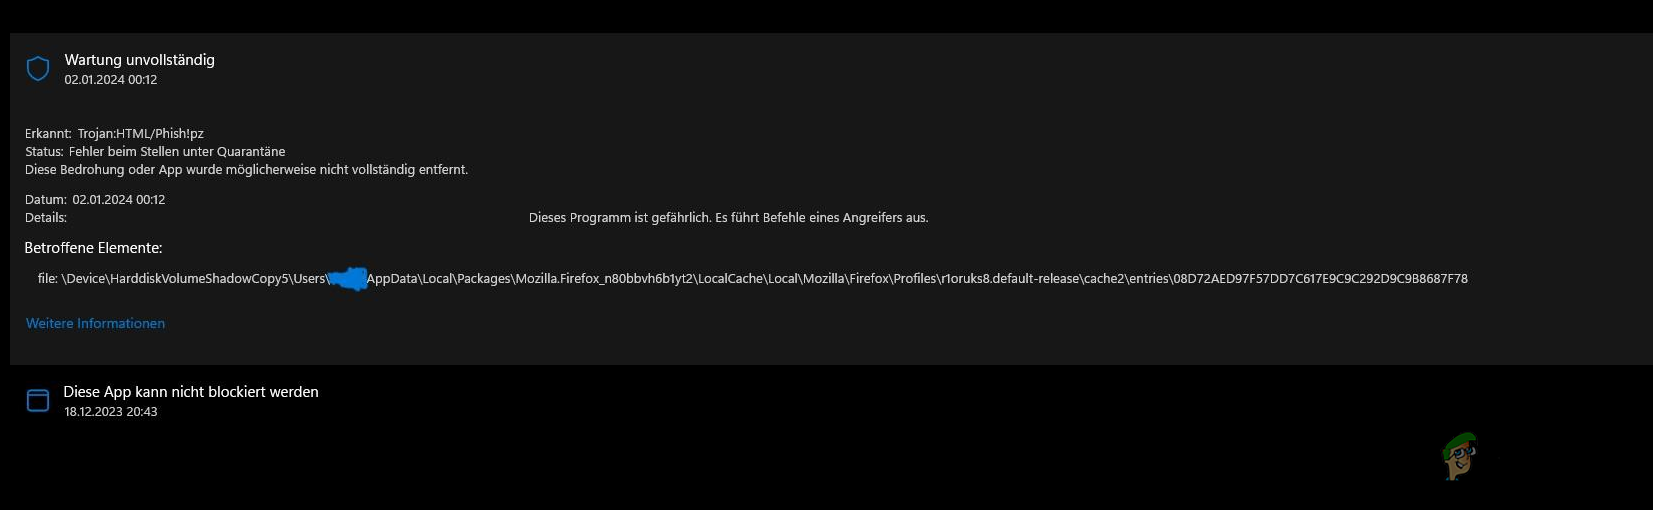
To determine if the malware warning from Microsoft Defender results from Mozilla Firefox, examine the file path of the affected item. If the file path includes “Mozilla” or “Firefox,” the web browser is likely the cause.
If there is no mention of Firefox in the file path, then your computer might be infected by actual malware, and you should perform a system-wide security scan. Refer to the last method in this guide if this is the case.
1. Clear Protection History
Clearing Microsoft Defender’s protection history is an effective first step to resolve any erroneous detections, which should remove the issue.
No direct option exists for clearing the protection history in Microsoft Defender, requiring you to manually delete the history files in File Explorer.
- Open File Explorer by clicking the icon in the taskbar.
- Click on the View drop-down menu and select Show > Hidden items.
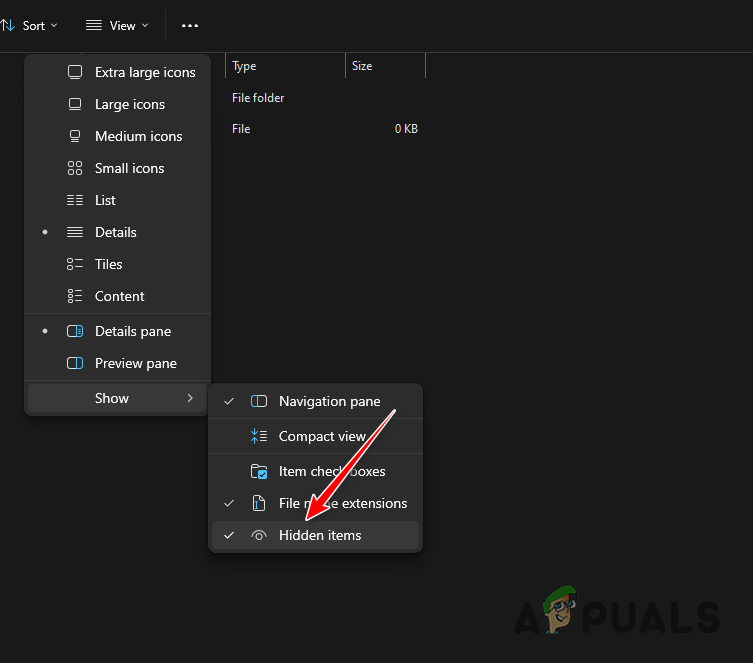
Showing Hidden Files and Folders - Navigate to the following path:
C:\ProgramData\Microsoft\Windows Defender\Scans\History\Service
- If access to the folder is restricted, boot into Safe Mode.
- Press Win key + R to open the Run dialog.
- Type msconfig and press Enter.
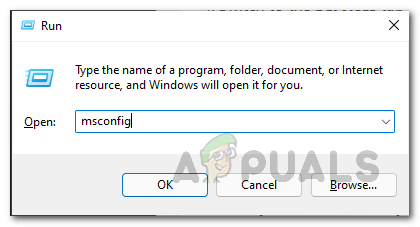
Opening System Configuration - Go to the Boot tab in the System Configuration window.
- Select the Safe boot checkbox and restart to enter Safe Mode.
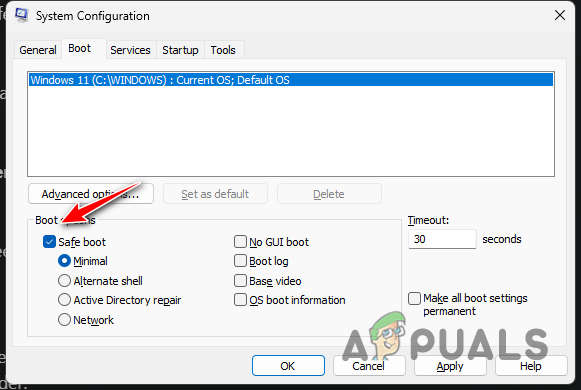
Enabling Safe Boot - Follow the earlier steps to access the protection history folder.
- Delete all files within the folder and reboot your computer.
- Check if the issue has been resolved.
- Remember to uncheck the Safe Boot option to exit Safe Mode, as described in this tutorial.
2. Exclude Firefox Profiles Folder
Whitelisting the Profiles folder in Mozilla Firefox’s cache can rectify the incorrect malware detection by preventing Microsoft Defender from scanning this directory, thus eliminating the issue.
- Open the Start Menu and search for Windows Security. Launch it.
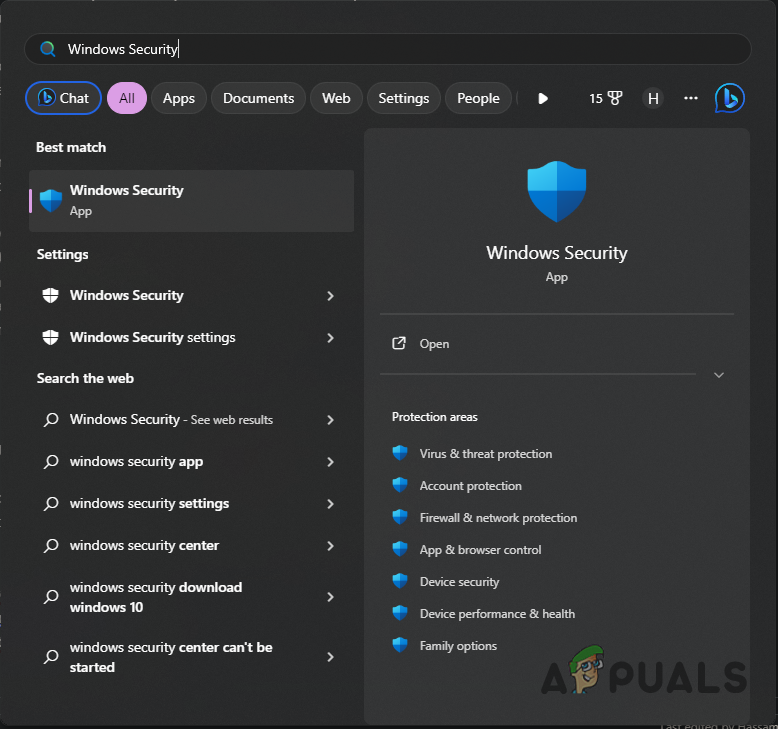
Opening Windows Security - Switch to the Virus and Threat Protection tab.
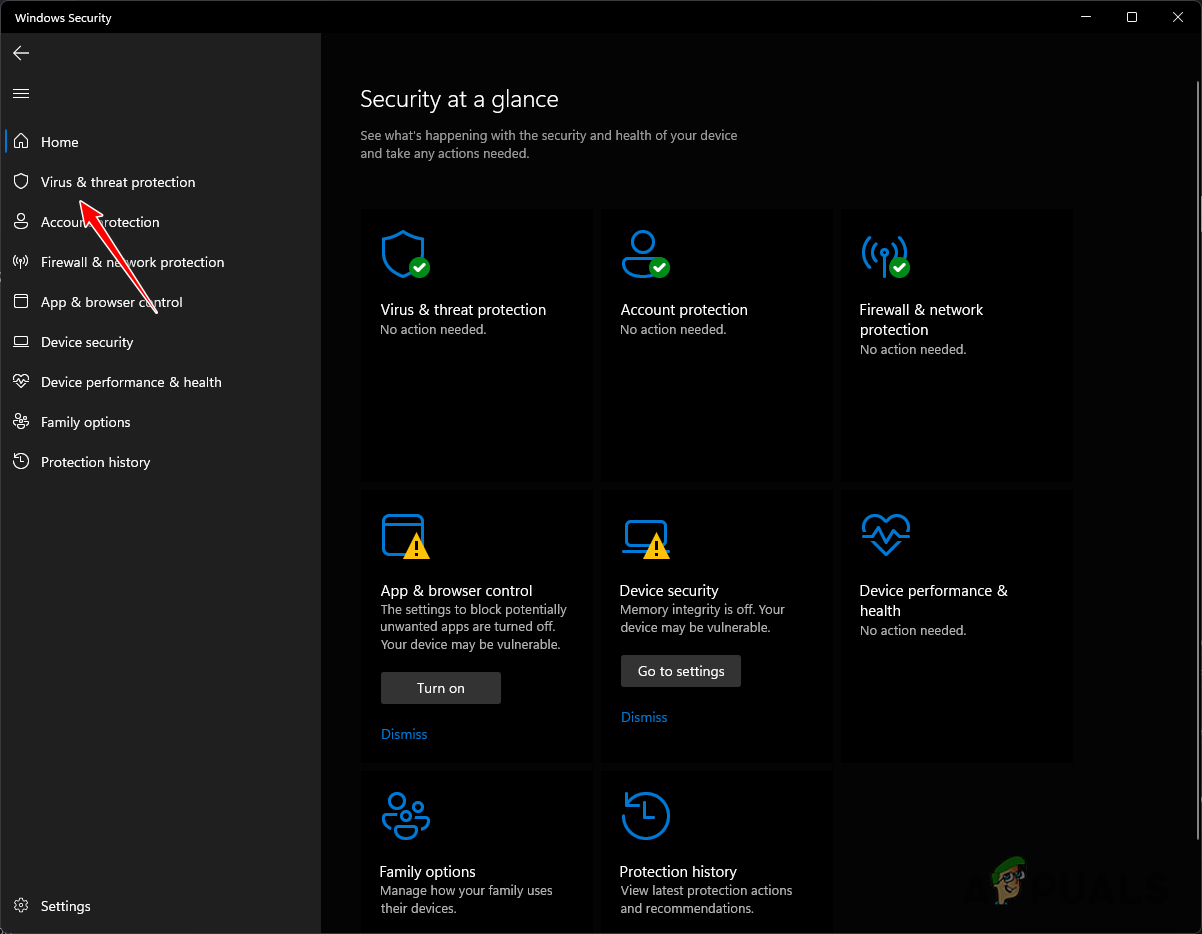
Navigating to Virus and Threat Protection Tab - Click the Manage settings link under protection settings.
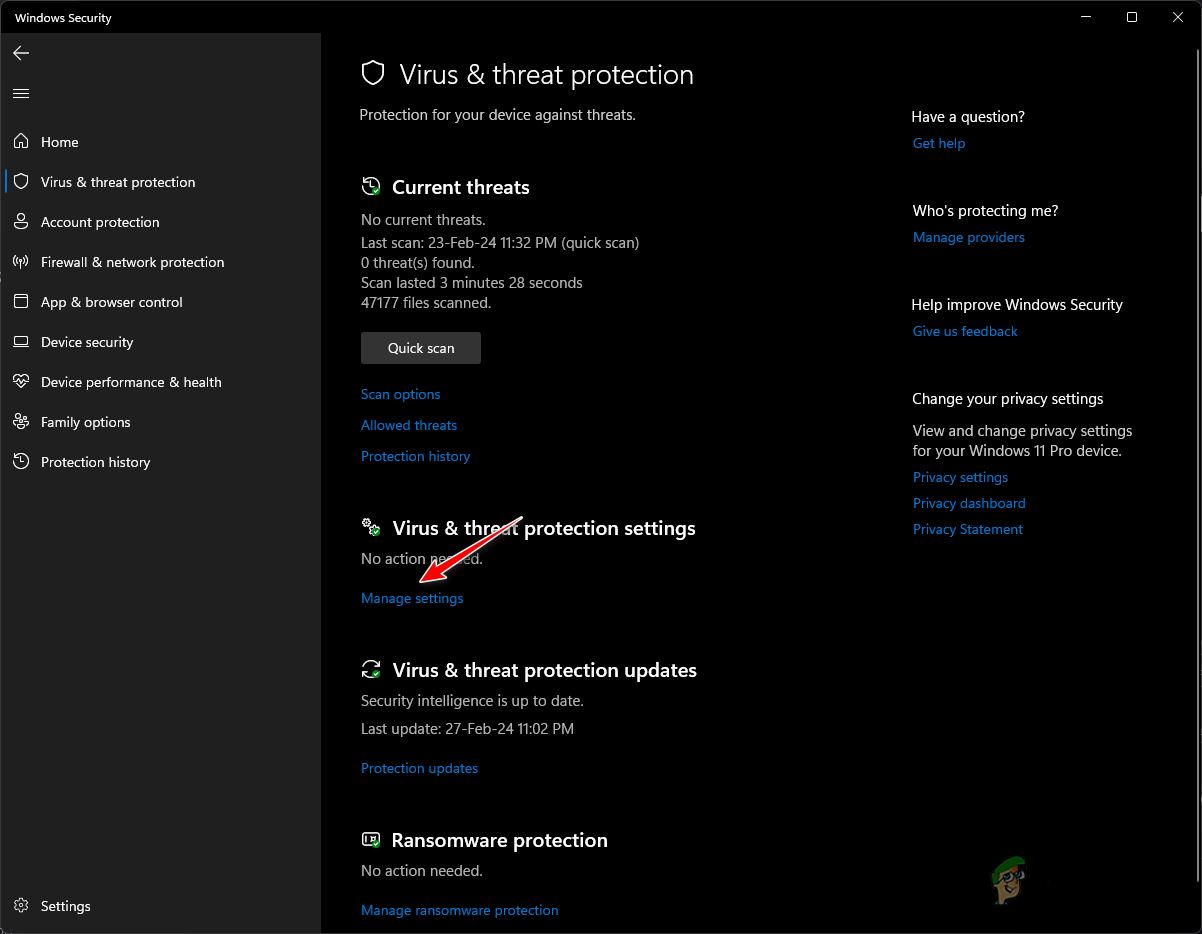
Managing Virus and Threat Protection Settings - At the bottom, click Add or remove exclusions.
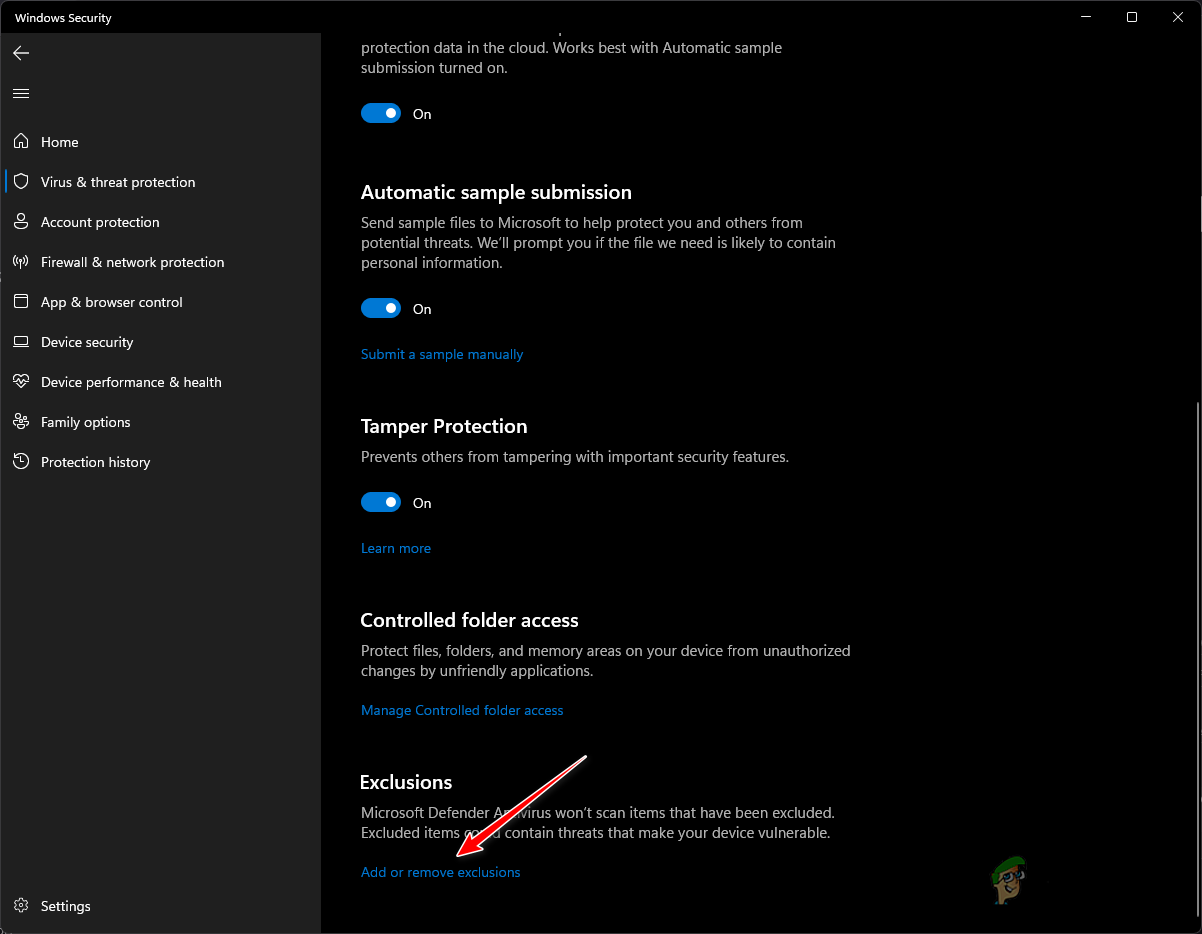
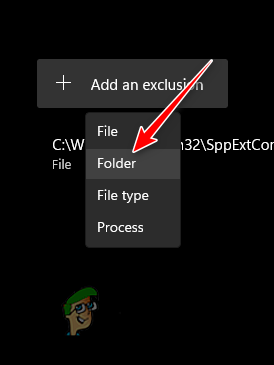
Adding Windows Defender Exclusions - Select Add an exclusion.
- Choose Folder from the drop-down menu.
- Ensure hidden files are visible, then navigate to:
C:\Users\[YourUsername]\AppData\Local\Mozilla\Firefox
- Select the Profiles folder and click Select Folder.
3. Clear Firefox Cache on Close and Delete Shadow Copies
Resolving the Trojan:HTML/Phish!pz detection can be as simple as setting Firefox to clear its cache upon closing and deleting Windows’ shadow copies—snapshots of files used for restoration purposes.
This process is particularly helpful when encountering the issue during backups:
- Launch Mozilla Firefox.
- In the top-right, click on the More menu and select Settings.
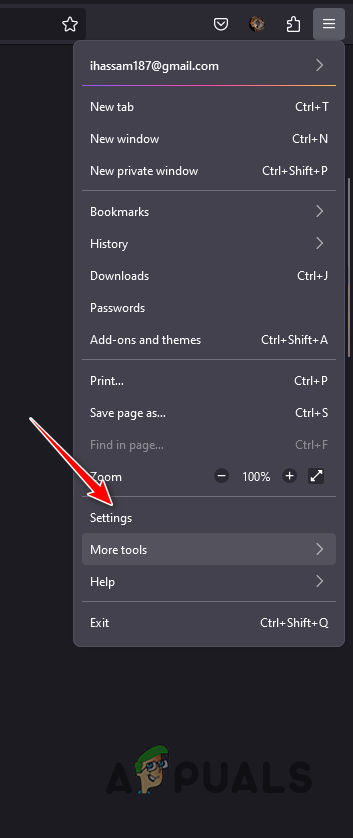
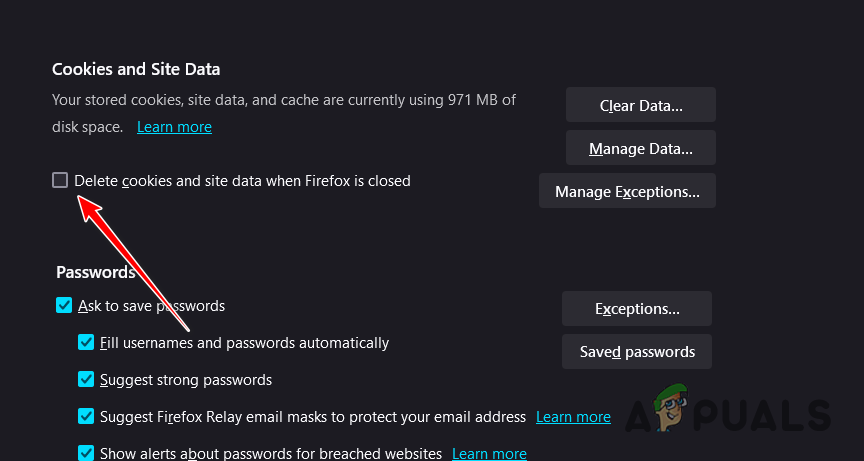
Accessing Firefox Settings - Go to the Privacy and Security section.
- Check the option Delete cookies and site data when Firefox is closed.
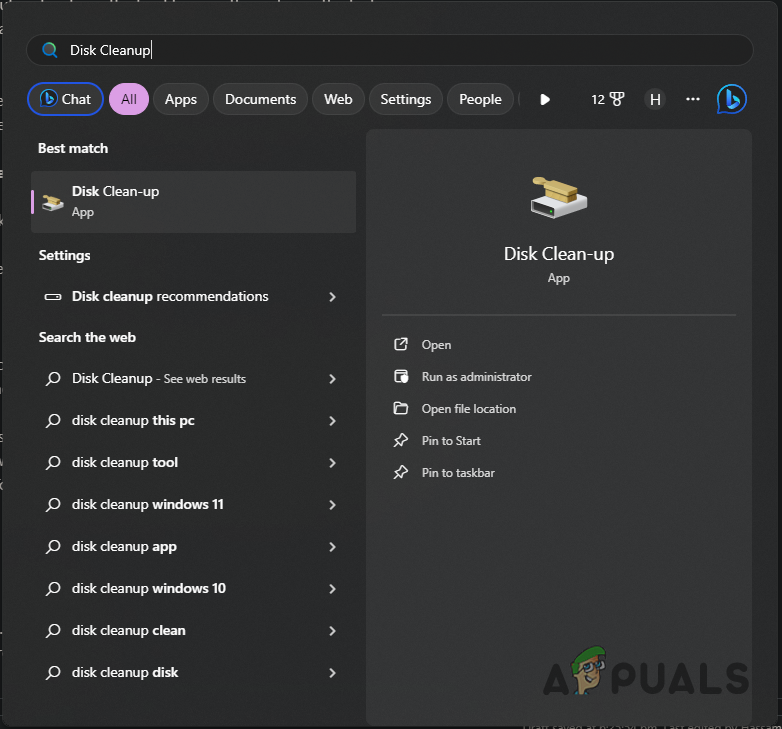
Setting Firefox to Delete Cache on Closing - Open the Start Menu, search for Disk Cleanup, and start it.
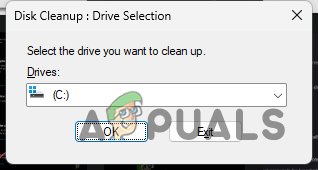
Launching Disk Cleanup - Select your system drive (usually C:) and click OK.
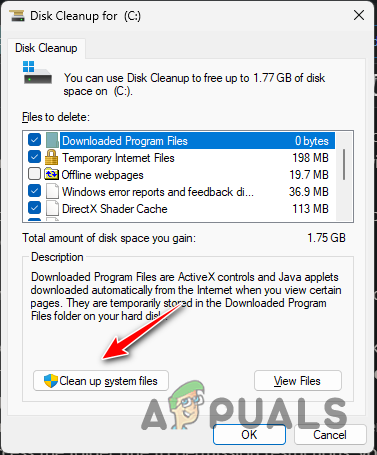
Selecting the System Drive in Disk Cleanup - Click Clean up system files.
Disk Cleanup for System Files - Select the system drive again and click OK.
- Move to the More Options tab.
- Under System Restore and Shadow Copies, click Clean up.

Removing Shadow Copies in Windows - Choose Delete.
- Performing these steps should resolve your issue.
4. Update Mozilla Firefox
An outdated Mozilla Firefox may be to blame for the invalid Trojan:HTML/Phish!pz detection. Any inconsistencies usually get addressed in newer versions, so keeping Firefox up-to-date is essential:
- Start Mozilla Firefox.
- Click the More menu and navigate to Help > About Firefox.
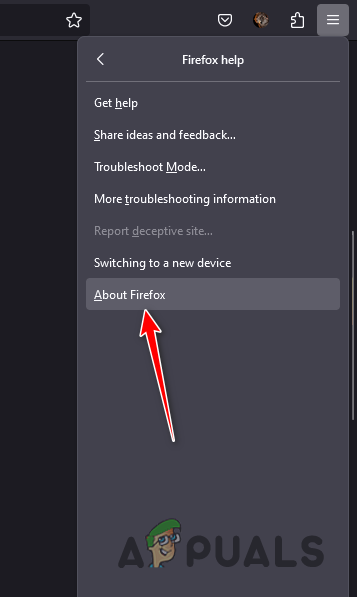
Opening About Firefox - Allow Firefox to check for and download any updates automatically.
- Install the updates if available and restart Firefox.
- See if this resolves the detection issue.
5. Run Security Scan
If none of the above methodologies resolve the Trojan:HTML/Phish!pz detection and it’s not caused by Firefox, a comprehensive security scan may be needed.
You have the option of various third-party antivirus tools or Windows Defender, which can be effective if your system is up to date:
- Access the Start Menu and look for Windows Security; launch it.
Starting Windows Security - Proceed to the Virus and Threat Protection section.
Navigating to Virus and Threat Protection Section - Click on Scan options.
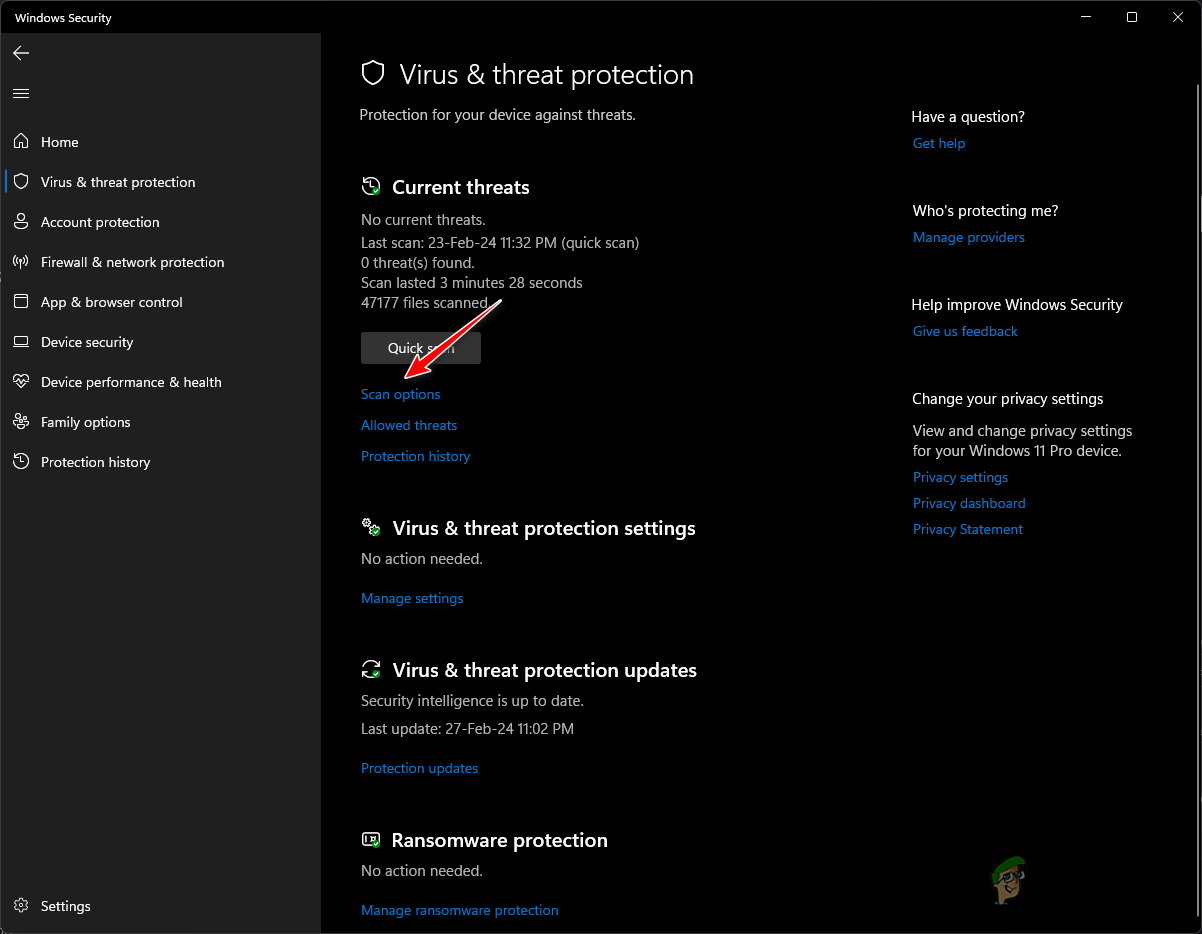
Selecting Scan Options in Windows Defender - Choose Microsoft Defender Antivirus (offline scan).
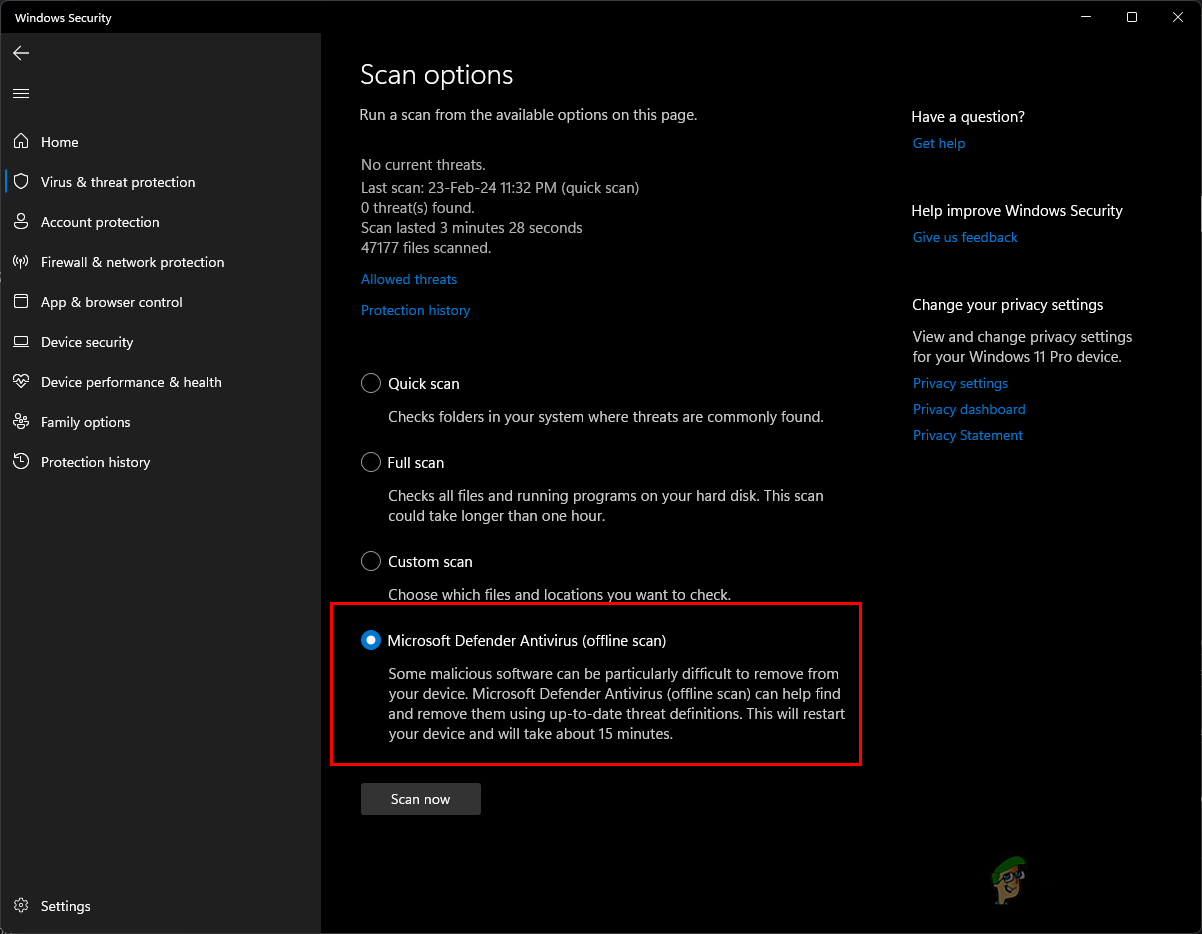
Executing Windows Defender Offline Scan - Hit Scan now and let the scan complete, which could take 15-20 minutes.
- Upon scan completion, your problem should most likely be resolved.