Gcapi.dll: What Is It & How to Remove It?
While encountering issues with gcapi.dll, users often report scenarios where this file, associated with AnyDesk and other remote desktop applications, is unexpectedly dropped or flagged by security tools. The acronym gcapi stands for Google Cloud Application Programming Interface, and it represents a Dynamic Link Library (DLL) file that facilitates interaction between software applications and Google Cloud services. This DLL file is crucial for many applications, including AnyDesk, to leverage capabilities provided by Google Cloud, such as data storage and machine learning.

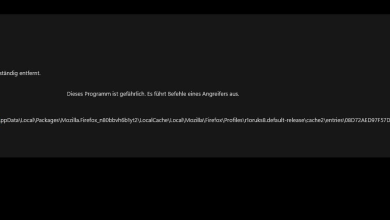
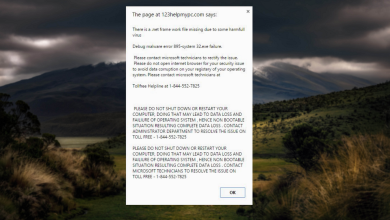
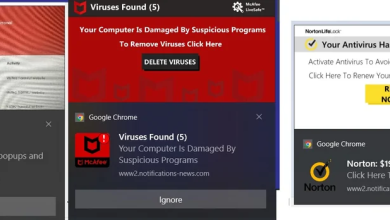
The primary issue caused by this DLL file often arises from its misuse or manipulation by remote tech support scammers exploiting vulnerabilities in various software, including AnyDesk. They may deploy the gcapi.dll file to execute unauthorized actions or access malware permissions without the user’s knowledge.
If the gcapi.dll file is found in unexpected locations or is flagged by security software, it may indicate a security concern, necessitating further investigation. In this article, we will provide an effective solution for dealing with and removing the unexpected gcapi.dll file from your computer.
Step 1: Uninstall AnyDesk Completely
First, uninstall AnyDesk from your computer to remove any potentially corrupted files within the application.
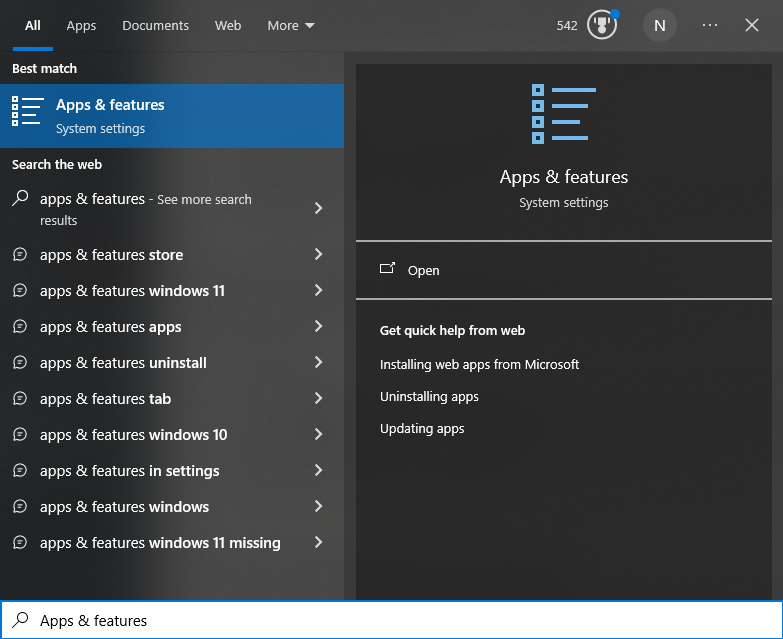
- Open the Start Menu and search for Apps & Features.
- Find AnyDesk in the list of installed programs.
- Select AnyDesk and click Uninstall.
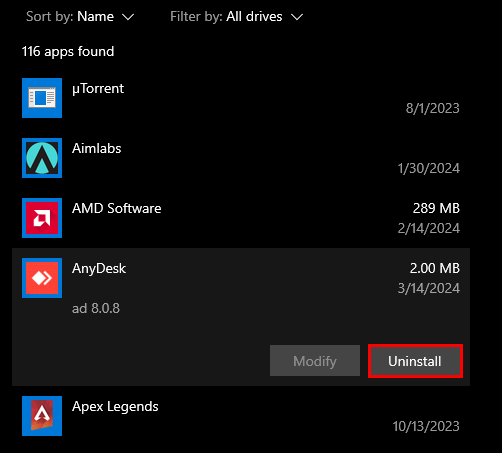
- Follow the on-screen instructions to complete the uninstallation process.
- Restart your computer afterward.
Step 2: Conduct a Full System Virus Scan
After uninstalling AnyDesk, conduct a full system virus scan to ensure the gcapi.dll file is removed reliably and smoothly.
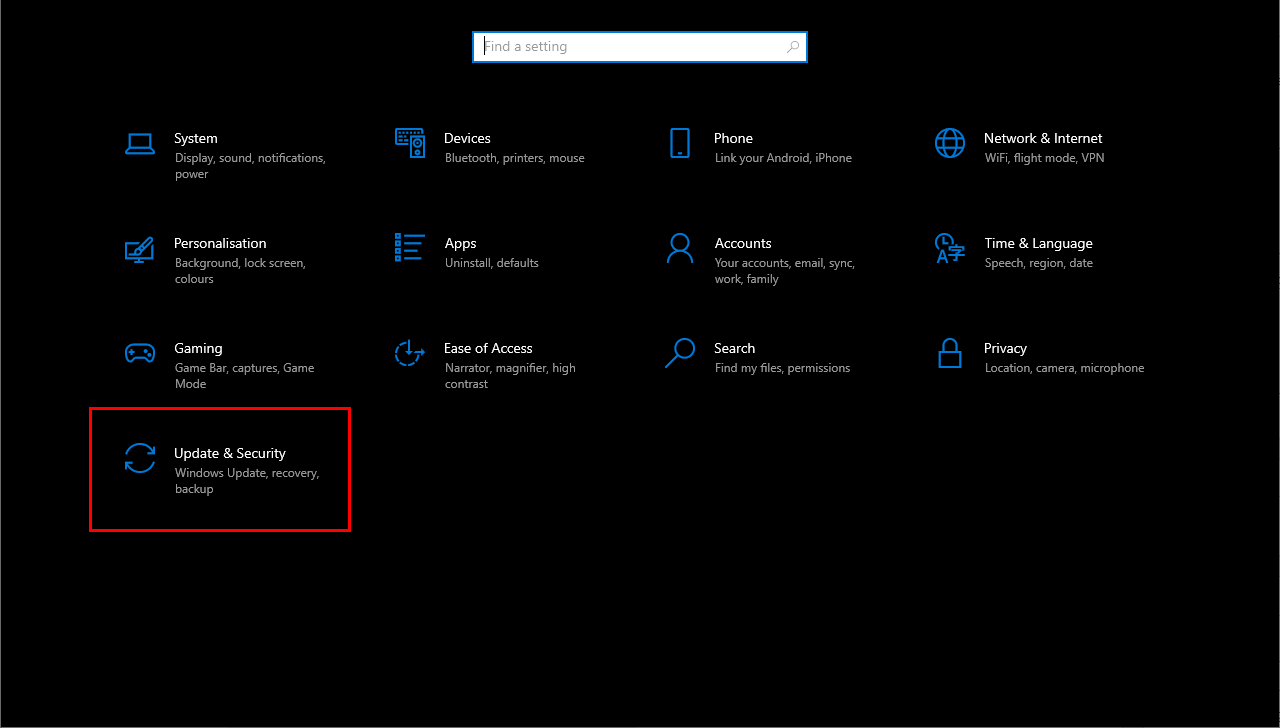
- Open Settings and click on Update & Security.
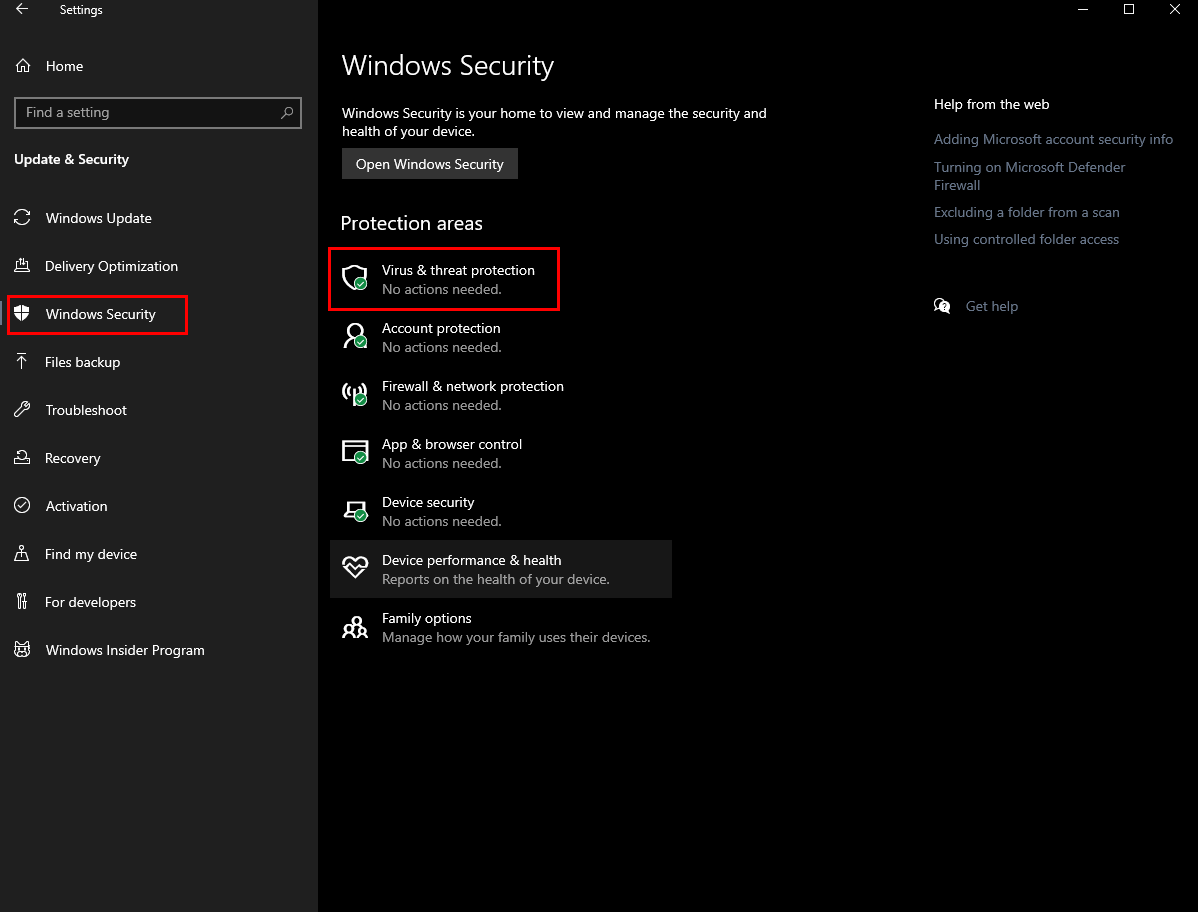
- Select Windows Security from the left pane, then Virus & Threat Protection.
- Under the Quick scan option, click on Scan options.
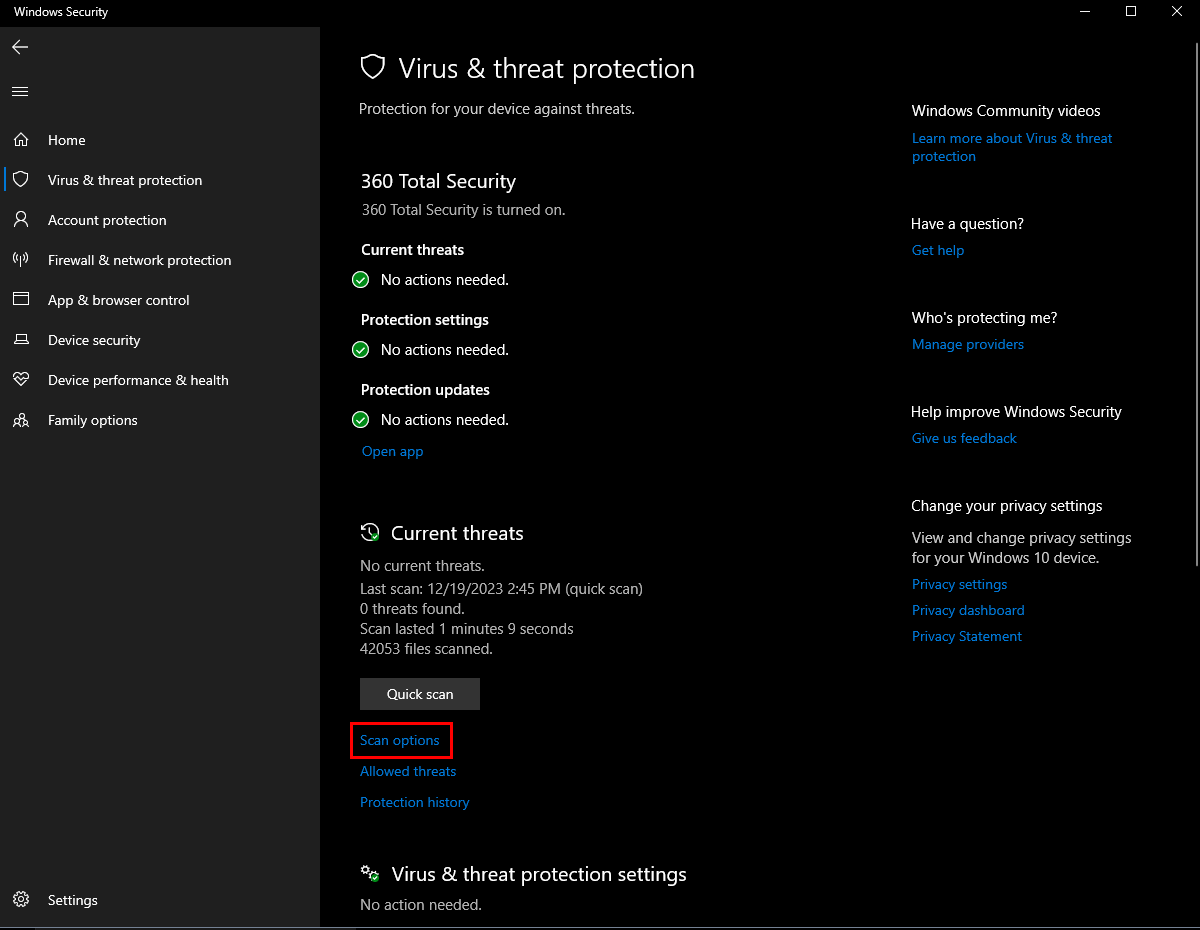
- Choose Full Scan and then select Scan now.
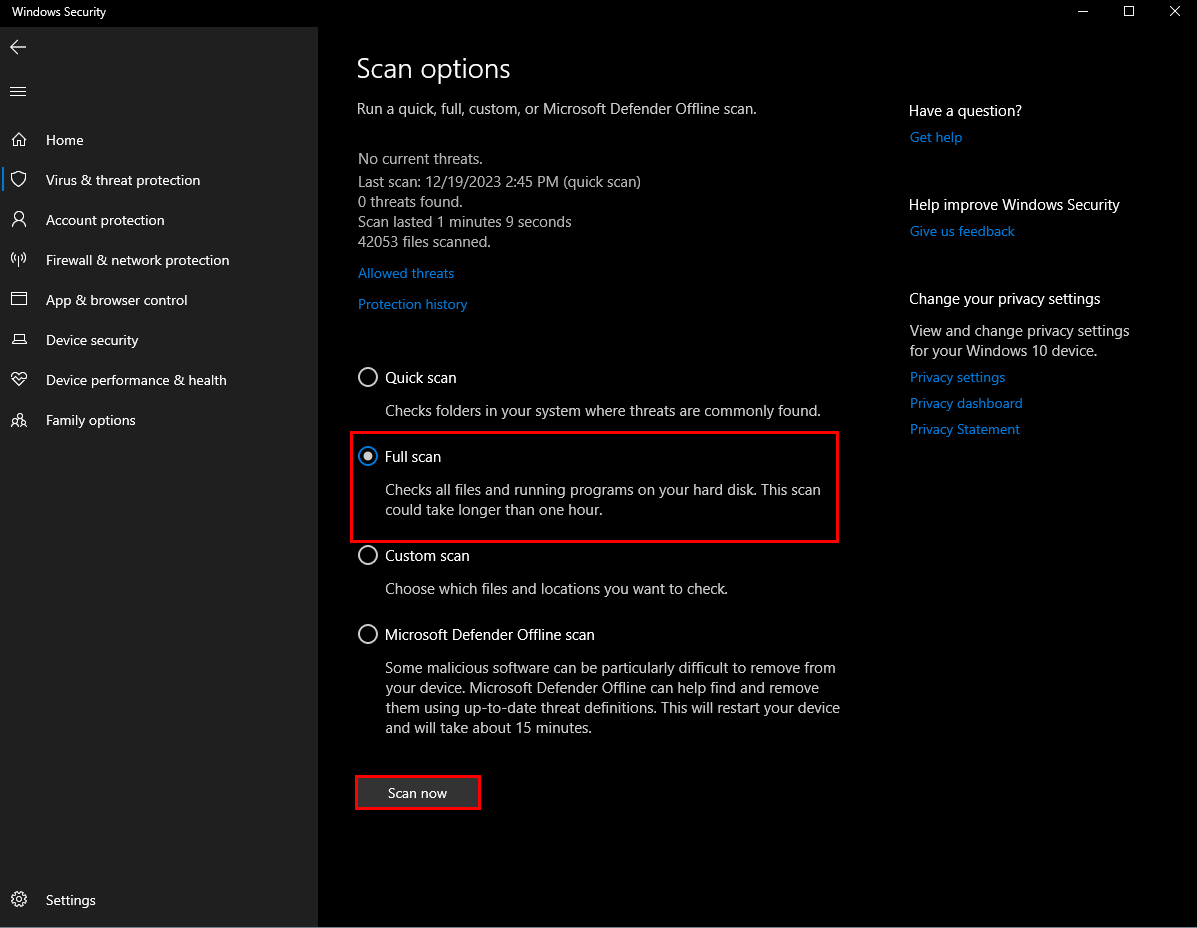
- Follow the on-screen instructions if any threats are found.
- Restart your computer if prompted.
Step 3: Clean Boot your Computer
Performing a clean boot helps determine if third-party services or applications are causing issues on your computer.
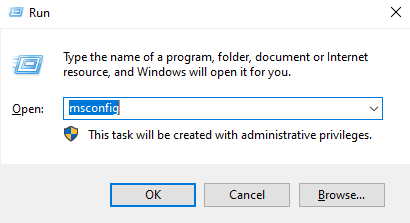
- Press Windows + R keys simultaneously to open the Run dialog.
- Type in msconfig and press Enter.
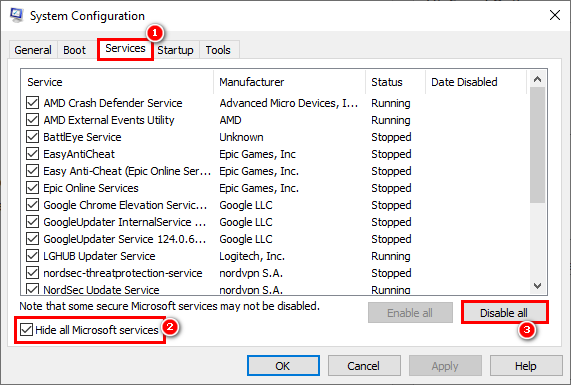
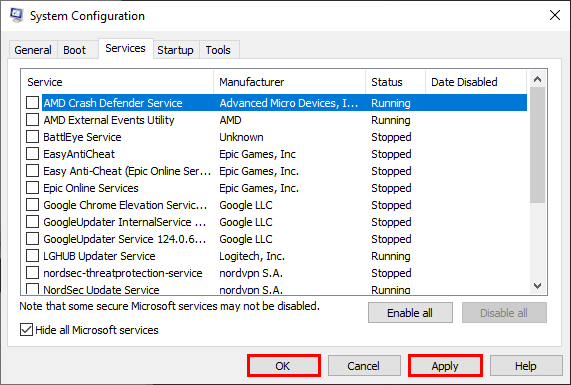
- In the Services tab, check the box to Hide all Microsoft services.
- Click the Disable all button to disable all non-Microsoft services.
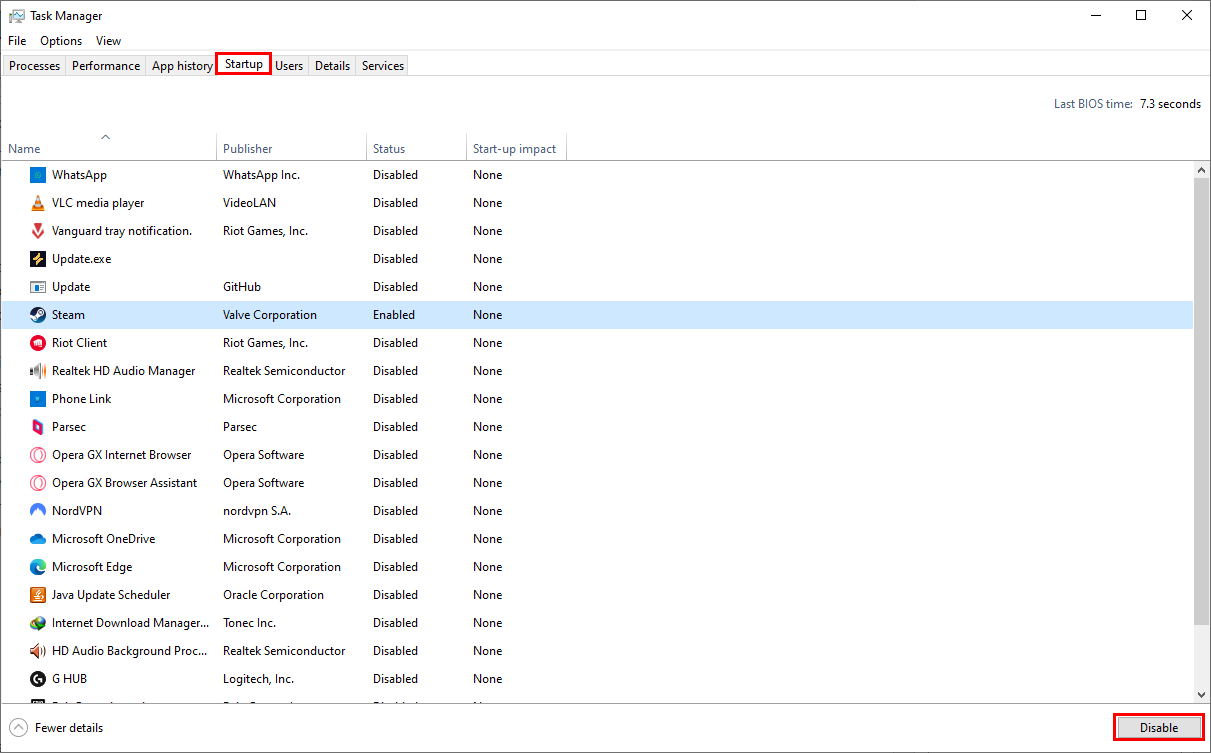
- Switch to the Startup tab and click the Open Task Manager link.
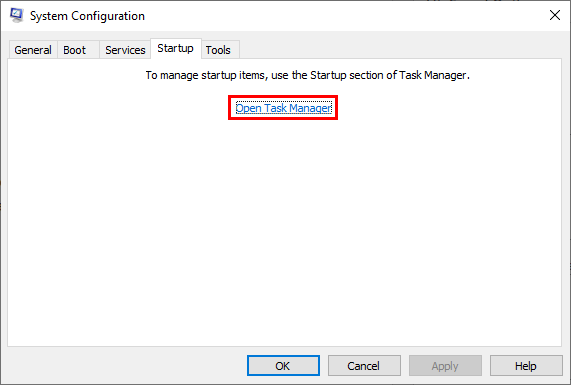
- In the Task Manager under the Startup tab, disable each startup item by selecting it and clicking the Disable button at the bottom right.
- Close Task Manager and return to the System Configuration window.
- Click Apply and then OK.
- Restart your computer.
Return to Normal State:
To return your computer to its normal state after troubleshooting:
- Open the Run dialog by pressing Windows + R keys simultaneously.
- Type in msconfig and press Enter.
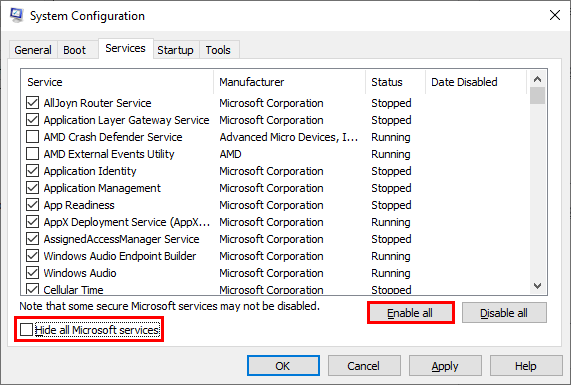
- In the Services tab, uncheck Hide all Microsoft services.
- Click Enable all.
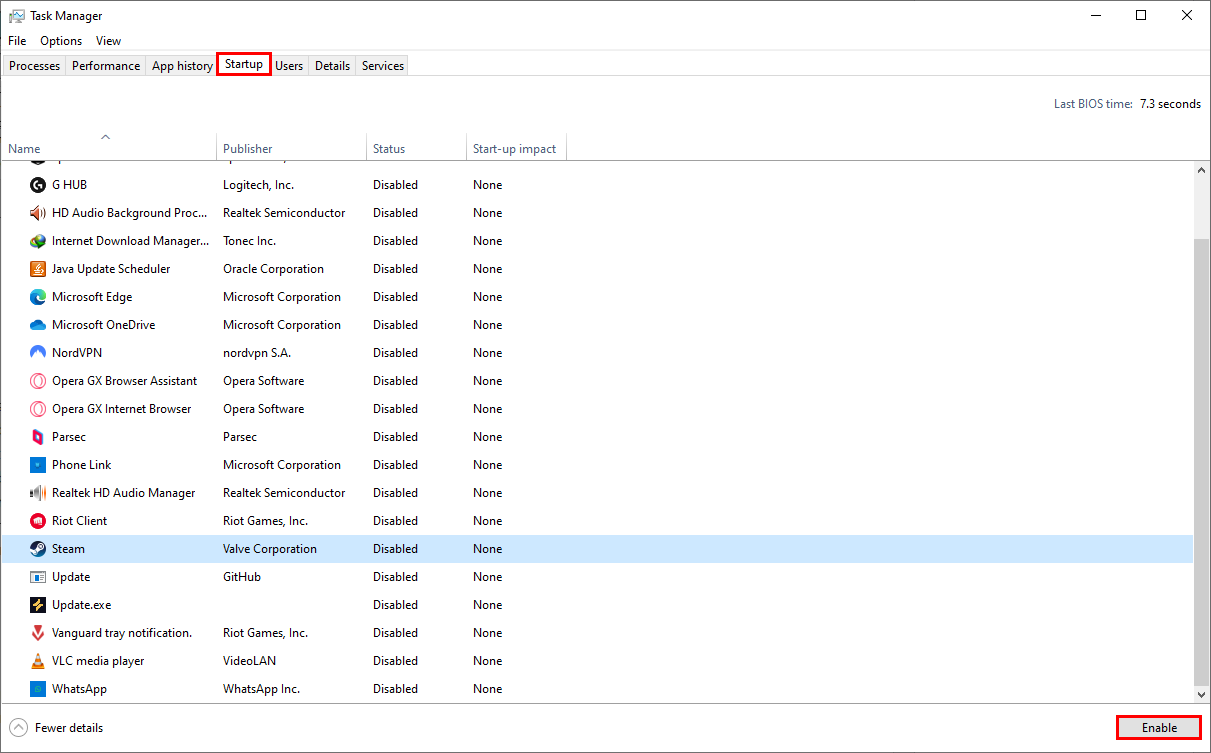
- Go to the Startup tab and click the Open Task Manager link.
- In Task Manager, enable each startup item by selecting it and clicking the Enable button at the bottom right.
- Close Task Manager and return to the System Configuration window.
- Click Apply and then OK.
- Restart your computer.
Step 4: Run RKill
RKill is a tool that can terminate known malware processes, allowing other security software to remove them effectively. It is commonly used as a preliminary step when addressing malware infections.
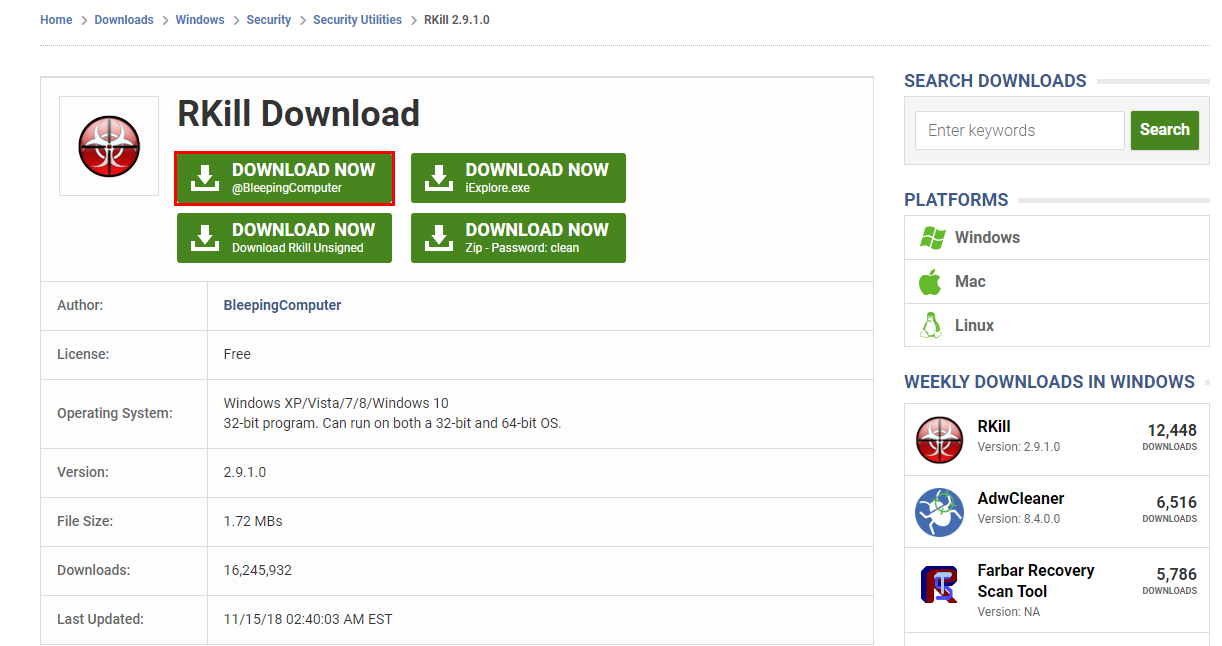
- Visit the official RKill website.
- Click on Download Now and save the file to an easily accessible location.
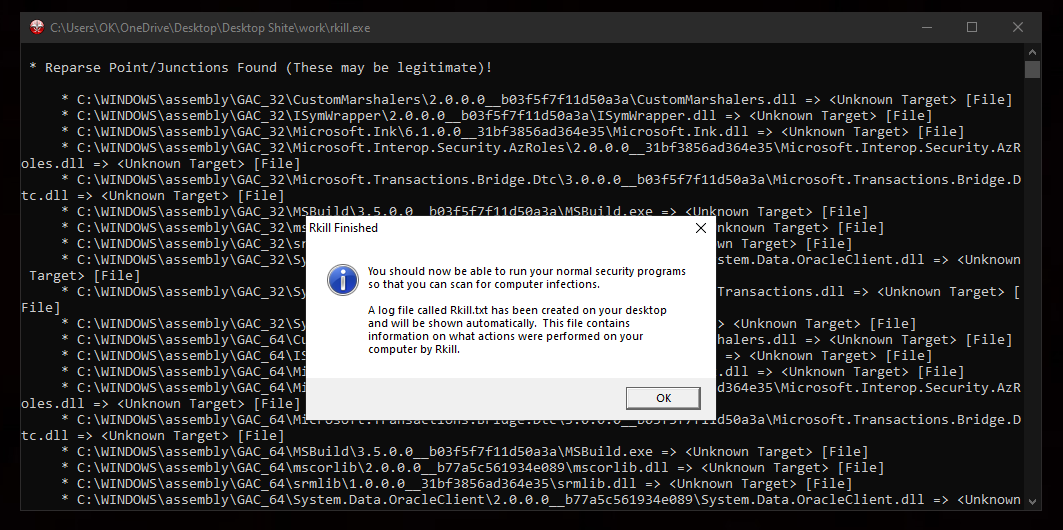
- Double-click on the RKill executable file to run it. If prompted, click Yes or Run.
- RKill will begin scanning and terminating known malware processes.
- After the scan, a log file will be displayed, listing the processes that were terminated.
- Following RKill, perform a full scan with your installed antivirus or anti-malware software, as recommended.
- If any threats are detected, follow the on-screen prompts to address them.
- Restart your computer to apply the changes.
Step 5: Reinstall AnyDesk Version above 6.0.10
AnyDesk has announced in their official communication that additional security checks have been implemented starting with the Windows version 6.1.0, which includes verifying the integrity of a gcapi.dll file. Hence, it is advised to install a version that is 6.0.10 or newer.
Source: CVE-2020-35483: DLL Hijacking vulnerability – AnyDesk
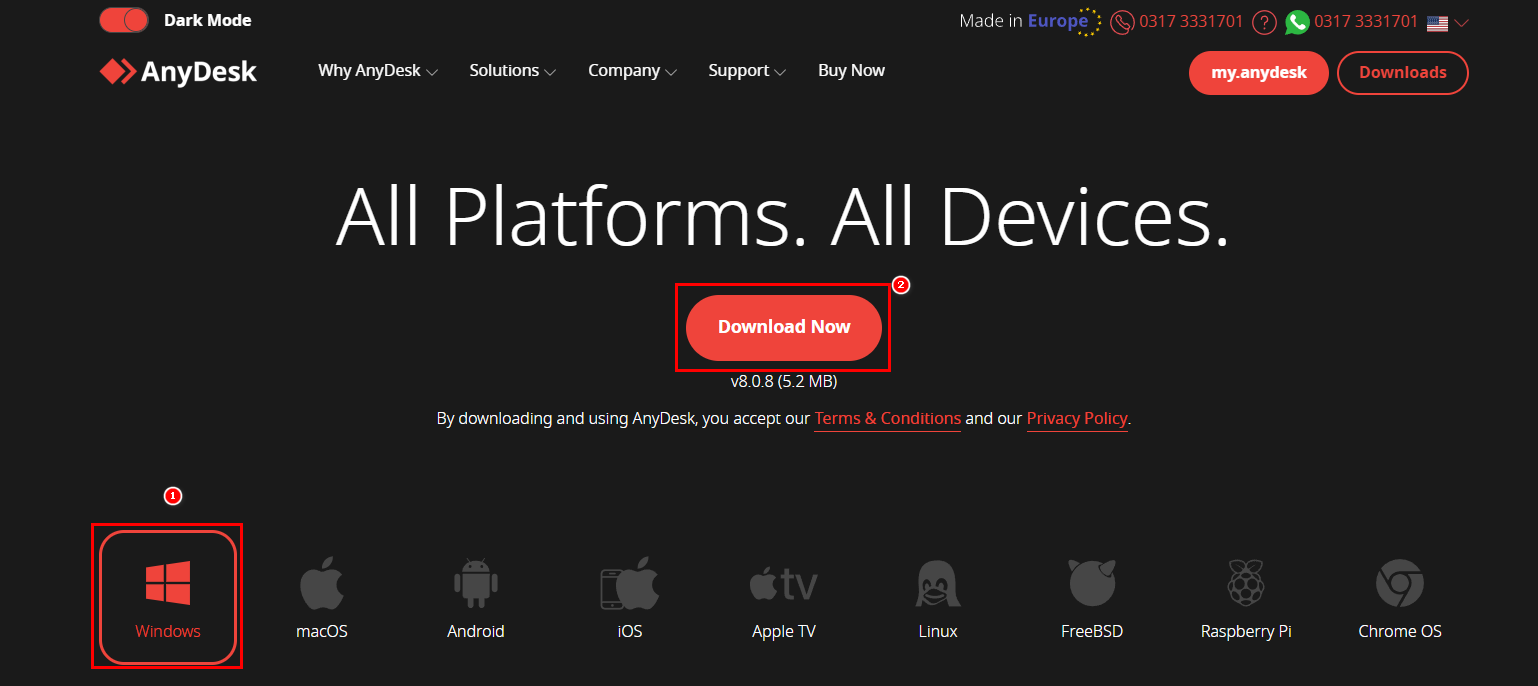
- Go to the official AnyDesk website.
- Select your operating system and click Download now.
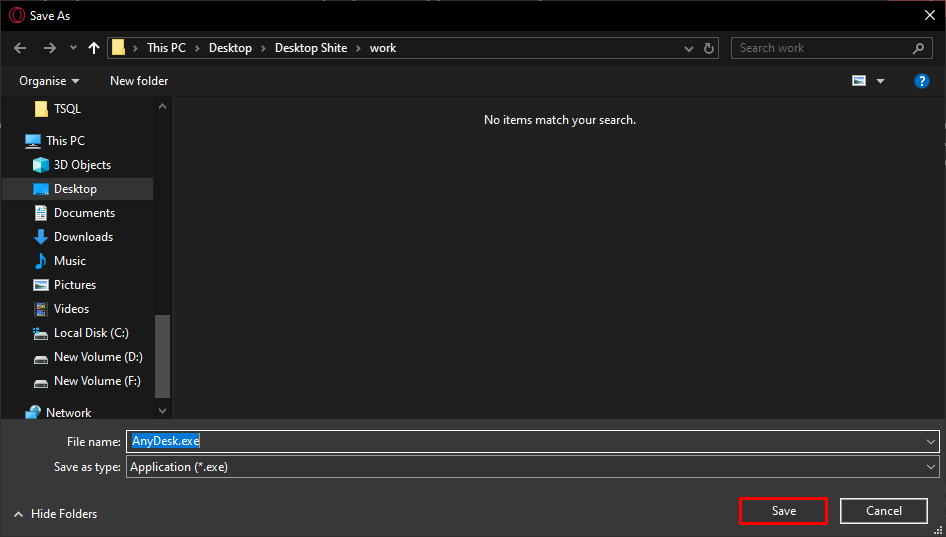
- Choose a destination to save the file and click Save.
- Run the AnyDesk installer (.exe file) by double-clicking it to initiate the installation process.
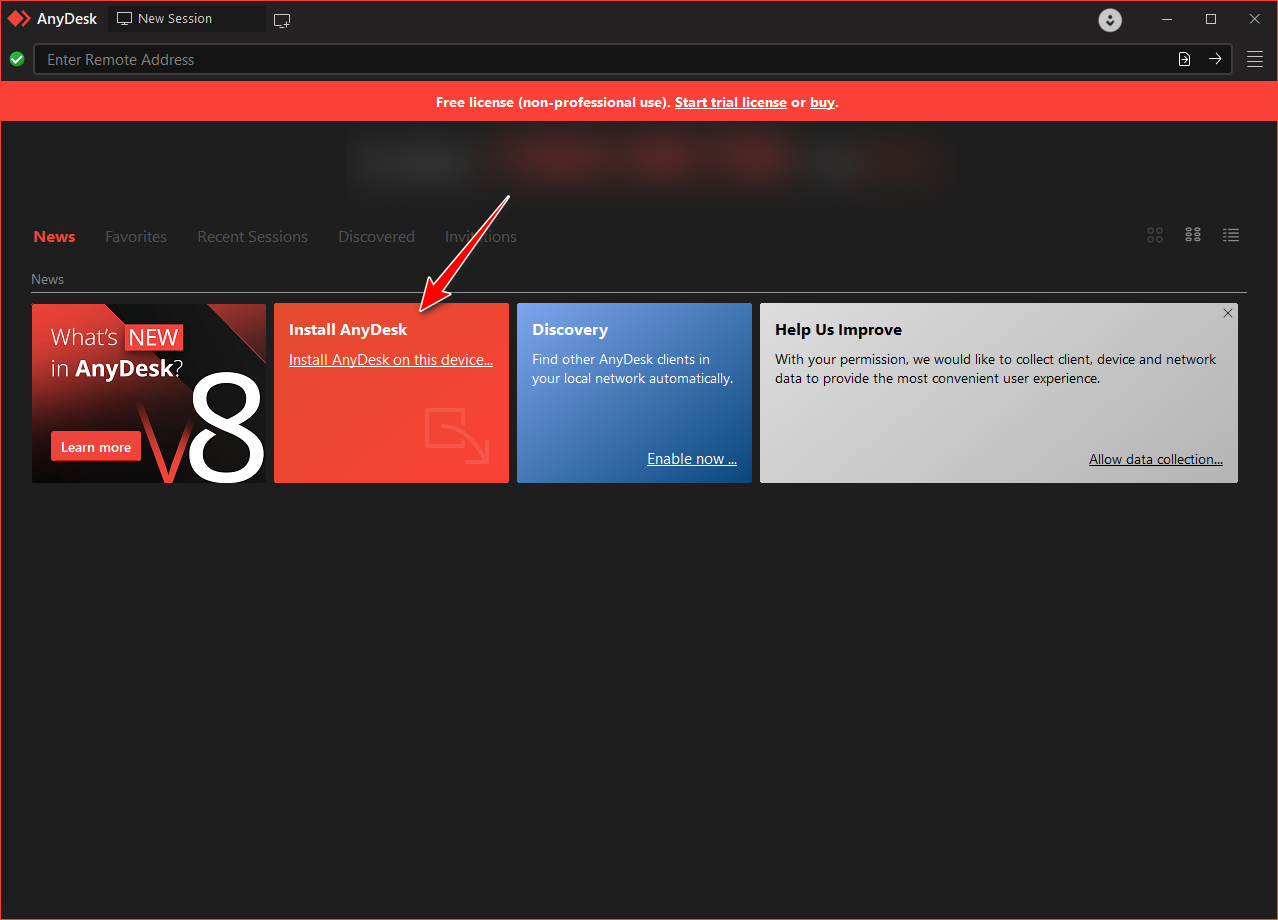
- In the AnyDesk window, click Install AnyDesk.
- Select your desired installation path, then click Accept & Install.

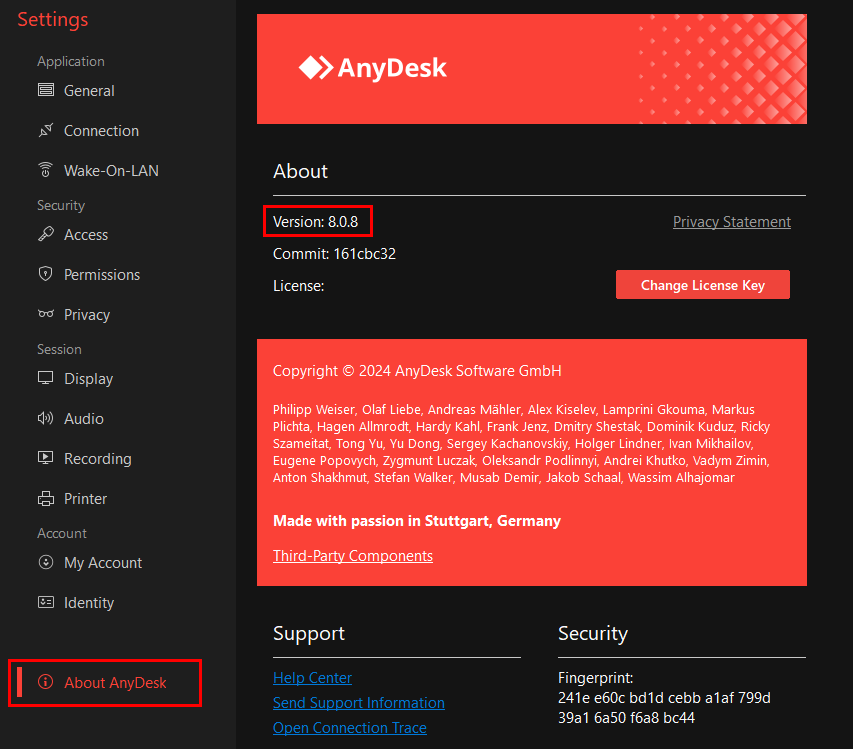
- Open AnyDesk to verify that the version is 6.0.10 or newer by checking the About section in the app’s settings.