5 Fixes to Troubleshoot Screen Mirroring Issues in Windows
When the screen mirroring feature, also known as screen mirroring is not working on a Windows PC, users face an error stating ‘Unable to connect with screen share’. This prevents them from projecting the screen of their computers on another screen.
There can be several reasons behind it such as firewall or Windows defender interruption, compatibility issues, networking problems, misconfigured settings, and hardware limitations.
It’s worth noting that each case can have different reasons, and the troubleshooting steps will differ accordingly. Below, we have discussed different solutions that can help you identify the cause of the problem and then fix it for good.
We recommend that before you jump into the troubleshooting methods, you restart your PC and then try sharing the screen again. Often times, the problem is caused by a temporary glitch or bug and can be resolved by a simple reboot. If the error persists, try the solutions below one by one.
1. Check If Your Device Supports Miracast
If you are trying to project your screen on a wireless display, start by making sure if your device is compatible with Miracast.
Here is how you can do that:
- Press Windows + I keys together to open the Settings app.
- Choose System > Display in the following window.
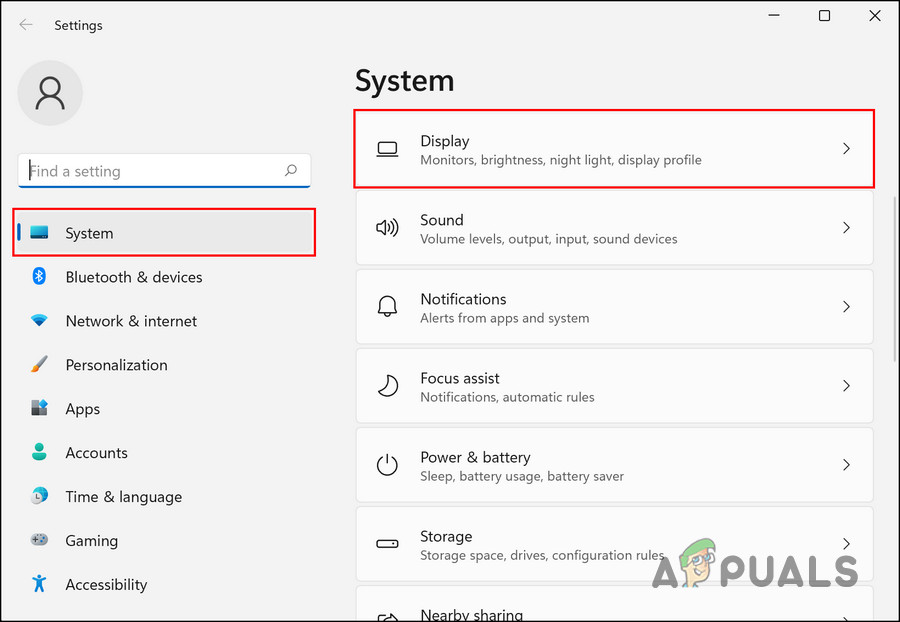
Choose the Display option - Expand the Multiple displays section and locate the Connect to a wireless display option. If you can view this option, it means that your device supports Miracast. If you cannot, then it is evident that you are facing the screen sharing issue due to a compatibility problem.
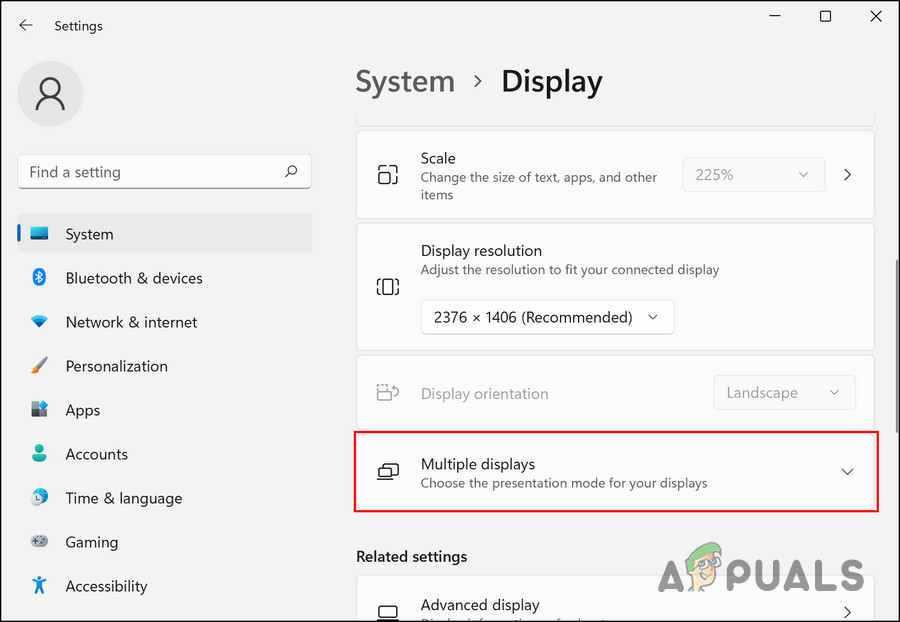
Expand the Multiple displays option
Alternatively, you can use the DirectX Diagnostic tool to check the compatibility.
Follow these steps to do that:
- Press the Win + R keys together to open a Run dialog.
- Type dxdiag in the text field of Run and click Open.
- In the following window, click on the Save All Information button and save the file.
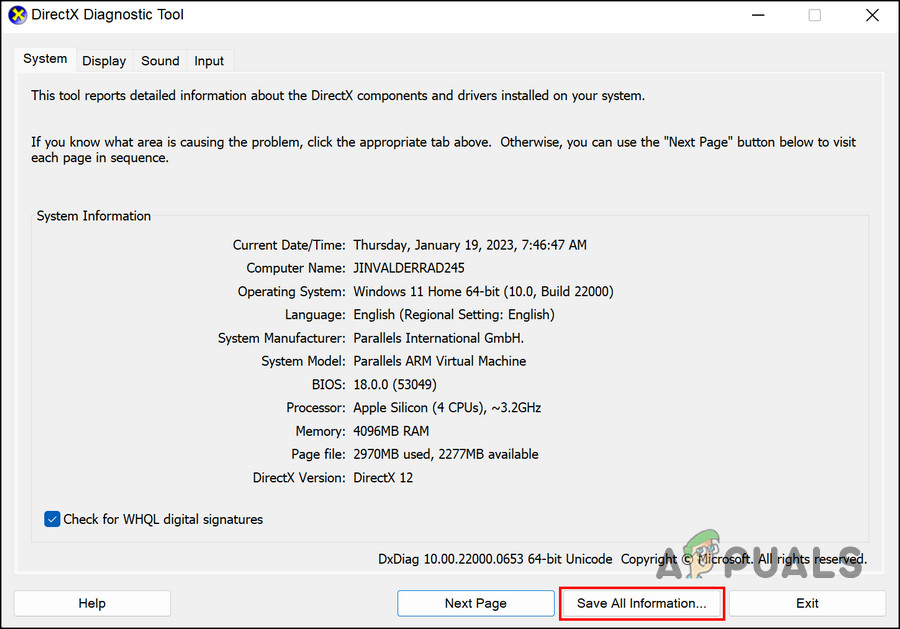
Click on the Save All Information button - Close the tool and navigate to the location of the file you just saved.
- Open it and look for the status of Miracast. It should say Available.
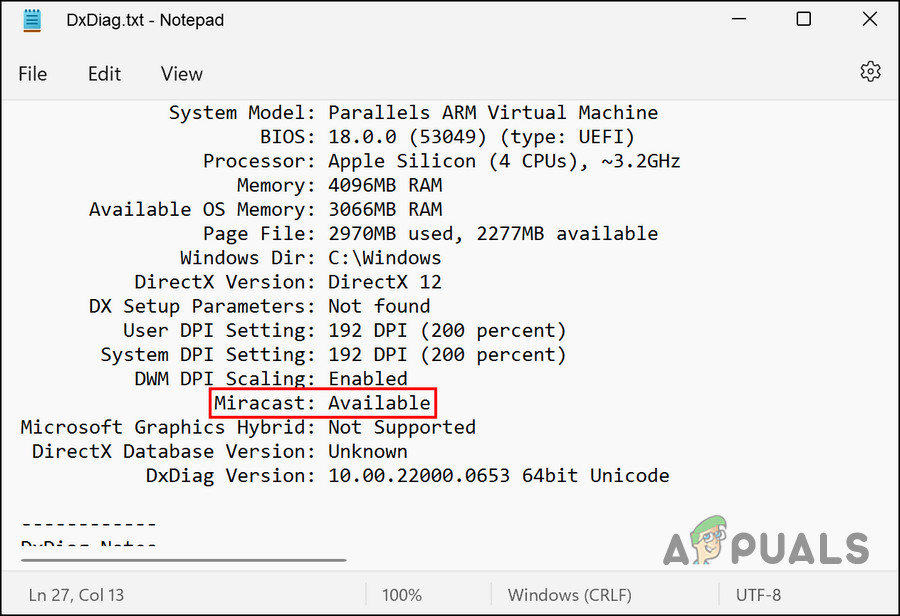
Look for the status of Miracast - You can also look for the section that says Display and check the Driver Model. If it’s WDDM 1.3 or higher, then your PC supports Miracast.
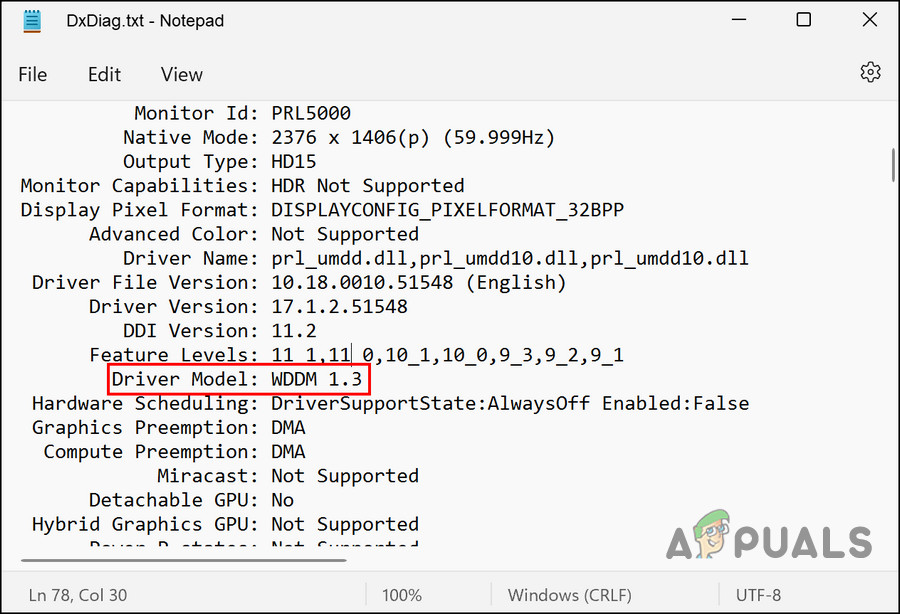
Check the Driver Model
2. Enable the Wireless Display Feature
The next thing we recommend doing is making sure the wireless display feature is enabled on the computer, which allows the system to project the screen of your Windows device to another display wirelessly, such as a TV or monitor, using the Miracast standard.
Follow these steps to proceed:
- Press the Windows + I keys together to open Windows Settings.
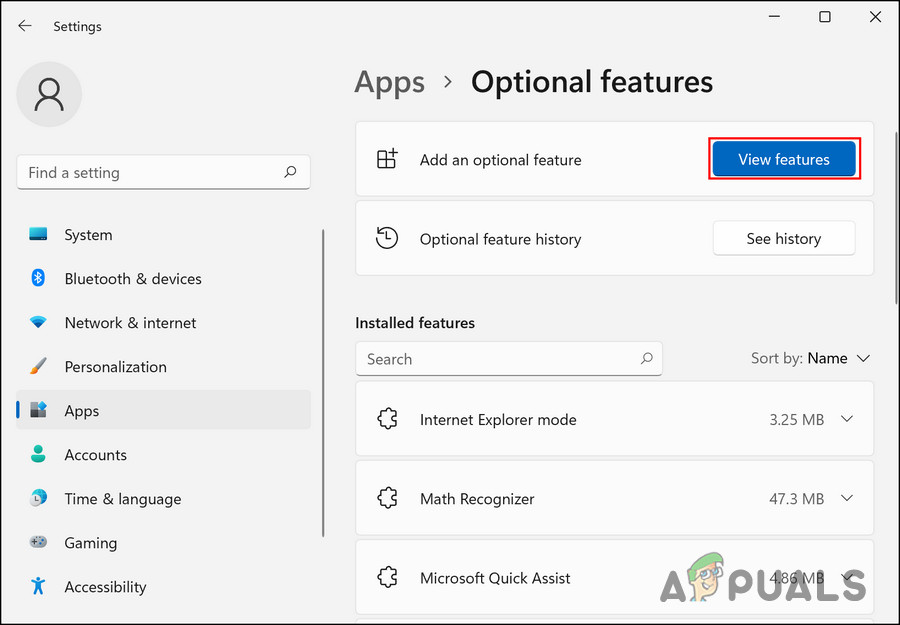
- Choose Apps from the left pane and click on Optional features.

Click on Optional features - Now, click on the View features button for Add an optional feature. This should open the Add an optional feature dialog.
Click on the View features button - In the dialog, type wireless display in the search area of the taskbar and select it.

Enable Wireless Display - Click Next and follow the on-screen instructions to install the feature.
Alternatively, you can also use the Command Prompt to install the wireless display feature. In case you are having problems with the steps above, try these methods:
- Press the Win + R keys on your keyboard to open a Run dialog.
- Type cmd in the text field of Run and press the Ctrl + Shift + Enter keys together to open Command Prompt as an administrator.
- Click Yes in the User Account Control prompt.
- Type the following command in the Command Prompt window and hit Enter to execute it:
DISM /Online /Add-Capability /CapabilityName:App.WirelessDisplay.Connect~~~~0.0.1.0
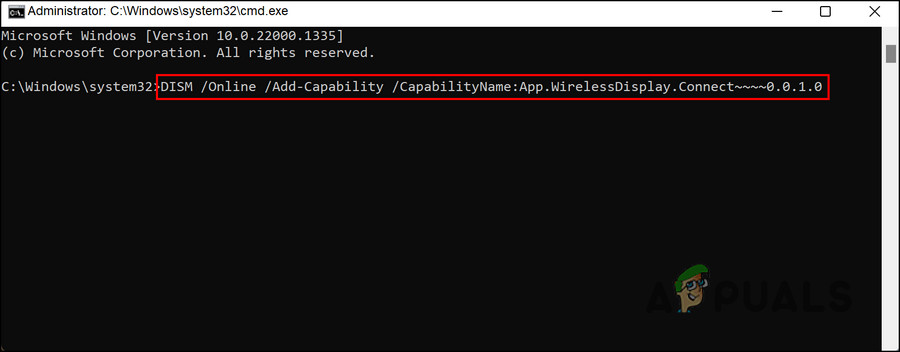
Execute the entered command - Windows will now begin downloading and installing the Wireless Display app. Wait till the process is completed and then restart the computer.
Once the feature is installed, check if the you can share your screen without any problems.
3. Use the Hardware and Devices Troubleshooter
There might also be a problem with the hardware of the system, which is preventing you from using the screen mirroring feature. In Windows, Hardware and Devices troubleshooter performs a series of predefined tests to diagnose and fix hardware issues.
During the troubleshooting process, the troubleshooter first ensures that the drivers for the device are current and installed correctly. It will also check for any hardware conflicts and power management issues. In the event it finds any problems, it will provide recommendations for how to fix them, or direct you to a manufacturer’s webpage.
Here is how you can run the troubleshooter to fix the screen mirroring issue:
- Press the Windows key + R to open a Run dialog.
- Type the following command in the text field of Run and click Enter.
msdt.exe -id DeviceDiagnostic
- In the troubleshooter window, click on the Next button.
- Let the troubleshooter run and wait for the results. Proceed with the troubleshooting according to the results displayed.

Apply the suggested fix
4. Disable Firewall Temporarily (If Applicable)
Some antivirus software can interfere with other programs, causing them to crash or not function properly. It may sometimes flag a legitimate program or file as a virus or threat, which can cause problems if the software or file is quarantined or deleted.
If you are using a security program on your computer, there is a chance that either of these scenarios is applicable which is resulting in the error at hand.
The best way to proceed in this case will be by disabling the antivirus temporarily and checking if that makes any difference. We have showed the steps of doing so using the Avast antivirus. The steps for your antivirus may differ slightly but the basic principle remains the same.
Here is how you can proceed:
- Right-click on the antivirus program on the taskbar.
- Choose Avast shields control and click on Disable the program until the computer is restarted.
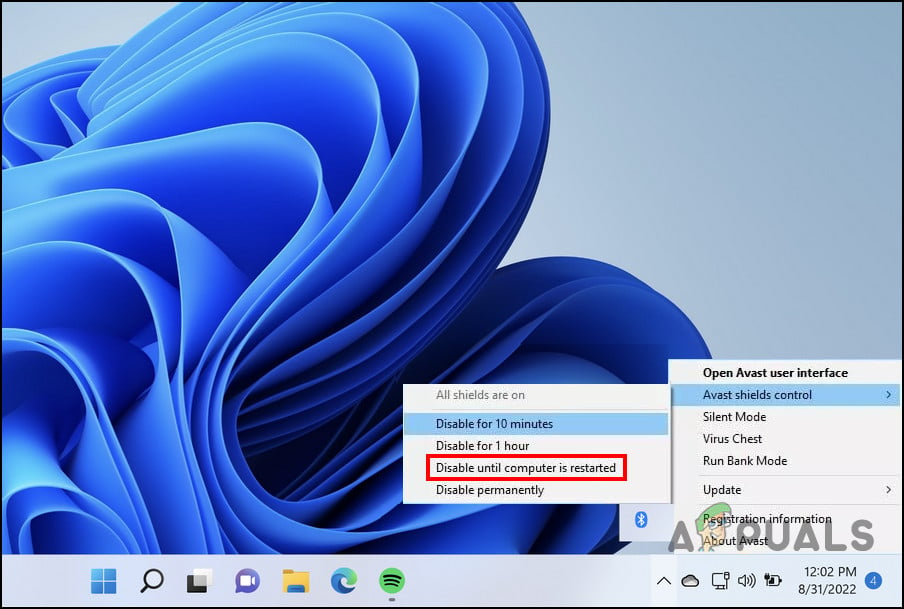
Disable the antivirus program
Once the program is disabled, check if you can successfully share your screen.
5. Repair Install Windows
If none of the troubleshooting methods have worked for you, you can try to perform a repair install.
Repair installs (also known as in-place upgrades) restore a computer’s existing installation and user data while reinstalling Windows. Using this method can resolve certain types of problems with the operating system, such as corrupted files or unstable operations.
As part of a repair install, Windows copies the installation files to your computer, checks for and fixes any problems with the existing installation, then installs the updated files and replaces the older versions, keeping your personal data and installed software intact. This process, however, is time consuming so we recommend proceeding with it only when you have sufficient time on your hands.


