Roomba Error 8: Couldn’t charge your Roomba? Try these fixes
 Reviewed by Muhammad Zubyan
Roomba robot will show the charging error 8 due to static current on the robot or as a result of debris or gunk on the charging points of the robot or base. Try discharging the static current on the robot or cleaning its charging points.
Roomba robots show the charging error 8 on used as well as on out-of-the-box units. Charging Error Eight or 8 Blinks means that the robot is unable to communicate with its battery or there is a battery issue – this varies with the robot model.
The error is shown when the robot is connected to the charging base. Sometimes, the error occurs when the robot was charged for a few minutes. A flash red warning triangle with the exclamation mark (!) is shown and an audio message of Charging Error 8 will be played.
1. Discharge the Static Current from the Roomba Robot
You will face this error if the static current present on the internal circuitry of the robot is not letting it properly detect the charging signal. Here, discharging the static current from the robot will resolve the issue.
- Remove the screws (you will need a flat head and Philips screwdriver) from the back cover of the robot and detach the back cover from the robot.
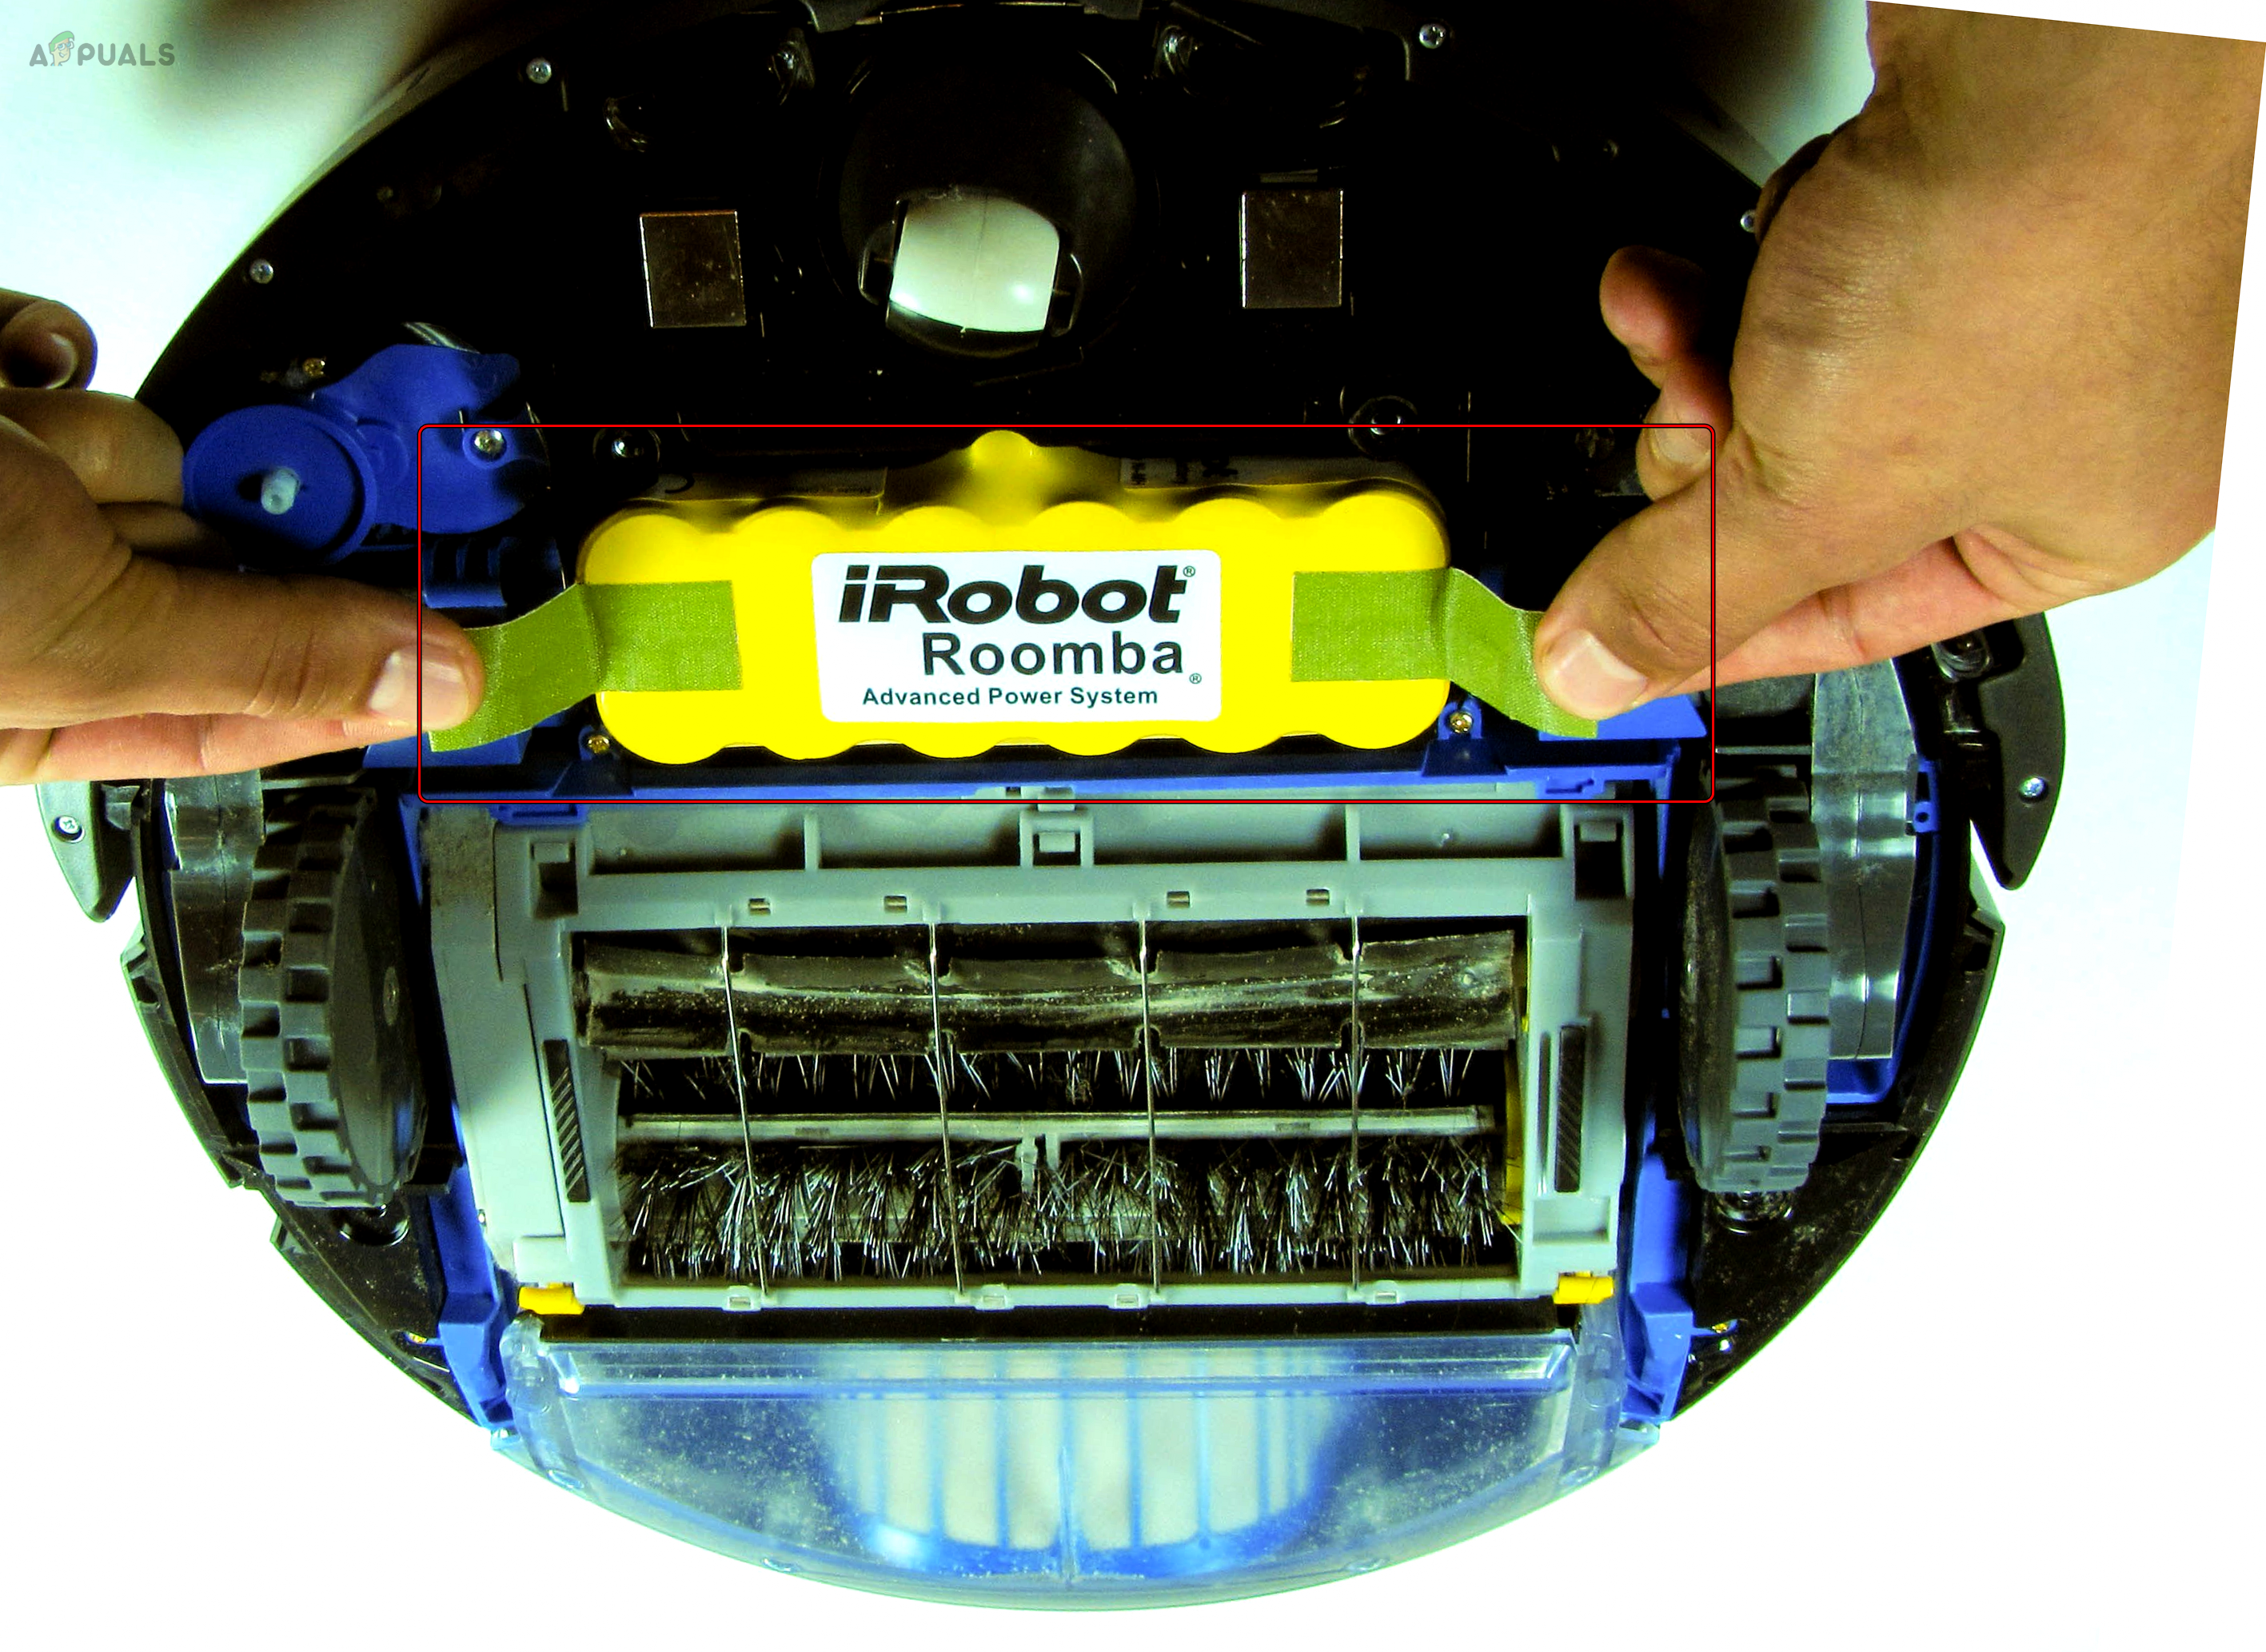
Remove the Battery of the Roomba Robot - Remove the battery from the robot and then press/hold the Clean button for 20 seconds.
- Put back the battery into the robot and install the back cover. Make sure the screws are properly tight.
- Connect the Roomba Robot to its charging unit and verify if error 8 is fixed.
- If not, take the battery out of the robot and leave it for 15 minutes.
- Put back the battery into the robot and press/hold the Clean button on the robot for 20 seconds. Now check again if the issue is resolved.
2. Clean the Roomba and Charging Unit
If there is debris or junk present on the Roomba robot or its charging unit, a proper connection will not establish and thus cause you’ll face the charging error 8. Here, cleaning your robot will solve the problem.
- Remove the Roomba robot from the charger and clean the charging points of the charging unit. You may use a pink eraser, magic eraser, or something metallic (such as a knife) after disconnecting the charging unit from the power source. You can also use a cleaner (such as Windex) but make sure it dries out before connecting back to the power source.
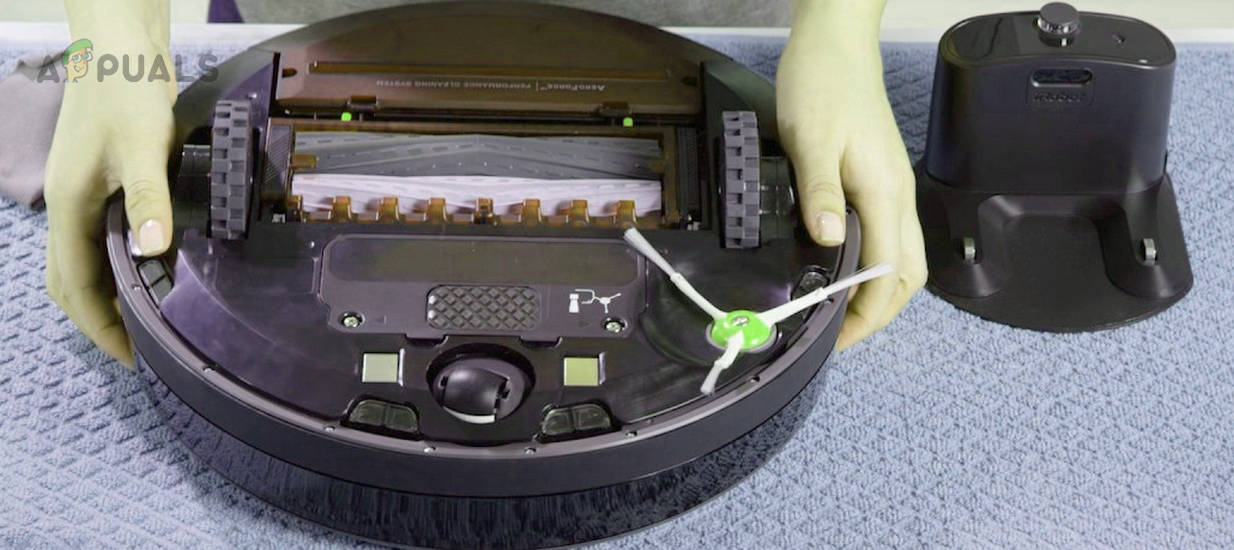
Clean the Charging Points of the Roobma Robot and its Charging Base - Make sure the springs of docking station terminals are properly seated and operating correctly.
- Disassemble the Roomba robot and make sure the internal circuitry is clean, especially the fan.
- Remove the screws of the bin and clean its fan.
- Make sure the fan is not stuck. Use a screwdriver to move the blades of the fan until it starts spinning freely.
- Grab a cotton swab and spin it in the fan’s compartment. Thoroughly clean the fan’s chamber.
- Grab a compressed air can and blow air in the bin and Roomba robot. Rember to blow air under and around the battery.
- Make sure nothing (such as a tiny piece of cardboard) is not stuck under the spinning wheels of the robot.
- Clean the charging points on the Roomba robot. You will need to scrub really hard but make sure not to damage the point.
- Clean the bin sensors (2 in the robot and 2 in the bin) and assemble back the things. Check if the robot is clear of error 8.
3. Charge the Roomba Robot
If the robot’s battery has gone critically low, it will not start charging and instead show error 8 when charging. Charging the Roomba robot for an extended time will solve the problem.
Charge the Robot for Extended Time
- Put the robot on charging for an extended time. Charging it overnight often does the trick.
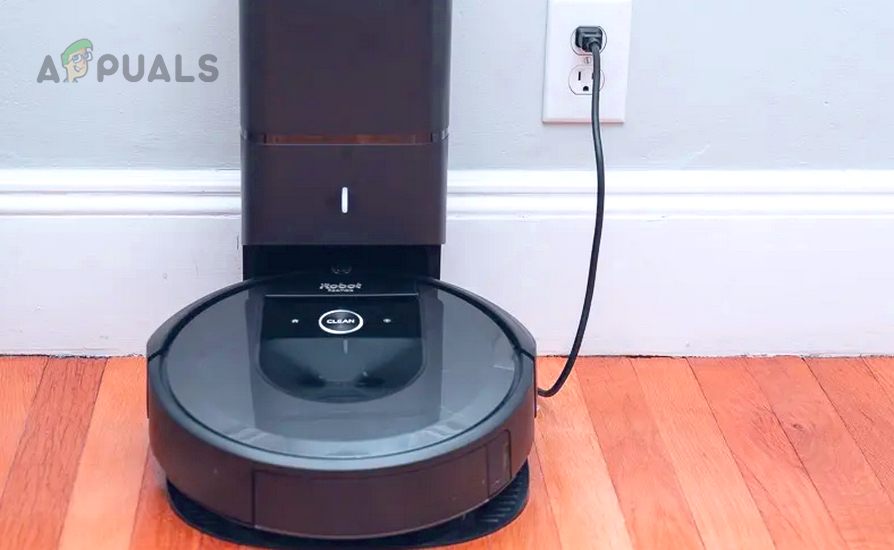
Charge the Roomba Robot for Extended Time - Once it is fully charged, try operating it and check if the problem is solved.
Properly Seat the Robot on the Charging Unit
- If this doesn’t work, slightly nudge the robot right, left, up, and down while charging.
- Check if it has started to charge at a particular angle. Then charge the robot on that angle as there is some alignment issue between the robot and charger.
Completely Drain the Robot’s Battery
- If the above does not work, leave the robot without charging for a day.
- On the next day, check if it has started to charge without showing charging error 8.
Use Another Battery to Charge the Robot’s Battery
- If the issue persists and you have another battery with similar volts as the robot (such as a 9V battery), connect the other battery’s positive terminal to the positive terminal of the robot’s battery and the negative terminal to the negative terminal. You may use wiring cables to connect the batteries.
- Connect the robot on charging in this condition and check if the charging issue is resolved.
- If so, wait for an hour and remove the robot from the charging.
- Disconnect the batteries and connect the robot to its charger. See if error 8 is cleared.
4. Reset the Roomba Robot to the Factory Defaults
The robot will not be able to charge while showing error 8 if its firmware is no more valid and holds invalid charging configurations. In this case, resetting the Roomba robot to its factory default settings will solve the problem.
To reset, 600 & 800 Series Roomba Robots:
- Press and hold the following three buttons at once:
Dock

Clean

Spot
Reset the Roomba Robot to the Factory Defaults - Wait till a tone is heard and then release the buttons. This may take around 10 to 20 seconds.
For some models, you may need to press the Clean button and then press/hold the Dock button along with the Spot button. - Put the robot on charging for 3 hours and then verify if it is clear of the charging error 8.
- If not, remove the robot from the charger and unplug the charging unit from the power source.
- Wait for a minute and plug back the charger into the power source.
- Connect the robot to the charger and hopefully, its charging problem will be cleared.
If none of the above works, contact Roomba Support. The battery may need replacement. Otherwise, the robot or its charging unit will be faulty. You may claim a replacement under warranty.
If the robot is out of warranty, Roomba Support will run some tests to find out the problematic part. If the part is found, you may purchase the replacement part from Roomba.
Reviewed by Muhammad Zubyan