How to Make All Cells the Same Size in Excel [4 Easy Steps]
 Reviewed by Huzaifa Haroon
- Consistent cell sizes enhance the visual appeal of your spreadsheet and facilitate easier comprehension of the data presented.
- To ensure uniformity, select the desired cells, access the "Format" menu, navigate to "Row Height" and "Column Width" and set the same size.
- Use keyboard shortcuts such as double-clicking the boundary between rows or columns for quicker resizing, employ predefined templates for standardized formatting, and regularly review and adjust cell sizes to maintain consistency in your spreadsheets.
In Excel, making all cells the same size is like having uniform boxes for your items – it makes everything look clean and organized. Just as you tidy up your room to find things quickly, making cells uniform helps you navigate your data smoothly.
With the same cell sizes, your Excel sheets become more readable and professional. This guide will walk you through the straightforward steps to achieve this level of consistency, ensuring your data is presented in the best possible way for analysis and comprehension.
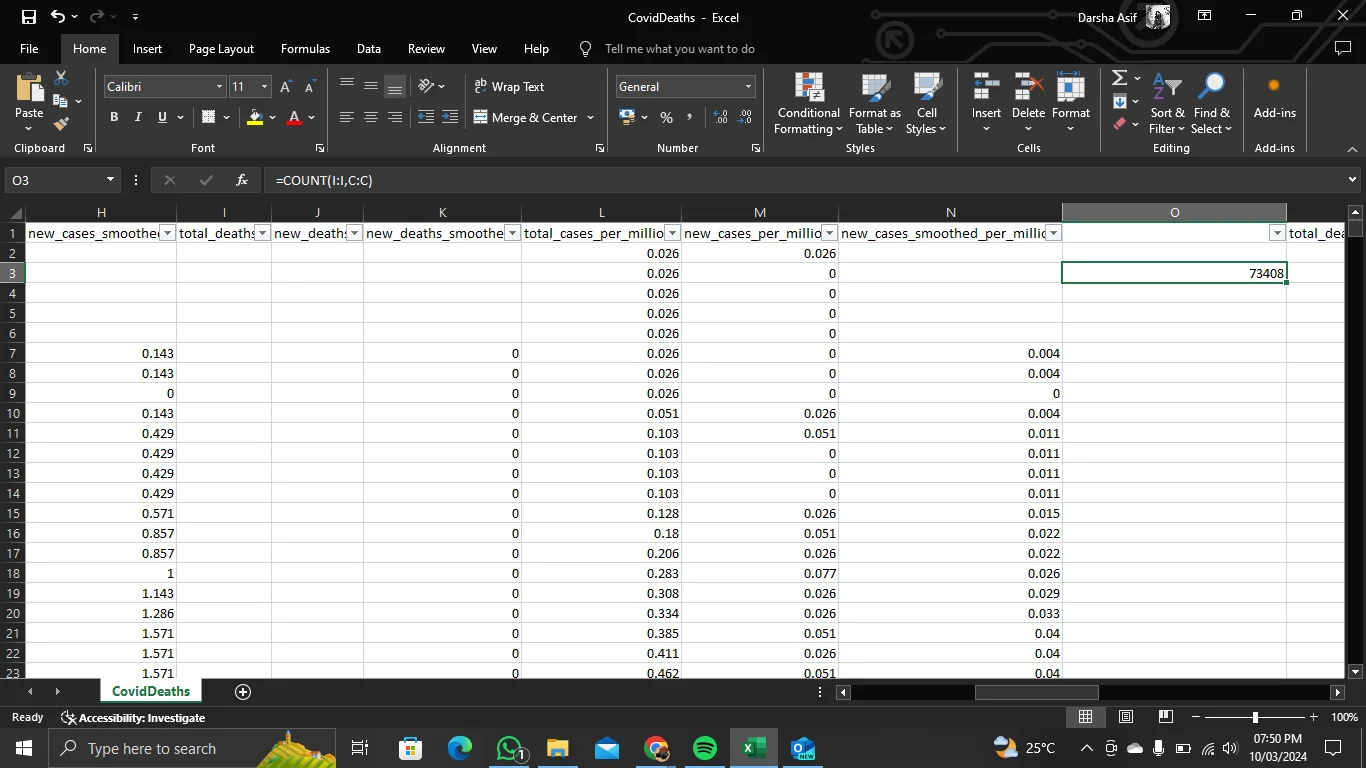
Table of Contents
Why Even Make All Cells the Same Size in Excel?
There are several benefits of making all the cells of the same size in Excel, here are some of them:
- Enhanced Readability: Same cell sizes create a consistent visual appearance, making it easier to read and understand the data within the spreadsheet.
- Professional Presentation: Consistent cell sizes contribute to a professional-looking spreadsheet, which is essential for presentations, reports, and data sharing.
- Improved Organization: Uniformity in cell sizes helps organize data more effectively, making locating specific information and navigating the spreadsheet easier.
- Facilitates Data Analysis: When all cells have the same size, it’s simpler to compare and analyze data across rows and columns, streamlining the analytical process.
- Simplified Formatting: Maintaining uniform cell sizes simplifies the formatting process, reducing the time and effort required to adjust individual cells.
- Enhanced User Experience: Users interacting with the spreadsheet will find it more intuitive and user-friendly when cell sizes are consistent, improving overall usability.
READ MORE: How to Stop Excel From Changing Numbers? ➜
How to Make All Cells the Same Size in Excel
Follow these steps to make all cells the same size in Excel:
Step 1: Open the Sheet with Cells to Resize
Double-click on the sheet containing the cells you want to resize.
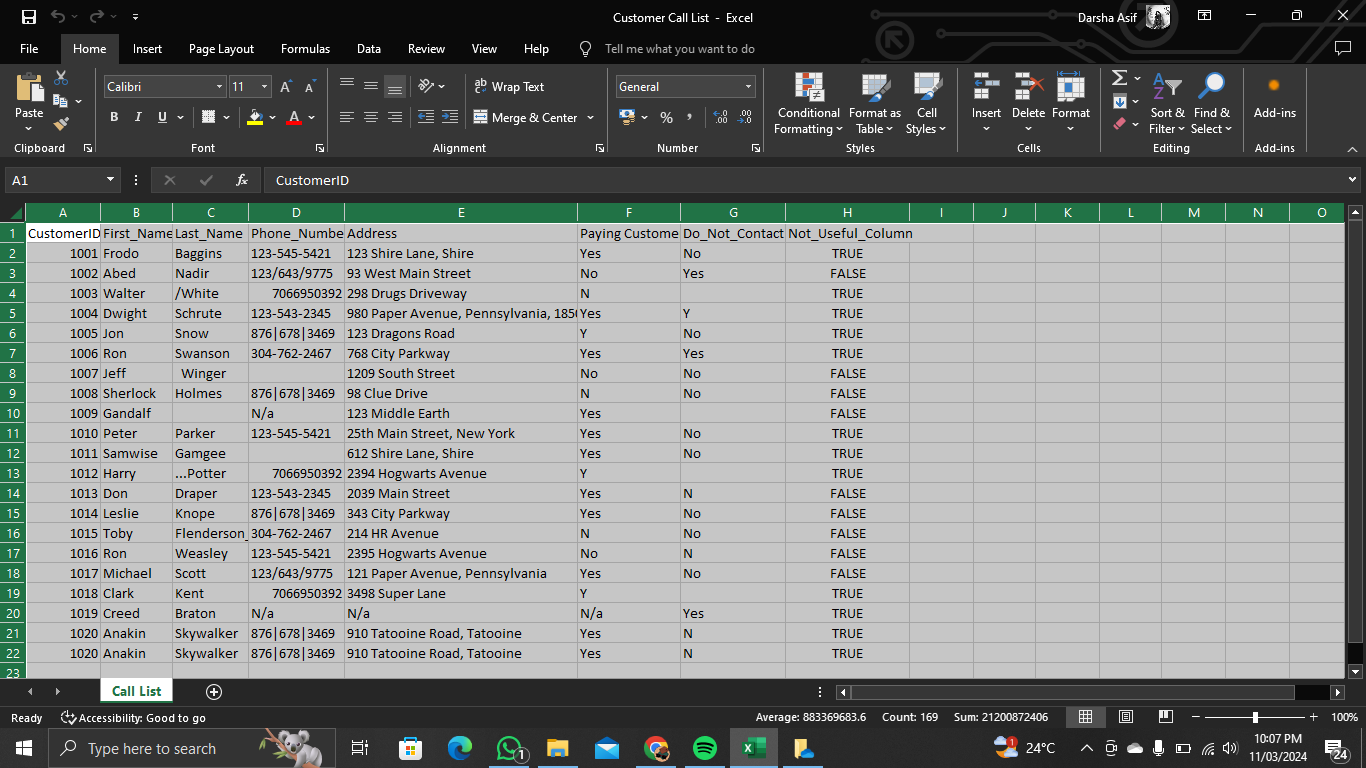
Step 2: Select the Entire Worksheet
Press Ctrl + A to select all cells in the worksheet. Alternatively, click on the icon located between rows and columns to select the entire sheet.
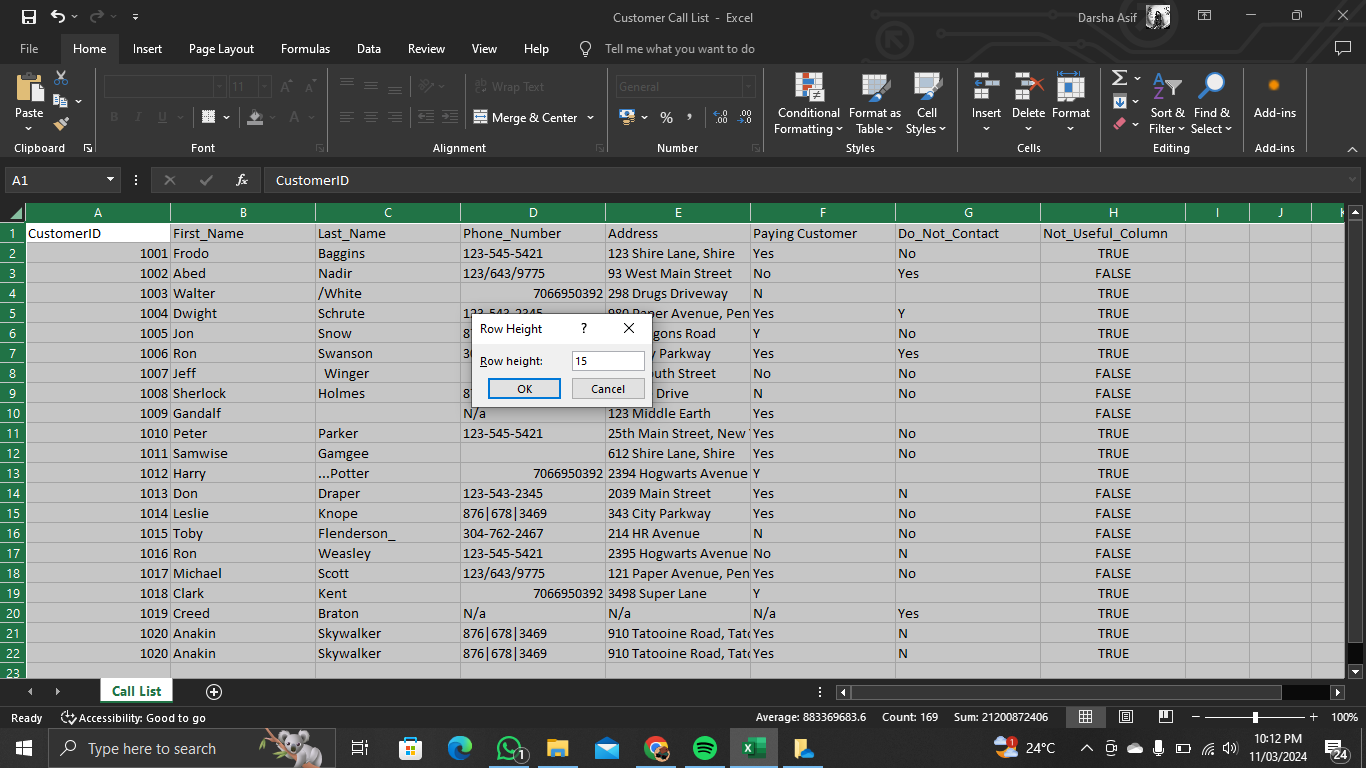
Step 3: Set All Rows to the Same Size
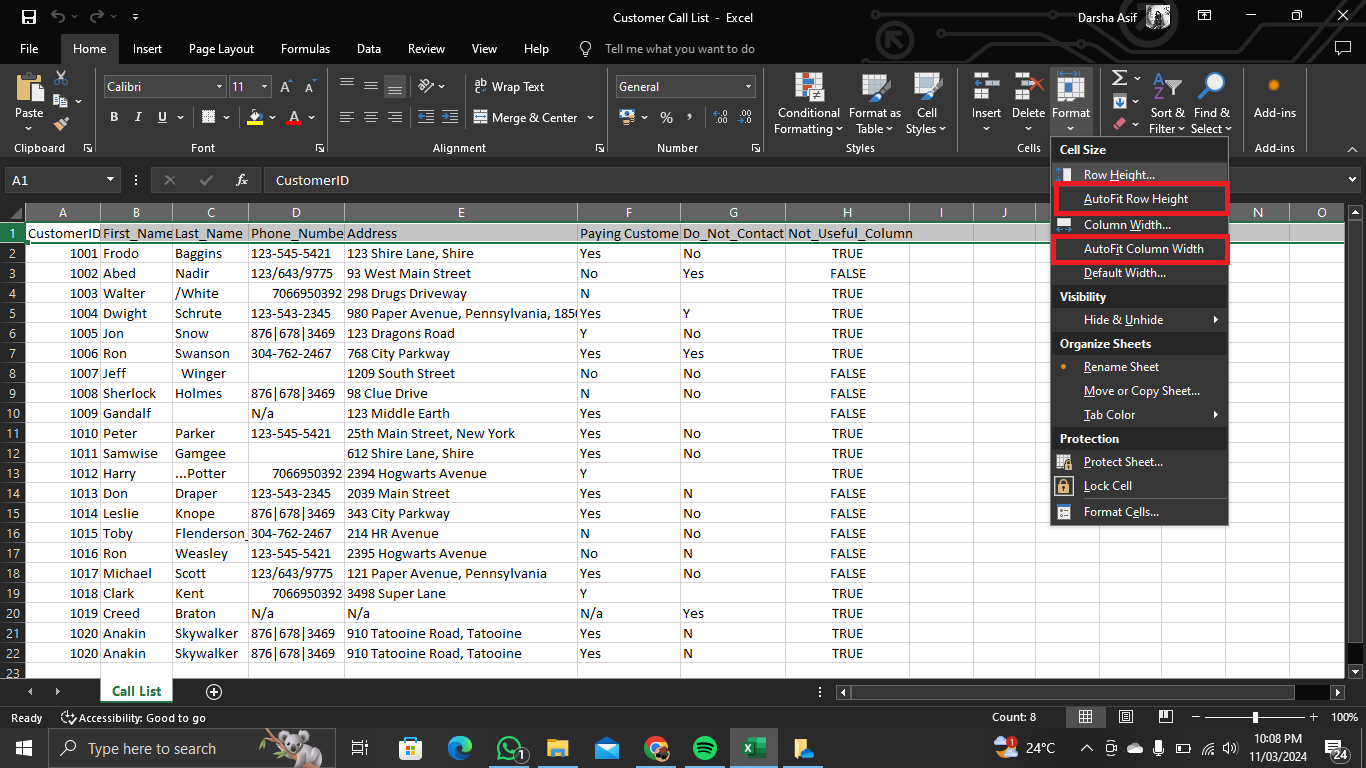
Navigate to the Home tab in the ribbon. Click on the Format dropdown menu and choose “Row Height.”

Enter the desired row height value in the dialog box. Click “OK” to apply the changes.
Step 4: Set All Columns to the Same Size
Now, navigate to Home > Format > “Column Width.”
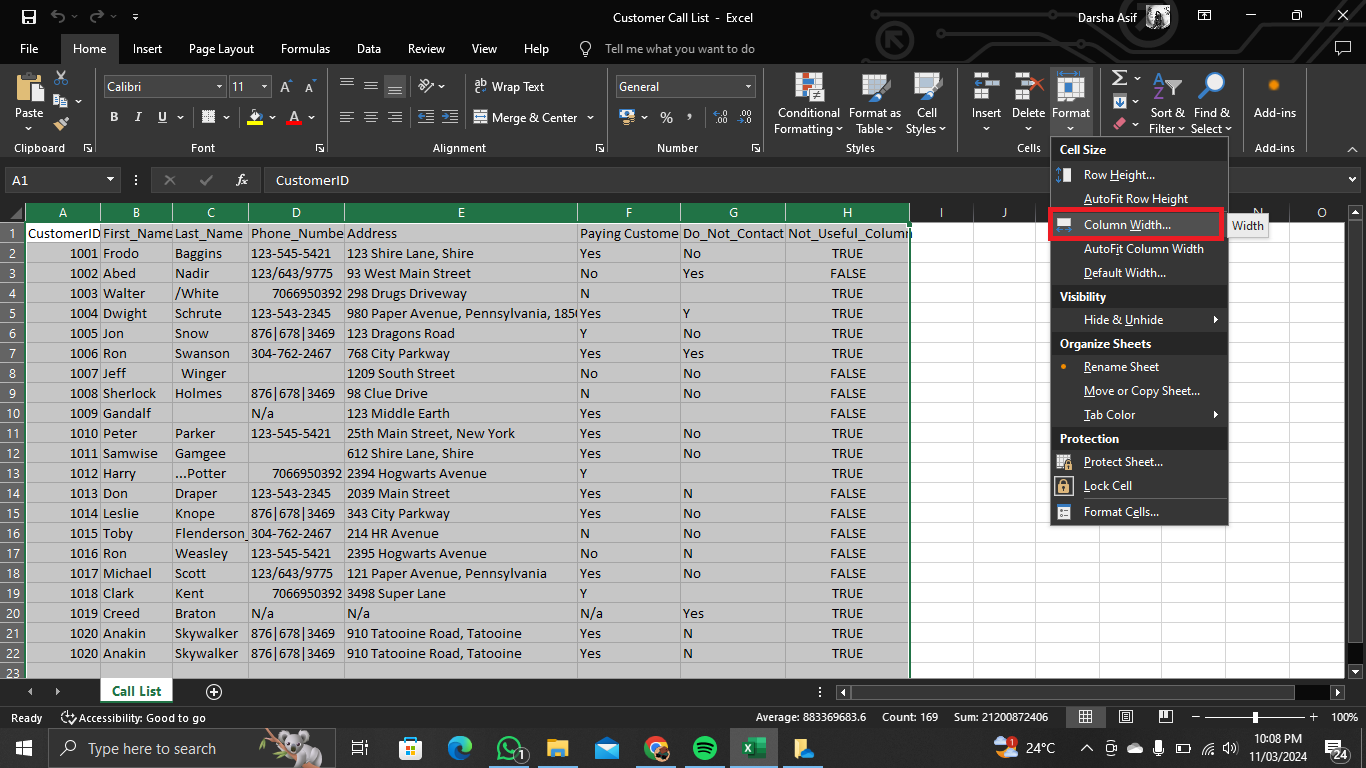
Here, enter the same value as the rows and select “OK.”

READ MORE: How to Hide Columns in Excel – 6 Easy Ways With Pictures ➜
Tips & Tricks for Adjusting Cells
Here’s how you can make the most of adjusting cells in Excel:
- Use AutoFit: Excel offers an “AutoFit” feature that automatically adjusts row height and column width to fit the content within each cell. Double-clicking the boundary between row or column headers will trigger this feature.
- Utilize Formatting Options: Excel provides various formatting options, including cell merging and alignment adjustments, to enhance the appearance and organization of your data without compromising uniformity.
- Create Templates: Develop standardized templates with predefined row heights and column widths for specific data types to streamline your Excel workflow and maintain consistency across multiple worksheets.
READ MORE: How to Shade Rows and Columns in Microsoft Excel ➜
Final Words
Achieving uniform cell sizes in Excel promotes clarity, consistency, and professionalism in your spreadsheets. By following the outlined steps and implementing the provided tips and tricks, you can optimize the visual presentation of your data and improve overall usability. Incorporate these practices into your Excel workflow to enhance efficiency and effectiveness in data management and analysis.
FAQs
Making cells the same size won’t affect the data within them. It only adjusts the visual presentation of the spreadsheet, making it more organized and professional.
Yes, you can resize cells individually by dragging the boundaries between them. However, making all cells the same size can help maintain consistency and streamline the formatting process.
Yes, AutoFit resizes cells to fit the largest content in the row or column, ensuring that all data is visible without truncation.
No, you need to make adjustments to each sheet individually. Excel doesn’t provide a built-in feature to make changes to multiple sheets at once.
You can undo your changes by pressing Ctrl + Z or by clicking the “Undo” button in the toolbar. This will revert the cell sizes to their previous state.
Reviewed by Huzaifa Haroon