Enable and View Printed Document History in Windows
Check Complete Information of your Old Prints!
 Reviewed by Muhammad Zubyan
Viewing printed document history will allow you to check how many documents you have printed, what the average print rate is per week or month, how many prints are queued up, and so on. It will also let you know if someone else has been using your computer for printing purposes.
Now, printed history on Windows doesn’t get saved automatically, and you’ll have to manually enable the logging of these prints. You can view the recent prints in the printer settings after enabling logging, but that doesn’t allow you to check what documents were printed a long time ago.
And that’s where Event Viewer comes in. Once you enable logging there, it will start saving all the information related to your prints.
First, I’ll mention the steps for turning on the document printed history in Windows, and then we’ll see how to view it.
How Do I Enable Print History?
Enabling print history is a pretty simple task that needs to be done just once. Once the option to save history is turned on, you can easily see all of your current, previous, and ongoing prints.
Having said that, below will be the steps to enable print history:
Via Printer Settings
- Click on Start.
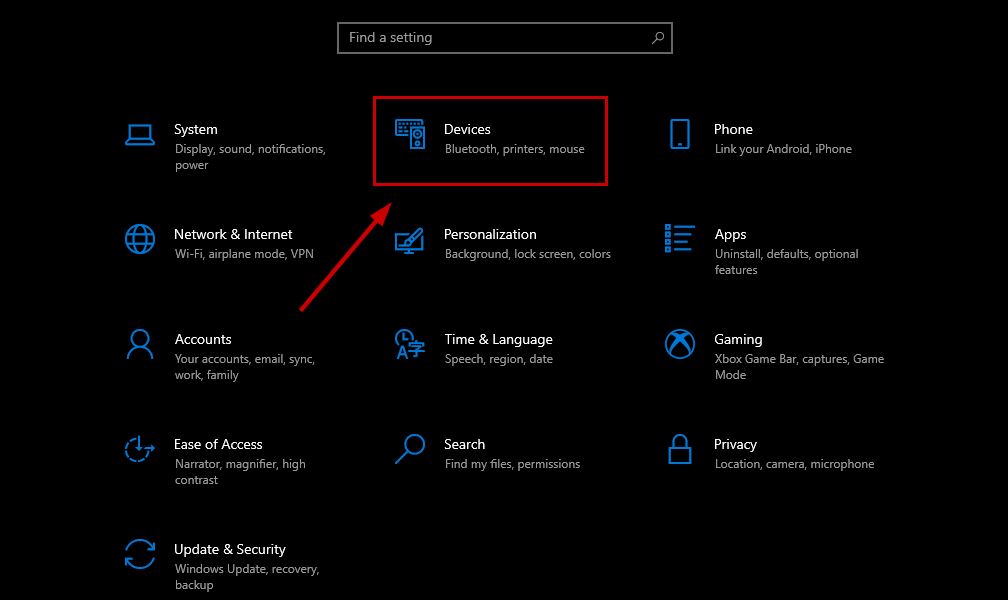
- Select Settings > Devices.
- Go to Printers & scanners.
- Find your printer and click on it.
- Select Manage.

- Select Printer Properties.
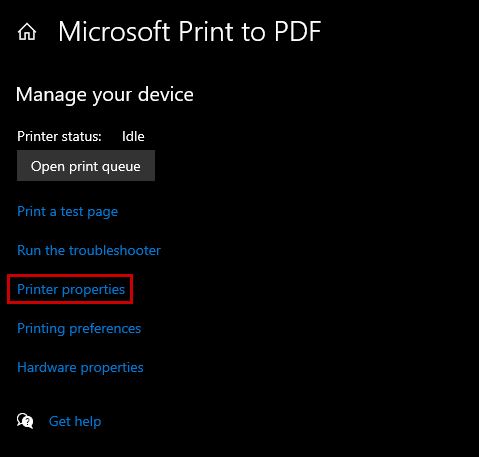
- Click on Change Properties.
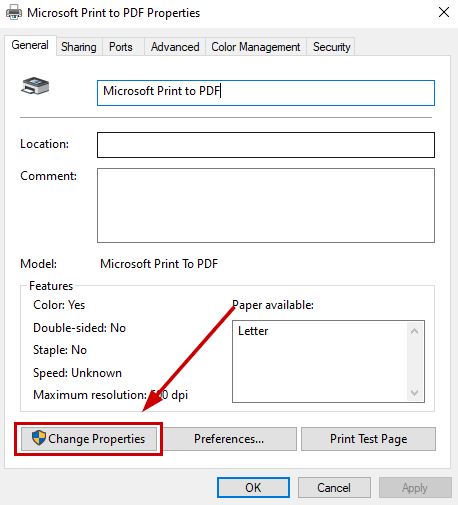
- Navigate to the Advanced tab.
- Check the Keep printed documents box.

- Click on OK.
Remember that this will still not save all of your prints, but only the most recent ones. Therefore, it is recommended to use Event Viewer for this purpose.
Via Event Viewer
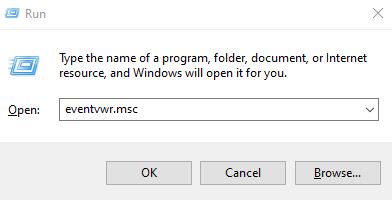
- Press Windows key + R and it will open the Run dialog box.
- Type eventvwr.msc and click OK.
- Expand Applications and Services Logs on the left pane.
- Go to Microsoft > Windows.
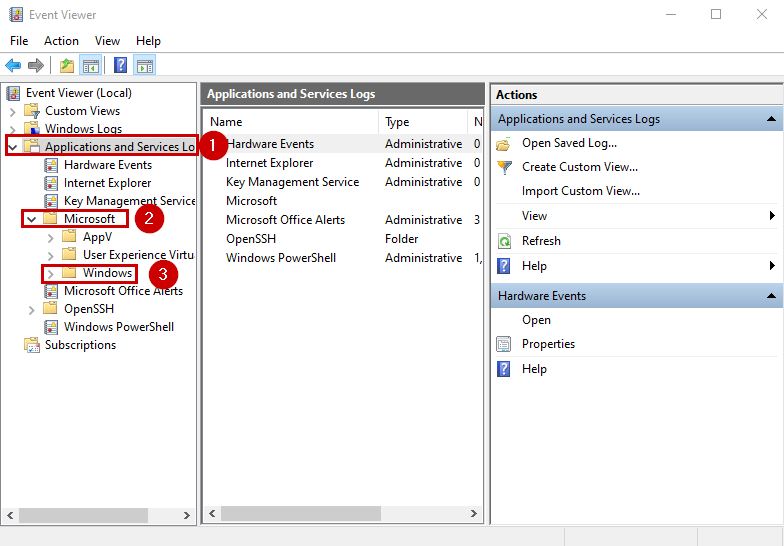
- Now click on the PrintService folder under Windows.
- Now the PrintService pane will open.
- Right-click on the second Operational log option and select Properties.
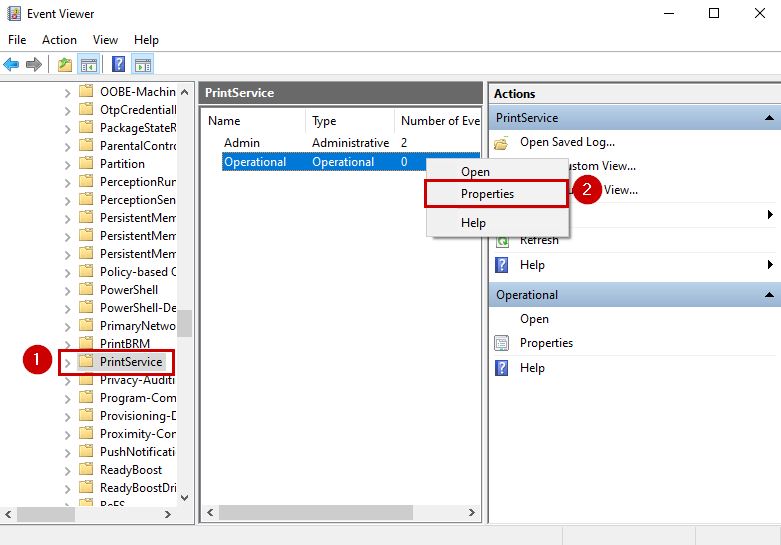
- From the General tab, check the Enable logging option.

- Click Apply and OK.
Now Windows will save a log file of all the documents that you print from your computer.
How do I View Printed History in Windows?
The complete printed document history can be seen in the Event Viewer. Secondly, if you just want to check the recent print history, then it can be done through the printer settings.
I’ll mention the steps for both below:
Via Printer Settings
- Open Settings again and go to Devices.
- Select Printers & scanners.
- Click on your printer and select Open queue.
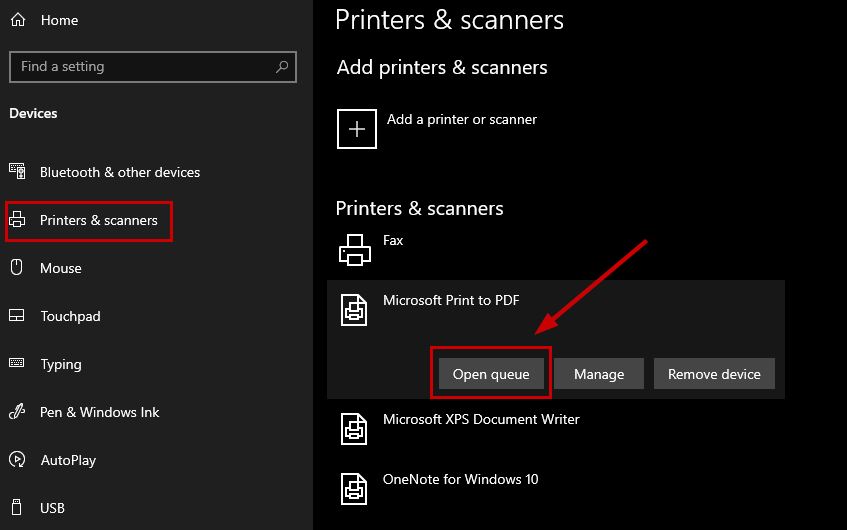
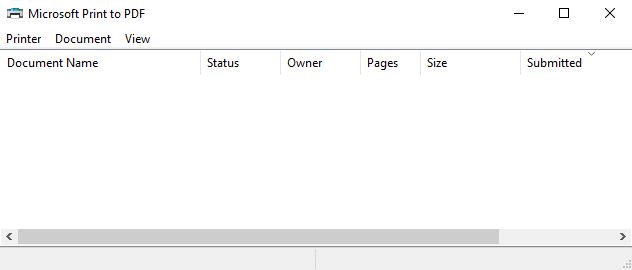
- Here will be the recent documents that have been printed from your system.
Via Event Viewer
- Click on Start and type Event Viewer.
- Click on Open under Event Viewer.
- Again, expand Applications and Services Logs.
- Expand Microsoft and then Windows.
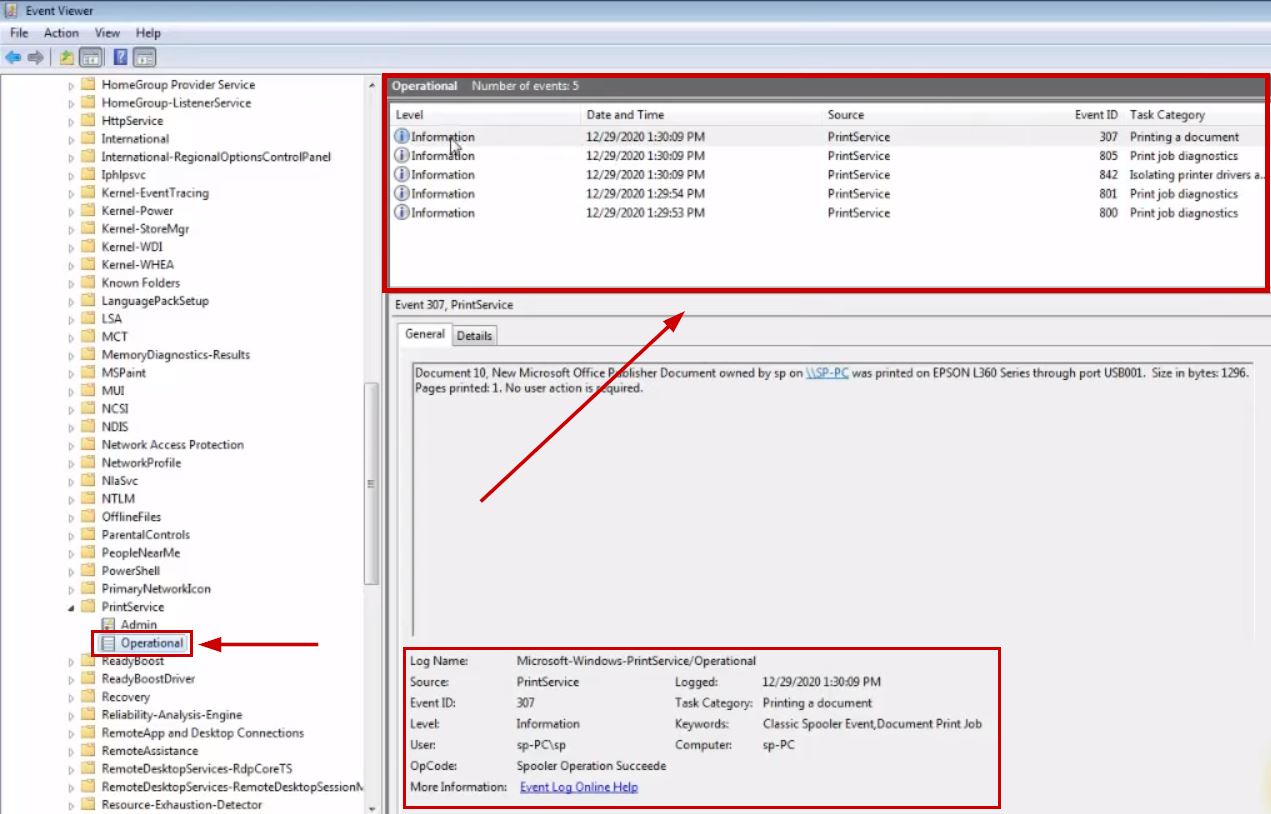
- Expand PrintService and select Operational.
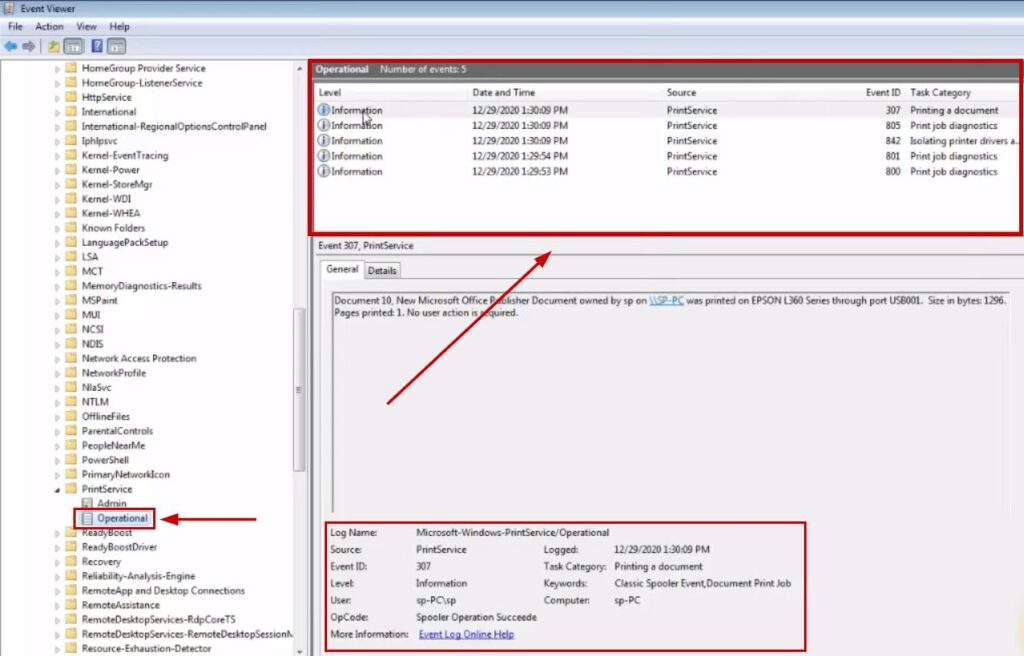
All the information related to your printed documents like date & time, source, event ID and more will be shown here.
And that was all about how you can enable and view your printed document history on Windows. If you’re having some problems with any step, let us know in the comments below.
Reviewed by Muhammad Zubyan