How to Fix Discord Stream Lagging for Viewers?
GPU scheduling is often the reason behind Discord stream lag on your computer. When playing a game, most of your GPU resources are used by the game process, which leaves very little priority for the video encoding and captures carried out by Discord.
In addition, the issue can occur when you have turned off hardware acceleration in Discord settings. There are other factors as well that can contribute to the issue. We have listed several methods down below you can implement to resolve the issue for yourself. Let us get started without any ado.
1. Run Discord as an Administrator
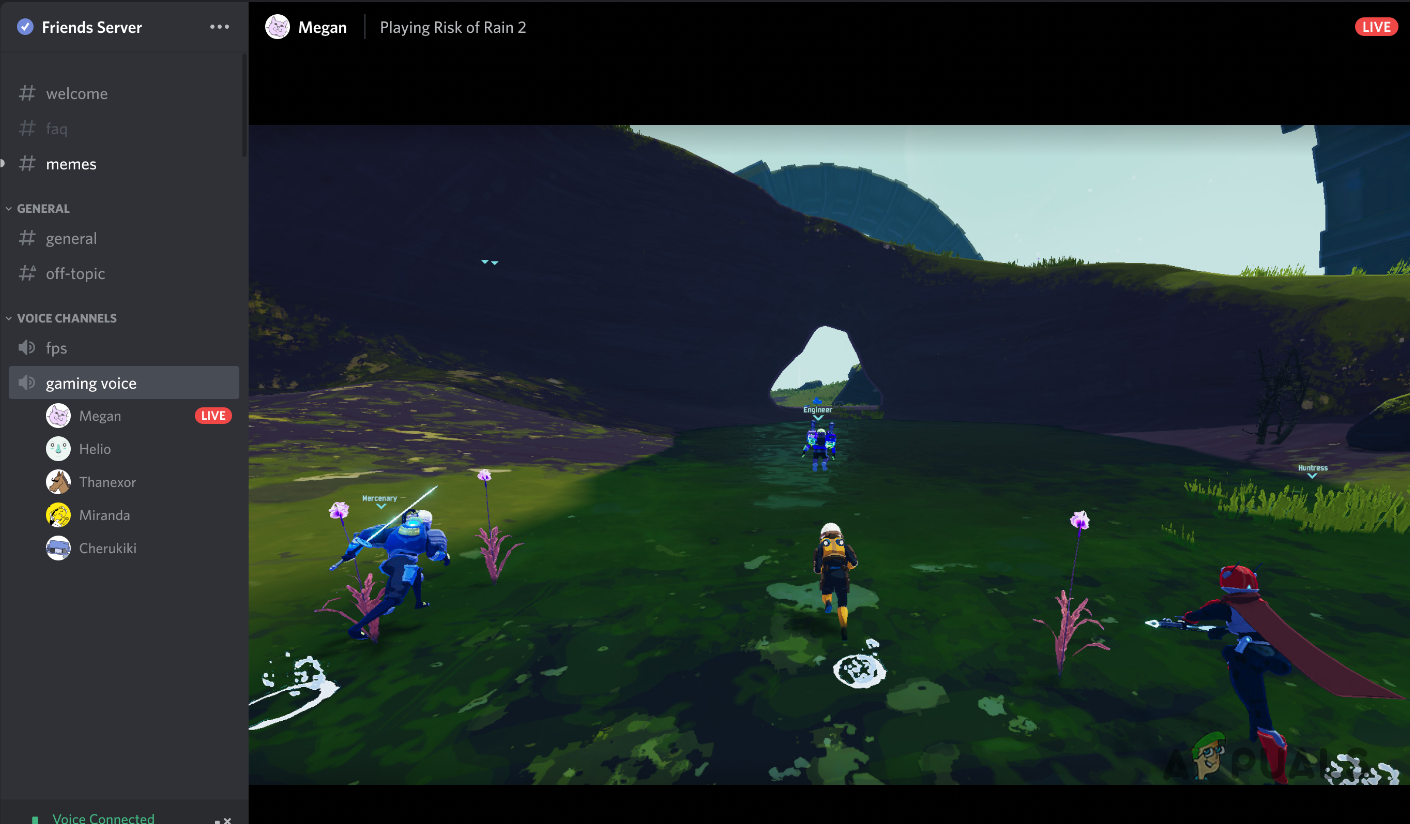
The first thing you should do when starting to troubleshoot the problem is to run Discord with administrative privileges when you encounter lag on a Discord stream. As we have mentioned, mainly the reason behind the issue is the GPU scheduling of Windows.
This happens especially when you stream a game to your friends on a Discord server. The game process has a higher priority which is why most of the GPU resources are allocated to the game process. As a result, Discord is unable to capture the video and encode it smoothly, as it also requires your GPU.
To rectify this, you can run Discord with administrative privileges, which will give Discord high priority, and it will be able to use your GPU more often. Follow the instructions below to do this:
- First, open the Start Menu and search for Discord.
- On the right-hand side, click on the Run as administrator option.
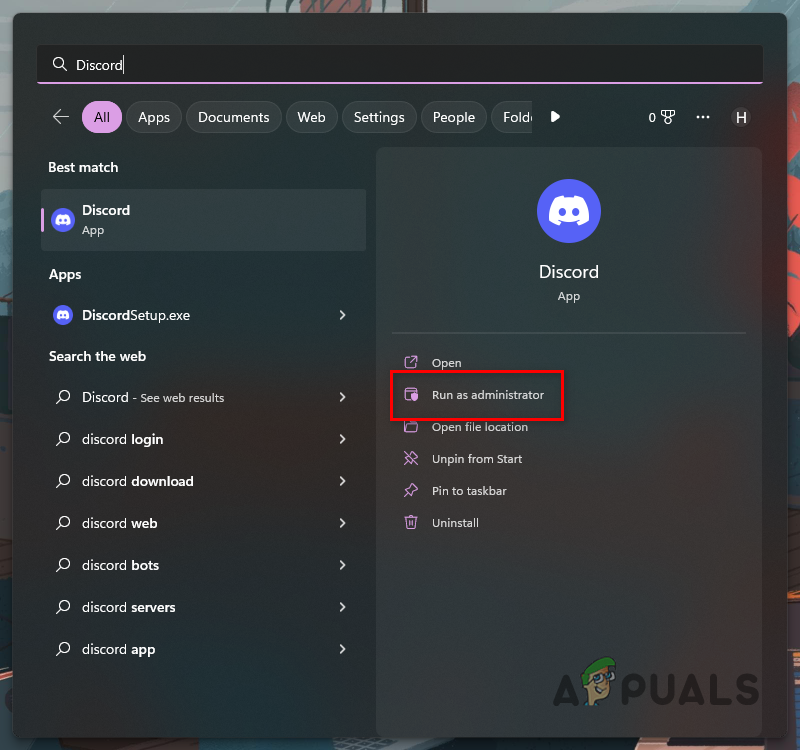
Running Discord as Admin - Click Yes on the follow-up User Account Control dialog box.
- See if that fixes the stream lag.
2. Limit In-Game FPS
Another potential remedy to the mentioned problem can be limiting your in-game FPS. While this may not sound good, limiting your in-game FPS can significantly impact your Discord stream quality.
This is because limiting your in-game FPS also limits the amount of GPU resources your game uses. The game process uses fewer GPU resources when you restrict your in-game FPS. This allows other apps in the background to use some of the GPU resources.
To put this simply, you are improving the GPU scheduling in favor of the Discord app by limiting your in-game FPS. Additionally, some games render at hundreds of frames per second which is not helpful. The in-game FPS is not capped, and the game tries to push as much as possible. Therefore, limiting your FPS in such a scenario should not impact your gameplay.
You can limit your in-game FPS by going to your game settings. Game developers often provide an FPS limit option in the Settings menu. Look for the mentioned option and limit your FPS. See if that fixes the issue.
3. Change Channel Region
The region of your Discord channel can also cause your streams to lag. This is because if you are not using the closest channel region, latency increases, and thus a delay occurs in the sending and receiving of packets.
When this keeps happening, the stream can start to lag. To resolve this, you will have to change your channel region and keep the latency between you and the Discord server at a minimum. You will need the Manage Channels permission in the server for this.
Follow the instructions below to do this:
- First, open the Discord client on your computer.
- On the Discord client, navigate to your server.
- Click on the gear icon (Edit Channel) next to your voice channel.
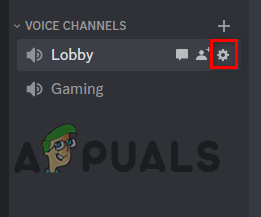
Opening Channel Settings on Discord - On the Overview tab, scroll down and locate the Region Override menu.

Changing Channel Region - From the drop-down menu, choose a location that is closest to you.
- Click on the Save Changes button that appears.
- Start the stream again to see if the issue is resolved.
4. Turn on Encoder Hardware Acceleration
Hardware acceleration plays a vital role when it comes to Discord streaming. If you have hardware acceleration disabled in your Discord settings, that might cause your lagging issue.
Discord no longer uses your GPU to encode your video when you disable hardware acceleration. This limits Discord to your processor only, which is not always optimal. Keeping hardware acceleration enabled would be the right course of action if you have a high-end GPU.
To enable hardware acceleration, follow the instructions below:
- Start by opening the Discord client on your computer.
- Click on the Settings icon next to your username to open the Settings menu.
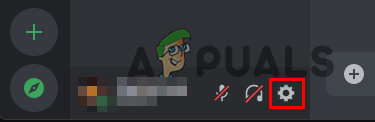
Navigating to Discord Settings - On the Settings menu, navigate to the Voice & Video tab on the left-hand side.
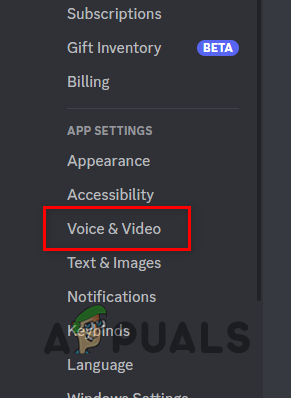
Navigating to Voice and Video tab - Afterward, scroll down and locate the H.264 Hardware Acceleration option. Use the slider next to it to enable it.
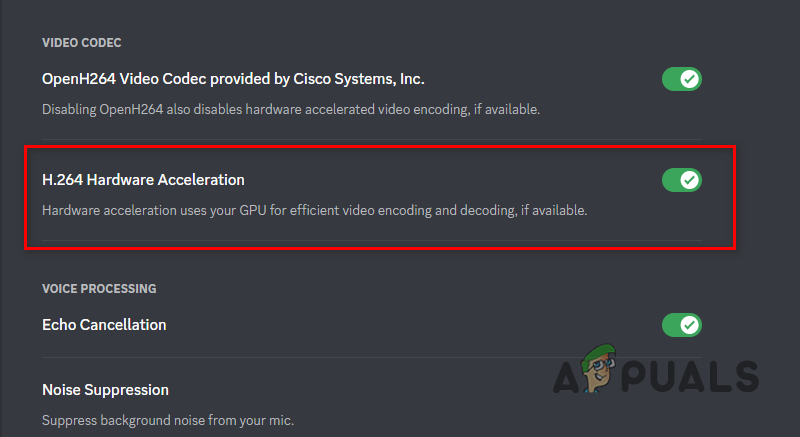
Enabling H.264 Hardware Acceleration on Discord - See if that resolves the issue.
In some scenarios, disabling hardware acceleration may also give you positive results. If hardware acceleration was already enabled, try disabling it and see if that makes a difference.
5. Enable Quality of Service
In some scenarios, the problem may occur due to your router. This happens when the packets sent by Discord are not treated with priority by your router.
In such a scenario, you will have to enable the Quality of Service option in your Discord settings. Doing so will let your router know that the packets Discord is transmitting are high priority. To do this, follow the instructions below:
- First, open the Discord client.
- Open the Settings menu by clicking the gear icon next to your username on the Discord client.
Navigating to Discord Settings - There, navigate to the Voice & Video tab on the left-hand side.
Navigating to Voice and Video tab - Afterward, scroll down and locate the Enable Quality of Service High Packet Priority option. Click on the slider next to it to turn it on.

Enabling QoS on Discord - With that done, see if the problem is still occurring.
6. Disable OpenH264 Video Codec
Discord uses the OpenH264 video codec to encode your videos by default. The use of this video codec can sometimes result in your streams lagging.
By disabling the OpenH264 video codec, Discord will rely on your processor for encoding and decoding, which can resolve the issue in some cases. To do this, follow the instructions below:
- Open the Discord client on your computer.
- Click on the gear icon next to your username to open the Settings menu.
Navigating to Discord Settings - On the Settings menu, switch to the Voice & Video tab.
Navigating to Voice and Video tab - There, scroll down and locate the OpenH264 Video Codec option. Click on the slider next to it to disable it.
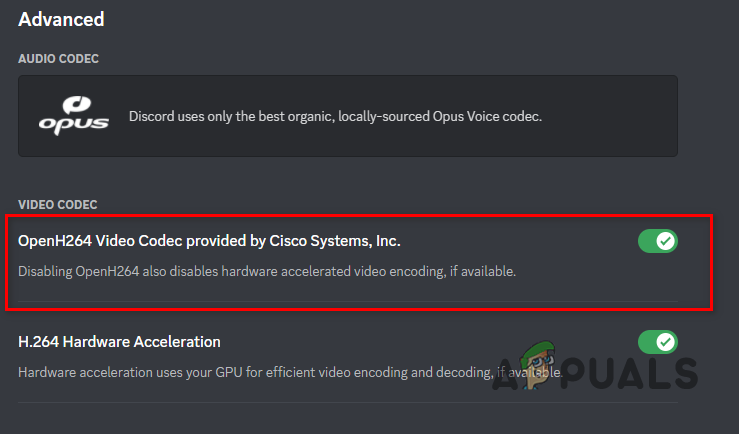
Disabling OpenH264 Video Codec on Discord - With that done, restart Discord and see if the issue persists.
7. Disable Game Mode
The game mode is a feature in Windows that prioritizes your system resources for the game processes when you are playing. This results in a smoother gameplay experience and even stabilizes your FPS.
However, since the game process mainly uses the system resources when Game Mode is enabled, background apps take a hit and are very resource-limited. In such a scenario, when you are trying to stream on Discord, the application will not have enough resources to encode and capture your video.
If this applies to you, you will have to disable Game Mode to free up the resources for Discord. To do this, follow the instructions below:
- First, open the Settings app by pressing the Windows key + I on your keyboard.
- On the Settings app, navigate to the Gaming tab on the left-hand side.
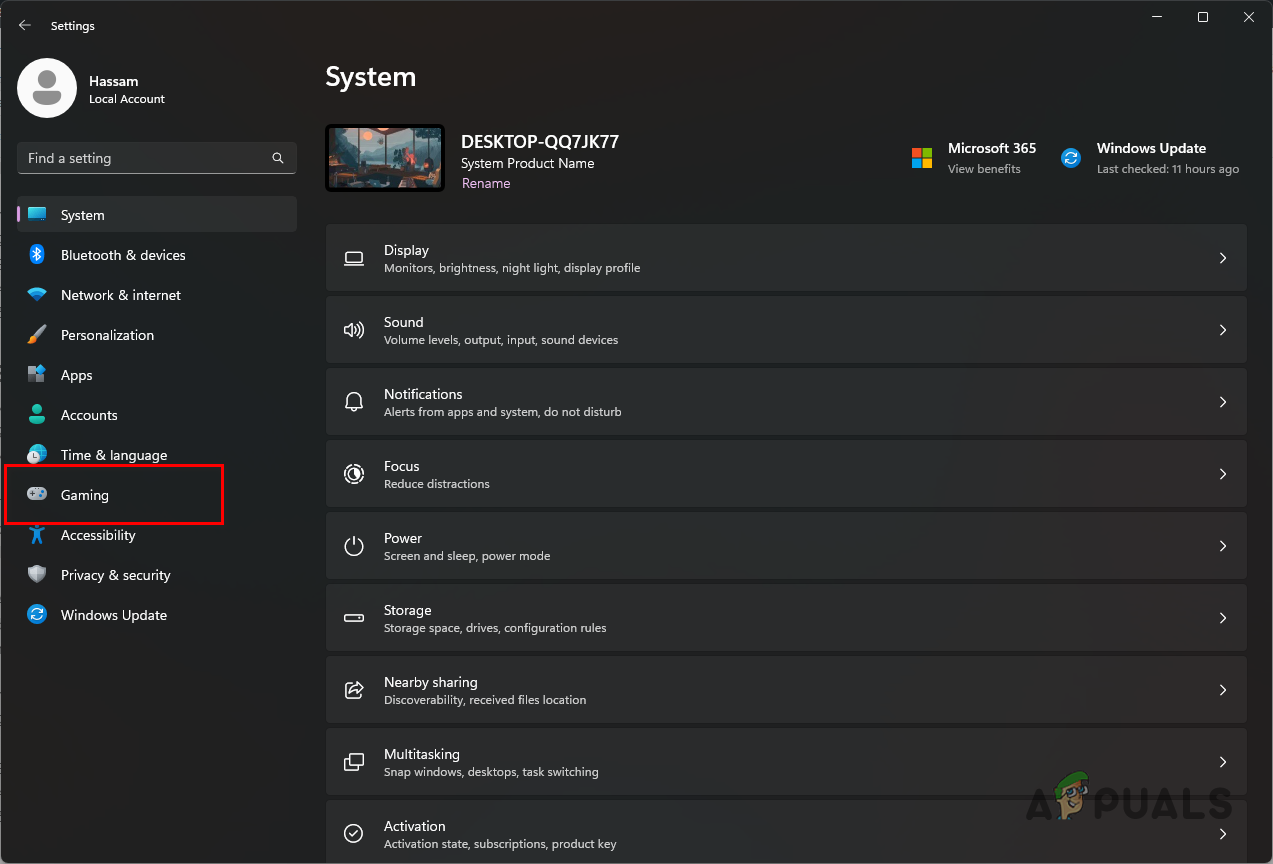
Navigating to Gaming tab - There, click on the Game mode option.
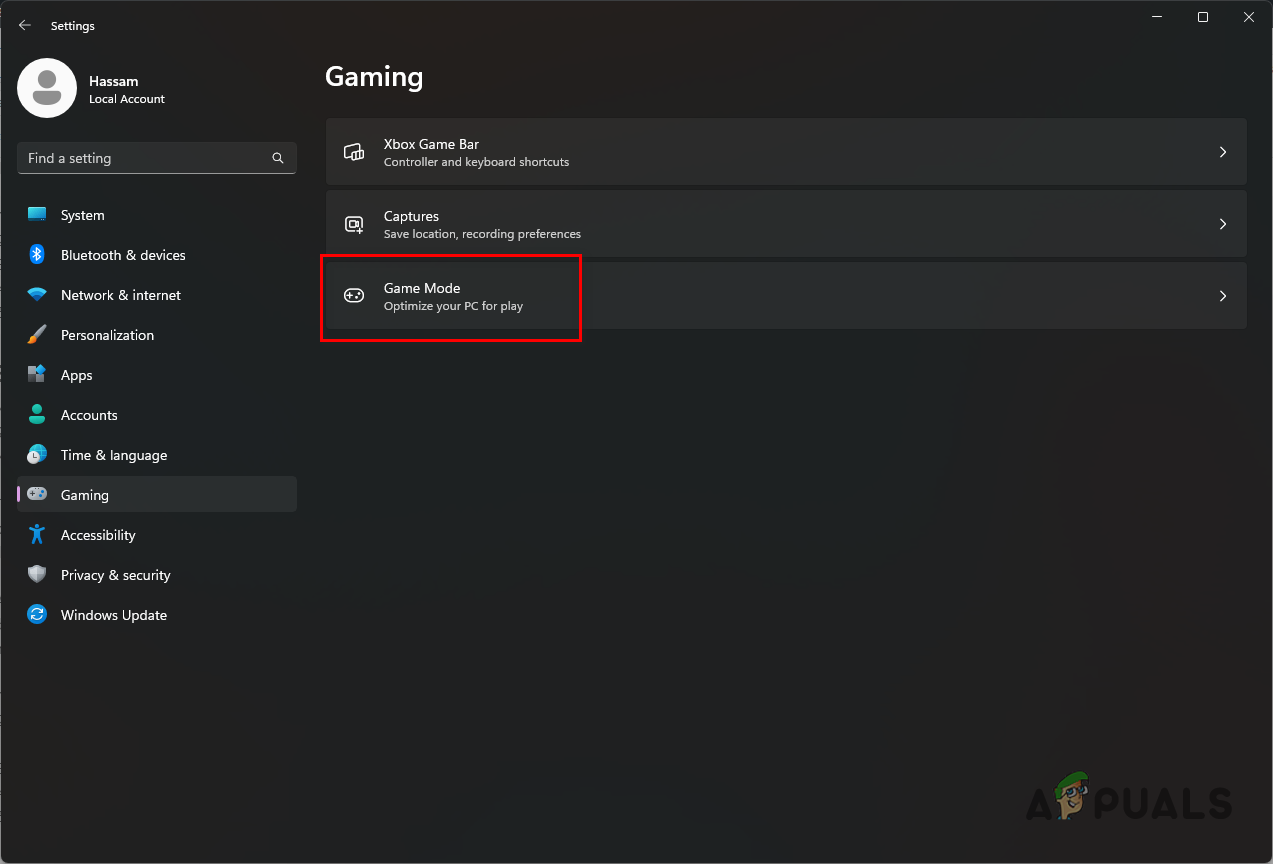
Navigating to Game Mode - Finally, click on the slider next to Game Mode to disable it.
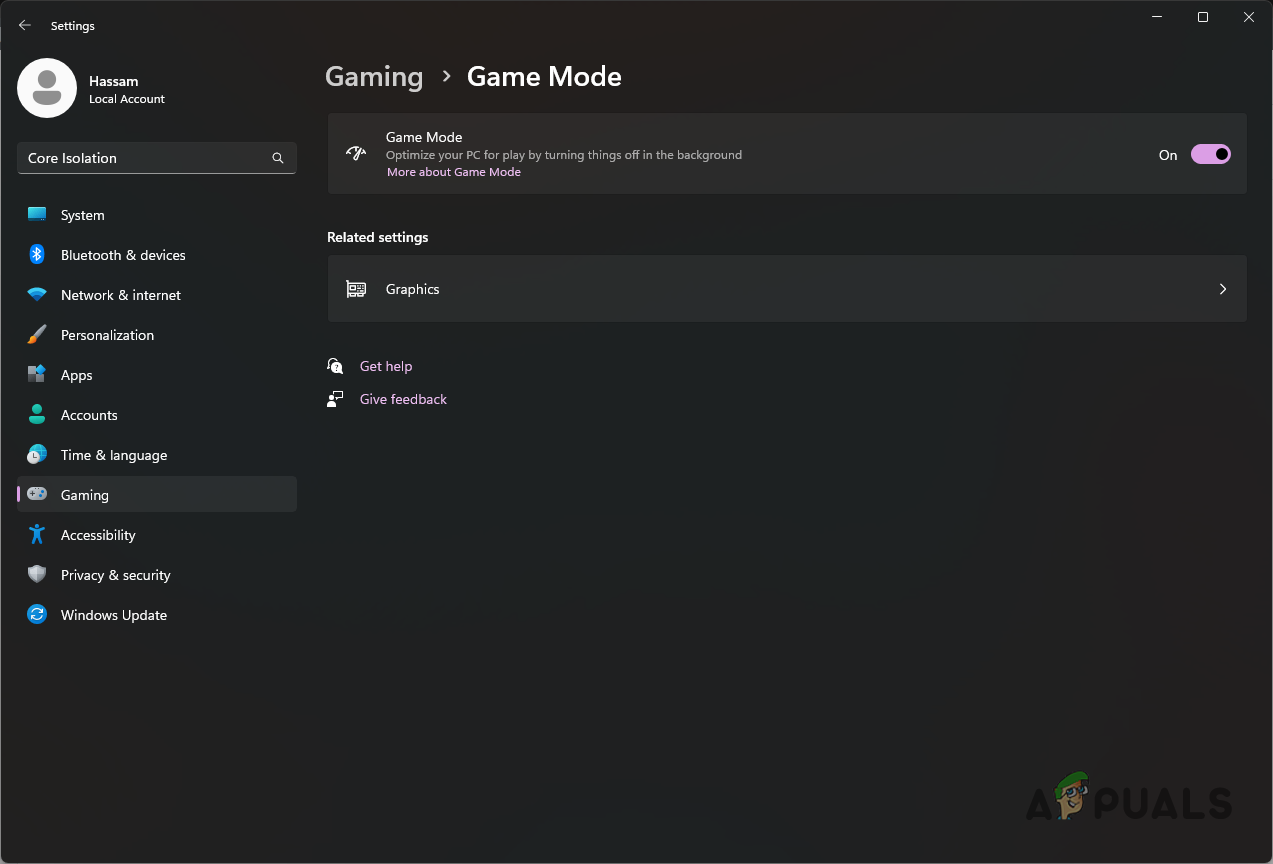
Disabling Game Mode - Once you do that, try streaming again to see if it gets better.
8. Disable NVIDIA ShadowPlay (if applicable)
NVIDIA ShadowPlay is an easy way for users with an NVIDIA GPU to record and capture their gameplay. ShadowPlay comes bundled with GeForce Experience and is pretty easy to use. However, ShadowPlay and NVIDIA Instant Replay can cause the mentioned streaming issue on Discord.
This is because Instant Replay automatically uses your GPU to capture your in-game moments. The replays can be saved to your local disk with the press of a button. Even if you don’t save the moments, they are captured in the background if the feature is enabled.
As a result, this uses unnecessary system resources that could be utilized by Discord for your stream. Therefore, disabling ShadowPlay and Instant Replay in your GeForce Settings can help you resolve the issue. Follow the instructions below to do this:
- First, launch GeForce Experience.
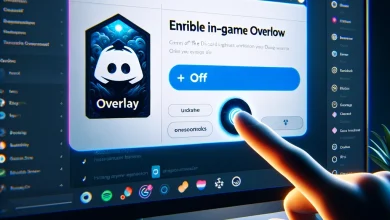
- With GeForce Experience running in the background, press Alt + Z on your keyboard to bring up the GeForce Experience Overlay.
- Click on the Instant Replay, and from the drop-down menu, choose to Turn off.

Disabling ShadowPlay - Afterward, stop recording too by clicking the Record icon.
- With that done, see if the problem has gone away.