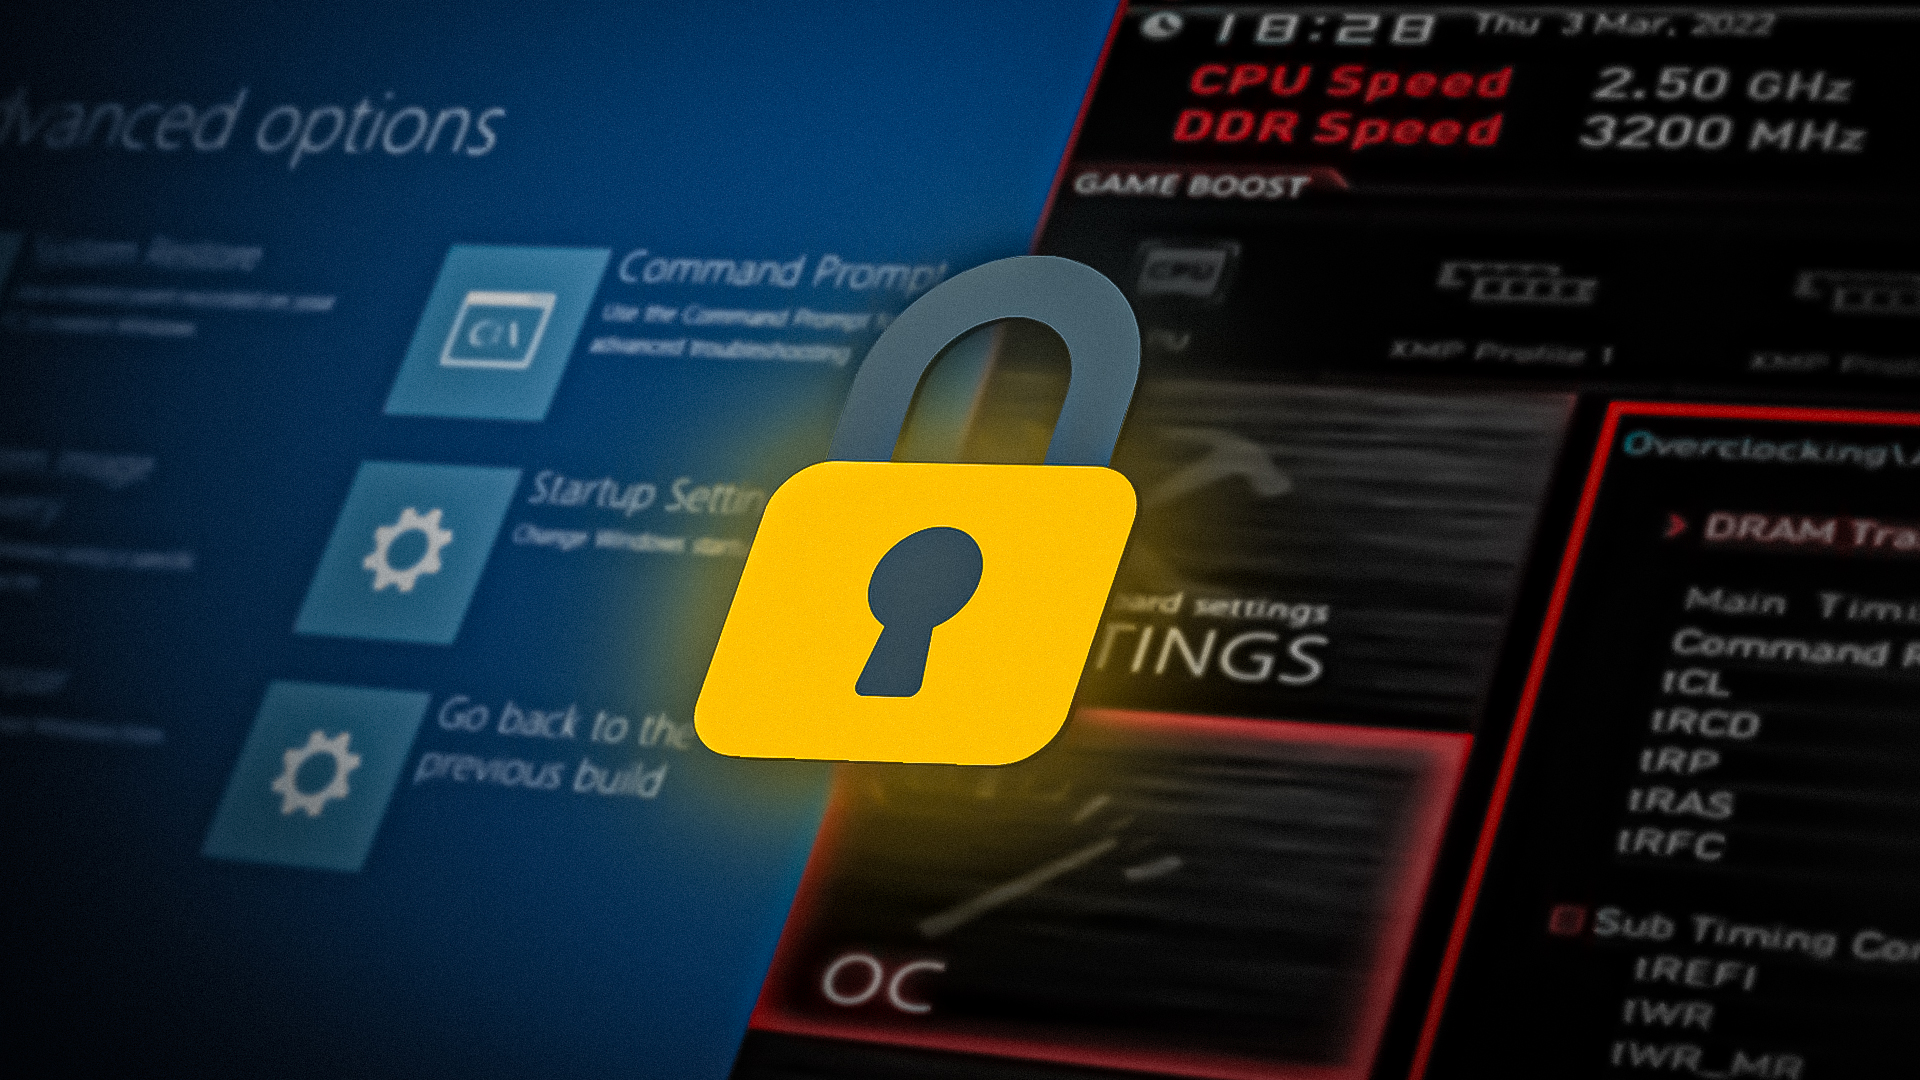
(Solved) Can’t Access BIOS or Advanced Startup on Windows 11
In some Windows versions, the users are unable to access the BIOS or advanced startup due to unknown reasons. This typically happens when your BIOS is outdated, or there is an issue with the startup settings and can result in an inability to change important system settings or perform a system recovery.
The most common causes of this issue include an outdated BIOS and hardware conflicts. Some of the essential services needed to boot into the Advanced Setup might also be disabled, leading to this frustrating problem.
Below, we have talked about the different solutions to try to fix this problem in no time. Proceed with the method that suits your situation the best.
1. Update BIOS
The first thing that we recommend you try is updating the BIOS version. For this, you will have to head over to the manufacturer’s website and download the latest BIOS file from there. If you built your own computer, then head over to the motherboard manufacturer’s website.
Once the file is downloaded, extract its contents (the file will most likely be in ZIP format). It may also contain a README or other text file that will guide you through the process of updating your BIOS. This file contains hardware-specific instructions which you can follow to complete the process.
In case you do not know your BIOS version, here is how you can check it via the Command Prompt:
- Press the Win + R keys together to open a Run dialog box.
- Type cmd in the text field of Run and press the Ctrl + Shift + Enter keys together. This will open Command Prompt with administrative privileges.
- Click Yes in the User Account Control prompt.
- In the Command Prompt window, type the command mentioned below and hit Enter:
wmic bios get smbiosbiosversion

Check your BIOS version
You should now be able to see your BIOS version. Alternatively, you can also access the System Information tab to get this information. Here is how:
- Press the Win + R keys together to open a Run dialog box.
- Type msinfo32 in Run and click Enter.
- In the System Information window, locate the BIOS Version/Dat field and note down the BIOS version mentioned there.

Check the BIOS version in the dialog
2. Modify the Startup Services Settings
Certain startup services must be enabled for you to access BIOS or the advanced startup menu. In case these services have been edited out, you are likely to face the problem at hand.
Here is how you can modify the startup services settings to resolve this issue:
- Press the Win + R keys together to open a Run dialog.
- Type msconfig in the Run dialog and press Enter.
- In the following window, head over to the General tab and choose Normal startup.
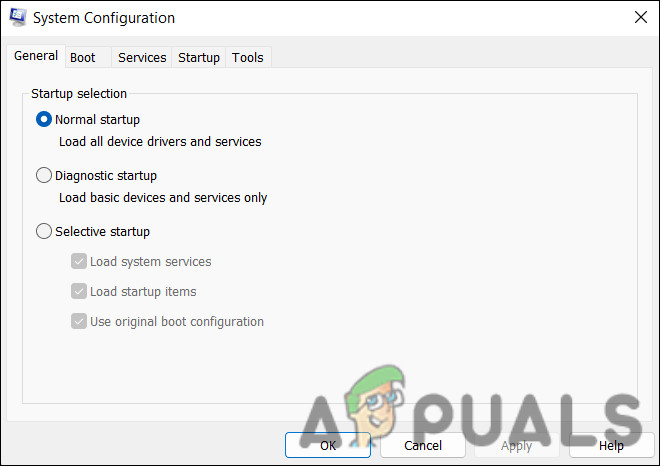
Choose the Normal startup option - Click OK.
- Now, restart your computer. Hopefully, upon reboot, the issue will be resolved.
3. Use a Key to Access the BIOS
If the conventional ways of accessing the BIOS are not working, then you can also try using a hotkey for this purpose.
You can access the BIOS configuration screen by hitting a specific hotkey or combination of keys right after booting the computer (usually immediately after it is powered on). We have a guide on how and what to press to access BIOS Setup Utility on various OEM computer systems, motherboards, and major BIOS brands.
4. Reset the BIOS
As a final step, you can try resetting the BIOS, which will restore the original settings that were in place when the computer was first manufactured.
However, it is important to note that resetting the BIOS will clear any changes that were made to the BIOS settings, such as overclocking the CPU or enabling or disabling hardware components. This can help resolve any conflicts between hardware and software that might be occurring due to faulty settings. Since the passwords and custom configurations will also be removed, make sure you back this information up somewhere to implement the changes again once the resetting process is completed.
The process to reset the BIOS can vary depending on the specific computer, but here are the general steps:
- Power off your computer and unplug all the cables attached. This includes the power cables as well as the peripheral devices.
- Locate the CMOS battery on the motherboard. This battery is small and round, and provides power to the BIOS. It also helps it retain its configurations.
- Remove the battery (you may need a screwdriver for this) and leave it out of the device for a couple of minutes.
- Place it back in and fasten it properly.
- Reconnect all the cables and restart your computer. Your BIOS should be reset upon reboot and hopefully, you will be able to access it now.
If these steps do not apply to your and you’re unsure about how to reset the BIOS on your specific computer, it is best to consult the user manual or get in touch with the manufacturer for further assistance.


