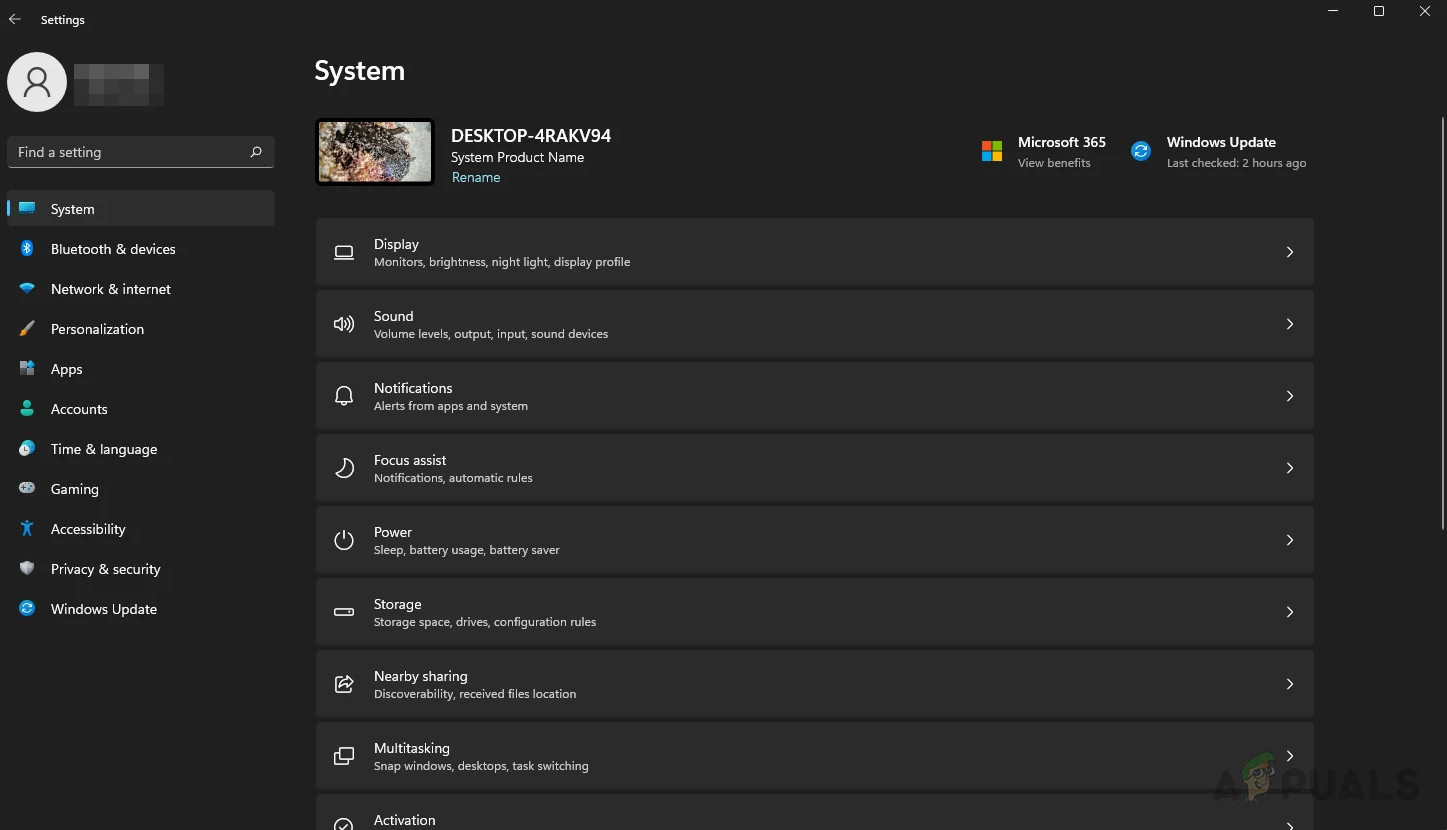
How to Fix Windows 11 Settings App Crashing Issue?
Many users have complained about the Settings app crashing in Windows 11 when trying to open it. This issue appears when they are trying to open it, not letting them open the Settings app in every possible way they’ve tried. It simply doesn’t start as well, or it does but it crashes after a few seconds of using. This error has been typically encountered on Windows 11.
Because a significant number of users who are impacted by this issue have shared their dissatisfaction with it, we have made the decision to conduct a deep examination into this problem in order to determine what is causing it. The following is a list that includes all of the potential causes:
- Windows not up-to-date – It’s possible that this issue is due to your Windows not having the most recent updates. Even if this problem could potentially have been caused by an update that was performed in the past, you still need to make sure that the most recent version is installed so that you are always up to date and do not overlook any new changes. You may check for updates by going to the Windows Updates section, and if you do find any, you should be sure to install them.
- Corrupted files and system errors – Another very likely trigger that could cause the Settings app to appear is the system errors that are happening to the computer as well as the corrupted files that come with them. This might happen due to many reasons, but it really doesn’t matter what caused it. This is affecting the PC because it makes it not work properly, and sometimes even doing things like this one. In this case, to fix this all you have to do is to do a system file scan inside the Command Prompt.
- Outdated graphics card – Even if it seems strange because there are not any video games involved, it still is a cause that might be possible. Your updates could remain uninstalled because you have missed them and didn’t manage to install them at the respective moment. In this case, all you have to do is to go to the Device Manager to search for updates. Besides that, you can also use the specific app dedicated to their GPU manufacturer.
- Incompatible Windows Explorer – As some other people report, another issue could be that the Windows File Explorer is incompatible with the Settings app because of some updates or a bug that has happened to Windows 11. If this case is applicable, the thing to do is to go to the Task Manager and reset the Windows File Explorer.
Now that you are aware of the factors that contribute to this issue, the following is a list of all of the solutions that people have suggested in order to resolve the Settings app crashing issue on Windows 11:
1. Update your Windows
The first thing that you need to do is check to see if the most recent version of Windows is installed on your computer. Many Windows issues are being caused by the fact that Windows is outdated. This is causing it to not work properly sometimes.
The only thing you need to do is go to the Windows Update page, check to see if there are any updates available and if there are, be sure to install them. Inside of your computer’s Settings menu is where you’ll discover the Windows Update option.
In the event that you are unsure about how to proceed, the actions that need to be taken are as follows:
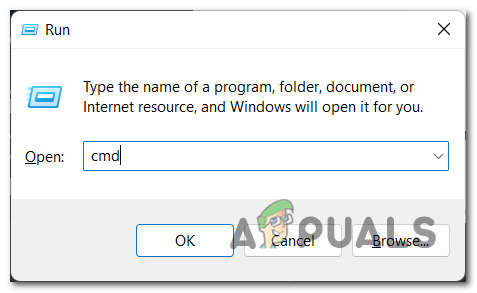
- Since you can’t open the Settings app, you need to open the Windows Update menu straightforwardly. To accomplish this, first open a Run dialog box by pressing the Windows key + R simultaneously, then type “control update” into the search field and hit the Enter key on your keyboard.
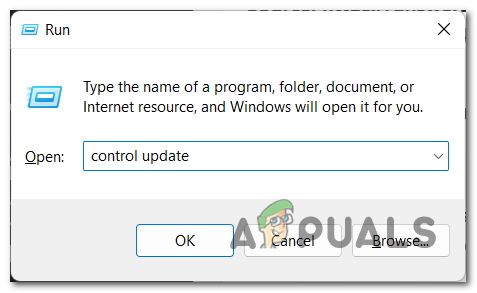
Using a Run dialog box to pen the Windows Update instantly - Click the Check for updates button that is situated on the right side of the screen once you have entered the Windows Update window. This is how you will determine if there are any available updates. If there are, you can install them by clicking the Install option.

Checking for available updates for your Windows - Your computer will need to be restarted after the update has been entirely installed to ensure that it functions correctly after it has been applied.
- Once your computer boots back, the only thing that you need to do now is to try to open the Settings app to see if it now works.
If after updating Windows you are still unable to open the Settings app, proceed to the next procedure that is listed below.
2. Reset and re-register the Settings app
The second thing that you can try is to do a reset and then re-register the Settings app. This method has been recommended by many users that have used it to fix their problems.
All you have to do is to use Windows PowerShell to insert a command that will automatically reset and re-register the Settings app. After that, the Settings app should open without problems.
In case you don’t know how to reset and re-register the Settings app, here are the steps you need to follow:
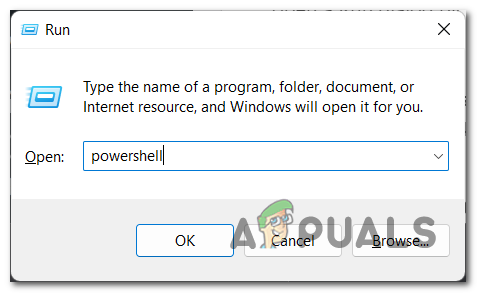
- The first thing you need to do is to open the PowerShell. You can do this in many ways, one of them is to open a Run dialog by pressing the Windows key + R and typing inside the search bar ‘powershell‘, then press Enter and it will open instantly.
Using a Run dialog box to open the PowerShell - Now that you are inside the PowerShell, you need to copy and insert the following command, then press Enter to start the reset and re-register process:
Get-AppxPackage *windows.immersivecontrolpanel* | Reset-AppxPackage
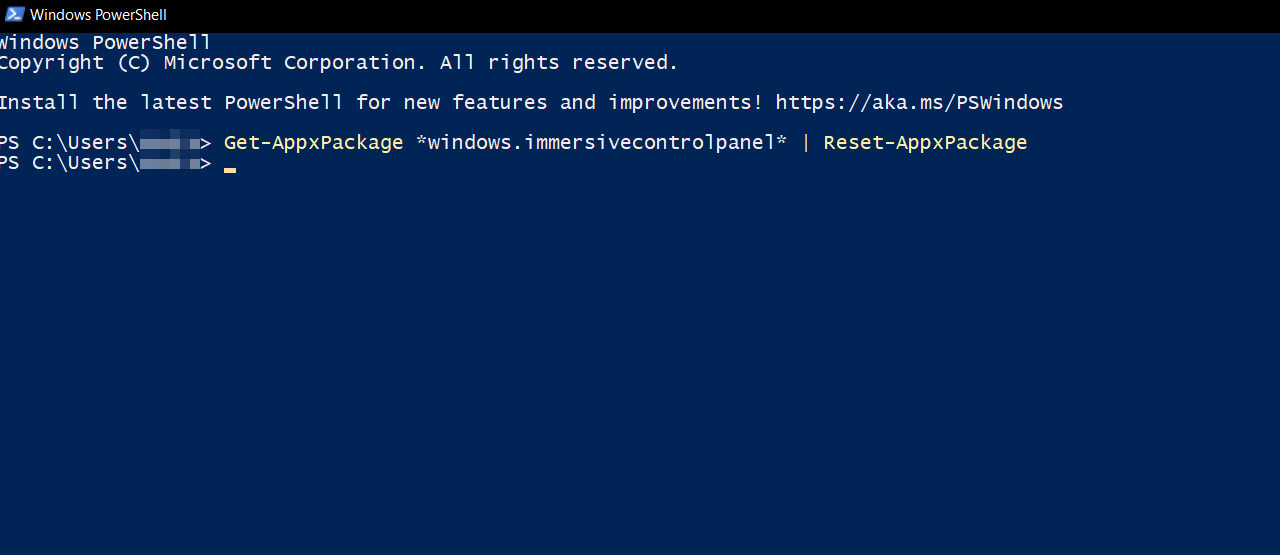
Inside the PowerShell resetting and re-registering the Settings app - After you’ve done that, you can close the PowerShell.
- Once you’ve done that, reboot your computer and wait until it boots back.
- Now what is left to do for you is to check if the Settings app works now or if it still crashes.
If the error is still occurring after doing this, go check the next method below.
3. Run SFC and DISM scans
This error could be also caused by some system errors and corrupted files that are affecting your Windows 11. The reason that made these problems appear is unknown because it could be simple bugs that could happen to everyone from time to time.
If this case is applicable to you, you should start by running the two utilities that your Windows 11 has: System File Checker (SFC) and Deployment Image Servicing and Management (DISM).
These processes will scan all your system files and if it finds any corrupted files, it will change them with a healthy equivalent. It will take some minutes, but you have to take the time and wait in order for the process to be complete.
All you have to do is to open the Command Prompt with administrator privileges and insert some commands that will make sure to scan and repair the system errors and corrupted files. After that, your problem should be fixed.
In case you don’t know how to perform an SFC scan and a DISM scan, here is a guide that will show you exactly how to do that:
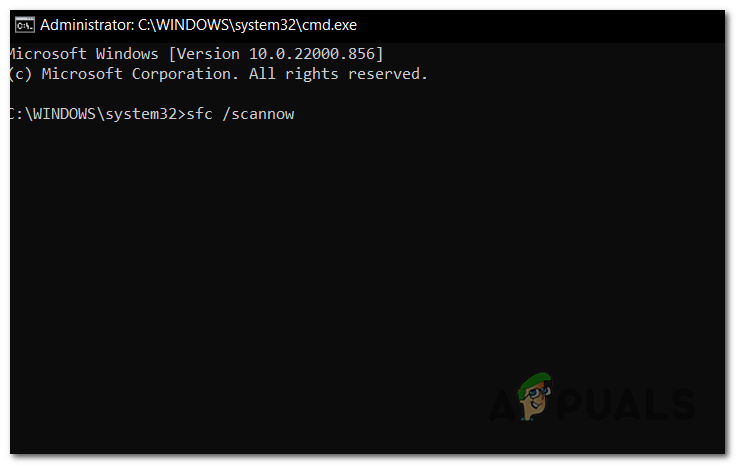
- The first thing you have to do is to open the Command Prompt with administrator privileges. You can open it in many ways, one of them is to press the Windows key + R to open a Run dialog box in which you have to type ‘cmd‘, then you have to press the CTRL + Shift + Enter keys simultaneously to open them with admin privileges.
Using a Run dialog box to open the Command Prompt - You will be prompted by the User Account Control (UAC) to confirm that you want to allow the Command Prompt to have administrator privileges. Click on Yes to continue.
- Once you are inside the Command Prompt, you need to copy and insert the next command to run the System File Checker:
sfc /scannow
Starting the System File Checker scan inside the Command Prompt - The scan could take up to a few minutes to complete, so wait until it is complete.
- It is absolutely necessary to refrain from closing the CMD window after beginning this process, even if the utility seems to have become unresponsive. Please be patient and wait for the procedure to complete before interfering with it, as doing so may cause logical problems on your HDD or SSD.
- Restart your computer after the SFC scan has been done successfully, and then wait until your computer boots back.
- Once it is on again, repeat the process from step 1 to open the Command Prompt again with administrator privileges.
- Now that you’ve done that, you should copy and paste the following commands in the order that you are seeing them. Paste one at a time and press Enter to apply every one of them:
DISM /Online /Cleanup-Image /CheckHealth
DISM /Online /Cleanup-Image /ScanHealth
DISM /Online /Cleanup-Image /RestoreHealth
- This scan will take a few minutes as well, so make sure that you keep the Command Prompt on and don’t interrupt the process.
- Once you’ve inserted every one of these commands and the scan is done, the only thing left to do is to check if the Settings app is still crashing now.
In case the error still appears, check the next method below.
4. Update your graphics card
An incorrect GPU driver that ends up hurting the stability of the computer is one more possible circumstance that might end up prompting the Settings app to crash. As it turns out, this is one of the conceivable scenarios that could happen. It has been confirmed by a number of customers who were impacted by the bug that the issue was fixed for them after they updated the GPU drivers to the most recent version that was currently available.
Some of the users who have been impacted by the issue are of the opinion that the problem is mostly occurring as a result of the fact that the physics module has not been updated to manage the process. In the event that the above description fits your present circumstances, the following is a concise tutorial that will assist you in updating the GPU drivers in order to stop the Settings app from crashing on Windows 11:
- The first thing you need to do is to open the Device Manager. Press the Windows key + R brings up the Run dialog box. After that, within the text box, write “devmgmt.msc” and then press the Enter key to open it.

Opening the Device Manager using a Run dialog box - Once you are inside the Device Manager, navigate to the bottom of the list of installed devices, and then expand the drop-down menu that is connected to Display Adapters.
- After that, right-click on the GPU that needs to be updated and select Update Driver from the context menu that just showed after you did that.

Inside the Device Manager updating the driver for the GPU Note: If you are using a laptop and you notice this error, you will need to update the driver for your dedicated GPU. This is because the dedicated GPU is the one that is being used while engaging in activities that need a significant amount of resources.
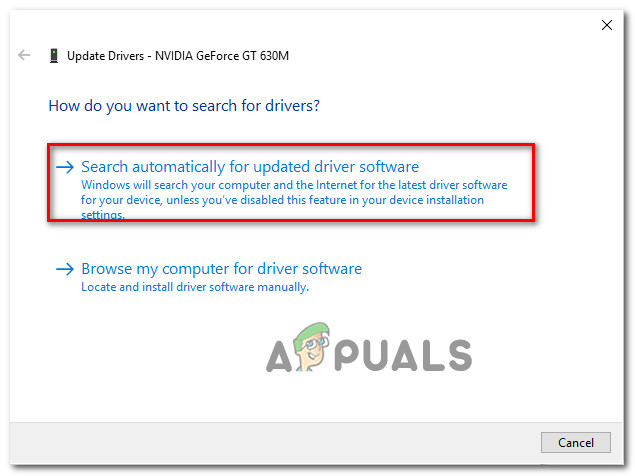
- When you are being able to see the next screen, you need to click on the Search Automatically for updated driver software. Now you need to wait for the scan to be complete, and then you will need to follow the on-screen instructions to install the latest graphics card update that was found.
Searching for the newest driver automatically - After the most recent driver has been updated, restart your device and attempt to launch the Settings application to determine whether or not it continues to crash in the same manner as previously.
Note: It is highly advised that you also attempt to update your GPU drivers by making use of the specialized software that is linked with the manufacturer of your GPU. The following is a list of proprietary software that, when installed, will automatically update all of your GPU drivers:
GeForce Experience – Nvidia
Adrenalin – AMD
Intel Driver – Intel
If after updating your GPU drivers you are still experiencing the same issue, continue on to the next method that is further down this page.
5. Restart Windows Explorer
The fact that the File Explorer process is broken is yet another one of the factors that contribute to the instability of the Settings app. When this occurs, it is possible that certain functions of the computer, including those associated with the Settings app, will not operate.
In the event that this scenario plays out, you will need to use the Task Manager to restart the process in question, and once that is done, check to see if this solves the problem for you. To accomplish this, make sure to follow the steps that are outlined in the following paragraphs:
- You need to start by opening the Task Manager. This process can be done in a lot of ways, you can use the taskbar to open it or search for it, or you can simply press the CTRL + Shift + ESC to open it instantly.
- Once you’ve managed to open the Task Manager, you need to go to the Processes tab and look for the Windows Explorer process.
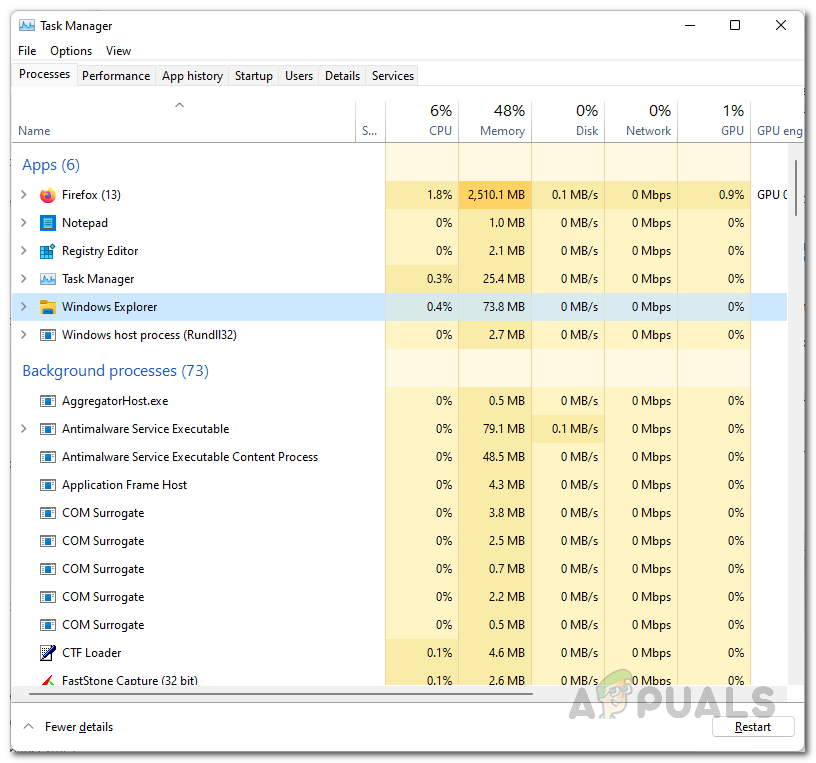
Inside the Task Manager looking for the Windows File Explorer process - Once you finally locate the Windows File Explorer process through the list of processes, you need to right-click on it and click on Restart to perform the action.
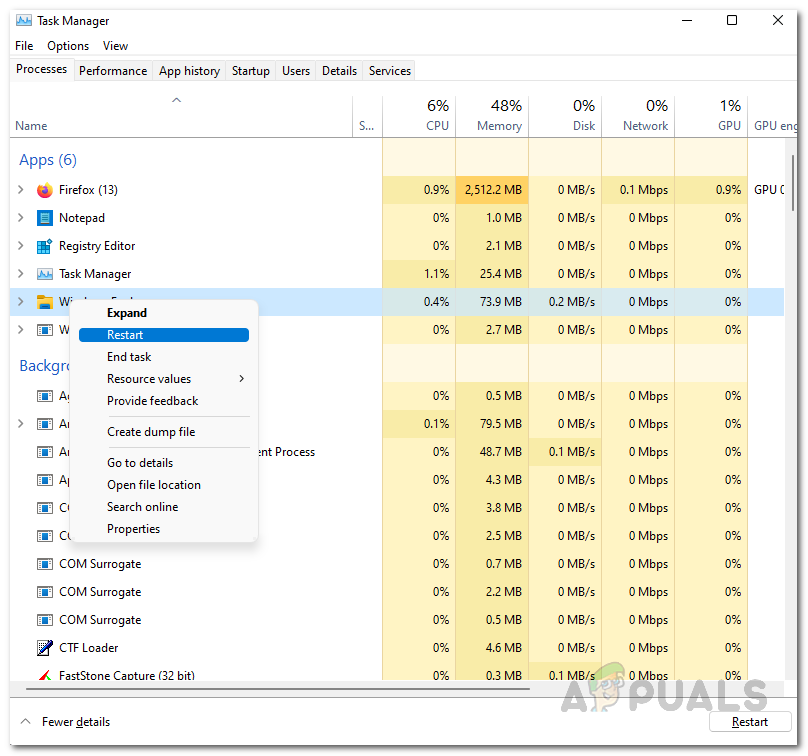
Restarting the File Explorer inside the Task Manager - Check to see whether the issue still exists after you have completed the procedure of restarting the Windows File Explorer.
In case you still see the Settings app crashing issue on Windows 11 even after trying every method in this article, here is the last method that you could try in order to fix it.
6. Repair Install Window 11
The last thing you can try when you encounter the Settings app is to repair install your Windows 11. This is the last method of this article because it takes the most time and it is the most difficult of them. But despite that, this method has turned out to be efficient for many users that have gone through this.
In case you decide to repair install your Windows 11, this process will basically reset your PC and will reinstall the Windows properly without corrupted files and system errors. When you do this, you have the option to keep your data or delete it. We recommend you save the important things somewhere and reset all your computer to make sure that you get rid of all the corrupt files.
In case you don’t really know how to repair install Windows 11, here is an article that will present you with all the details that you need to know about this process. Besides that, you will be also able to see exactly what you need to do and how you can do it.
After you’ve done this and the process is complete, the only thing left to do is to test now the Settings app to see if it is still crashing now.


