Windows 11 Not Detecting Second Display? Try these fixes
If Windows 11 is not detecting your second monitor, even when you are sure the display works fine, there are a few things you need to look at. There are multiple scenarios where Windows may not detect your second display, from not using the correct settings to a loose connection; these scenarios can vary.
Before we show you how to resolve the problem in question, it is vital to go through the several causes of the issue. It may seem easy once you are aware of the potential reasons for the problem. Keeping that in mind, let us start immediately and go through the causes individually.
- Loose connection or faulty cable — The most apparent reason for the problem is the cable you use to connect your display to your computer. If the connection on either end is loose, i.e., the cable is not inserted correctly, you will not be able to use your second monitor. In addition, a faulty cable can also result in the issue in question. If this case is applicable, you must ensure the connections are proper, and the cable is not faulty.
- Display Projection Settings — Another reason cause for when your display is not detected can be the display projection settings on your computer. We have also stumbled on this problem, and the resolution turned out to be changing the projection settings.
- Malfunctioning Display Adapter — In some cases, your second monitor may not be detected due to your display adapters. Display adapters are crucial as they provide connectivity to your monitors. This issue can often be resolved by restarting the display adapter via the Device Manager. You will have to reinstall
graphics drivers on your system if that does not work. You might mistake this for a physical display adapter. If you are using one, we recommend ensuring it works properly by testing it on a different monitor. - Refresh Rate Difference — If your monitors differ in their respective refresh rates, that can raise the issue. To fix this, you will have to switch to a standard refresh rate until the second is detected.
Now that we have gone through the possible causes of the problem, we are ready to get into the various methods that will help fix your issue. Let us dive right into it.
1. Change Projection Settings
When you connect a new monitor to your system, you will have to change your display settings to tell Windows also to use the second monitor.
By default, Windows outputs only to a singular monitor. By connecting a second monitor, you are extending the display. Therefore, you will need to tell Windows to extend the displays and not use the primary one.
In these cases, the operating system has detected your second monitor. However, it is not sending any output to the second monitor, so you are left with a blank black screen.
You can change display settings in the Settings app. This is pretty simple to do; follow the instructions down below:
- First, open the Windows Settings app by pressing the Windows key + I on your keyboard.
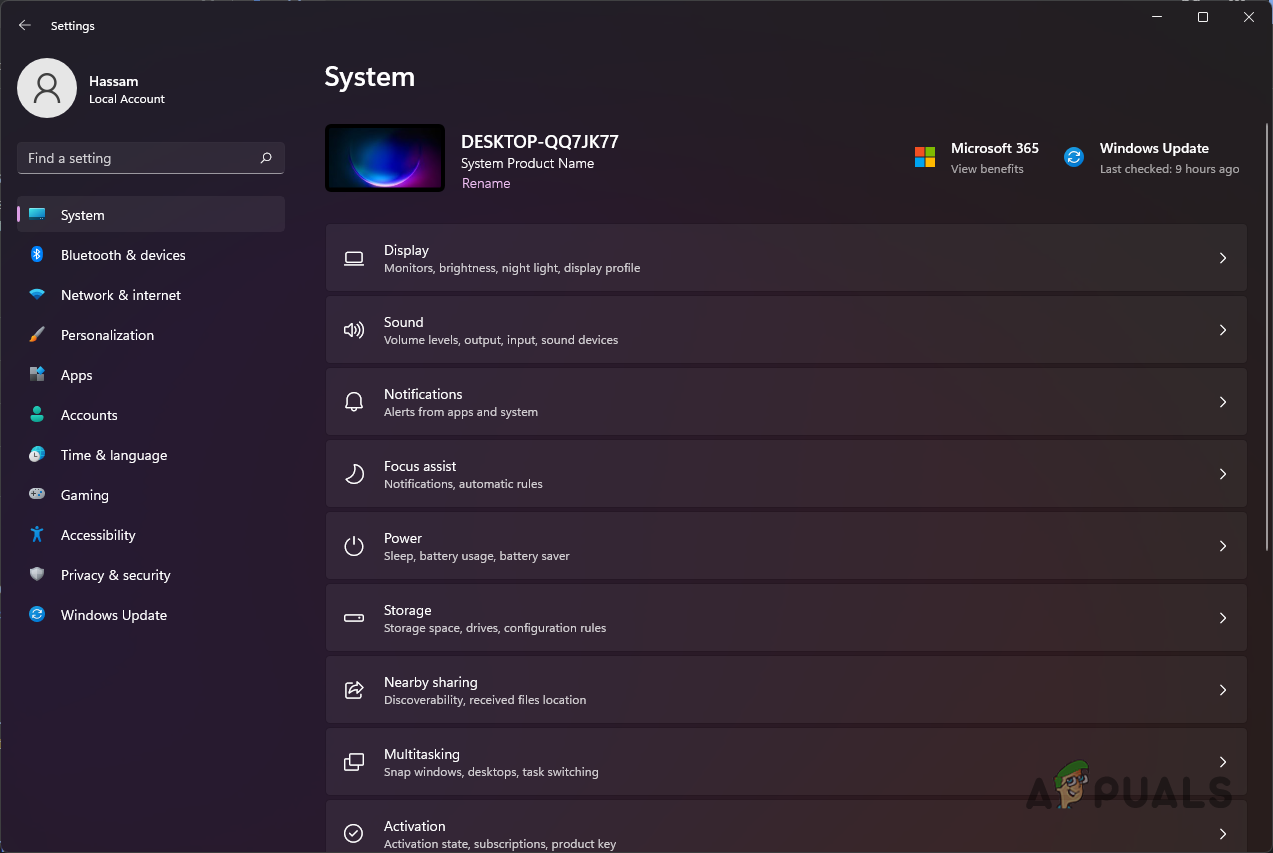
- In the Settings window, click on the Display option.
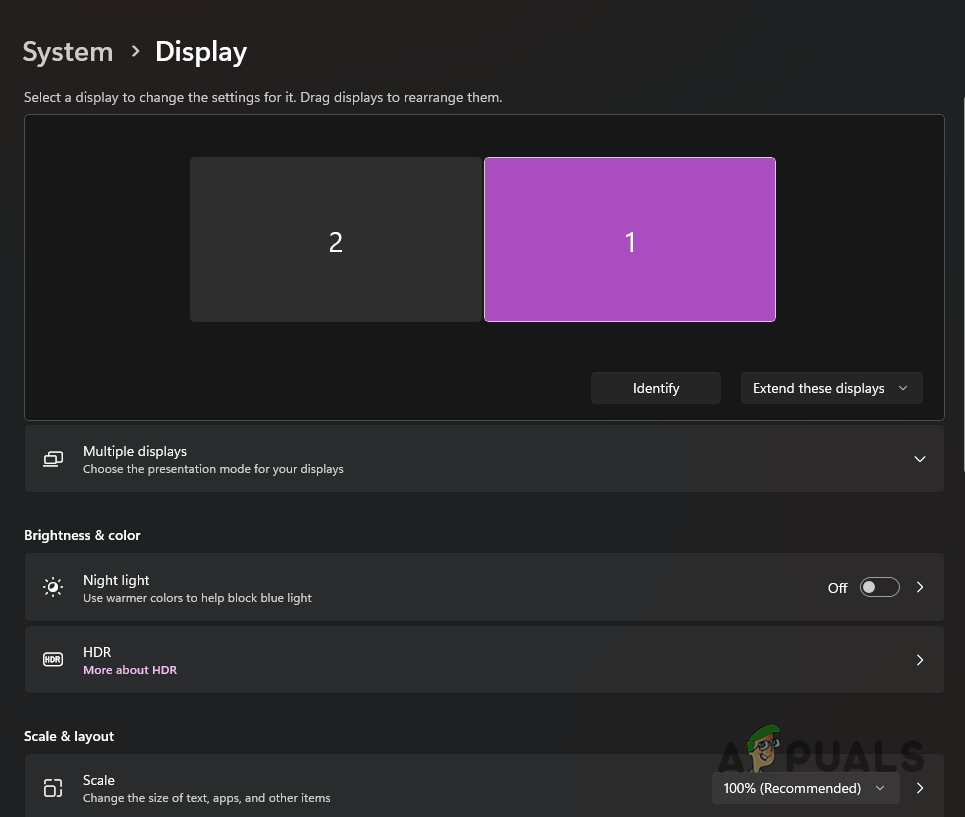
Navigating to Display Settings - Inside Display Settings, you should see two square boxes numbered 1 and 2, respectively. This means Windows is detecting your second monitor.
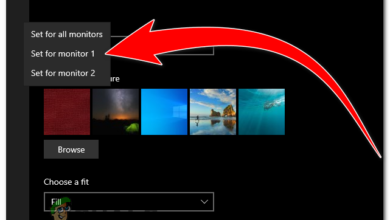
Dual Display - Under these boxes, choose the Extend these displays option from the drop-down menu. Once you do that, Windows will start outputting to the second monitor, which should now display correctly.
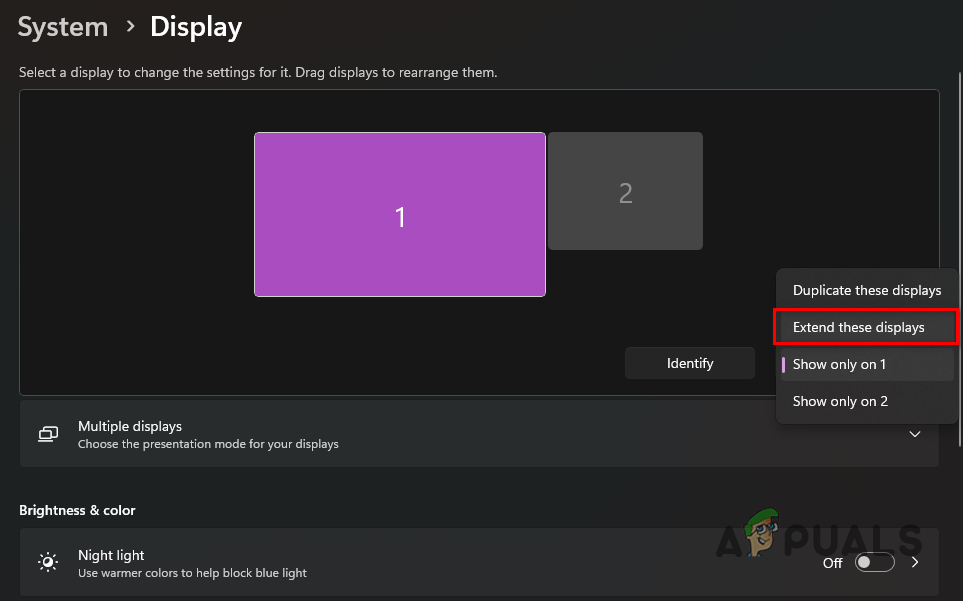
Extending Displays - Alternatively, you can use the Windows key + P shortcut on your keyboard and choose the Extend option from the menu.

Extending Display to Second Monitor
If you do not see a second monitor option inside display settings, move on to the following method below.
2. Manually Detect Second Monitor
Sometimes, Windows may not detect your second monitor automatically. This can happen when you connect a second monitor while the system runs. If this case is applicable, you will have to force Windows to detect the second display manually.
To do this, follow the instructions down below:
- Start pressing the Windows key + I on your keyboard to open the Settings window.
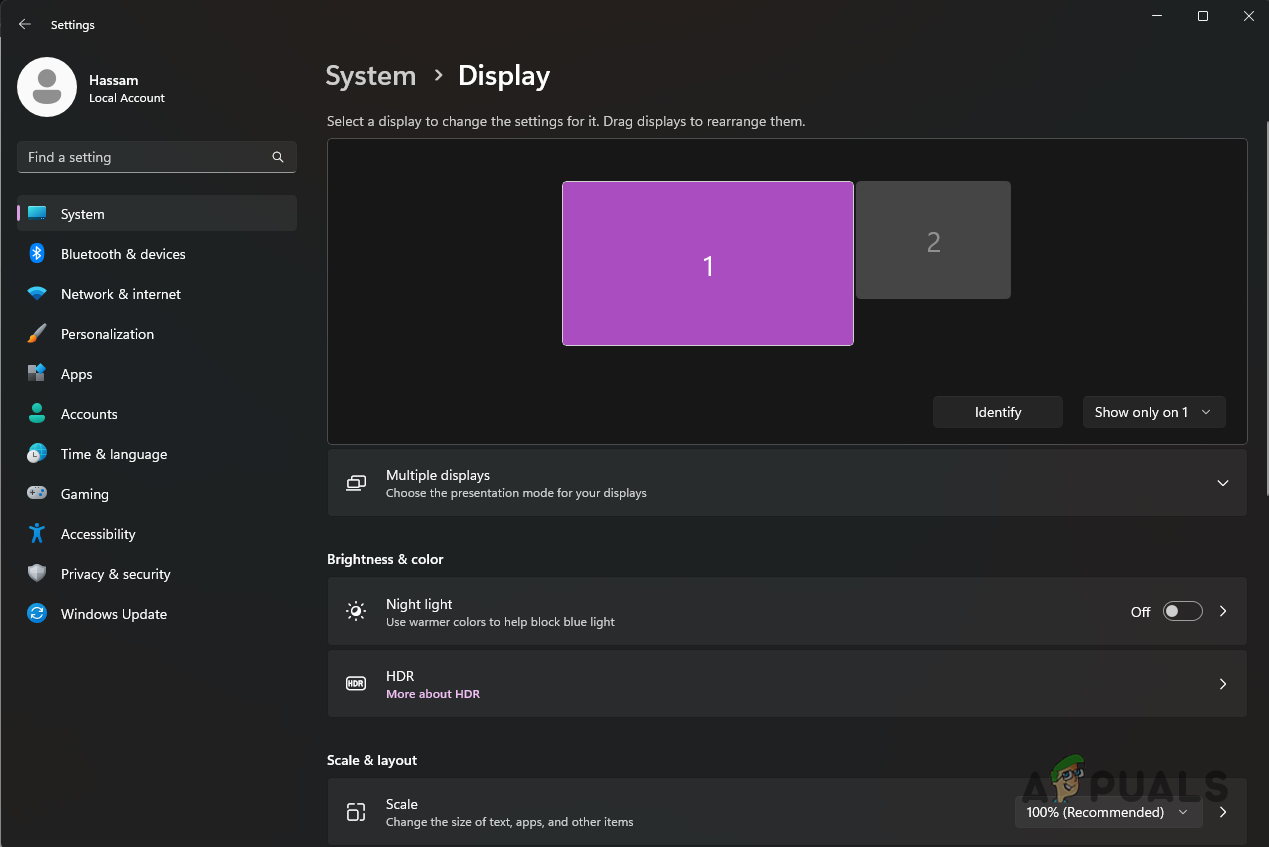
- There, navigate to Display settings by clicking on the respective option.
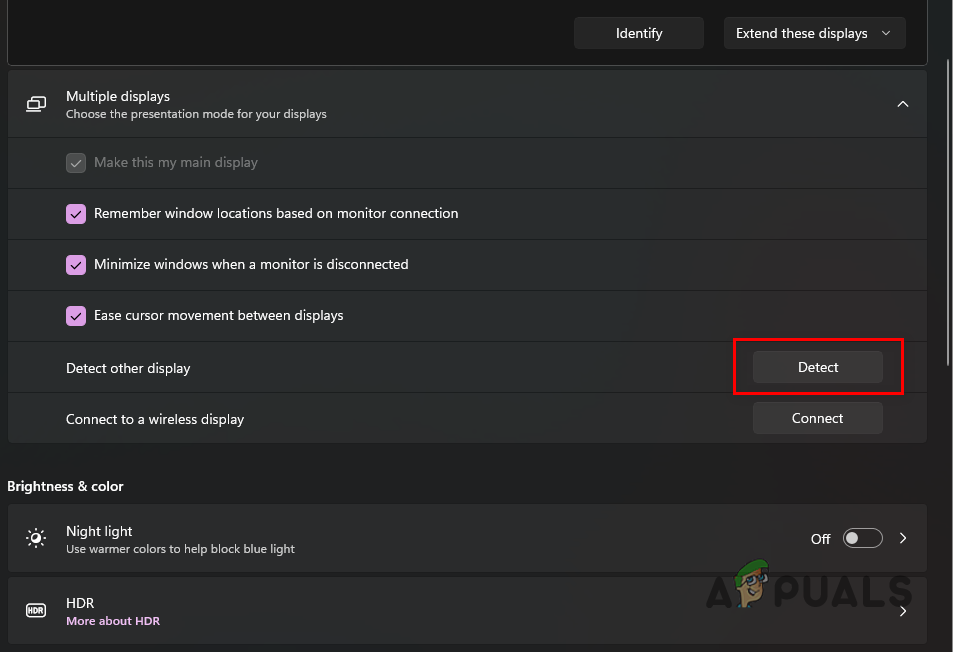
Navigating to Display Settings - After that, expand the Multiple displays menu.
- Click on the Detect button to manually detect your second monitor. See if this fixes the issue.
Manually Detecting Second Display
3. Use a Common Refresh Rate
In some cases, the problem can originate due to a conflict in the refresh rates of your primary and secondary monitor. This often occurs when the highest refresh rate of your monitors is not the same, i.e., one of your monitors supports 240 hertz, and the other monitor can only support up to 144 hertz.
If this case is applicable, you must change your refresh rate to a common standpoint. This would mean changing your refresh rate to 144 hertz in the example above. One of the reasons this scenario occurs is your graphics card. This is because some graphics cards cannot support separate refresh rates simultaneously.
The likeliness of this occurring is pretty slim. Once you change your refresh rate to something common, and the second monitor is detected, you can change it back to the original value on your primary monitor. Follow the instructions down below to do this:
- To start, open the Settings app by pressing the Windows key + I on your keyboard.
- Navigate to the Display section in the Settings app.
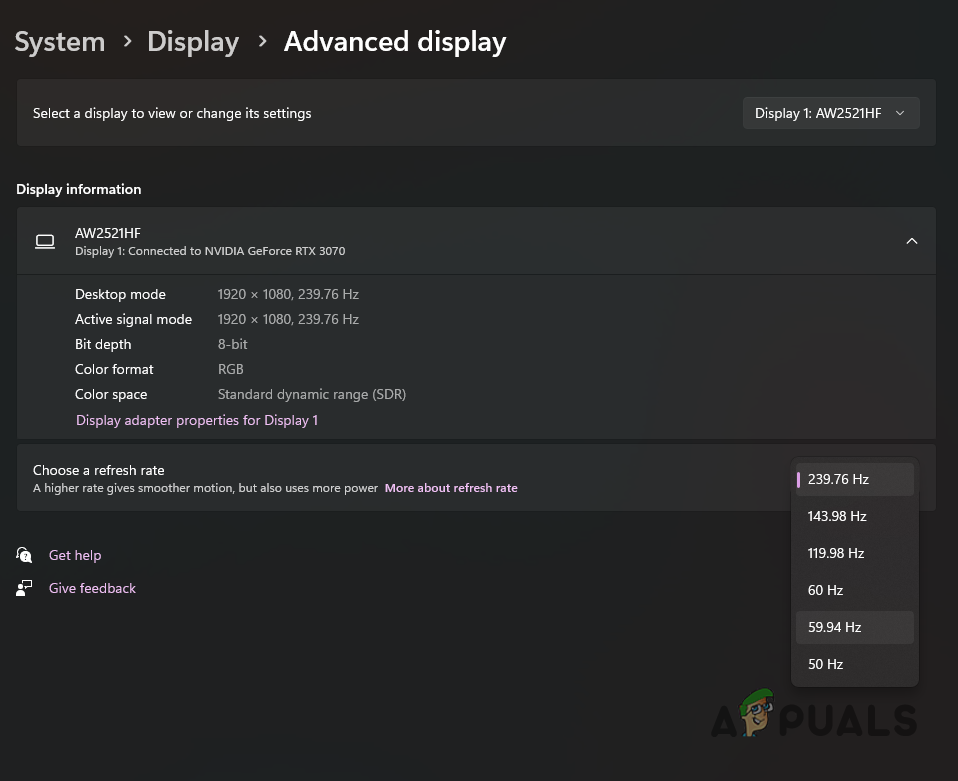
Navigating to Display Settings - After that, scroll down and click on the Advanced display option.

Navigating to Advanced Display Settings - On the Advanced Display screen, change your refresh rate to 60 from the drop-down menu.
Changing Refresh Rate - Once you do that, go back to Display settings and expand the Multiple displays menu.
- Click on the Detect option and see if Windows detects your second monitor. You can change your refresh rate to the original value once the problem goes away.
Manually Detecting Second Display
If changing the refresh rate on your monitor does not fix your problem, move to the following method below.
4. Restart the Display Adapter
The display adapter is a vital component of your operating system as it bridges the monitor and the graphics drivers. Sometimes, the display adapter may not function properly due to a glitch. When this happens, you will have to restart the display adapter.
You can easily restart the display adapter via the Device Manager window. To do this, follow the instructions down below:
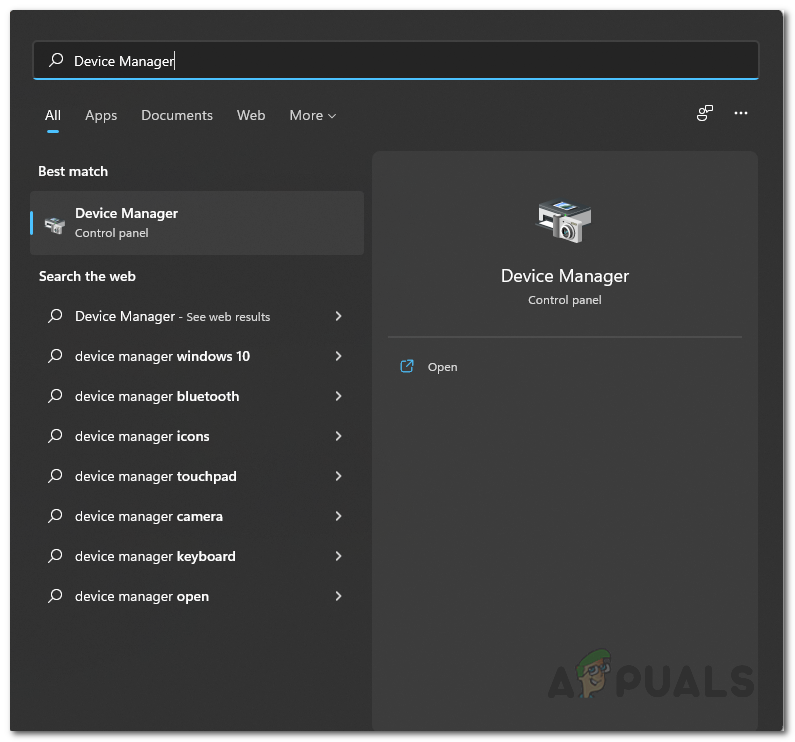
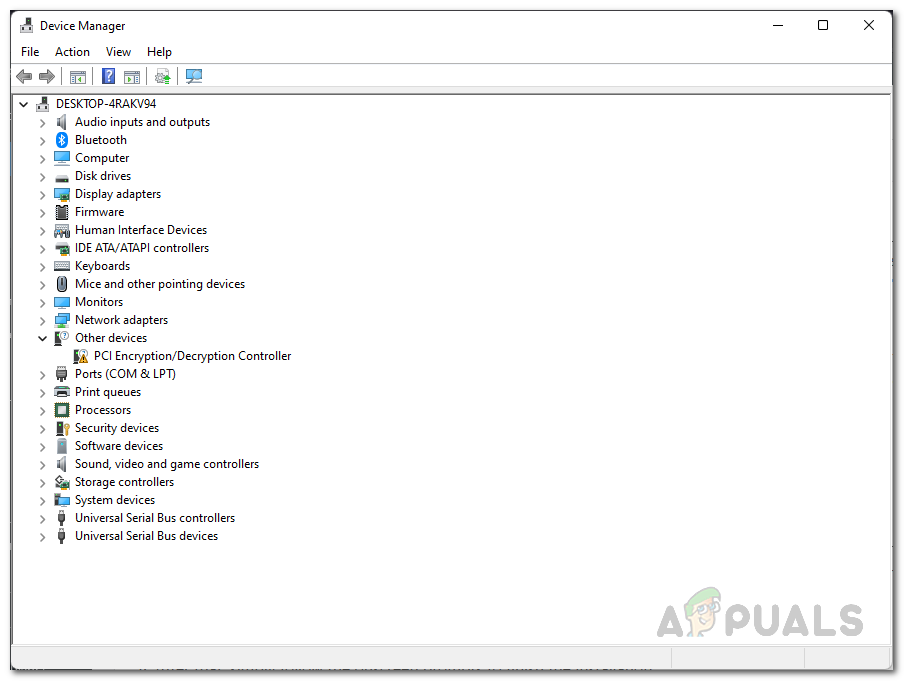
- First, open the Device Manager window by searching for it in the Start Menu.
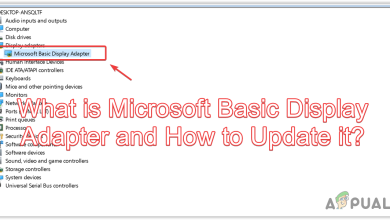
Opening Device Manager - On the Device Manager window, expand Display adapters.
Device Manager - After that, right-click on your driver and from the drop-down menu, choose Disable device.
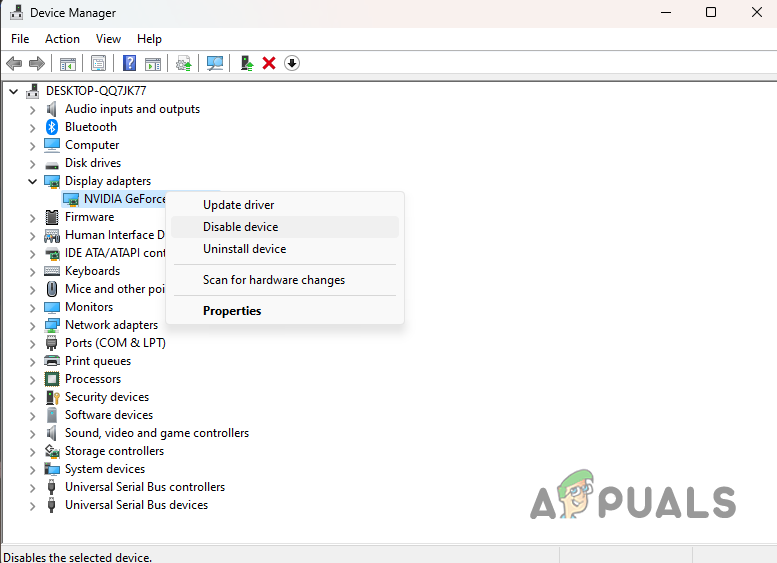
Disabling Display Adapter - Wait for the device to be disabled. Then, right-click on the driver again and choose Enable device.
- See if that fixes the problem for you.
5. Reinstall Graphics Drivers
You might sometimes encounter the problem in question due to your graphics drivers. This can occur when your graphics drivers are malfunctioning and not working correctly. If this case is applicable, you will not be able to use multiple displays on your computer.
Graphics drivers are used by the operating system to communicate with the graphics card installed on your computer. In addition, to display the output to your screen, Windows relies on the graphics card as it processes all of the graphics and more.
You will have to uninstall your graphics drivers and install them to fix the issue. There are many ways to go about your graphics drivers’ uninstallation process. If you want to do an in-depth uninstallation, you can use DDU to uninstall your graphics drivers.
However, the problem in question does not require such a thorough approach. You can get off by simply uninstalling the drivers via the Device Manager. Follow the instructions down below to do this:
- To start, open up the Start Menu and search for Device Manager. Open it up.
Opening Device Manager - On the Device Manager, expand the Display adapters list.
Device Manager - Right-click on your graphics drivers, and from the drop-down menu, choose Uninstall device. Before you uninstall the drivers, take note of your driver’s name, as this is the model of your graphics card, and you will need it below to download the latest drivers.
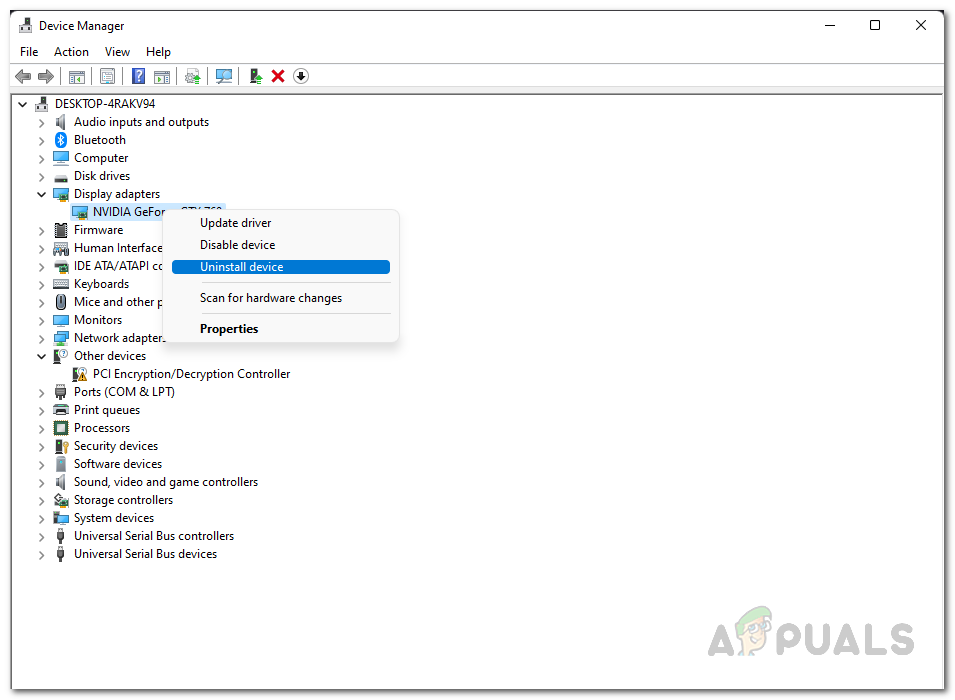
Uninstalling Graphics Driver - Once uninstall the drivers, head to your graphics card manufacturer’s website and download the latest available drivers.
- After that, install the drivers on your computer.
- Once you do that, restart your computer.
After restarting your computer, see if Windows can detect your second display. You can try manually detecting it again if Windows does not automatically. In case the problem persists, move to the following method below.
6. Check your Cable and Connection
Finally, if none of the methods above fixes the problem for you, it is likely the problem originates due to your cable. If your connection is loose or the port is not inserted completely, Windows will not be able to detect your monitor. In addition, a faulty cable will also prevent the operating system from detecting the monitor.
If this case is applicable, we recommend you recheck the connection and ensure it is not loose. If the connection is fine, switch your cable to a different one and see if the problem goes away.