How to Fix Wi-Fi Not Connecting Automatically on Windows Startup?
Wi-Fi Not Connecting Automatically on Windows Startup can be a frustrating issue. The cause may lie within the power options settings of your network adapter, incorrect network drivers, or third-party applications interfering with network adapters.
Although this issue does not prevent manual connections to Wi-Fi networks, it can block the convenience of automatic connectivity. Below is a compilation of proven methods designed to help your Wi-Fi connection initiate automatically upon startup.
1. Change Power Plan Options
By adjusting the Power Plan to favor Maximum Performance, the computer is instructed not to conserve energy at the expense of network connectivity, which in turn helps maintain a stable Wi-Fi connection on startup. This makes sure your Wi-Fi adapter remains powered and ready to connect even as your system boots up.
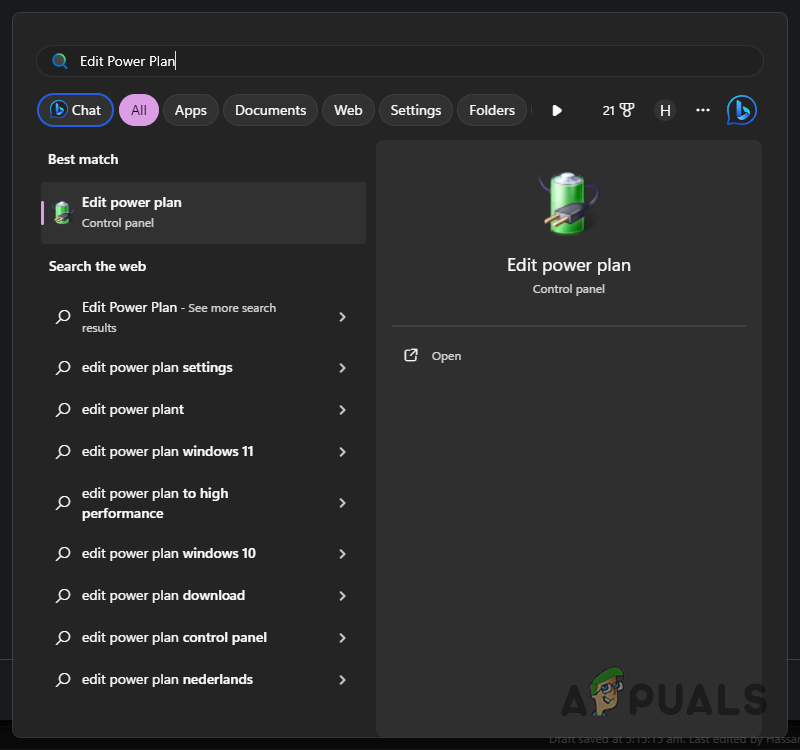
- Open the Start Menu and search for Edit Power Plan. Click to open it.
Opening Power Plan Options - Click on Change advanced power settings.
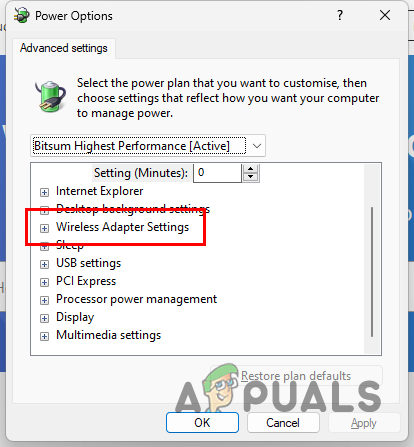
- In the Power Options window, find and expand the Wireless Adapter Settings category.
Expanding Wireless Adapter Settings - Next, expand Power Saving Mode and select Maximum Performance.
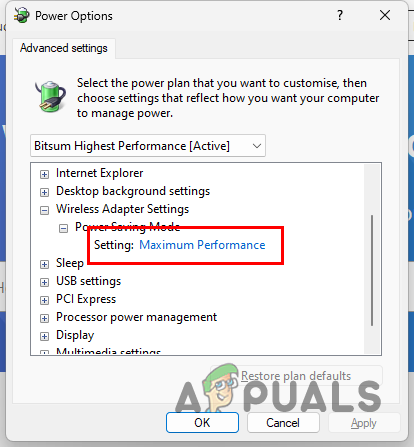
Changing Wireless Adapter Power Saving Mode - Click Apply, then OK, and check if the problem has been resolved.
2. Install Proper Network Drivers
Network drivers serve as a bridge between your computer’s operating system and its networking hardware. Incorrect or outdated drivers may lead to inconsistencies, including troubles with automatic Wi-Fi connections.
By making sure you have up-to-date and manufacturer-specific drivers, you’re allowing your system to effectively communicate with its wireless hardware, thus eliminating any auto-connectivity flaws that might have been driver-related.
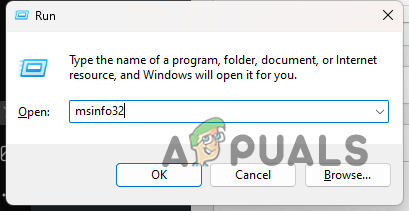
- Press Win key + R, type msinfo32 in the Run dialog box, and press Enter.
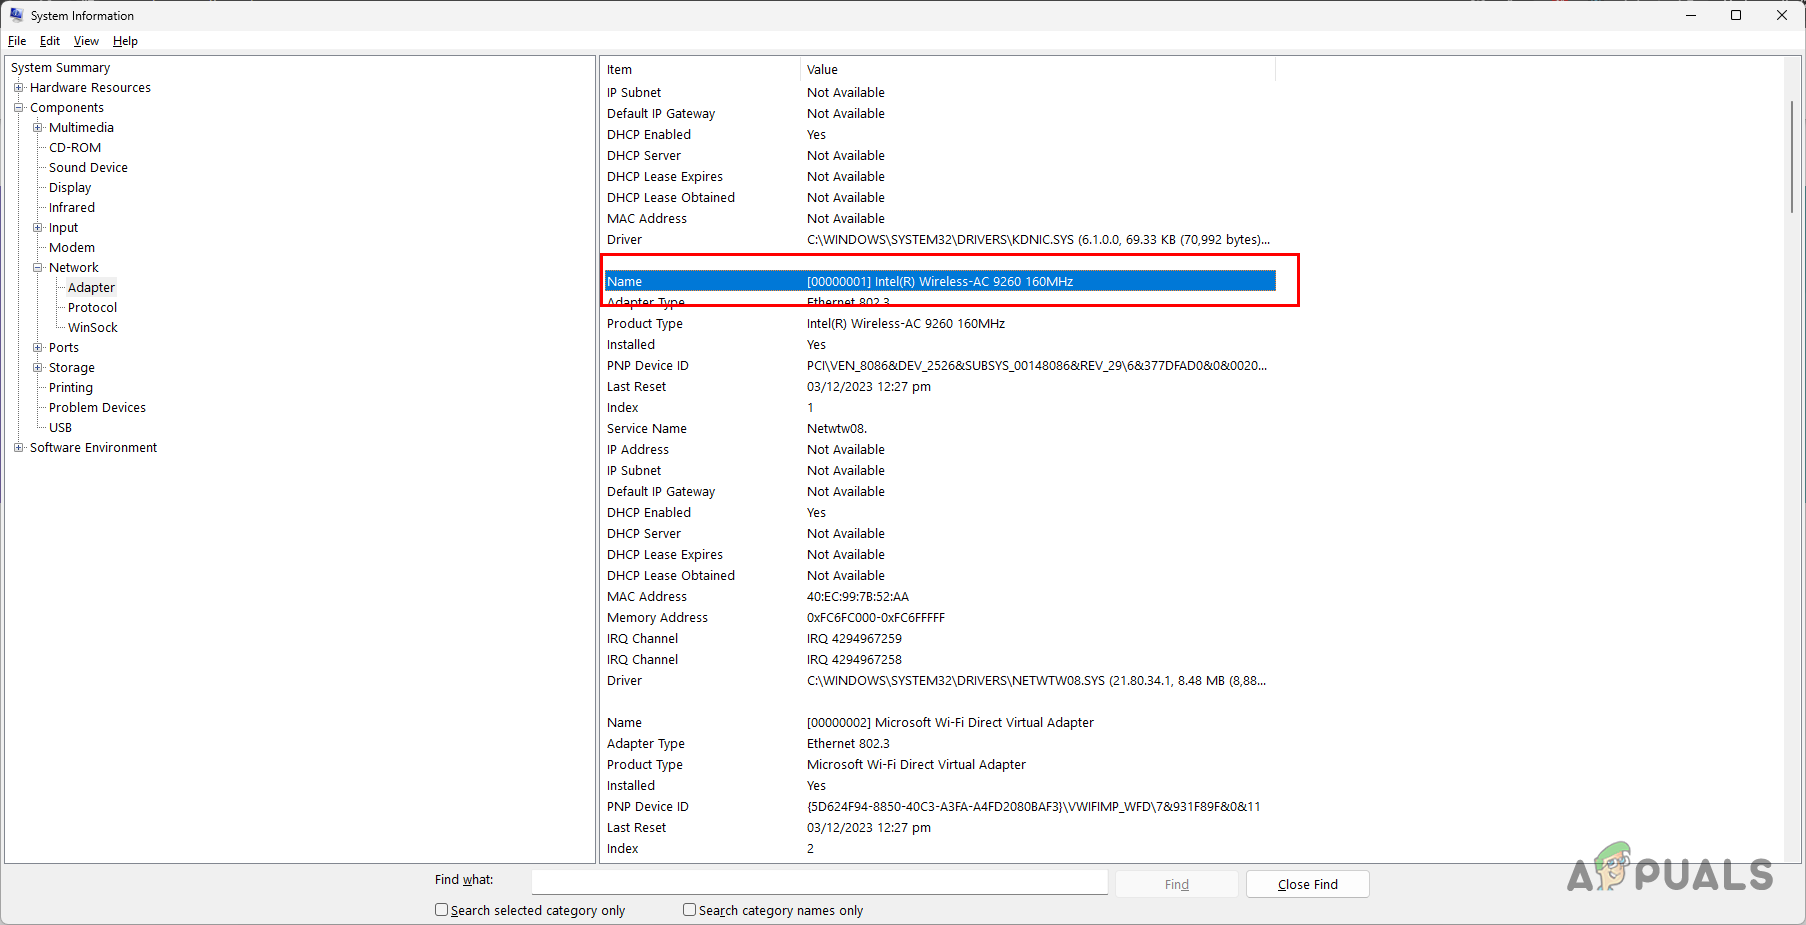
- In the System Information window, navigate to Components > Network > Adapter.
- Locate your Wi-Fi adapter and manufacturer within the list of details.
- Download and install the manufacturer-specific drivers for your Wi-Fi adapter.
- After installation, check whether the correct drivers have resolved the automatic connection issue.
3. Disable IPv6 Protocol (If Applicable)
When a network primarily operates on IPv4 and the router or ISP’s infrastructure isn’t fully optimized for IPv6, this mismatch can sometimes lead to connectivity issues. By turning off IPv6 on the network adapter, your system reverts to using the more universal IPv4, potentially eliminating any protocol-related obstacle to an automatic Wi-Fi connection at startup.
- Press Win key + I to open Settings.
- Go to Network and Internet > Advanced Network Settings.
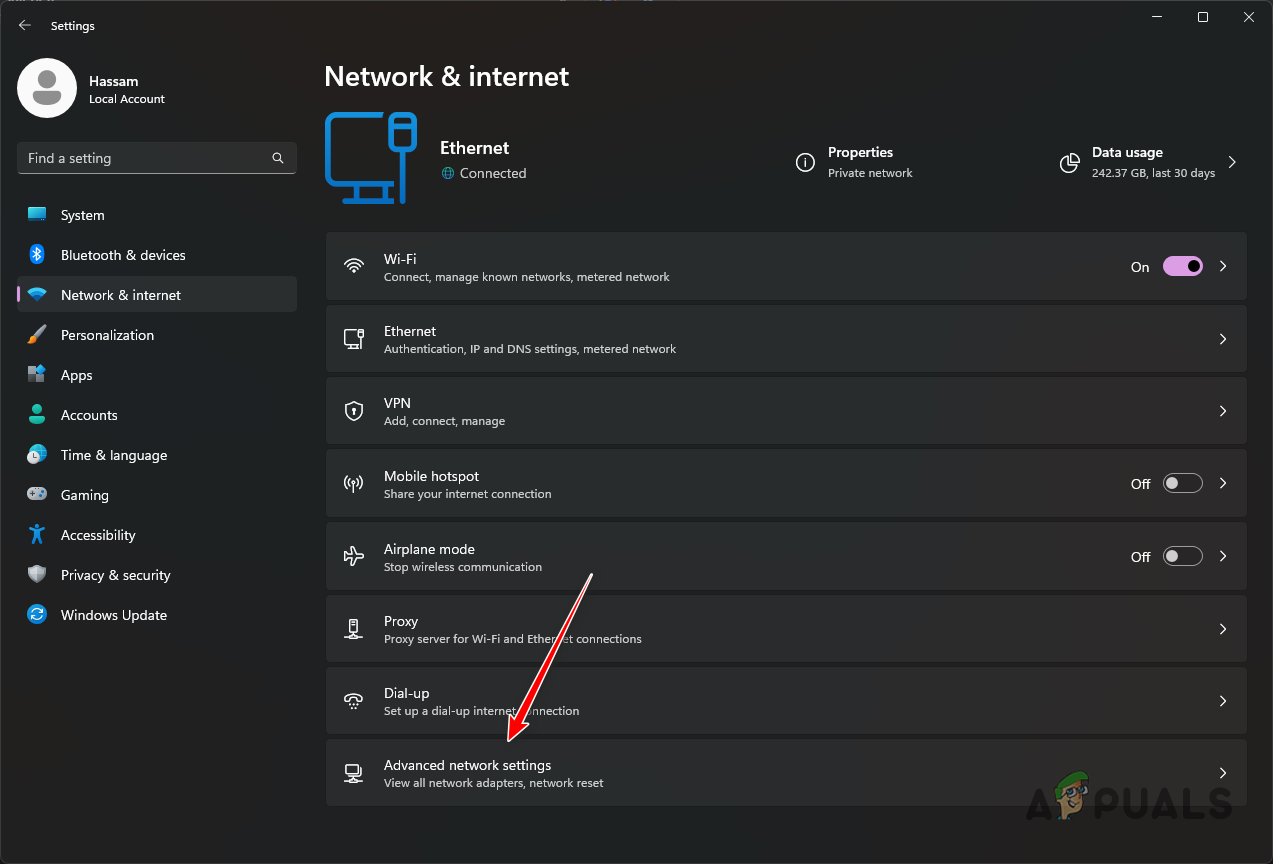
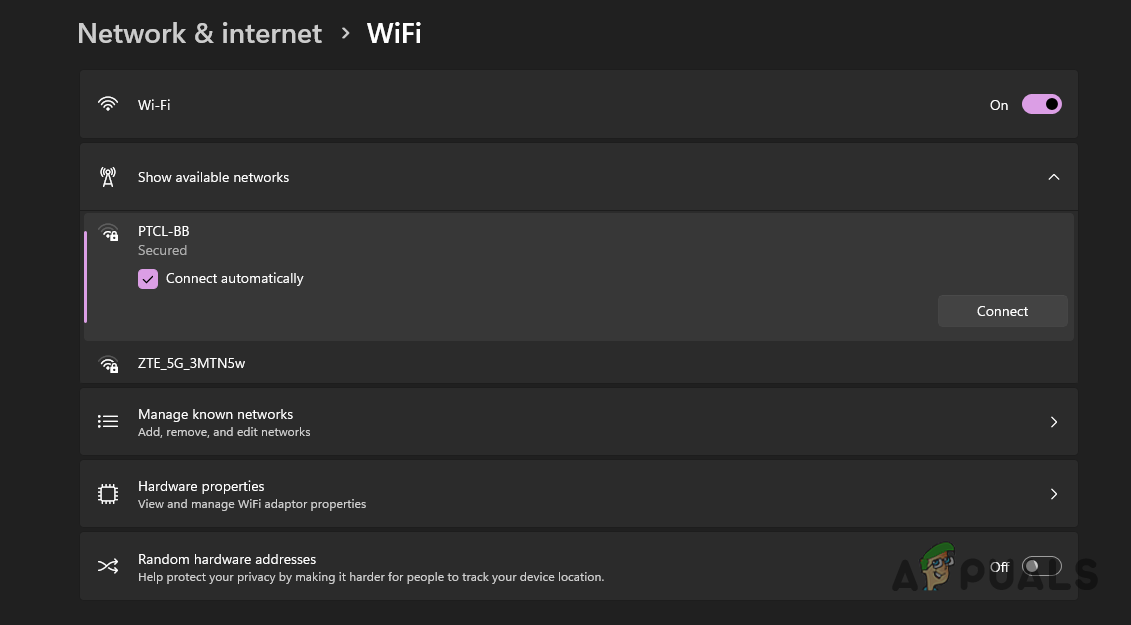
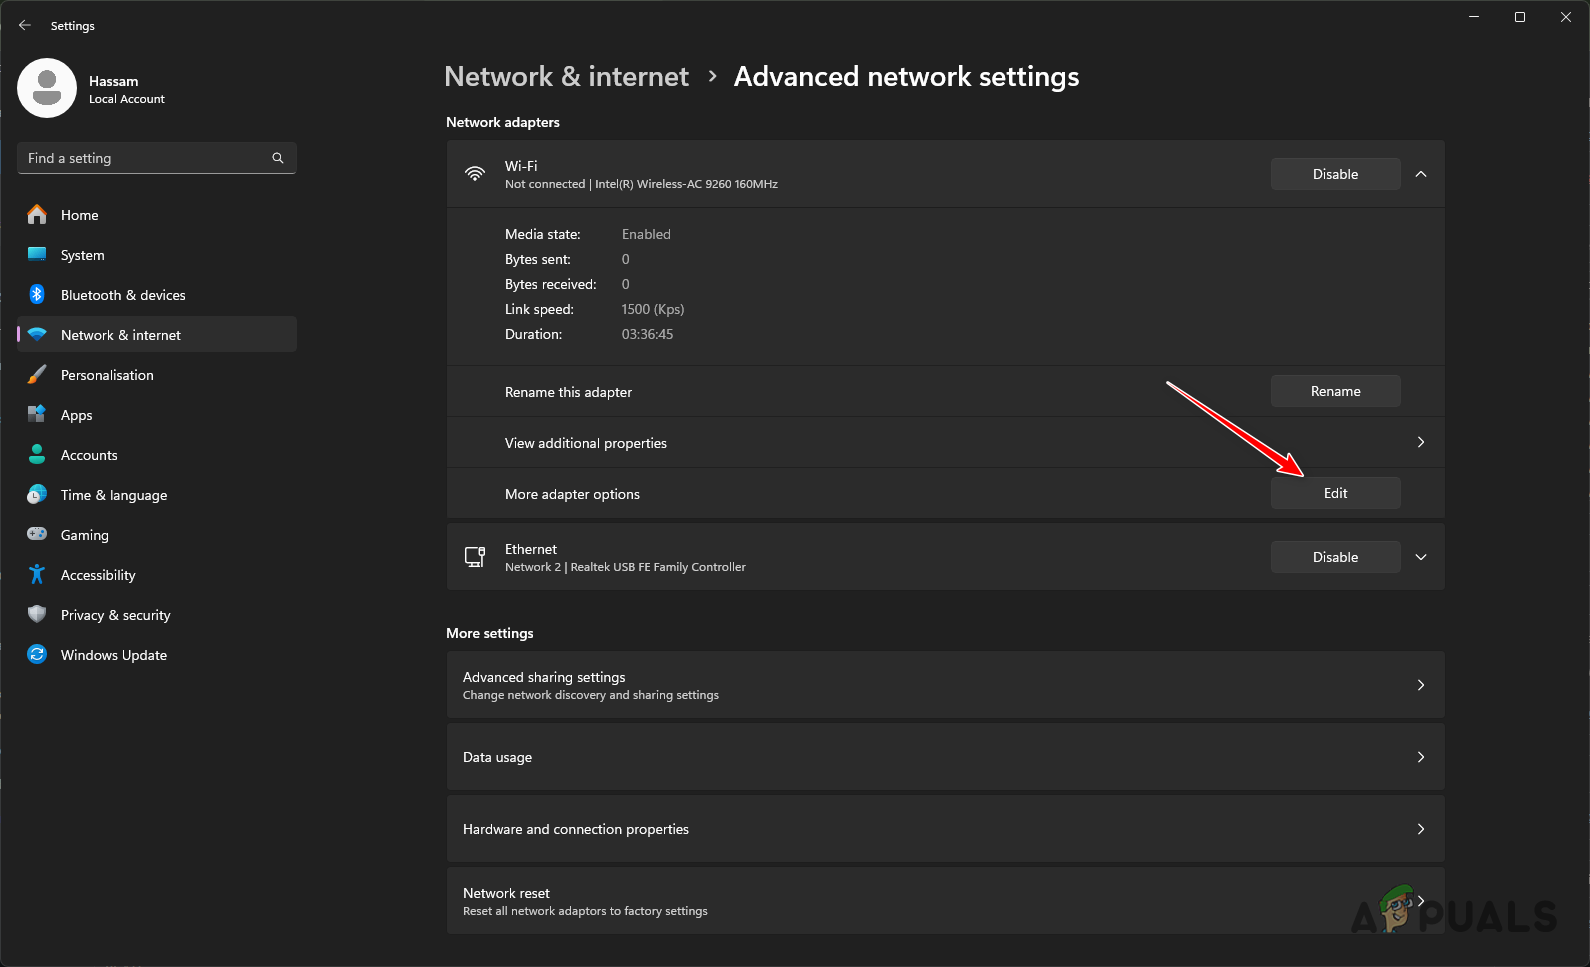
Navigating to Advanced Network Settings - Click the down arrow next to your Wi-Fi adapter.
- Select Edit from the menu.
Editing Wi-Fi Adapter Options - In the Wi-Fi properties window, uncheck Internet Protocol Version 6 (TCP/IPv6).
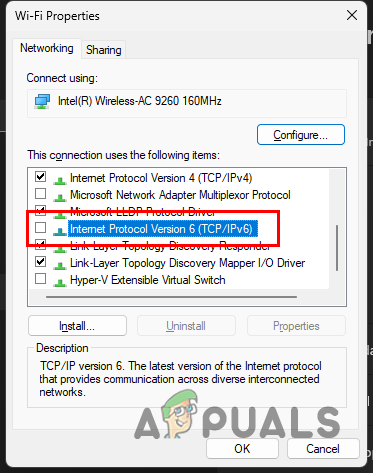
Disabling IPv6 - Click OK and observe if this change fixes the issue.
4. Disable Background Apps
One effective strategy is to stop the background applications. These apps can sometimes use network resources or interfere with the Wi-Fi adapter’s functionality, potentially disrupting the automatic initiation of Wi-Fi connections.
By shutting down such background programs through the Task Manager, you might free your network adapter to perform optimally during system startups, facilitating a smoother and more reliable auto-connection process.
- Right-click the Start Menu icon and select Task Manager.
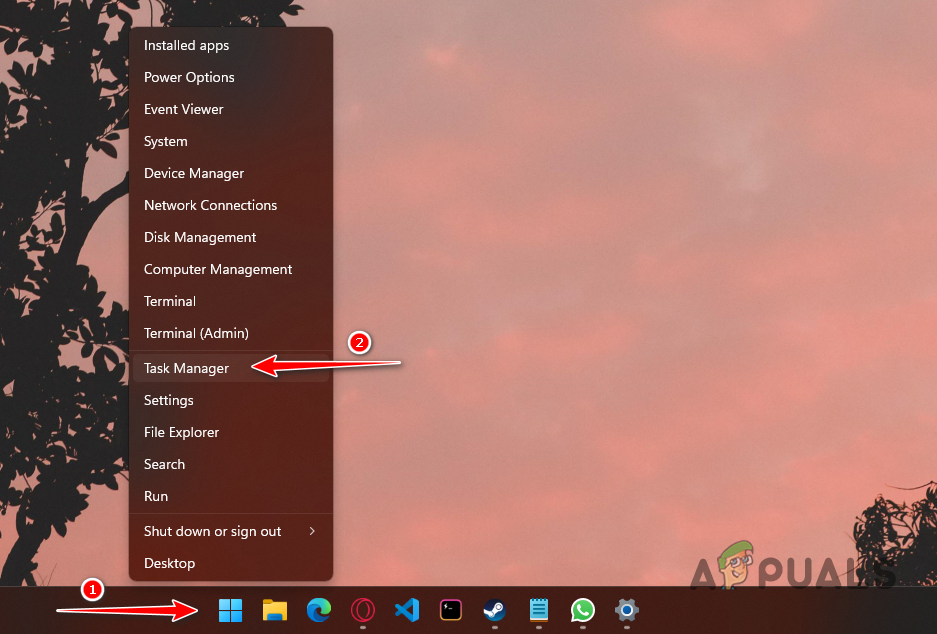
Opening Task Manager - Identify any non-essential third-party apps.
- Select each application and click End task.
- Toggle your Wi-Fi off and back on to test connectivity.
5. Disable Wi-Fi Adapter Power Management
This feature is designed to conserve energy by powering down your Wi-Fi adapter when it’s inactive. However, in doing so, it can accidentally hold back the adapter’s ability to automatically reconnect when you start your computer. By turning off this power-saving option, you provide a clear signal for your Wi-Fi to remain ready and active, making sure a swift and smooth connection to your network every time your PC powers up.
- Search for and open Device Manager from the Start Menu.
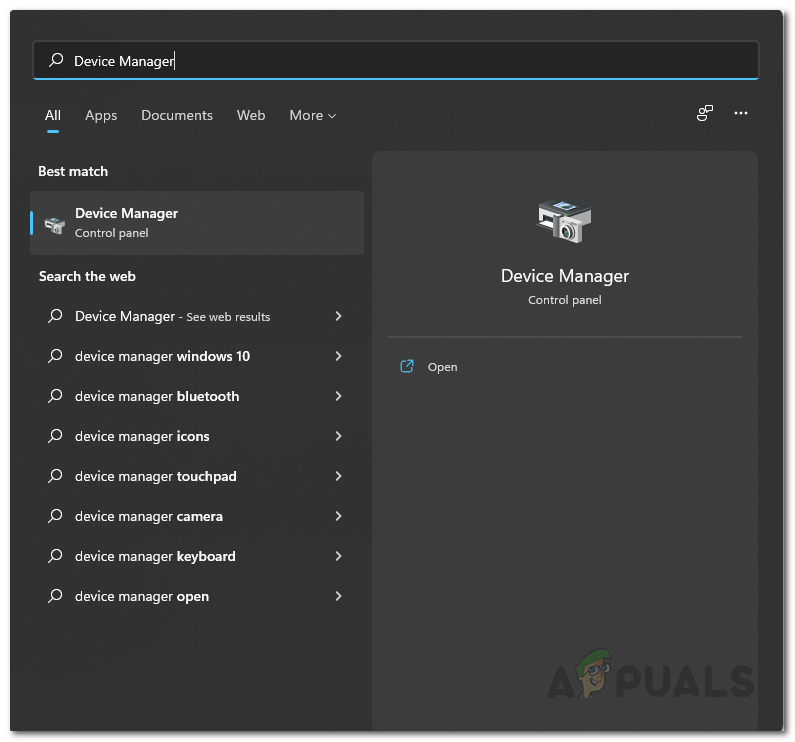
Opening Device Manager - Expand the Network adapters section.
- Right-click on your Wi-Fi adapter and select Properties.
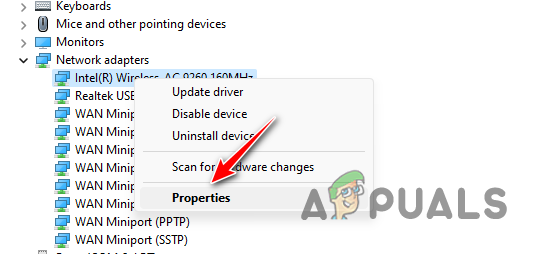
Navigating to Wi-Fi Adapter Properties - Go to the Power Management tab.
- Uncheck the Allow the computer to turn off this device to save power option.
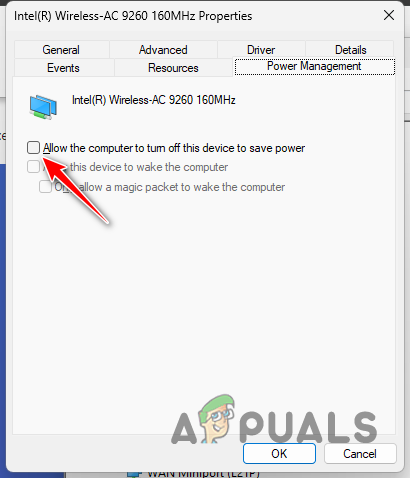
Disabling Power Management for Wi-Fi Adapter - Click OK.
6. Disable Simultaneous Connection Minimization
Encountering issues with automatic Wi-Fi connections can sometimes be linked to a lesser-known Windows policy designed to limit simultaneous network connections. By turning off this feature, you remove the restriction that might be preventing your computer from smoothly connecting to your Wi-Fi network upon starting up.
This adjustment allows your system to reach out to the network without delay or policy-imposed limitations, which can result in a more reliable auto-connect experience.
- Use the search function to find and open Edit group policy.

Opening Local Group Policy Editor - Navigate to Computer Configuration > Administrative Templates > Network > Windows Connection Manager.
- Double-click the Minimize the number of simultaneous connections to the Internet or a Windows Domain policy.
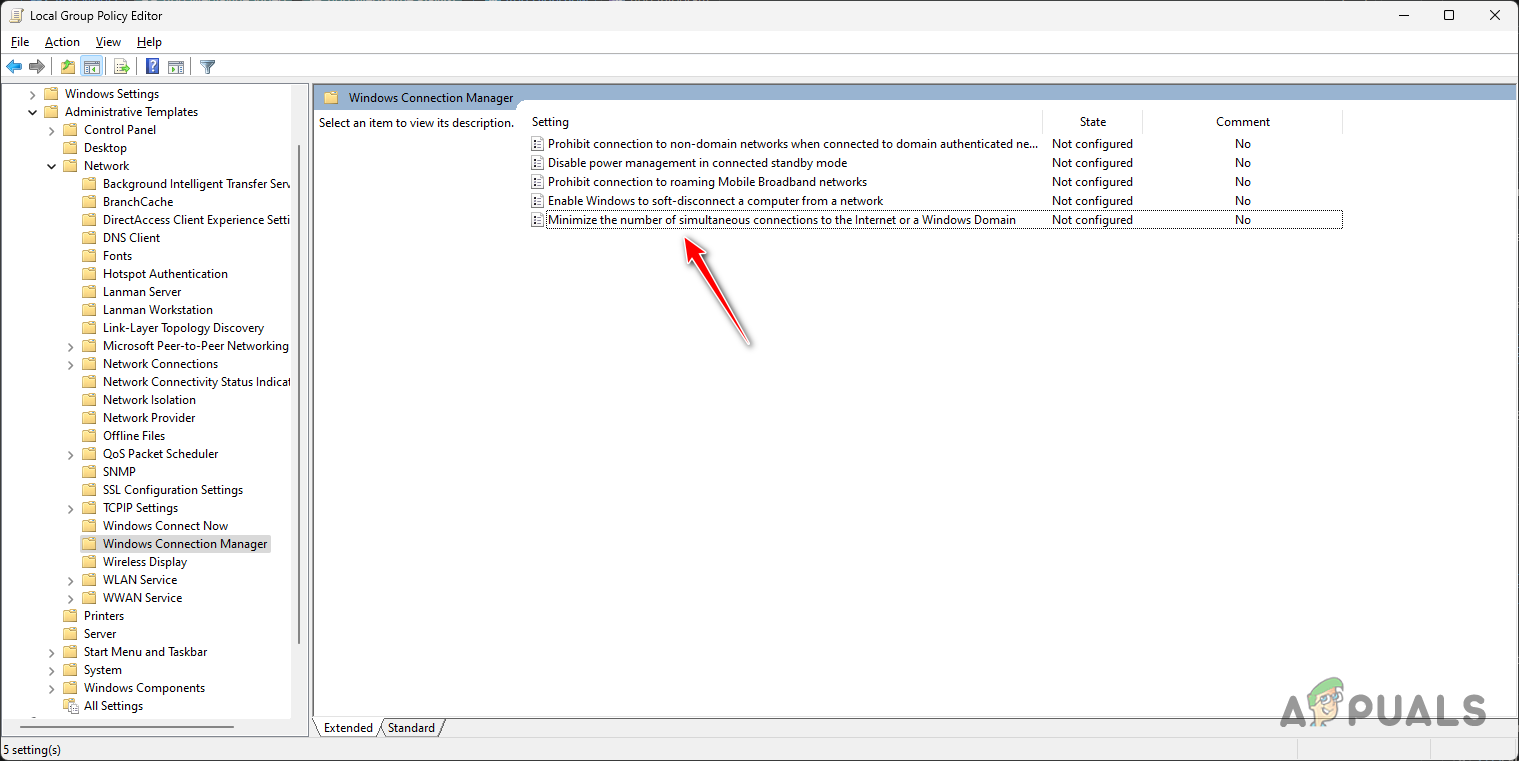
Opening Simultaneous Connection Minimization Policy - Set the policy to Disabled, click Apply, then OK.
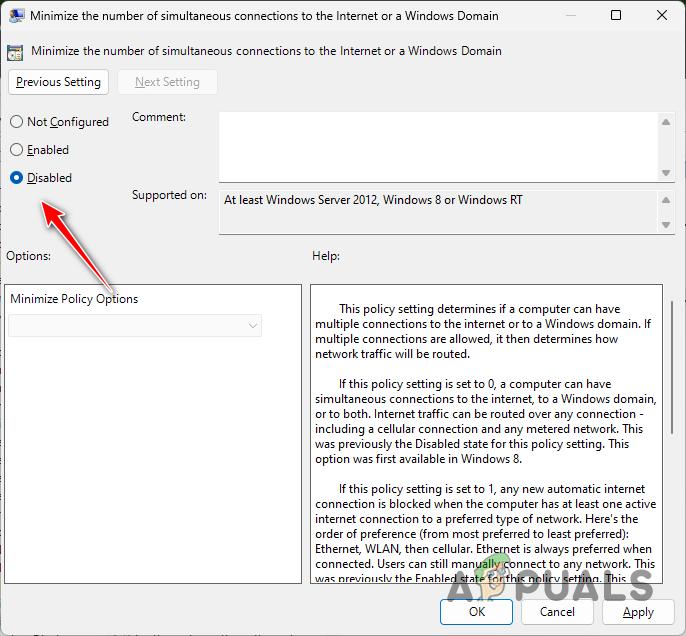
Disabling Simultaneous Connection Minimization Policy - Restart your computer for the changes to take effect and check your Wi-Fi connectivity.
7. Reset Network Settings
Resetting network settings clears any existing configurations that might be causing trouble, such as incorrect settings, corrupt profiles, or misconfigured protocols. By reverting to the default settings, it paves the way for rebuilding your network connection from the ground up, potentially clearing any glitches that prevented automatic Wi-Fi connections in the first place.
- Open the Settings app with Win key + I.
- Navigate to Network and Internet > Advanced Network Settings > Network Reset.
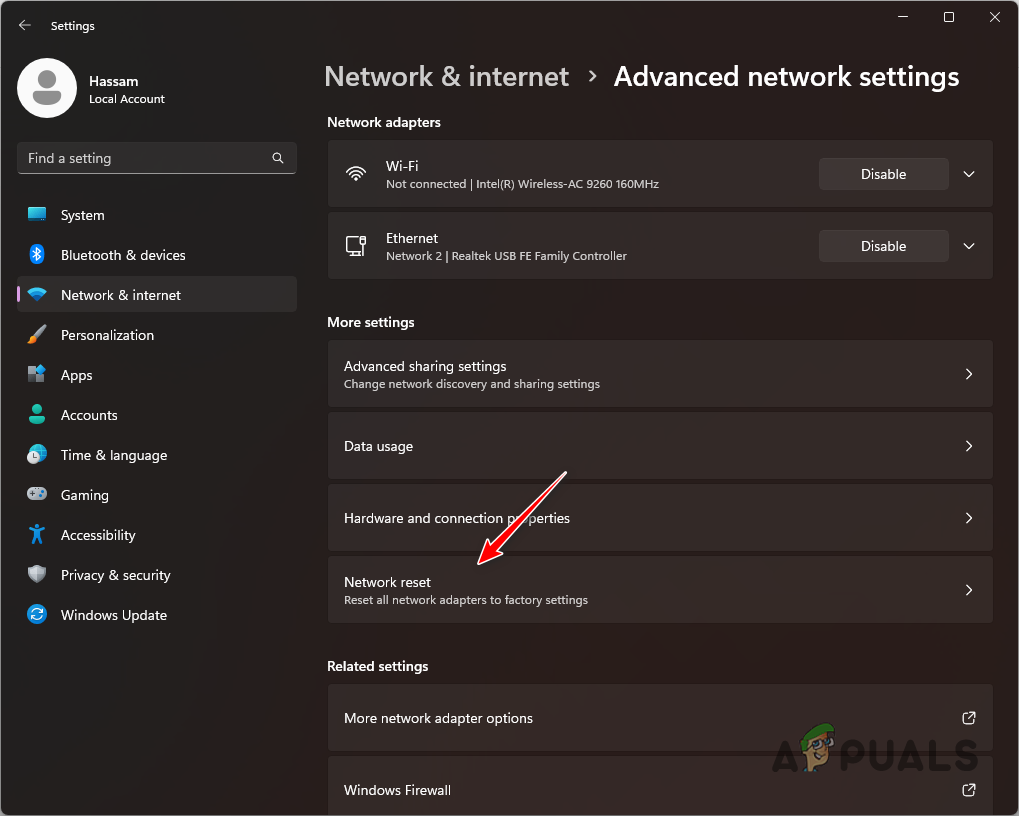
Navigating to Network Reset - Select Reset now to begin resetting your network settings.
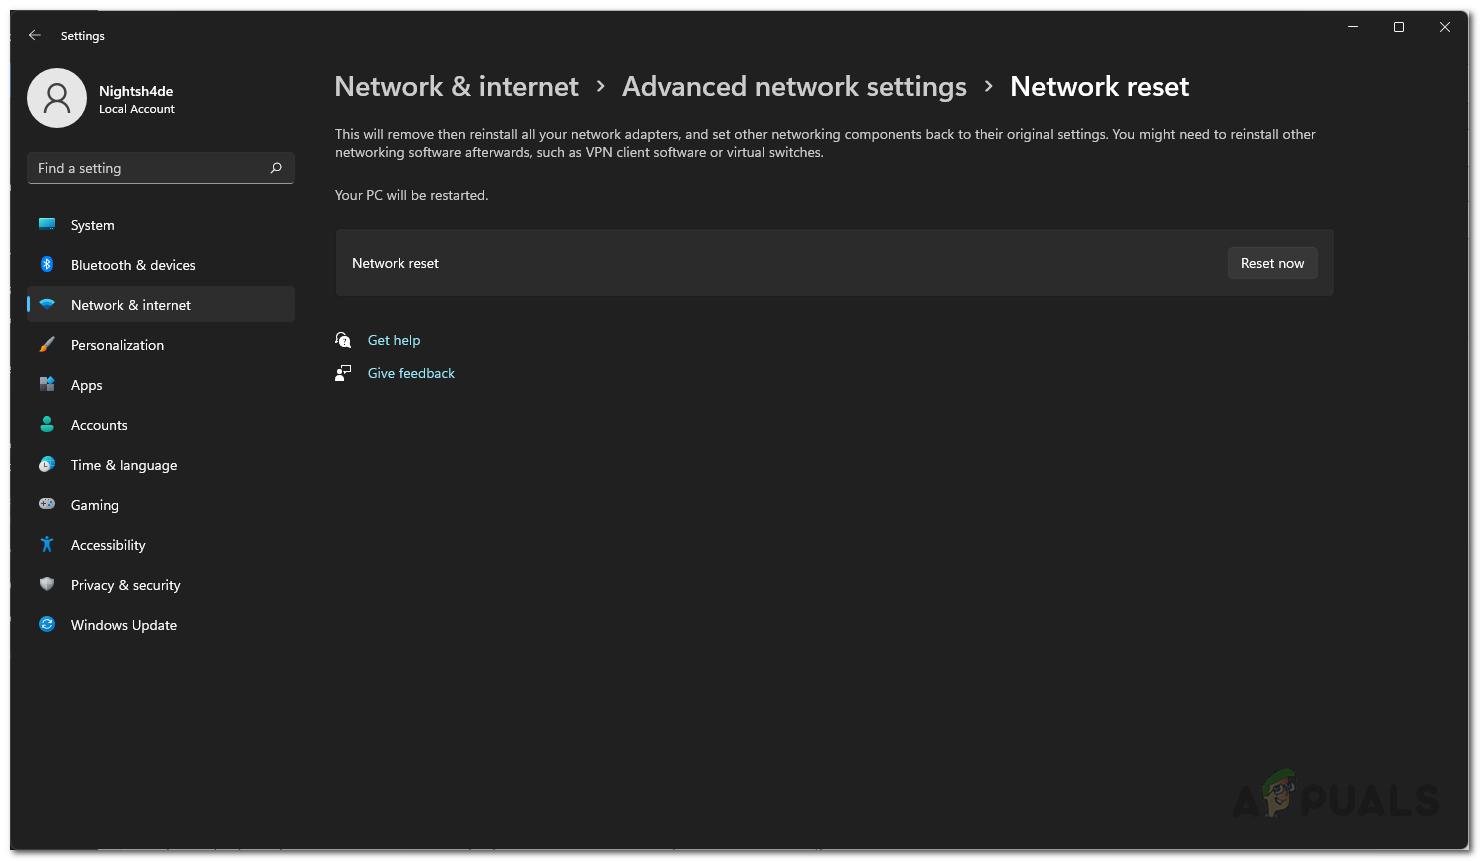
Resetting Network Settings - After the reset, check to see if your Wi-Fi now connects automatically on startup.
8. Manually Assign IP Address
When a device fails to automatically acquire an IP from the DHCP server at startup, it can leave you disconnected. By setting a static IP, you effectively create a stable and unchanging point of connection. This consistency prevents potential DHCP inconsistencies and makes sure that your device has a specific address to latch onto, enabling an uninterrupted Wi-Fi connection whenever you power up.
- Open the command prompt from the Start Menu by searching for it.
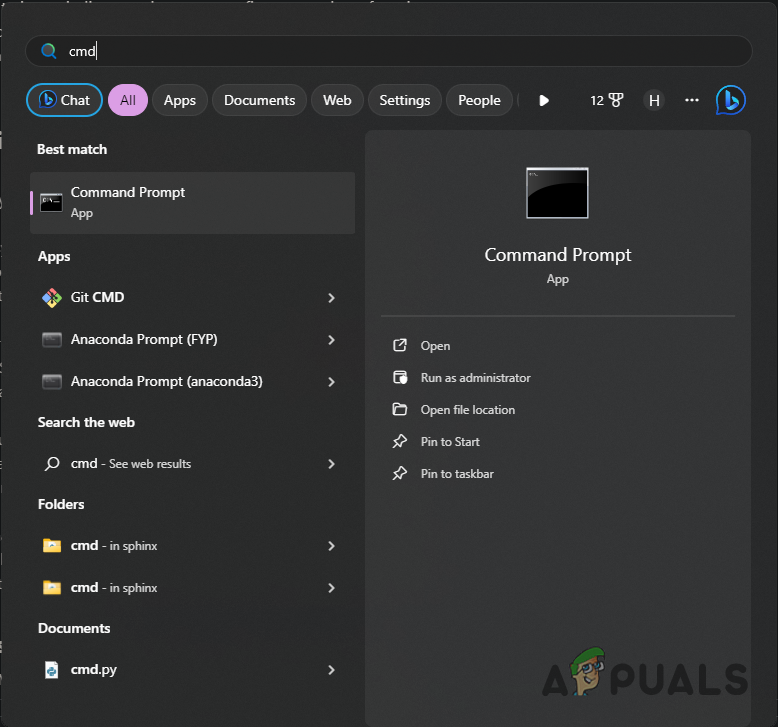
Opening Command Prompt - Type ipconfig to display your network configuration details, including the Default Gateway and Subnet Mask.

Network Connection Details - Follow the path in Settings: Network and Internet > Advanced Network Settings.
Navigating to Advanced Network Settings - Expand Wi-Fi settings and select View additional properties. Then, click Edit next to IP Assignment.

Navigating to Wi-Fi Adapter Details - Enable IPv4 and enter the required Subnet Mask and Default Gateway. Choose an IP address outside of your DHCP range and set DNS servers, for example, Google’s, if you prefer.
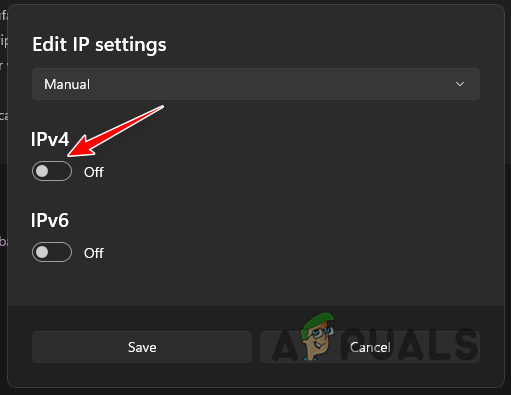
Enabling IPv4 - Save your settings and then verify the Wi-Fi connection functionality.
Following these methods should help resolve the issue of Wi-Fi not connecting automatically. If problems persist, consider seeking further assistance from the official Microsoft support team.