Fix: Video Freezes During Playback on Windows 10
For some Windows 10 users, updating from previous OS versions introduced a peculiar bug; their videos started freezing after every few seconds of playback. Despite updating drivers and trying many different video players, the error didn’t disappear. In this article, we will be sharing two methods to get rid of this problem. We recommend following the first method first and if it still doesn’t work out for you, move on to the next one.
Method 1: Create a New Administrator Account
The first method that we are going to share will involve the removal of the administrator account that you are currently on and then re-addition of it again. IMPORTANT: Please ensure that you have made a back-up of all the documents and important files present on the current administrator account before you proceed:
Firstly you will have to login with another administrator account. If you don’t have an administrator account, then you can make one by following these steps:
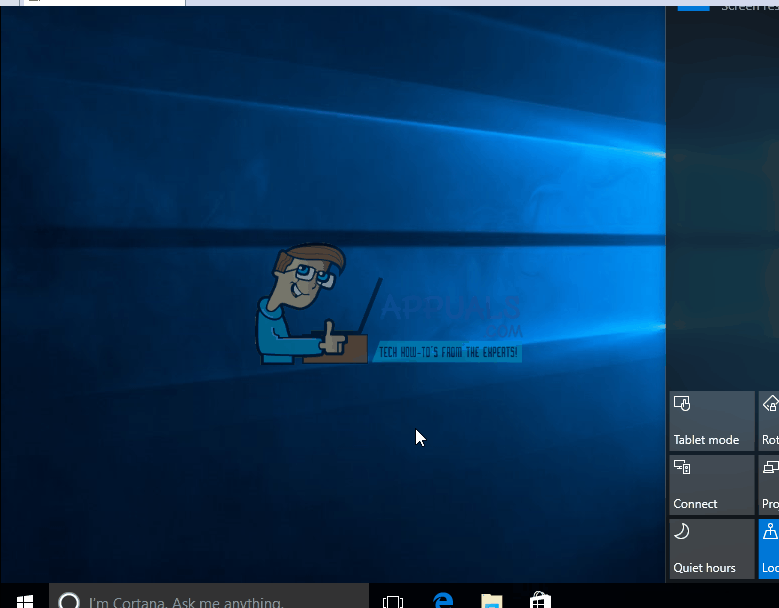
Go to Settings by pressing “Windows key + A” and selecting “All settings”
Now go to “Accounts” and move over to the “Family and other users” tab.
Click on “Add someone else to this PC”. Follow the on-screen instructions and add the account with the type of information that you want. You can either add a local account or a Microsoft Account.
Once the account is added, they will start showing under the “Other users” section.
Click on the user, select “Change Account type” and change from “Standard” to “Administrator”
Once you have signed in with the other administrator account, delete the original account where you were having video freezing issues and create a new user.
This should solve the problem for you. If it doesn’t try our second method.
Method 2: Disable Battery from the Device Manager
As a second method, we will be asking you to disable your battery from the device manager. This is a really strange solution to an even stranger issue. Some users have replaced their batteries to solve the problem while others have just removed it from their laptops. We will suggest a cleaner way to just disable the battery, still make it function as a UPS and fix the issue anyway. Follow these steps:
Press the “Windows key +X” button and select “Device manager” from the list.
Under “Batteries”, select your battery, right click on it and choose “Disable”.

Strangely now Windows won’t know whether you still have a battery in the laptop and the error will disappear. As mentioned, replacing or removing the battery can also help but this is a better solution. Let’s know in the comments what worked out for you!