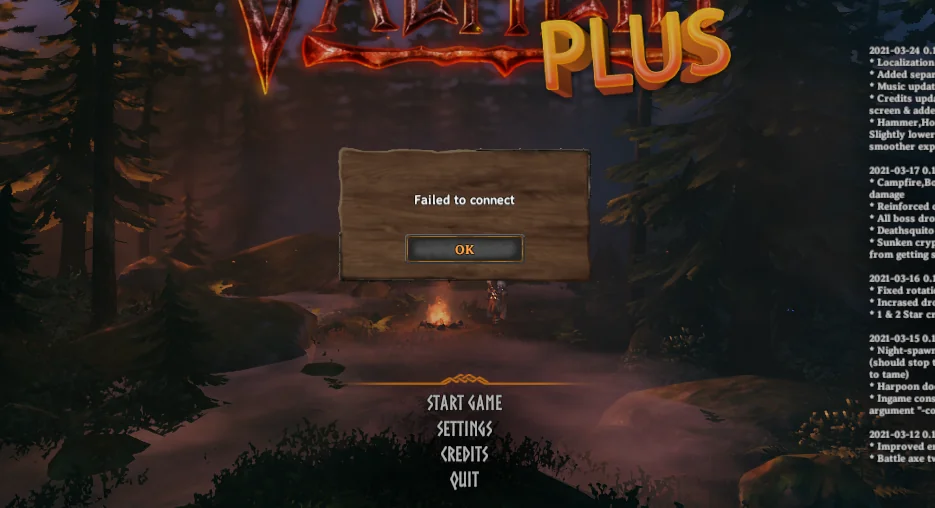
How to Fix ‘Failed to connect’ Error in Valheim?
The Failed to connect issue in Valheim can arise when attempting to join either a local or a dedicated Valheim server. It may stem from various factors such as firewall settings that block the server connection, disabled crossplay preventing server access, and other technical setbacks.
Following this guide to the end can help you address these problems.
1. Try Connecting Via Direct IP
To troubleshoot, attempt a direct connection to your server using the IP address and port, such as 192.168.10.1:2456
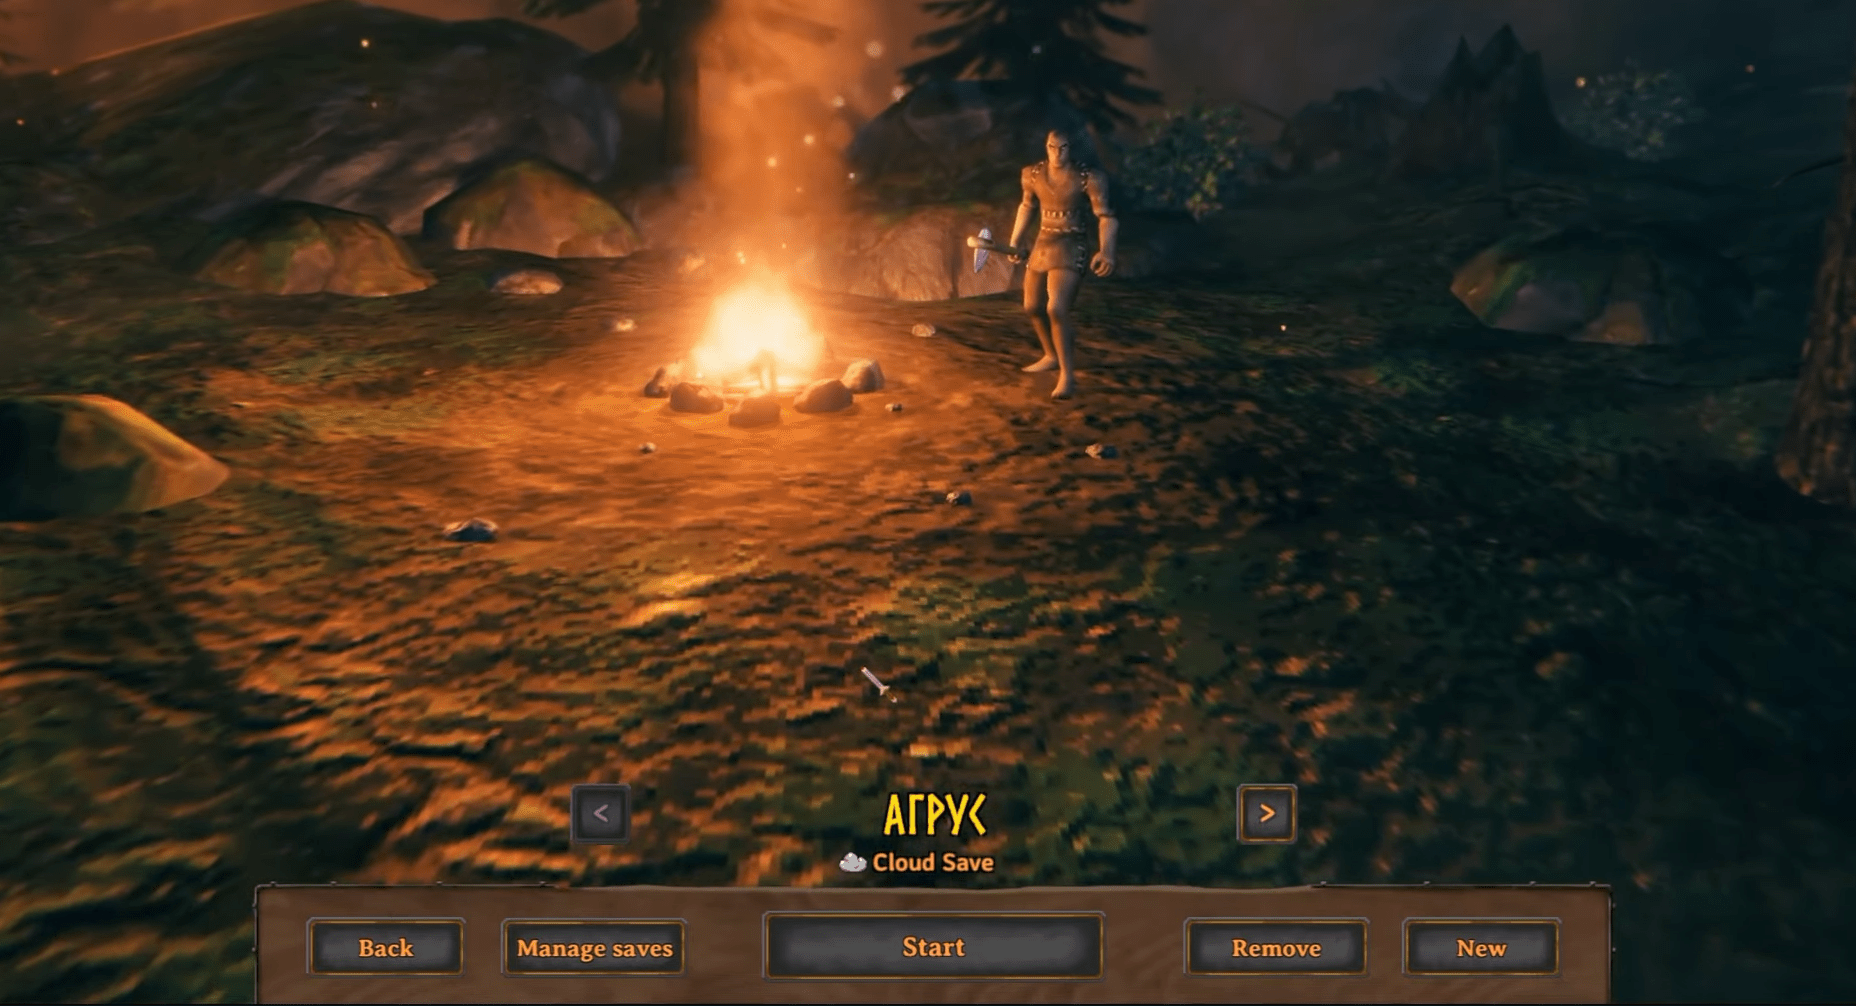
- Launch the game and select the Start Game button.

- Choose your character and press the Start button.
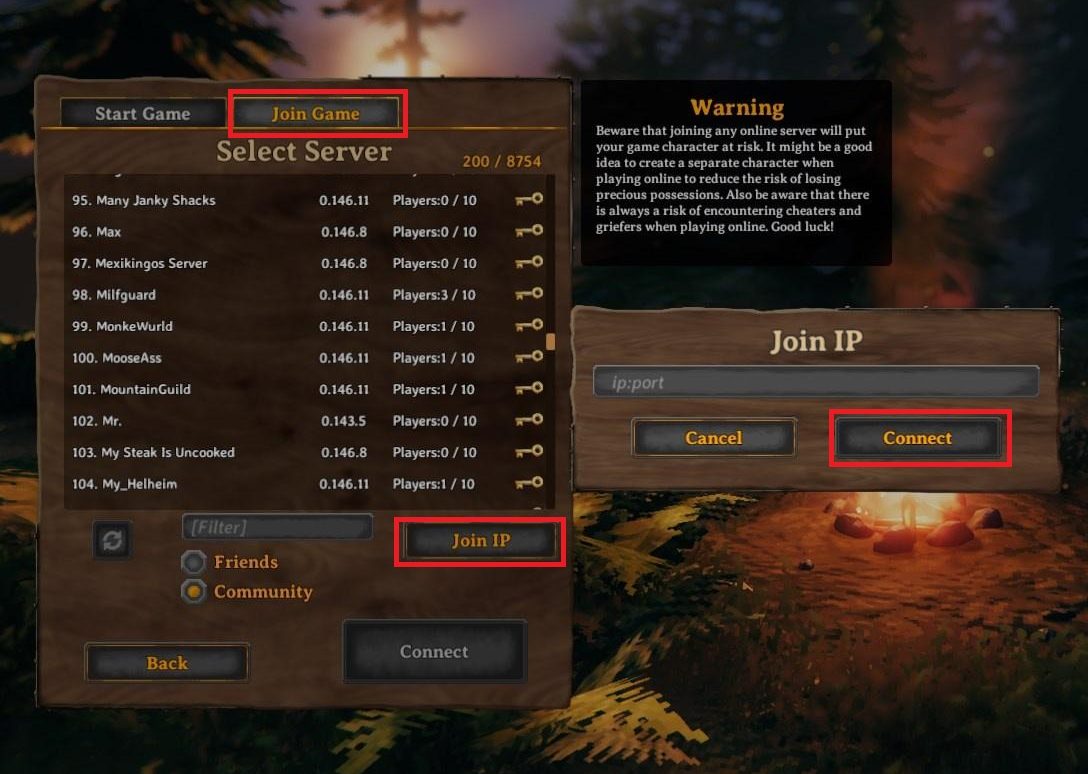
- Switch to the Join Game tab, click on Join IP, enter the server’s IP address and port, and click Connect to join the server.
2. Disable Crossplay on Your Valheim Server (Host only)
If you’re hosting on a local or a dedicated server, turning off crossplay may resolve connection issues. Edit your server’s .bat file, remove the “-crossplay” entry, save the modifications, and restart the server. On your next connection attempt, the error should no longer appear.
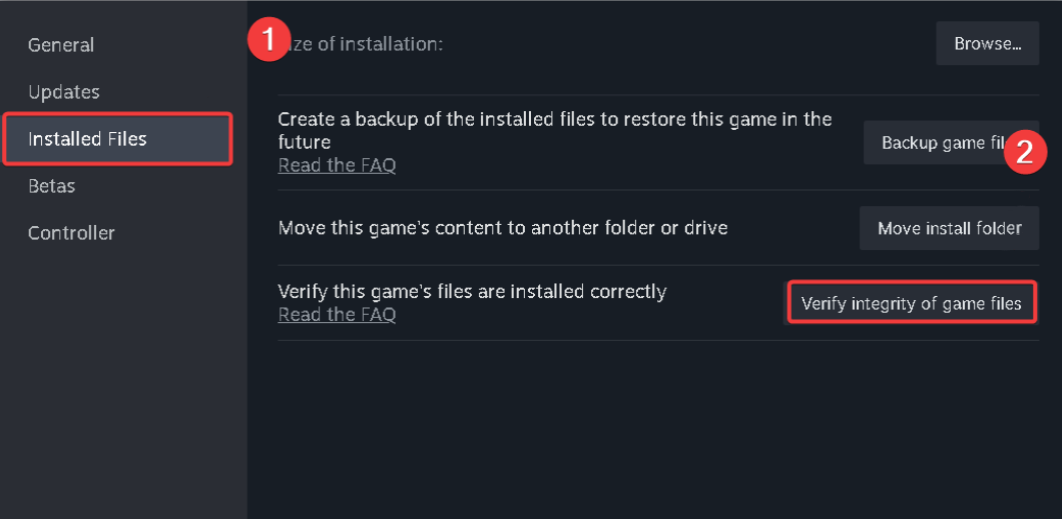
3. Verify the Integrity of Valheim Game Files
A game server checks if the client’s files match its requirements before allowing access. Failed to connect errors can arise from outdated or missing client files. You can verify and repair the game files through the game launcher, although it might take a while.
- In your Steam library, right-click on Valheim and select Properties.
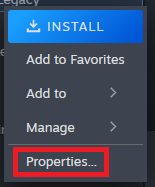
- Switch to the Local Files tab and click the Verify integrity of game files button.
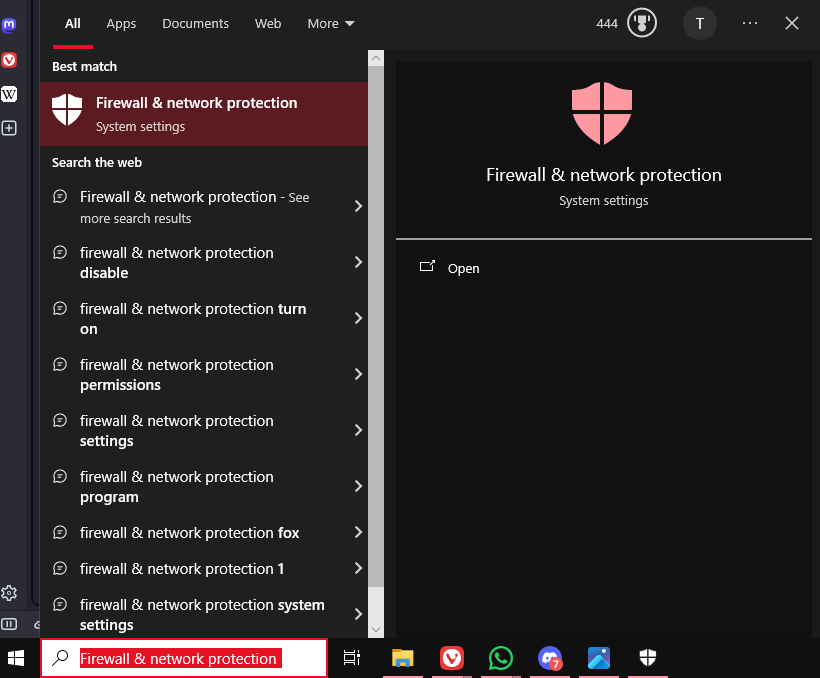
4. Allow Valheim Through the Firewall
The Failed to connect issue may also result from the firewall blocking Valheim’s internet access. Allowing the game through your firewall settings can solve this:
- Press the Windows logo key, type “Firewall & network protection” in the search bar, and press Enter.
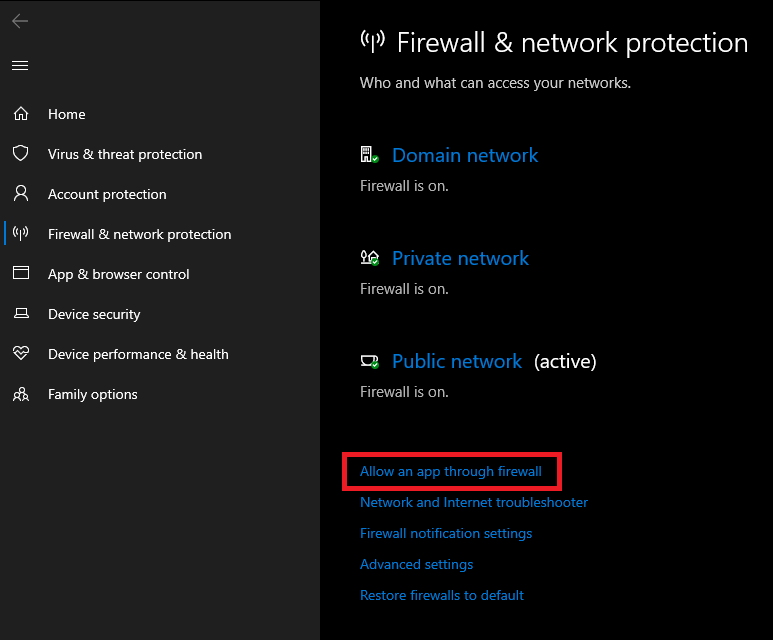
- Select “Allow an app through firewall.”
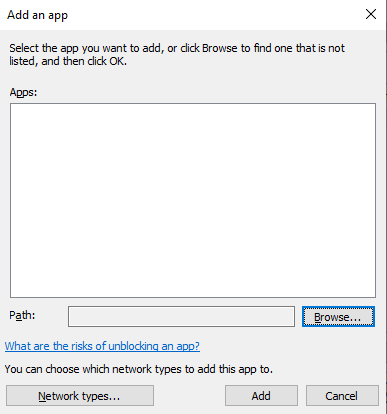
- Click on “Change settings” and then on “Allow another app…” to access the interface for adding new applications.
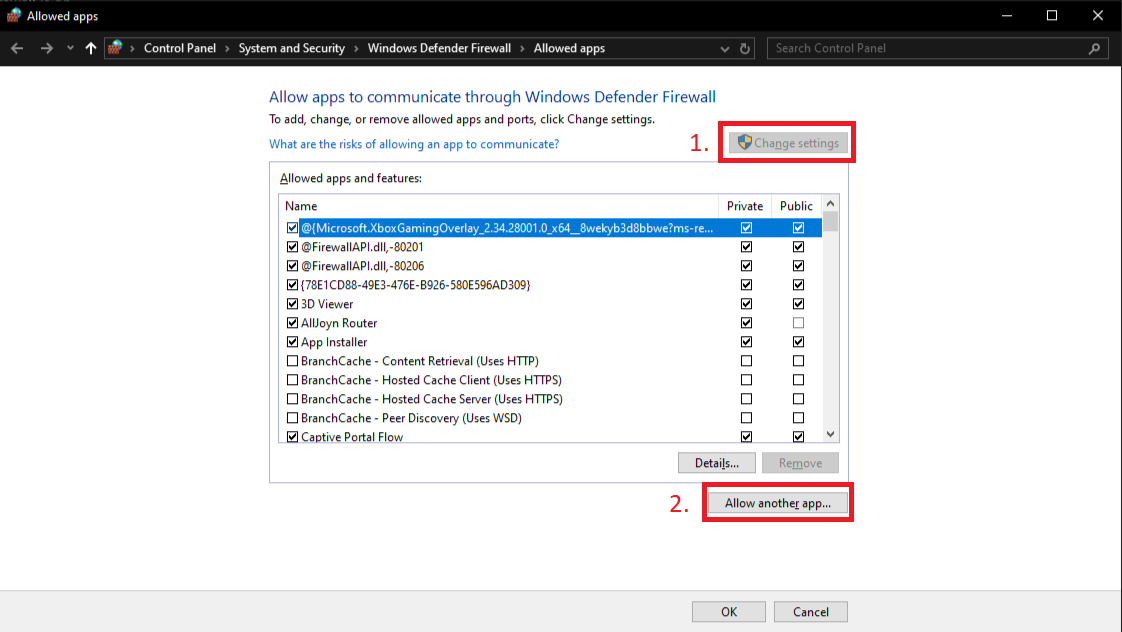
- Select Browse…, find Valheim’s executable file to add it to the list, granting authorization through the firewall.
5. Restart Your Modem or Router
Restarting your modem or router can resolve temporary errors, assign a new IP address to your device, and optimize the flow of internet traffic, which may improve the connection.
6. Port Forwarding for Valheim
If you’re struggling to connect to a Valheim server, port forwarding may be a viable solution. This technique involves configuring your router to direct the game’s incoming network traffic to your PC:
- Revisit your router’s IP address in your web browser.
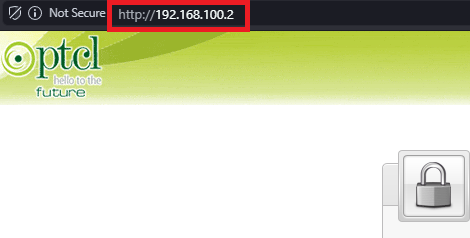
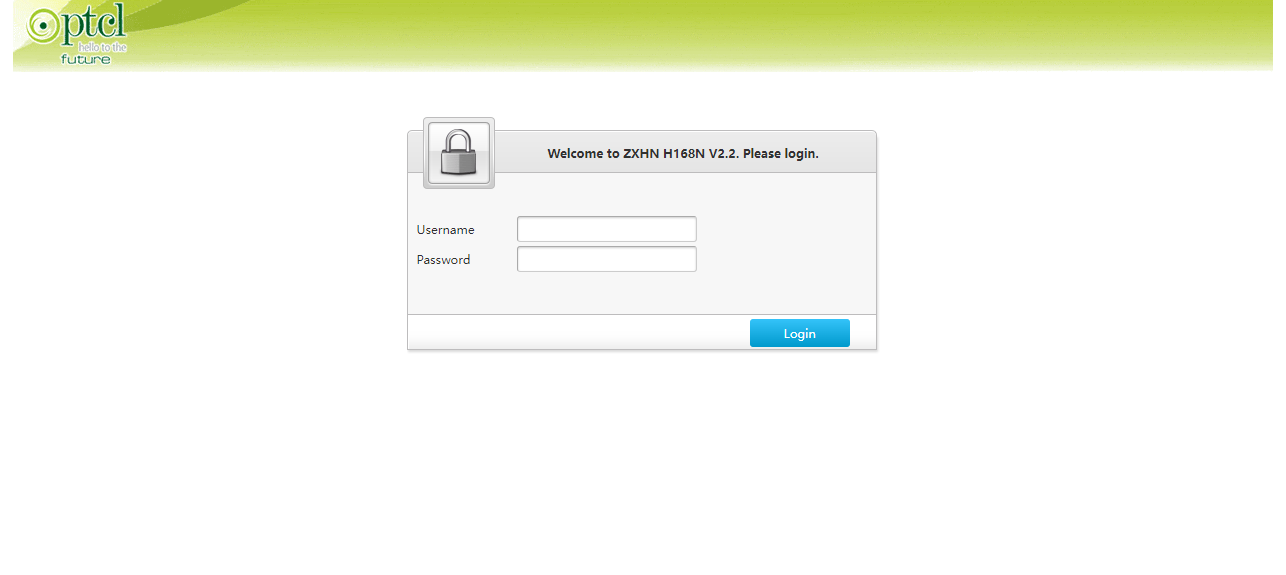
- Use your login credentials to access your router settings.
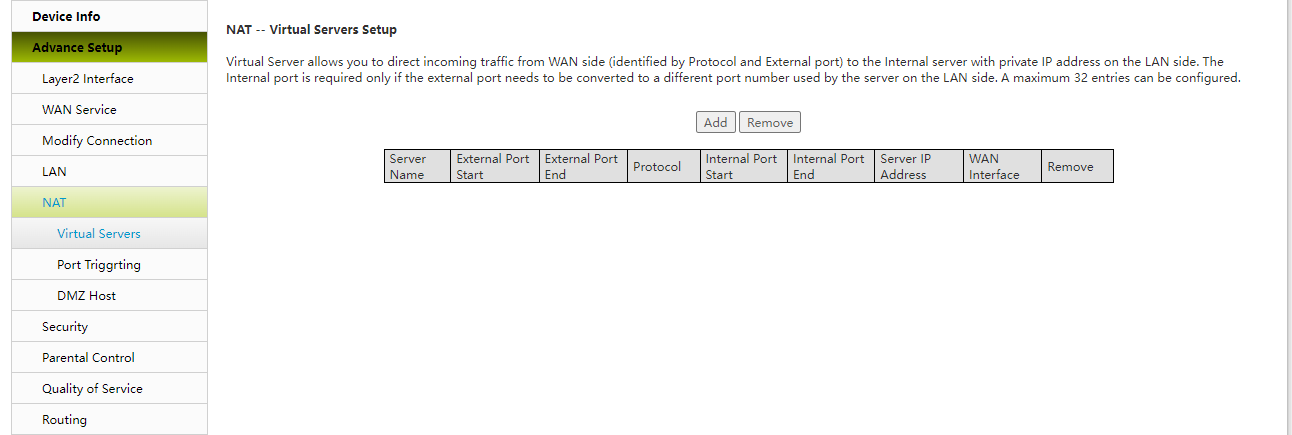
- In the configuration menu, go to Advanced Setup > NAT > Virtual Servers. Press the Add button to port-forward the necessary ports for Valheim—2456, 2457, and 2458—for both TCP and UDP protocols.
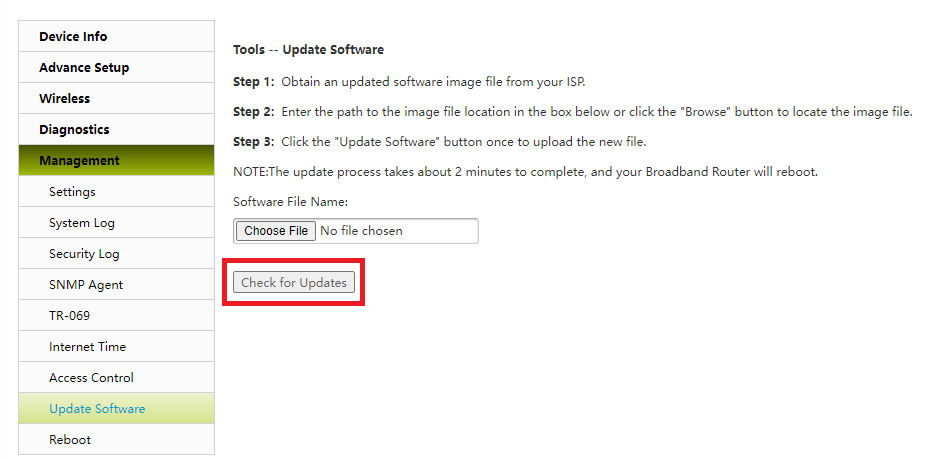
7. Update Your Router’s Firmware
Outdated firmware in your router can lead to the Failed to connect error. Some security protocols required for game server communications may not be supported by older firmware. Updating can provide your router with these protocols and could help reestablish server connectivity:
- Open your web browser and type your router’s IP address into the address bar. You can locate your router’s IP address on the sticker at the back of the device.
- Log in to your router using the credentials, typically found on the device’s back.
- After logging in, proceed to the Management tab > Update Software, click the “Check for Update” button to search for and install any available firmware updates. Keep in mind that navigation might vary depending on router make and model.