How to Fix ‘USBIEUpdate Stopped Working’ Error on Windows 10 / 11?
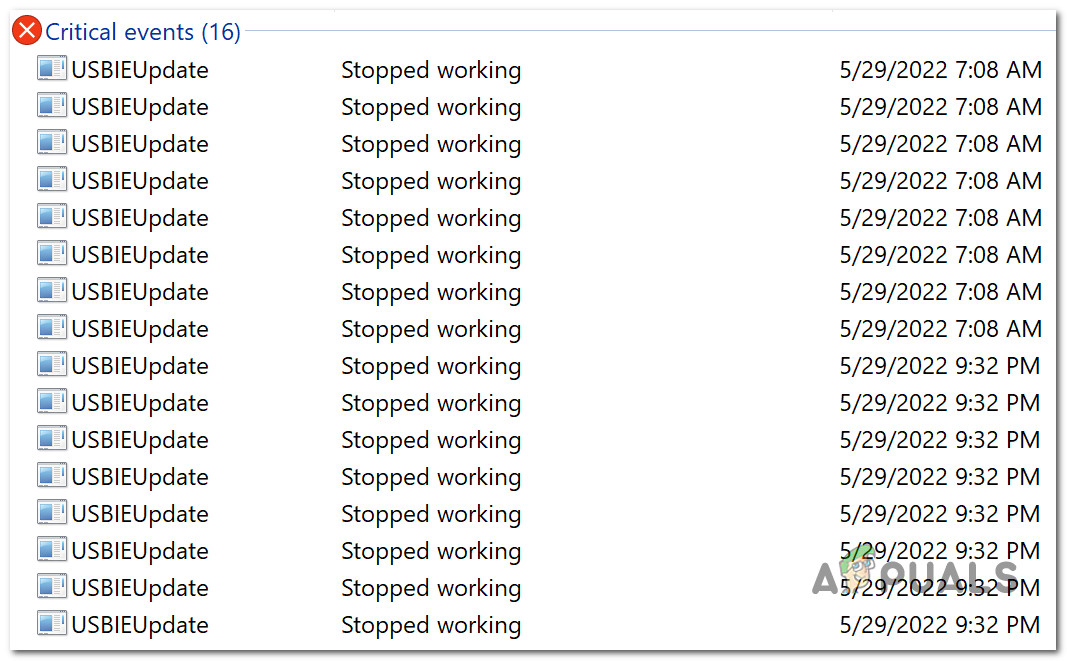
Several Windows 11 are experiencing dozens of Critical System events with the ‘USBIEUpdate.exe Stopped Working‘ error every time they boot up their Windows computer. This problem is confirmed to occur on both Windows 10 and Windows 11.
After investigating this issue and after analyzing dozens of user reports, it turns out that there are several different potential causes that will ultimately trigger this issue:
- Software conflict caused by Dell Support Assistant – It turns out that the OS fails as a result of the Dell Supporting software apparently interfering with a kernel process. Currently, the only method to get rid of this significant annoyance on Dell computers running Windows 11 is to delete the Dell Support software.
- Outdated Windows Defender signatures – You might be noticing a discrepancy because outdated Windows Defender signatures are forcing your OS to produce these dangerous “USBIEUpdate.exe Stopped Working” issues. Update your Windows Defender virus signature using CMD to remedy this.
- Outdated USB Serial Bus Controller driver – Another potential cause that is often overlooked is a scenario in which your Serial Bus Controller drivers are outdated or not fully compatible with your current OS version. To fix this, simply reinstall all the Serial Bus Controller drivers via Device Manager.
- System File Corruption – As it turns out, a recent system change might have indirectly caused some type of system file corruption that creates these critical errors at every startup. In this case, you can fix the issue by using System Restore or by going to a repair install or clean install.
Now that we went over every potential reason why you might end up seeing these critical errors inside your Event Viewer, let’s go over a series of verified fixes that other affected users have successfully gotten to the bottom of this issue and prevented any new critical errors from occurring.
1. Uninstall Dell Support Assistant
You should be aware of this strange conflict between Windows 11 and the Dell Supporting Center or Dell Support Assistant programs if you use Dell devices.
Many Dell desktop, ultrabook, and laptop users are currently claiming that their Windows 11 installation breaks every time they put it in Sleep mode or when they keep it idle for a lengthy period of time. This may change in the future.
Important: Skip this technique completely and move on to the next one below if you are not using any Dell hardware or if the Dell Supporting Center, Dell Support Assistant, or other Dell tools are not installed.
It turns out that the Dell Supporting software is to blame for this, which allegedly interferes with a kernel process and crashes the OS.
Currently, uninstalling the Dell Support program on Windows 11 Dell machines is the only way to get rid of this serious nuisance.
Note: You can also attempt installing the most recent version of the program if one is released, to see whether Dell’s developers have patched the problem.
If you want step-by-step directions on how to resolve this inconvenience, read the information below:
- To bring up the Run dialog box, press the Windows key + R. Then, enter “appwiz.cpl” into the text box to launch the Programs and Features menu.

Open up the Programs and Features menu - When the User Account Control windows appear, select Yes to give admin access.
- Find the Dell Supporting software by scrolling down the list of installed programs in the Programs and Features menu.
- After you’ve found the relevant program, right-click on it and select Uninstall from the pop-up context menu.
- On the removal page, follow the on-screen directions to finish removing the Dell Supporting tool. Then, reboot your computer and check to see if the problem has been resolved by putting it back into hibernation mode.
Note: If you rely on Dell’s supporting software a lot, you can also visit Dell’s official download page to get the most recent version of it under the name Dell Support Assistant. Here are a few additional Dell computer troubleshooting techniques you might attempt.
If after uninstalling the Dell Supporting Center program, the same “USBIEUpdate.exe Stopped Working” problem still appears,
2. Update Windows Defender virus signatures via CMD
You may be experiencing an inconsistency as a result of your OS being forced to generate these serious “USBIEUpdate.exe Stopped Working” problems by out-of-date Windows Defender signatures.
You must run a series of CMD commands to update Windows Defender with the most recent virus signatures in order to resolve this problem. However, in order to achieve this, we must first delete the existing copies of all the definitions and then command the terminal to download them all again at once.
To implement this strategy completely, adhere to the procedures below:
- To bring up the Run dialog box, press Windows key + R.
- To launch an elevated Command Prompt with admin privileges, put “cmd” into the text box and hit Ctrl + Shift + Enter.

Open up a CMD window - To grant admin access at the User Account Control (UAC), click Yes.
- To remove all of the present Windows Defender definitions, paste the following command into the elevated Command Prompt and hit Enter:
“%PROGRAMFILES%\Windows Defender\MPCMDRUN.exe” -RemoveDefinitions -All
- After the first command has been successfully executed, execute the following commands in the same order to update Windows Defender’s definition library:
“%PROGRAMFILES%\Windows Defender\MPCMDRUN.exe” -SignatureUpdate
"%ProgramFiles%\Windows Defender\MPCMDRUN.exe" -SignatureUpdate -MMPC
7. Restart your computer and try installing the update that was previously unsuccessfully.
Go down to the next solution below if the “USBIEUpdate.exe Stopped Working” issue is still present.
3. Replace the Universal Serial Bus Controllers
When they updated the USB Controller driver to the most recent version, other affected users who reported the same issue confirmed that the problem was completely fixed in their case.
To fix this issue, open Device Manager and manually update each USB driver listed under Universal Serial Bus Controllers.
This technique has been demonstrated to be effective in situations where users were frequently finding serious faults after a system launch.
If this applies to your circumstance, do the following actions to replace all USB 2.0 and USB 3.0 drivers:
- Press the Windows key + R to launch the Run dialog box.
- Next, type “devmgmt.msc” into the Run dialog box and press the Enter key.
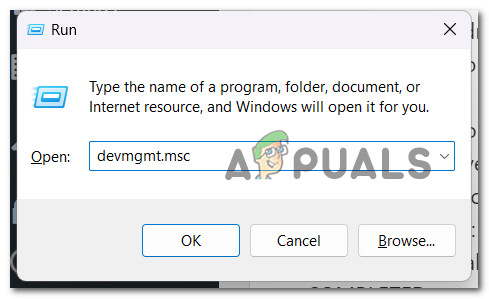
Open up Device Manager Note: From the UAC (User Account Control) menu, click Yes to provide administrator rights.
- After entering Device Manager, expand the drop-down selection for Universal Serial Bus controllers.
- Following that, a list of USB controller drivers will show up. Till they are all gone, right-click each one and choose Uninstall.
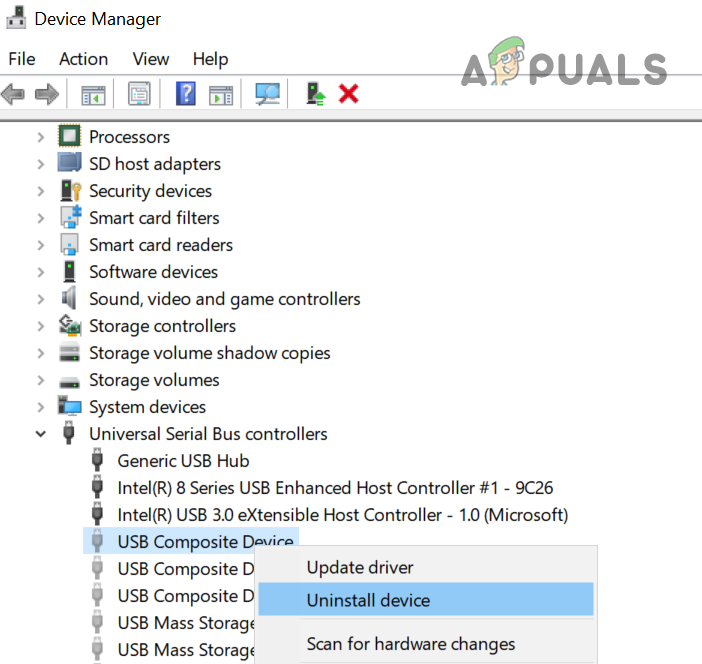
Uninstall every USB controller driver IMPORTANT: UNTIL THIS IS COMPLETED, DO NOT RESTART YOUR COMPUTER.
- After removing all Universal Serial Bus controllers, restart your computer.
- The USB 2.0 and USB 3.0 drivers will be absent when your Windows installation begins, and Windows will install generic driver replacements to stop this behavior from happening again.
- Restart your computer running Windows 10 or Windows 11 to see if the issue has been fixed.
If the issue still exists, try the next suggestion on the list below.
4. Use System Restore
The next thing you can do is to roll back your computer to a prior system restore point if you’ve tried all of the techniques listed above to cure the “USBIEUpdate.exe Stopped Working” error and you’re still receiving these serious errors every time you start it up. This has assisted some users in resolving the problem.
You can restore your computer’s state to an earlier time period using the System Restore feature of Microsoft Windows. This can be used to repair broken systems or other issues.
To restore your computer to a working condition, adhere to the steps below:
- To access the Run command, press the Windows key + R.
- To launch the System Restore wizard, enter “rstrui” in the Run box and press Enter.
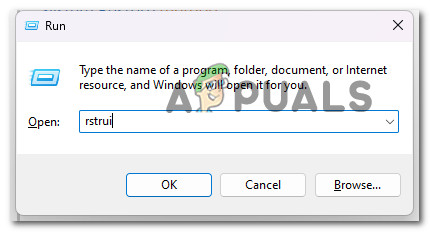
Open up System Restore - Select Choose a different restore point on the following screen, then click the Next button.
- Choose a restore point that was created before you noticed significant resource utilization, then click Next once more.
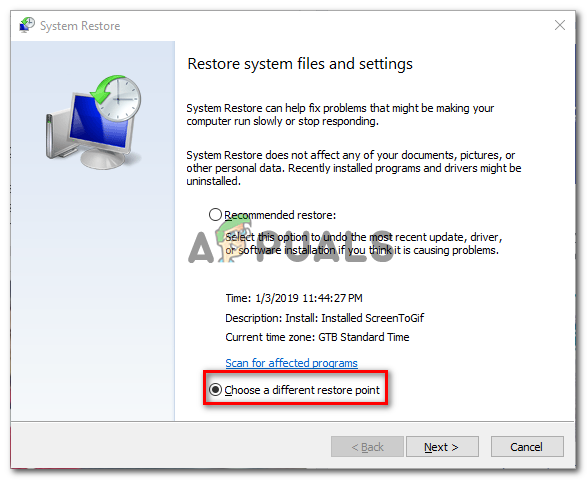
Choose a new different Restore point - After that, press Finish to begin the restoration process and wait for your computer to restart.
- Try booting your Windows 11 PC again and see if the “USBIEUpdate.exe Stopped Working” error at the next startup to check whether the issue has been resolved.
If the same kind of problem is still present, proceed to the next possible solution below.
5. Repair Install or Clean Install
If you’ve tried every suggestion in this article and you’re still getting the error message “USBIEUpdate.exe Stopped Working,” system file corruption is almost probably to blame and there is no known repair for it.
In this case, updating every Windows component is the best course of action to address the issue without needing to completely rebuild the OS (including boot data).
You have two options accessible to you:
- Repair Install – This method takes extra time (also known as in-place repair). The advantage is that you can keep all of your personal files (including private movies, games, programs, and even some user preferences) without having to back them up in advance, even if it requires the use of installation discs.
- Clean installation – You can launch it directly from the Windows 11 start menu without the requirement for an installation DVD. You will lose everything if you don’t back up your data before beginning this process.


