TPM Provisioning Service Not Working? Here’s the Fix!
Recently, several users have reported that they cannot use the TPM Provisioning service on their Windows operating system. They are faced with the ‘Error of service’ when they attempt to do so. The error is visible in the reliability manager of Windows and is most commonly related to the Tpmprovisioningservice.exe application.

We had a look into the issue and discovered that system file corruption and a faulty TPM service typically cause it. Listed below are several troubleshooting methods that helped several users fix the issue. Proceed with the one that suits you the best.
Perform SFC and DISM Scans in Safe Mode
If the TPM Provisioning service is not working on your PC, then one of the first things that you should do is check your system for corruption errors and inconsistencies.
Windows comes with several built-in tools that Microsoft has specifically designed for this purpose. Two of these utilities are the System File Checker (SFC) and Deployment Image Servicing and Management (DISM). Essentially, they scan the operating system for potential issues and resolve them without significant user input.
In this method, we will use both the utilities in Safe Mode. A safe-mode boot is one in which the operating system starts in diagnostic mode instead of normal operation. It starts the system with only the basic set of drivers.
Here is what you need to do:
- Press Windows + R keys simultaneously on your PC to open a Run dialog box.
- In the text field of the dialog box, type msconfig and hit Enter.

Running MSCONFIG - Head over to the Boot tab and check the box labeled as Safe boot inside Boot options. Hit Apply and OK button afterwards.

Enabling Safe Boot - Then, click on the Restart button and let your PC reboot.
- Inside the Safe Mode, type cmd in the search bar and hit Run as administrator.
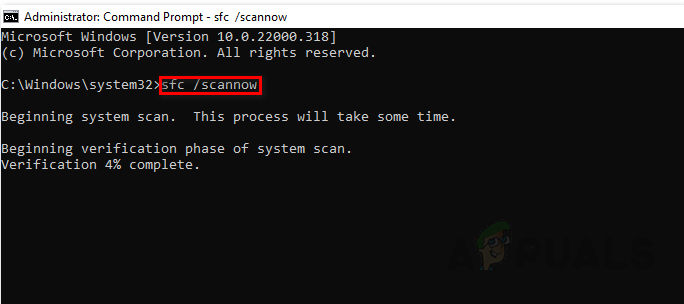
- Inside the elevated Command Prompt window, type the command mentioned below and hit Enter to execute it.
sfc /scannow
- Then, execute the following command.
DISM.exe /Online /Cleanup-image /Restorehealth
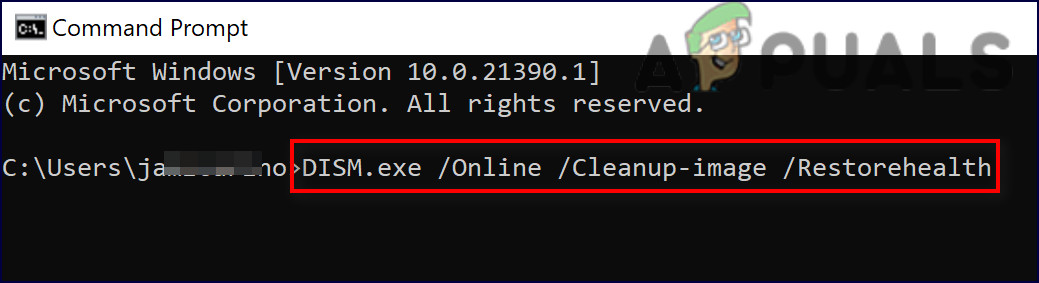
Enter the code - Once done, press Windows + R keys simultaneously on your PC to open a Run dialog box.
- In the text field of the dialog box, type msconfig and hit Enter.
Running MSCONFIG - Head over to the Boot tab and uncheck the box against Safe Boot.
- Hit OK and then restart your Windows.
Uninstall TPM
Another method to fix the TPM Provisioning service issue is to uninstall TPM from the Device Manager. Your operating system will automatically reinstall it once you reboot.
If TPM has become corrupt or outdated, re-installing it is likely to do the trick for you.
Here is how you can do that:
- Type Device Manager in the search area of your taskbar and hit Enter.
- Once you are inside the Device Manager window, scroll down to Security Devices and expand the menu.
- Right-click on Trusted Platform Module 2.0 and select Uninstall device from the context menu.
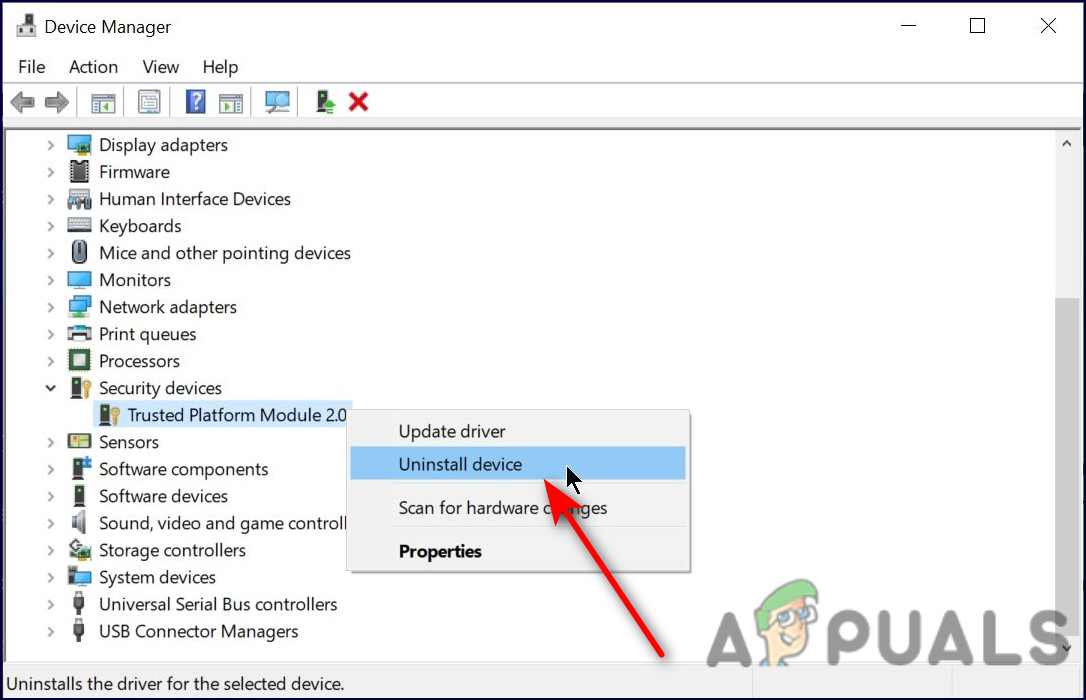
Uninstall - Select Uninstall again in the confirmation prompt and wait for the process to complete.
- Finally, restart your PC and check if the error is resolved.
Restart TPM Service
You are also likely to face the issue if the TPM service is not working properly in the Windows Services utility. The solution to this is simple, as all that you need to do is restart the service using the Windows Service utility.
Here is what you need to do:
- Press Windows + R keys simultaneously on your PC to open a Run dialog box.
- In the text field of the dialog box, type services.msc and hit Enter.

Run dialog: services.msc - Once you are inside the Services window, look for your TPM service (for instance, Intel TPM Provisioning Service and right-click on it.
- Select Properties from the context menu.
- In the Properties window, check if the service is stopped. If it is, click on the Start button.
- If it is already started, click on the Stop button and then hit Start again. Now check if the issue is fixed.

Use System Restore
Microsoft Windows includes a feature called System Restore, which is useful for recovering from malfunctions or other issues with the computer. It automatically takes a snapshot of the system before performing important operations on it, and you revert your system to a previous point in time where the computer was working without the ‘error of service’.
If the issue at hand on your PC is being caused due compatibility, you can use the System Restore u
Here is how you can restore your system to a previous working state:
- Launch Control Panel, select System and Security.

Accessing the System and Security tab - In the next window, click on System from the list of options available.
- Choose System Protection.
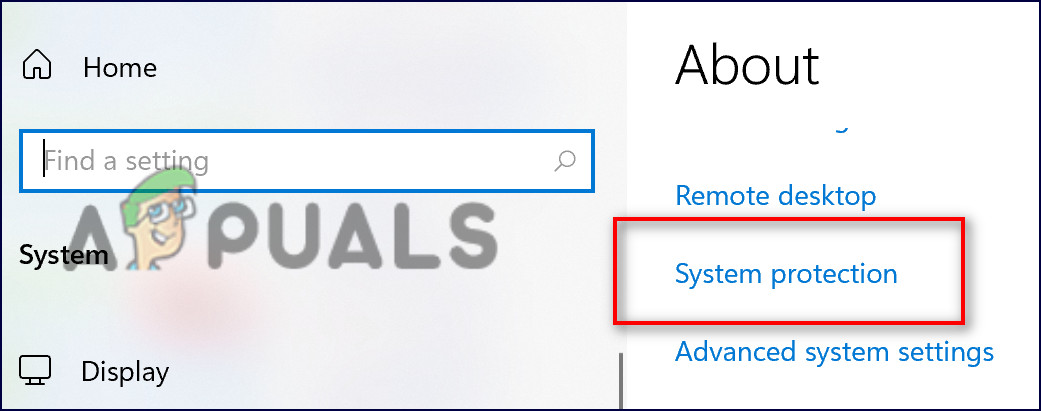
Open system protection - Head over to System Protection tab and click on System Restore.

System restore - Follow the on-screen instructions to proceed. Your screen should display a confirmation prompt, choose Recommend Restore in it.
- Once the process is completed, your operating system will move to a previous point in time.
Reset Your PC
You can also try resetting your PC to resolve the ‘error of service’.
When you reset your PC, you force the Operating System to return to the state it was in initially. This also uninstalls any third-party applications that were not installed when the computer was first set up, and all changes made to the computer’s preferences and settings are wiped out.
In addition to giving your computer a fresh start, resetting your Windows 10 computer can help if you are experiencing issues with your computer’s software. You can resolve a significant number of Windows 10 problems by resetting your computer completely.
Here is what you need to do:
- Launch Windows Settings and Update & Security from the list of options available.
- Select Recovery from the left pane and hit the Get Started under Reset this PC.
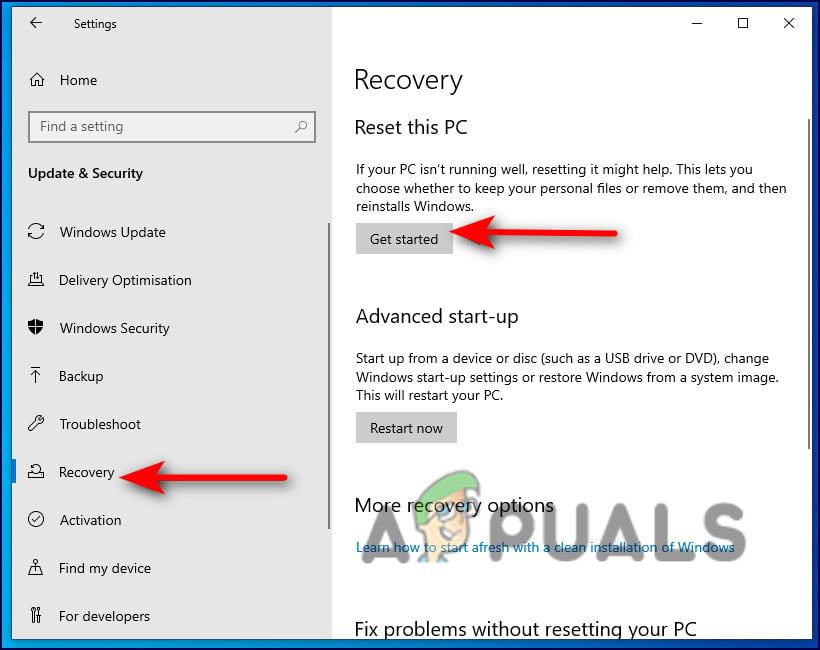
Get started on recovery - The next window will ask you if you want to keep your data or remove all of it. If you wish to keep it, select Keep my files. If not, select Remove everything.

Choose Keep my files or Remove everything - In case you want to keep your data intact, now choose between Just remove my files or Remove my files and clean the drive.
- Now follow the on-screen instructions to proceed and wait patiently for your PC to reset. Once the process is completed, check if the TPM Provisioning service is working fine.
If the error still persists, then try performing an in-place upgrade to get rid of the issue once and for all.


