Ticketmaster Pardon the Interruption Error: Causes & Fixes
 Reviewed by Muhammad Zubyan
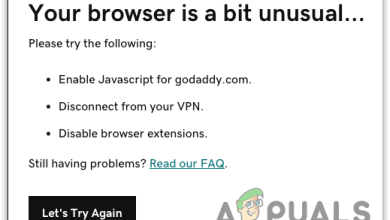
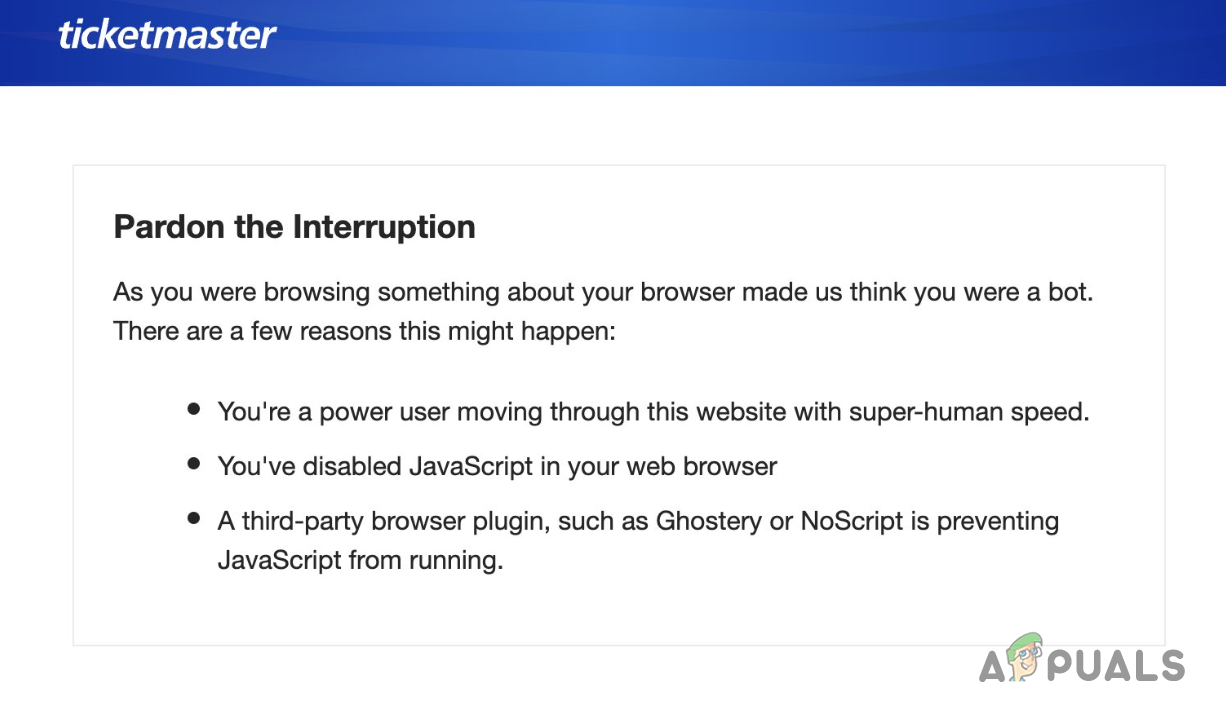
The “Pardon the Interruption” error message occurs when Ticketmaster believes the website is being visited by a bot. This is triggered by their spam protection systems which are responsible for keeping the performance of the website optimal. The error message can occur when you are using a third-party VPN connection on your device to access the website, along with other reasons such as the DNS server, the third-party extensions installed on your browser, and more.
The problem in question is simply a false positive and you can often rectify it quite easily. In this article, we will take you through a number of methods that you can use to resolve the error message.
1. Use a Different Network Connection
The first thing you should do when starting to troubleshoot the error message in question is to check your network connection. This situation can occur when your IP address is flagged by Ticketmaster for various reasons, such as spam protection and other similar measures.
To resolve this issue, you will need to switch to a different network connection. Turn on your mobile data and connect to the hotspot via WiFi on your device to access the website. By switching your network connection, you will be able to bypass the systems implemented by Ticketmaster and the false positive will no longer occur. If the problem persists even after changing your network connection, proceed to the next method below.
2. Disable Third-Party Extensions
In some scenarios, the third-party extensions installed on your browser can also trigger the error message in question. This happens when the installed add-ons are interfering with the ongoing connection and cause inconsistency.
In such a scenario, you will have to disable the third-party extensions to see if that resolves the issue. If you have a lot of extensions installed, you can use the private window on your browser. Third-party extensions are disabled by default in incognito mode. If the problem goes away in a private window, you can start disabling the installed extensions one by one to find the culprit.
3. Use a VPN Connection
Using a VPN connection can be one of the solutions to the Ticketmaster error message above. This is because, in some scenarios, your network connection is blocked by the Ticketmaster which prevents you from accessing the website normally.
In such a scenario, using a VPN connection can be really beneficial as it not only gives you a new online presence by masking your IP address via tunneling but also improves your privacy online. With that said, such measures are often double-edged and using a VPN connection can also be a reason why the problem is occurring in the first place.
Therefore, if you were not already using a VPN connection, then try doing so. Otherwise, we recommend disconnecting the connection to see if that resolves the problem.
4. Clear Browser Cache and Cookies
The Pardon the Interruption error message on the Ticketmaster website can also arise due to your browser cache and cookies. Browser cache and data are important for any web browser as it helps websites manage user sessions and improve their web performance by storing assets on your computer.
However, in some scenarios, inconsistencies within the browsing cache can lead to the error in question. In such cases, you will have to clear your browser cache to resolve the issue. Follow the instructions provided below to clear the cache in your respective browser.
Google Chrome
- First, click on the More menu button in the top-right corner.
- Then, click on the More tools > Clear browsing data option from the drop-down menu.
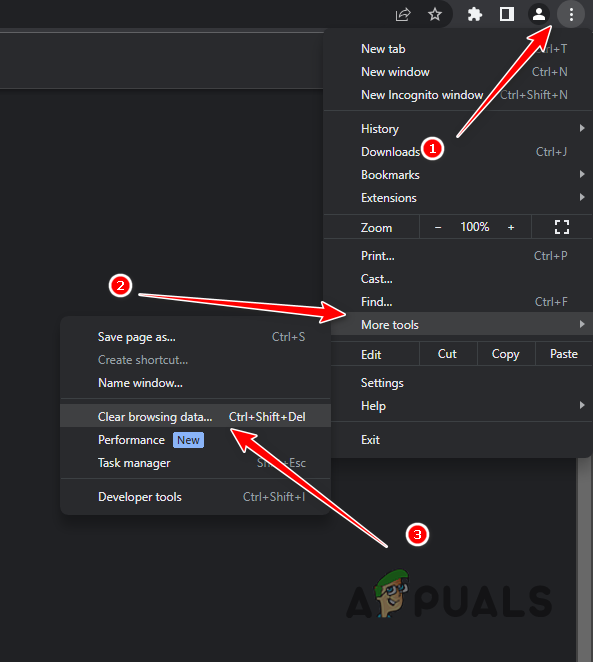
Navigating to Clear Browsing Data - From the Time range menu, choose All time.
- After that, tick the Cookies and other site data and Cached image and files checkboxes.
- Finally, click the Clear data option.
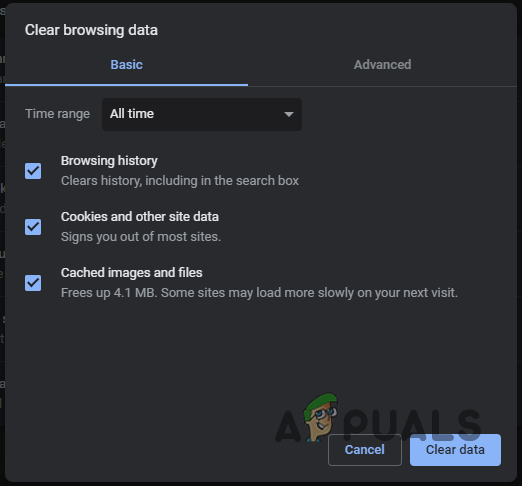
Clearing Browser Cache on Google Chrome
Microsoft Edge
- Click on the More menu button in the top-right corner and choose Settings from the drop-down menu.
- There, switch to the Privacy, search, and services tab.
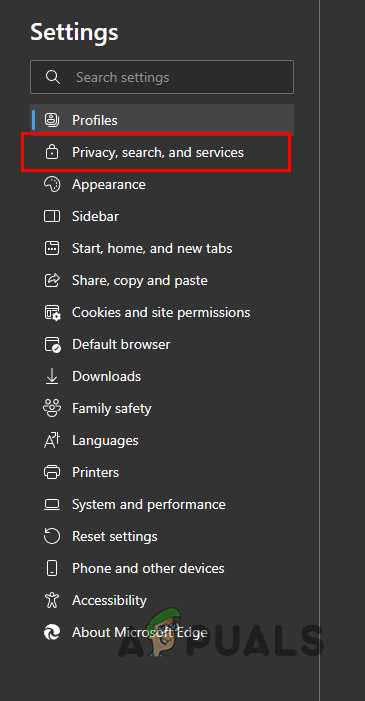
Navigating to the Privacy, Search and Services tab - After that, scroll down and click the Choose what to clear option next to Clear browsing data now.

Clearing Browser Data - Choose All time from the Time range menu.
- Follow it up by selecting the Cookies and other site data, Cached images and files and Site permissions checkboxes.
- Finally, click the Clear now option to clear the browser cache.
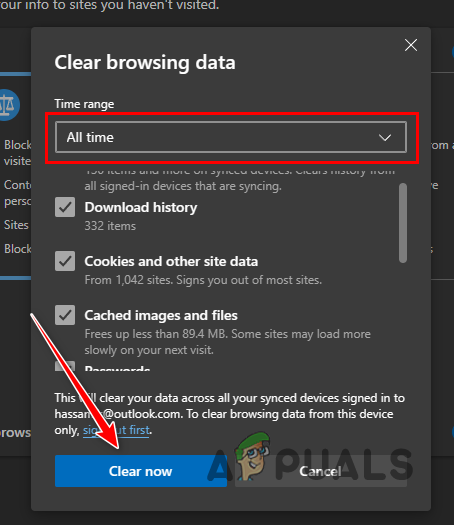
Clearing Browser Cache on Microsoft Edge
Mozilla Firefox
- First, click on the menu button in the top-right corner and select Settings.
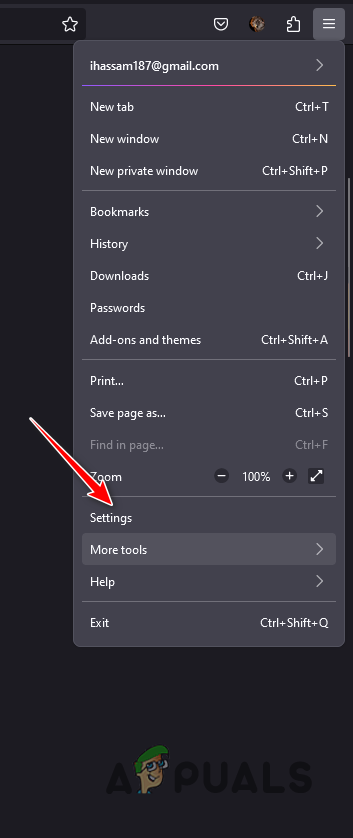
Navigating to Firefox Settings - After that, switch to the Privacy & Security tab.
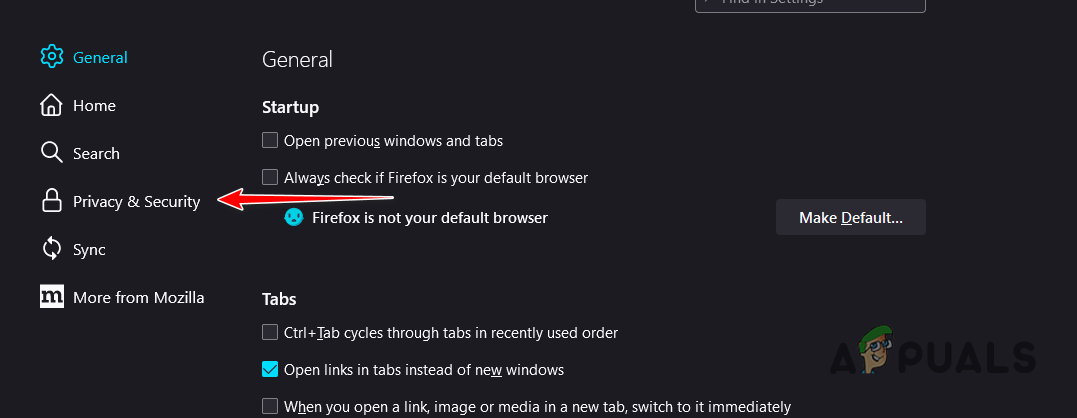
Navigating to the Privacy and Security tab - There, click on the Clear Data option.
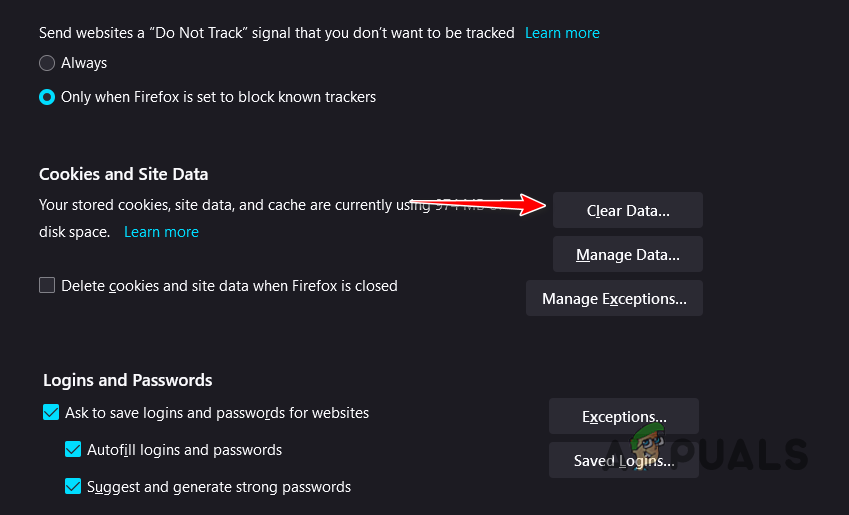
Clearing Browser Data on Firefox - On the Clear Data dialog box, select both checkboxes.
- Finally, click the Clear option.
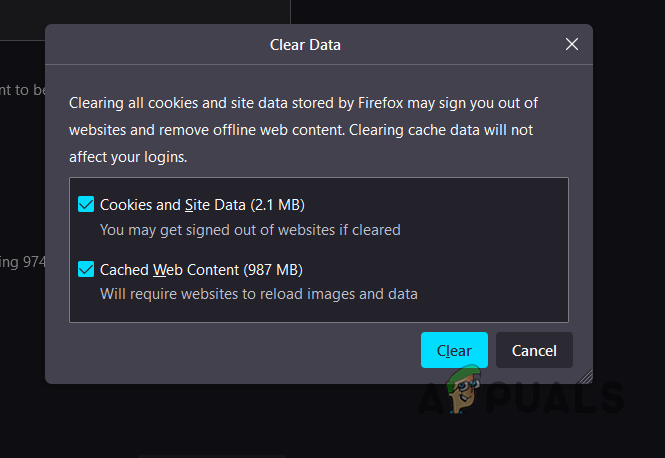
Clearing Browser Cache on Firefox
5. Disable VPN Adapters
It is possible that the previously installed VPN adapters on your computer are causing the problem in question. This can happen when they are interfering with the network connection on your device which is triggering the spam protection systems on Ticketmaster.
If you had previously installed a VPN client on your computer, there will be remnants of the VPN client on your PC in network adapters. If you have a VPN client installed on your device but are not using it, the network adapters will still be present and can cause the issue in question.
In such a scenario, you will have to disable the VPN adapters to prevent them from intervening with the network connection. Follow the instructions below to do this:
- First, open the Settings app by pressing the Windows key + I on your keyboard.
- On the Settings app, navigate to Network and Internet > Advanced network settings > More network adapter options.

Navigating to Network and Internet Settings - Then, on the Network Connections window, right-click on your VPN adapters and choose Disable from the drop-down menu.
- See if that fixes the issue.
6. Change DNS Server
If the DNS server that you are using is encountering an issue, the problem in question can occur. DNS servers play a crucial role in establishing connections with servers. They are responsible for translating the web addresses of the servers you intend to connect to into IP addresses.
To resolve this problem, you need to change the DNS server. You can opt to use public DNS servers provided by Google or Cloudflare on your system. Follow the instructions below to change the DNS server on your PC:
- First, open the Settings app by pressing the Windows key + I.
- Navigate to Network and Internet > Advanced network settings > More network adapter options.
Navigating to Network and Internet Settings - There, right-click on your network adapter and choose Properties from the drop-down menu.
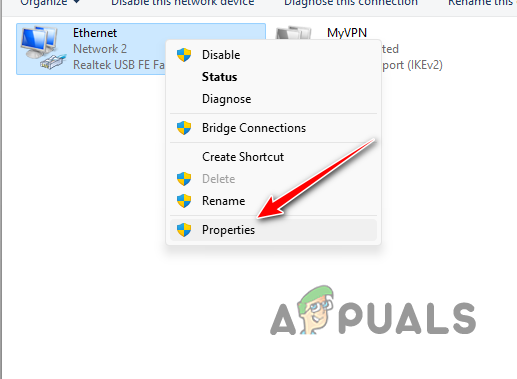
Navigating to Ethernet Properties - On the Properties window, double-click on the Internet Protocol Version 4 (TCP/IPv4) option.
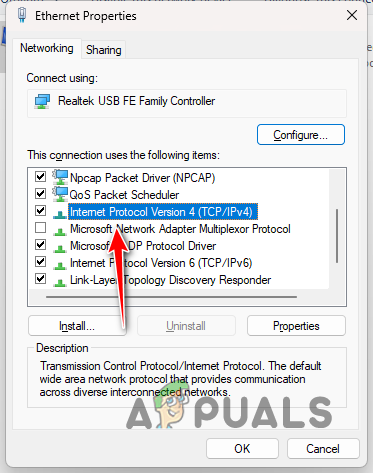
Opening IPv4 Properties - At the bottom, choose the Use the following DNS server addresses option.
- Provide either one of the following DNS servers addresses:
Google: 8.8.8.8 8.8.4.4 Cloudflare: 1.1.1.1 1.0.0.1
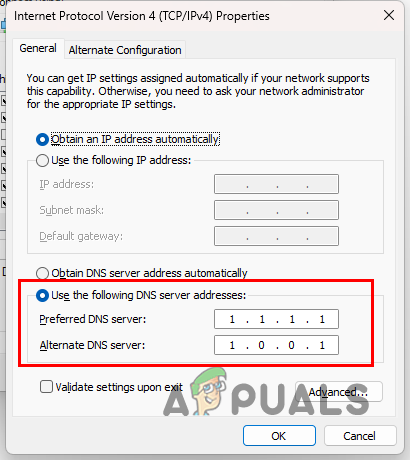
Changing DNS Server - Once you do that, click OK and see close your browser.
- Open the browser again to see if the problem goes away.
Still facing the error message?
If you are still facing this problem then you should contact Ticketmaster’s support through their email and explain the problem to them. They will contact the webmasters and get your IP address removed from the blacklist. This will grant you access to their website again.
Reviewed by Muhammad Zubyan