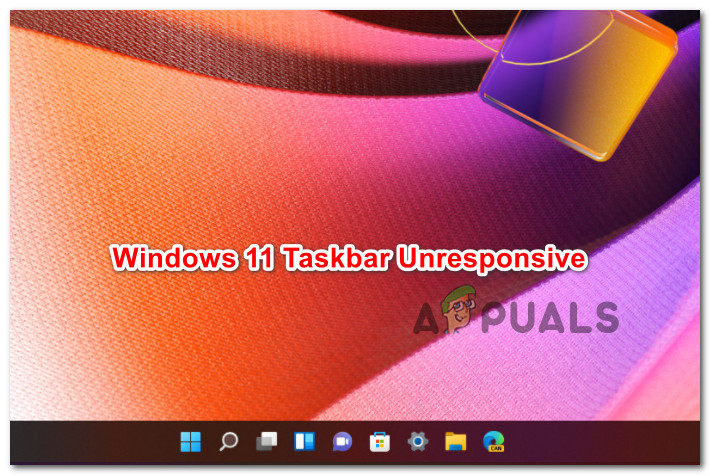
Taskbar Unresponsive on Windows 11? Try these Fixes
Windows 11’s road to a public release wasn’t without hiccups. The latest beta build is causing a weird issue where the taskbar becomes completely unresponsive with no apparent way to get the lost functionality back.
Fortunately, after investigating this particular issue, it turns out that there are 4 viable fixes that should allow you to get past this weird Windows 11 issue and utilize your taskbar once again. Here’s a rundown through each potential fix that you can deploy:
- Deal with the IRIS Service bug via a Task Manager task – This is the official fix made public by Microsoft a few weeks after it was clear that the issue is extremely widespread. This fix involves the modification of the registry in order to terminate and reset the service responsible for this issue (Iris Service).
- Uninstalling the KB5006050 update – The update that might this error so prevalent is KB5006050. By uninstalling it, you’re also forcing your OS to roll back any change it made once the update came along. This fix has been confirmed to be successful by a lot of affected users.
- De-Sync the date & time – Some affected users have confirmed that the issue goes away once you de-sync the date and time with the Microsoft Server. With the new information at our disposal, this is probably effective because it forces the Microsoft Teams pop-up to remain disabled.
- Create a new user account – As with the vast majority of taskbar issues (especially on Windows 11), the cure-all fix is to simply create a new user account. Consider this as the brute force / last resort method, but don’t be afraid to use it if everything else fails.
Now that you are familiar with every potential fix that will take care of the unresponsive taskbar issue on Windows 11, let’s get to work.
Removing the IrisService Reg. key
As turns out, Microsoft was fairly quick in discovering this issue – they started gathering evidence for it immediately after the update was pushed for Dev and Beta Channels.
However, until an official hotfix is released, Microsoft needs to test it with all kinds of configurations and include it in a cumulative update.
Fortunately, if you’re affected by this issue, you don’t necessarily need to wait. Microsoft has made public the instructions for resolving this issue locally without having to wait for the official hotfix.
Note: This method involves creating a CMD task through Task Manager – It’s meant to get rid of the registry keys that are responsible for glitching the Windows 11 Taskbar.
Follow the instructions below to make your Windows 11 taskbar responsive once again:
- Start by pressing Ctrl + Shift + Enter to open up Task Manager.
- If this action opens the minimized window of Task Manager, go ahead and click on More Details (bottom of the window) to make all the options visible inside Task Manager.

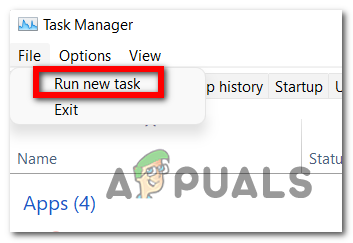
Accessing the more details screen - Inside the expert, Task Manager interface, use the ribbon at the top of the screen to click on File, then click on Run a new Task from the newly appeared context menu.
Run a new task in task manager - Next, you’ll find yourself in a window named Create a new task interface. Once inside, type ‘cmd’ inside the Open field, then check the box associated with Create this task with administrative privileges and click Ok to save the changes.

Creating a CMD task - Once you finally arrive inside the elevated CMD prompt, type (or paste) the following command inside CMD and press Enter to run it:
reg delete HKCU\SOFTWARE\Microsoft\Windows\CurrentVersion\IrisService /f && shutdown -r -t 0
- Once the command is processed successfully, reboot your PC and wait for fo the next startup to complete before checking if your taskbar issue is now resolved.
If you’re still unable to make use of your Windows 11 taskbar, move down to the next potential fix below.
Uninstall Update KB5006050 (if applicable)
Another potential fix that a lot of affected users have used successfully is to uninstall the problematic update that introduced this weird glitch in the first place.
Uninstalling the Update for Microsoft Windows (KB5006050) will not also prevent the effects of this update from affecting your PC, but it will also roll back any changes that are responsible for the unresponsive taskbar issue.
Note: Although this method below will still work, Microsoft has already released the official steps you need to take to resolve the issue. That method (the one above)is quicker and will not interfere with the security endpoints. Only follow the instructions below if the first method fails.
Follow the instructions below to uninstall the problematic KB5006050 error code in order to fix the unresponsive taskbar issue on Windows 11:
- Press Windows key + R to open up a Run dialog box. When prompted by the run box. type ‘control’, then press Ctrl + Shift + Enter to open up the classic control panel menu with admin access.
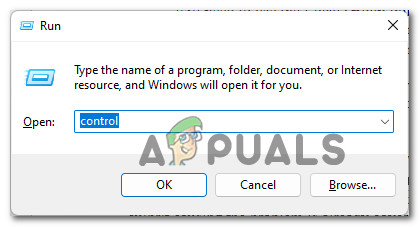
Accessing the Control Panel prompt - When you see the User Account Control, click Yes to grant admin access.
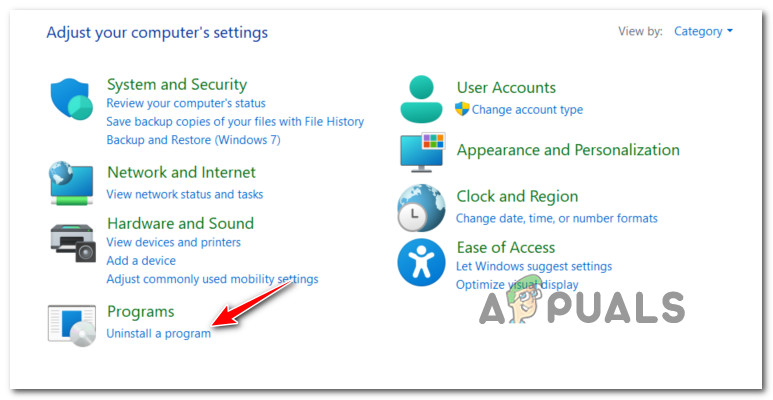
- Inside the classic Control Panel interface, click on Uninstall a program (under Programs)
Accessing the Program Uninstallation screen - Once you’re inside the Programs and Features screen, click on View installed updates from the vertical menu on the left, then click Yes at the User Account Control (UAC) prompt.
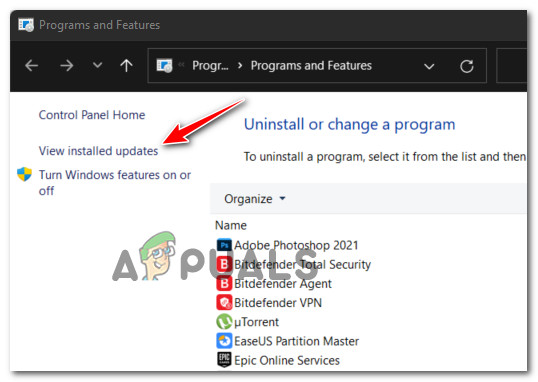
View installed updates - Once you’re inside the Installed Updates screen, look for the Update for Microsoft Windows (KB5006050) inside the list of installed updates.
- When you manage to locate it, right-click on it and choose Uninstall from the context menu that just appeared, then confirm the operation when asked to do so.
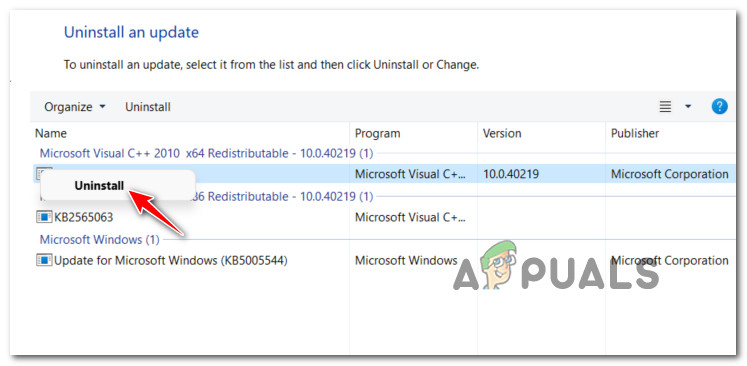
Uninstall the problematic Windows Update - Once the update has been successfully uninstalled, reboot your PC and see if the problem is now fixed.
In case the same kind of problem is still occurring as your Windows 11 taskbar is still unresponsive, move down to the next potential fix below.
De-Sync the Date & Time
As it turns out, if you de-sync the date & time on the Windows 11 PC that’s experiencing this taskbar issue, you’ll essentially render the pop-up causing this whole problem obsolete. As confirmed by a lot of affected users, doing so will make your taskbar return to the expected behavior.
Note: Modifying the system date & time can have ramifications to other system components. Because of this, our recommendation is to only follow this method if the official fix from Microsoft fails.
If you decide to go this route, follow the instructions below to disable the system clock syncing to the internet via a Task Manager task:
- Press Ctrl + Shift + ESC to open up Task Manager. If the simple interface is opened by default, click on More Details from the bottom of the screen.
Accessing the more details screen - Once you’re inside the expert interface, go to File using the ribbon bar at the top, then click on Run new task.
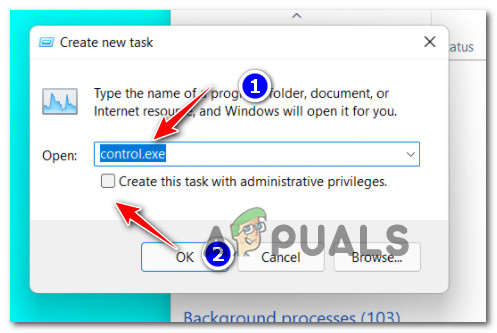
Run a new task in Task Manager - Inside the newly opened Create new task window, type ‘control.exe’ inside the text box, then check the box associated with Create this task with administrative privileges, then click on Ok to save the changes.
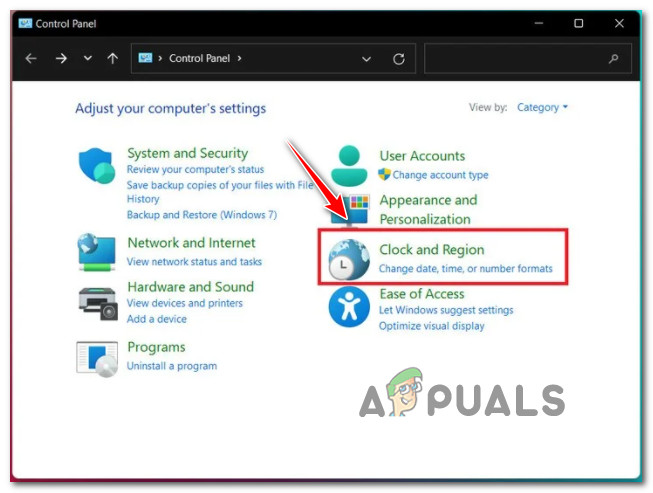
Accessing the Control Panel Menu - Once you’re inside the Classic Control Panel interact, click on Clock and Region.
Accessing the clock and region tab - Next, from the dedicated Date & Time menu, click on the Set the time and date hyperlink.
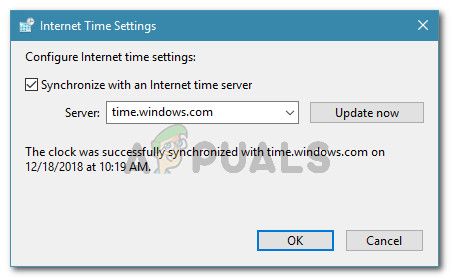
- Once you’re inside the Date and Time window, make your way to the Internet Time tab. When you’re inside, uncheck the box associated with Syncronize with an internet server, then click Ok to save the changes.
Desync the date and time with the internet time server - Next, go back to the Date and Time tab, and choose Change date and timezone from the list of available options.
- From the dedicated Date and Time settings menu, set a calendar date that’s a few days ahead of the current date and click Ok to save the changes.
- Reboot your PC and see if the problem is now fixed.
If your Windows 11 taskbar is still unresponsive, move down to the final potential fix below.
Create a new user account
If you’re an avid Windows 11, you already know that the vast majority of taskbar-related issues are typically resolved by creating a new user account. Well, this unresponsive taskbar glitch is no different.
If none of the other methods presented above have proven to be effective in your case, one last thing that you should attempt to do is to create a new user account by utilizing an elevated CMD window.
Note: Going this route means that you’ll essentially lose any custom settings and user preferences that are now an intricate part of your current user account.
In case you are prepared to go this route and you are prepared to face the consequences, follow the instructions below:
- Press Ctrl + Shift + Esc to open up a Task Manager interface.
Accessing the more details screen Note: In case you see the simple interface of Task Manager opening up, click on the More Details toggle from the bottom of the window.
- Once you’re inside the expert interface of Task Manager, use the ribbon bar at the top to click on File. Then, from the context menu that appeared, click on Run a new task.
Run a new task in Task manager - Once you’re inside the Create new task window, type ‘cmd’ inside the Open box, then check the box associate with Create this task with administrative privileges and click Ok to save the changes.
Creating a CMD task - Once you’re finally inside the elevated Command prompt, type the following command and press Enter after replacing the placeholders:
net user username password /ADD
Note: username and password are simply placeholders that you need to replace with your own choices that will serve as the username and password, e.g., net user kamil anwar /ADD
- Next, you’ll need to give this newly created account the same kind of necessary permissions that your previous account had. To do this, type the following command and press Enter after replacing the placeholder:
net localgroup administrators username /ADD
Note: Replace the username placeholder with the actual name of the user account you’ve just created.
- Press Ctrl + Alt + Delete, to bring up the quick action screen, then click on Switch users and select your newly created account.
- Play around with your taskbar and see if the unresponsive issue is now resolved.