Fix: System Restore Error 0x80070091
Windows System Restore feature lets you revert back to any time of your choosing given that you created a System Restore point. It’s a way of making a backup plan in case something goes wrong with your computer. But the process of System Restore doesn’t always go as smoothly as one would hope. Sometimes you might see an error like this:
System Restore failed while restoring the directory from the restore point.
Source: AppxStaging
Destination: %ProgramFiles%\WindowsApps
An unspecified error occurred during System Restore. (0x80070091)
The error is shown during the process of System Restore (when you try to restore your computer to an earlier point) and prevents you from performing a System Restore successfully.
The error is caused by some problem with the WindowsApps folder. The error code 0x80070091 basically means that the destination directory isn’t empty. So, during the process of System Restore, there’s a folder in the WindowsApps that was supposed to be empty but isn’t. This can be because of an antivirus blocking the process or because of Sync Settings. But since this is happening to the latest versions of Windows 10, we can’t be sure of what exactly is causing the issue.
The usual solution would be to simply delete or rename the WindowsApps folder but the folder can only be accessed via TrustedInstaller. So you cannot access or modify this folder. In this article, we will first try to uninstall all the antiviruses and try to run the System Restore without other programs interfering with the process. If that doesn’t solve the problem then the next methods will be to access the WindowsApps folder and rename it so that the System Restore process can carry on.

Method 1: Uninstalling Antivirus Applications
The very first thing you should do is to uninstall any antivirus that you might have on your computer. Antivirus applications are known to interfere with these process and prevents from your computer to perform a successful system restore.
Although you can uninstall the antivirus from the Windows own Programs and Features window, but that usually leaves residual files that might cause problems even if you uninstall the antivirus. So it’s better to use a third party tool named Revo Uninstaller that will not only delete the application but will also help you clear up any residual files.
- Go here and download the Revo Uninstaller. You can download the free version, which will be enough.
- Install the Revo Uninstaller by running the exe file that you just downloaded. Simply follow the on-screen instructions
- Once installed, run the Revo Uninstaller
- Locate the antivirus that you want to uninstall and select it
- Click Uninstall. Select yes if Revo asks for confirmation. Follow any additional on-screen instructions that you might see

- Once uninstalled, you will see a new window in Revo. Click Advanced and select Scan
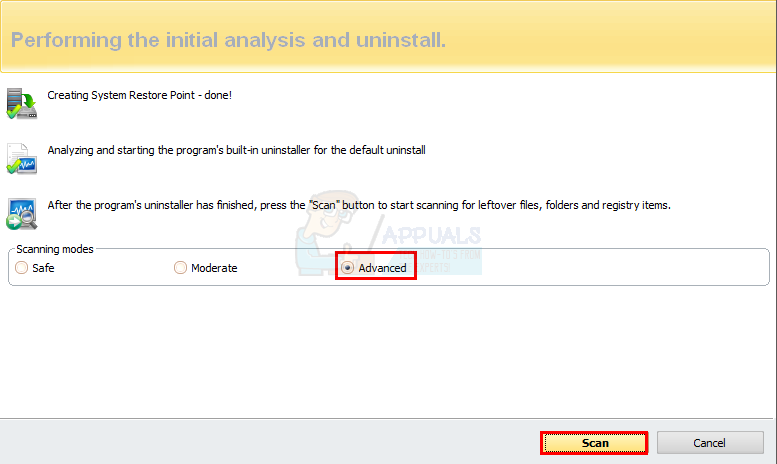
- Wait for the scan to finish.
- Now Revo will show you all the residual files that it found
- Make sure all the files are selected (if they arent then select Select All) and press Delete
- Click Next
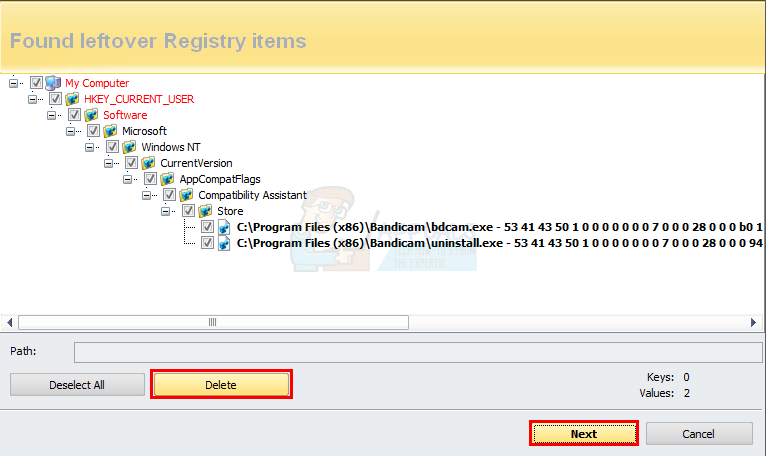
- Revo will show you a list of registry files again, make sure all of them are selected (if they arent then select Select All) and press Delete
- Click Finish
Now try to do the system restore again to see if the problem is solved.
Method 2: Using Windows Recovery Environment
Performing a system restore from the Windows Recovery Environment might also be proven successful especially if it is interrupted because of some other programs.
- Press Windows key once
- Select power option
- Press and Hold SHIFT key and select Restart
Once the computer restarts, you will be taken to the Windows Recovery Environment screen with options to Continue, Troubleshoot and Turn off your PC. You can navigate to the System Restore option from this environment by following the given steps
- Click Troubleshoot
- Click Advanced Options
- Select System Restore
Now the computer will ask you to select the System Restore Point. Select the Restore Point that you want to go to and follow the on-screen instructions from there.
Method 3: System Restore from Safe Mode
Safe Mode is a mode for Windows that runs only the minimalistic interface with just the required programs. This way, you can make sure that no other program like antiviruses are interfering with your System Restore.
- Press Windows key once
- Select power option
- Press and Hold SHIFT key and select Restart
- Click Troubleshoot
- Click Advanced Options
- Select Startup Options
- Select Restart
- Now your system will restart and will give you multiple options to select from
- Press F4 to run Safe Mode
Now your computer will enter the Safe Mode which means only the programs that are necessary will be running so there won’t be any interruptions. Now perform a System Restore from this Safe Mode by doing the steps given below
- Hold Windows key and press R
- Type rstrui.exe and press Enter
- Click Next
- Now select the restore point that you want to go to
- Click Next then select Finish
Now wait for the restore to complete.
Method 4: Changing WindowsApps Permission from Safe Mode
The problem can be solved either by deleting or renaming the WindowsApps folder. But WindowsApps folder cannot be accessed and, therefore, modified through my computer or by any other regular means. So in this process, you will use the Command Prompt to run some commands which will give you access to the WindowsApps folder so that you can rename the WindowsApps folder.
- Press Windows key once
- Select power option
- Press and Hold SHIFT key and select Restart
- Click Troubleshoot
- Click Advanced Options
- Select Startup Options
- Select Restart
- Now your system will restart and will give you multiple options to select from
- Press F4 to run Safe Mode
Once in the Safe Mode, you need to follow the steps given below
- Hold Windows key and press X
- Select Command Prompt (Admin)
- Type the lines given below and press Enter after each line
cd C:\Program Files
takeown /f WindowsApps /r /d Y
icacls WindowsApps /grant “%USERDOMAIN%\%USERNAME%”:(F) /t
attrib WindowsApps -h
rename WindowsApps WindowsApps.old
Basically in the first line, you are going to the directory where the WindowsApps folder is. When you are there, only then will you be able to make changes.
In the second line, you are taking the ownership of the WindowsApps folder as the current user. By taking the ownership of the WindowApps you are taking the ownership of all its content as well. You will have to wait a while after running this command.
In the third line, you are granting full control over the directory and, therefore, the WindowsApps folder. This is needed because you need to rename the WindowsApps folder. You will be able to see a message “Successfully processed xxxxx files: Failed to process x files”. If all goes well, you shouldn’t see any failed processed files.
In the fourth line, you are making the WindowsApps folder unhidden. Because if it is hidden, you won’t be able to rename the folder
And, in the last line, you are simply renaming the WindowsApps folder to WindowsApps.old. You can name it to anything but using the word old will help you remember which one is the renamed folder.
Once this is done, you should be able to run System Restore successfully. After completing the above steps, reboot your computer and try to run System Restore again.
Method 5: Renaming WindowsApps Folder with Process Hacker and Explorer++
Although method 4 works perfectly but it might be a little too technical for people who aren’t so tech savvy. So this method will use third party applications like Process Hacker and Explorer++ to get access to the WindowsApps folder and rename it. The only difference is, you won’t need to run any commands so it’s a little straight forward.
So follow the steps given below
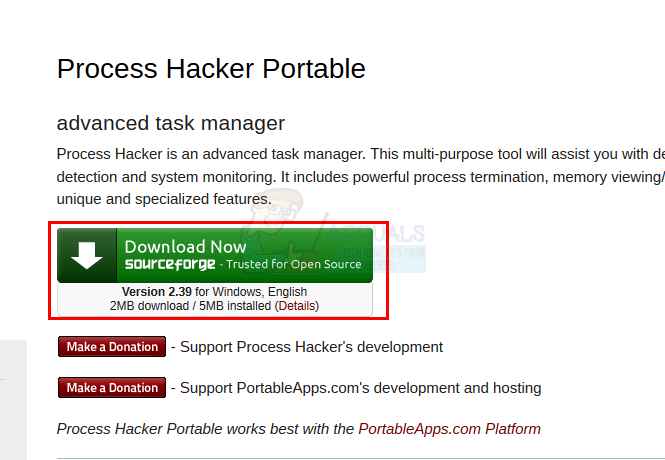
- Go here and click on the download button to download Process Hacker.
- Once downloaded, run the setup file of Process Hacker
- Click Next.
- Select Install. Leave the installation location as it is.
- Wait for it to finish
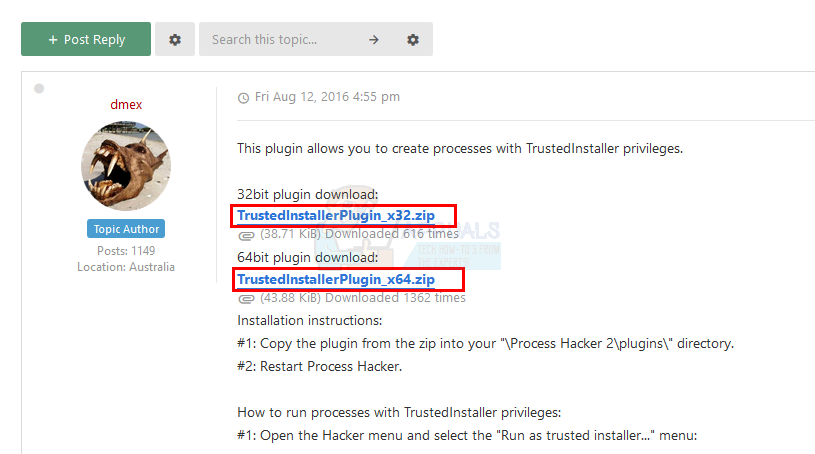
Go here and download both the x32 and x64 TrustedInstaller plugin zip files (by clicking on the links). These are the plugins that are needed for Process Hacker to get access to WindowsApps folder.
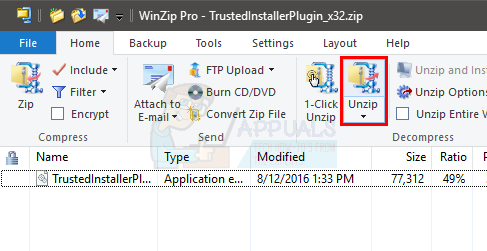
- Open the TrustedInstallerPlugin_x32 file with Winzip
- Unzip the dll file (there will only be one file in it) by clicking Unzip
- Now you need to select the location where you want to unzip it. If you installed the Process Hacker by following the steps given above, it should be C:\Users\[profilename]\Downloads\ProcessHackerPortable\App\ProcessHacker\x86\plugins (replace [profilename] with your computer profile name). Go to this address.
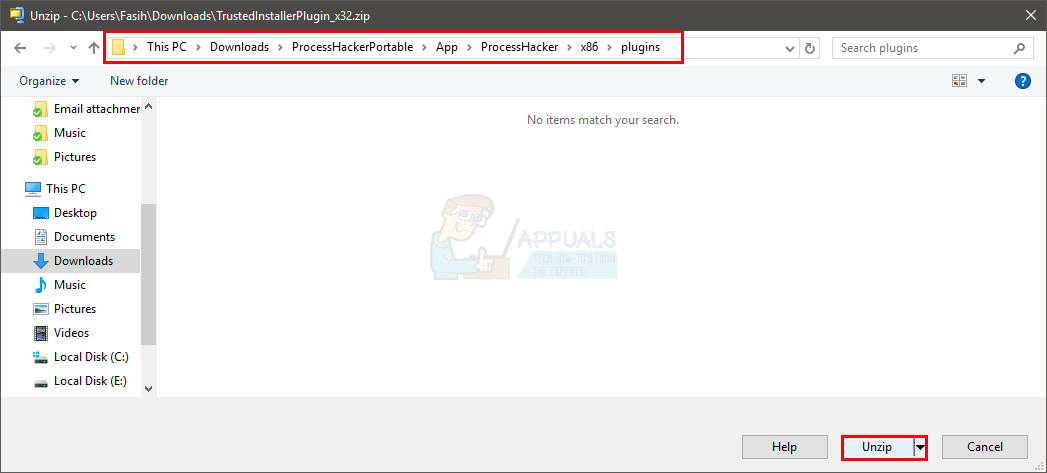
- Click Unzip
- Now open the TrustedInstallerPlugin_x64 file with Winzip
- Unzip the dll file (there will only be one file in it) by clicking Unzip
- Select the destination C:\Users\[profilename]\Downloads\ProcessHackerPortable\App\ProcessHacker\x64\plugins (replace [profilename] with your computer profile name). Go to this address
- Click Unzip
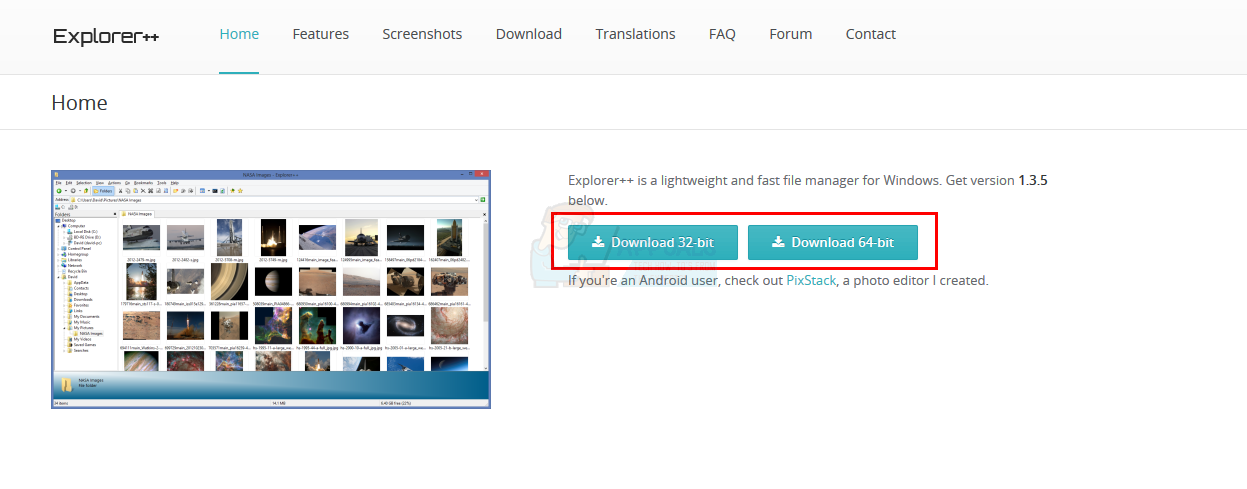
Go here and download the Explorer++. Pick the version suitable for your Windows version. Download the file and extract it somewhere where you can find it easily.
- Now run the Process Hacker by right clicking and selecting run as administrator…
- Click Hacker (menu button)
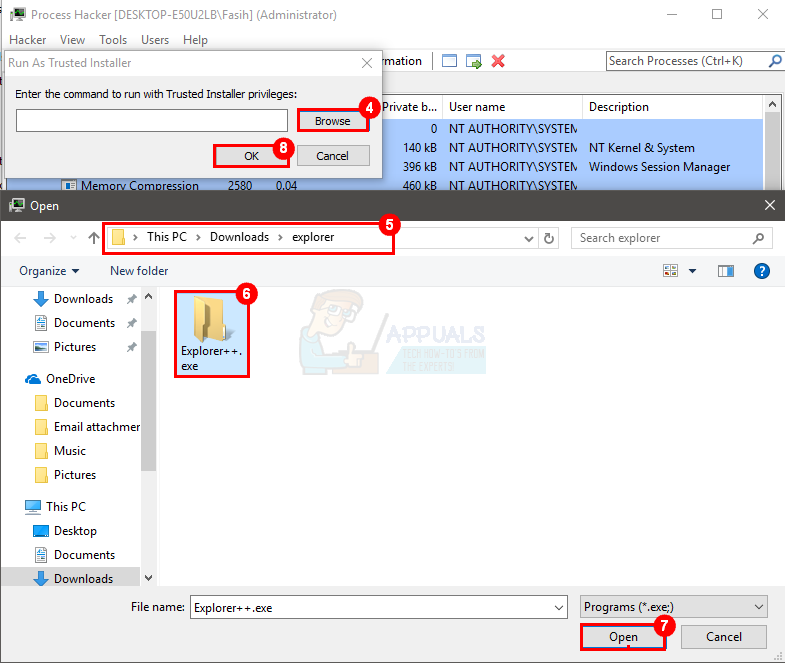
- Select Run as trusted Installer…

- Click Browse
- Go to the location where you unzipped Explorer++
- Select Explorer++
- Click Open
- Click Ok
- A new Windows should open
- Now double click C drive
- Double click Program Files
- Locate WindowsApps folder and right click it. Select Rename
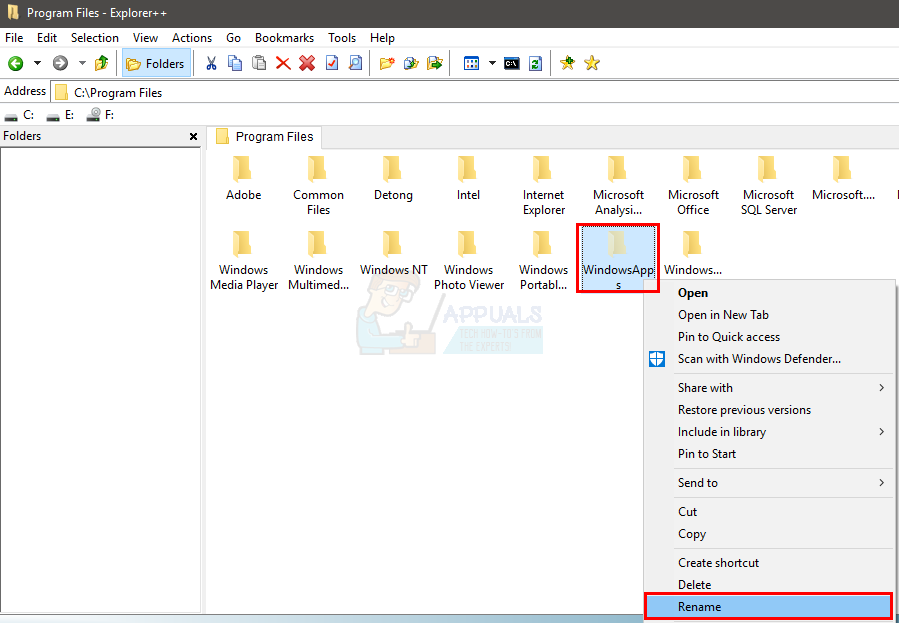
- Type WindowsApps.old (or whatever you want) and press Enter
Now you have renamed the WindowsApps folder and your System Restore should work fine now. Close all programs and windows and try to perform a System Restore.
Method 6: Renaming WindowsApps using Unlocker 1.9.2
Unlocker is another third party tool that can be used to access files and folders that can only be access with TrustedInstaller. If methods 4 and 5 didn’t work or you aren’t comfortable with using those then you can follow this method which is a lot easier and requires only 1 third party tool.
You will use Unlocker to access WindowsApps folder and rename it. Once renamed, you will easily be able to perform the System Restore.
Go here and download the Unlocker tool by clicking on the link named as Download@MajorGeeks. Once downloaded, follow the steps given below.
- Run the installer
- Click Next
- Click I Agree
- Click Advanced Option
- Uncheck Install Delta Toolbar

- Click Next
- Click Next again
- Select Install
Now wait for the Installation to finish and click Finish
- Now Hold Windows key and press E
- Type C:\Program Files in the address bar located at the top mid and press Enter
- Click View
- Check the option Hidden Items (if its not already checked)
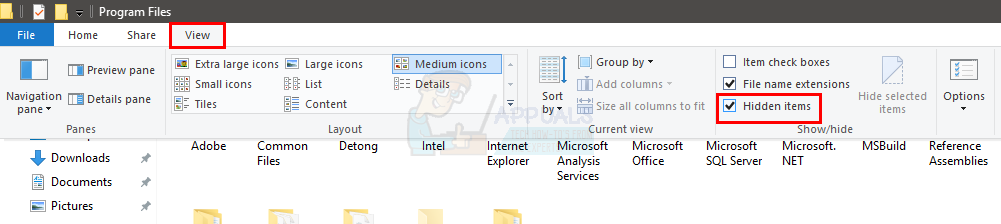
- Now you should be able to see the WindowsApps folder
- Right click WindowsApps folder and select Unlocker
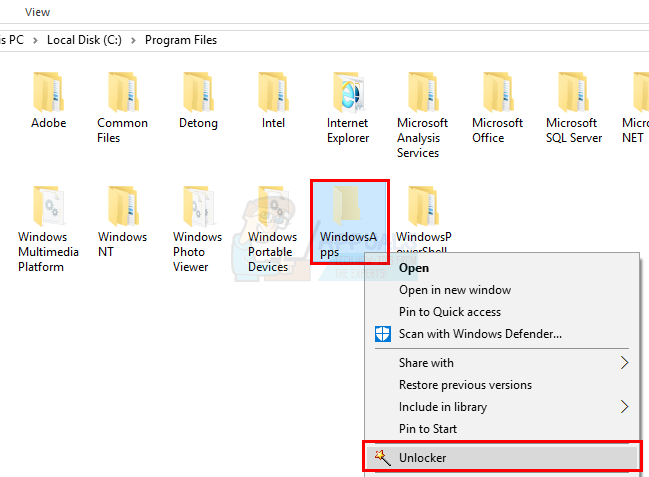
- Click yes if it asks for permissions
- Select Rename from the drop down menu
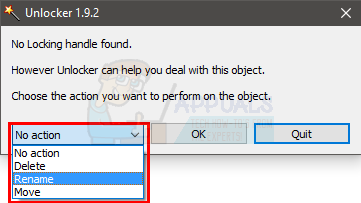
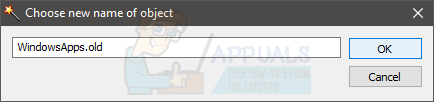
- Now type WindowsApps.old (or whatever you want) and select Ok
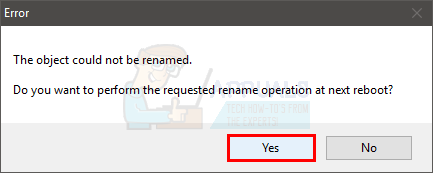
- Click Yes if it asks to rename it again on the next reboot
- Select Ok again
Now reboot your computer and then run the System Restore. Now you should be able to perform a successful System Restore.
Method 7: Turn off Sync Settings
Although rarely, but turning off Sync Settings solves the problem with System Restore as well.
- Press Windows key once
- Select Settings
- Select Accounts
- Select Sync your settings
- Turn off Sync Settings
Now close the settings windows and reboot your computer. Check if you can perform the system restore successfully.