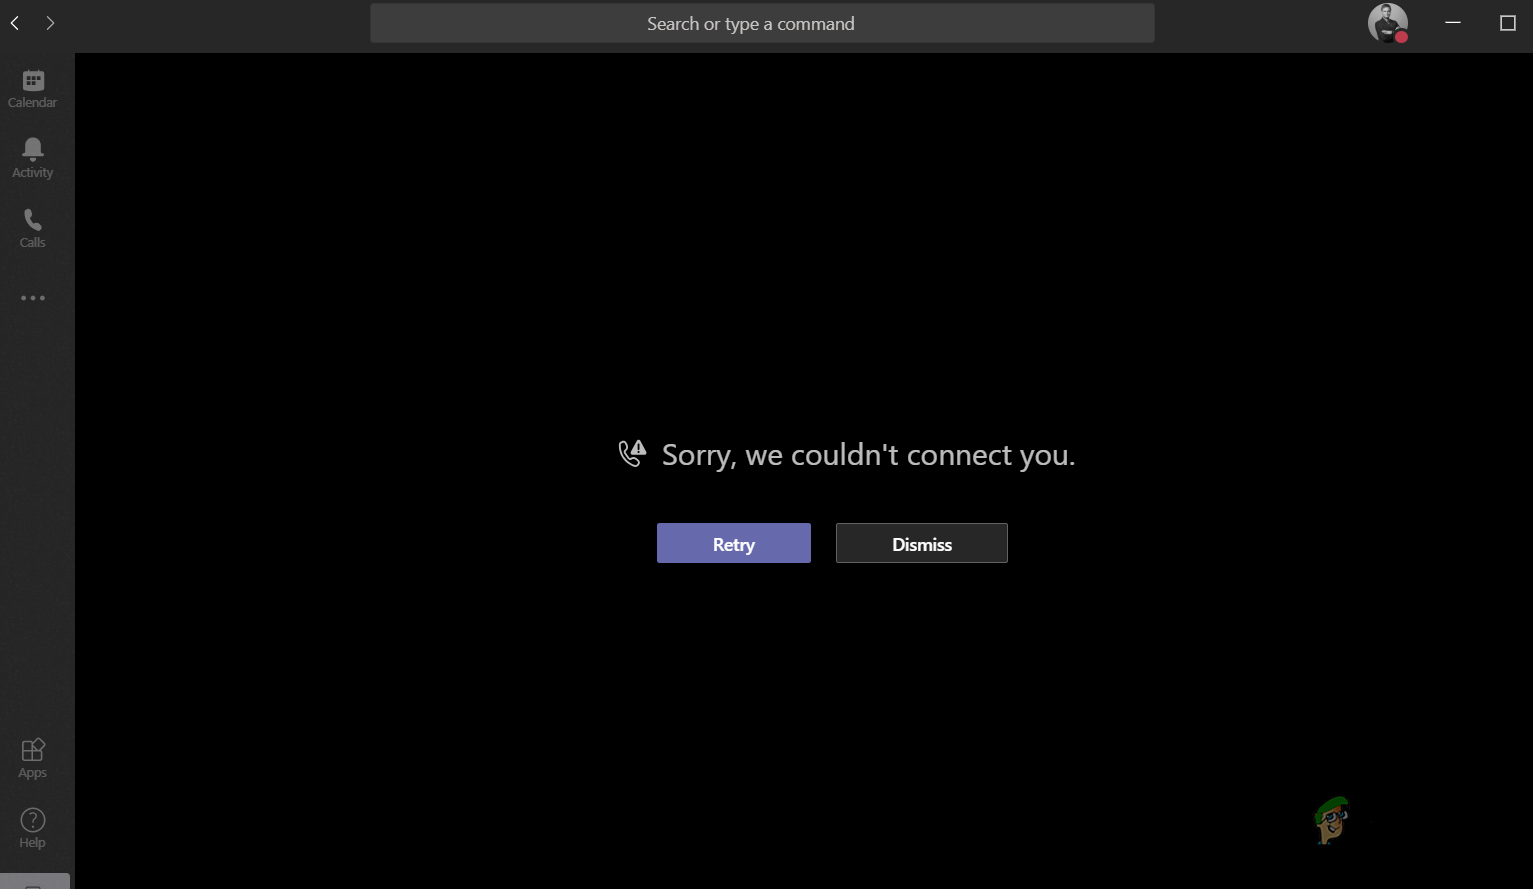
How to Resolve the ‘Sorry, we couldn’t connect you’ Error in Microsoft Teams
Microsoft Teams sometime fails to join a meeting or a call & show the “Sorry, we couldn’t connect you” error message. This error mainly occurs when your internet connection is not working as intended.
Restarting Microsoft Teams can often fix minor glitches and issues, including the “Sorry, we couldn’t connect you” error.
Before diving deep into troubleshooting, it’s essential to identify where the issue is occurring. Try accessing Microsoft Teams using the Web App. If the error persists on both the desktop and web versions, it indicates a more profound issue, possibly not limited to the application itself.
Ensure that your network connectivity is working fine on your computer or any other device. A slow or bad internet connection can often lead to the above error message in Microsoft Teams.
1. Audio Device Troubleshooting
If the specified audio device cannot be located by Microsoft Teams on your computer, it will throw out an error message. In such a situation, you will have to resolve the issue by selecting the proper input and output device in your settings.
Follow the instructions below to do this:
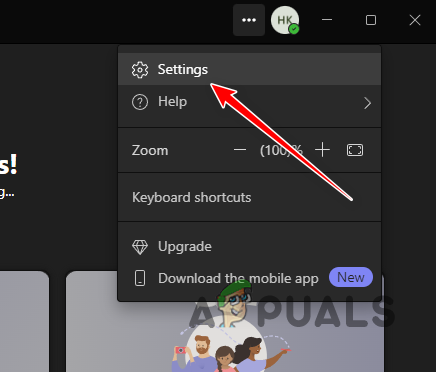
- First, open the Microsoft Teams app.
- After that, navigate to the Settings screen via the three dots in the top-right corner.
Navigating to Settings - On the Settings screen, switch to the Devices tab.
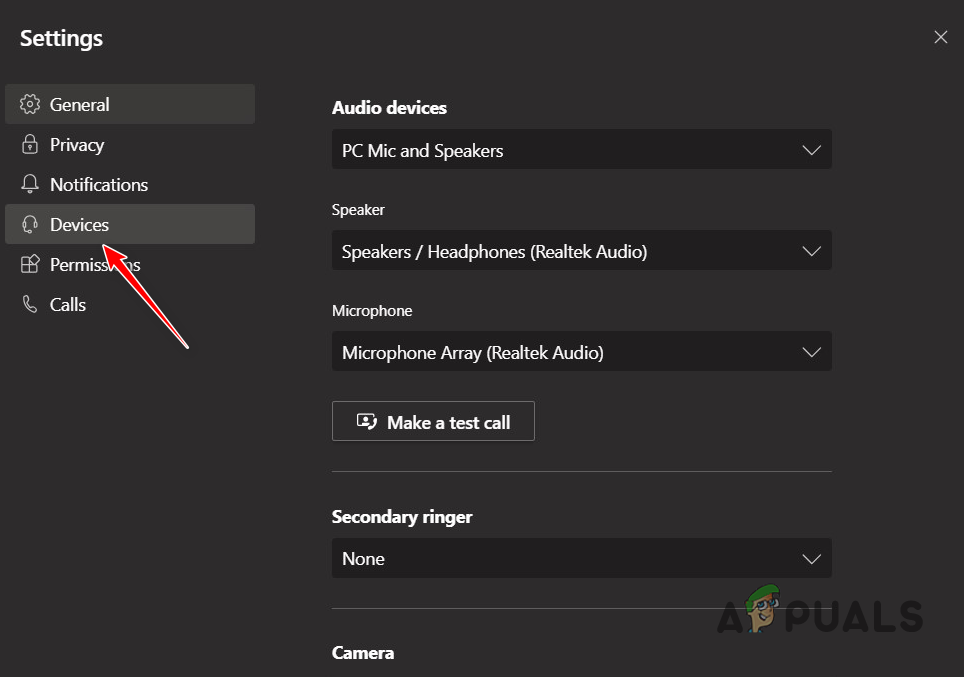
Navigating to Devices Settings - Then, check if the correct audio devices are selected and ensure they are available.
- See if that fixes the issue.
2. Modifying Meet Policy Settings
In case you are experiencing the error message when using the Meet Now and Casting features on Microsoft Teams, the problem can arise due to the Meet policy settings. In such an instance, you will have to change the meet policy settings to allow the participants to run on-demand meetings.
This behavior is enabled by default, however, if you have configured your meet policy settings, that can be causing the issue. You will need to have access to the Admin Center to change the meet policy settings. To resolve this, follow the instructions below:
- First, open the Teams Admin Center.
- After that, navigate to Meetings > Meeting policies.
- Then, under the Participants and guests section, turn on the Allow Meet now in private meetings option.
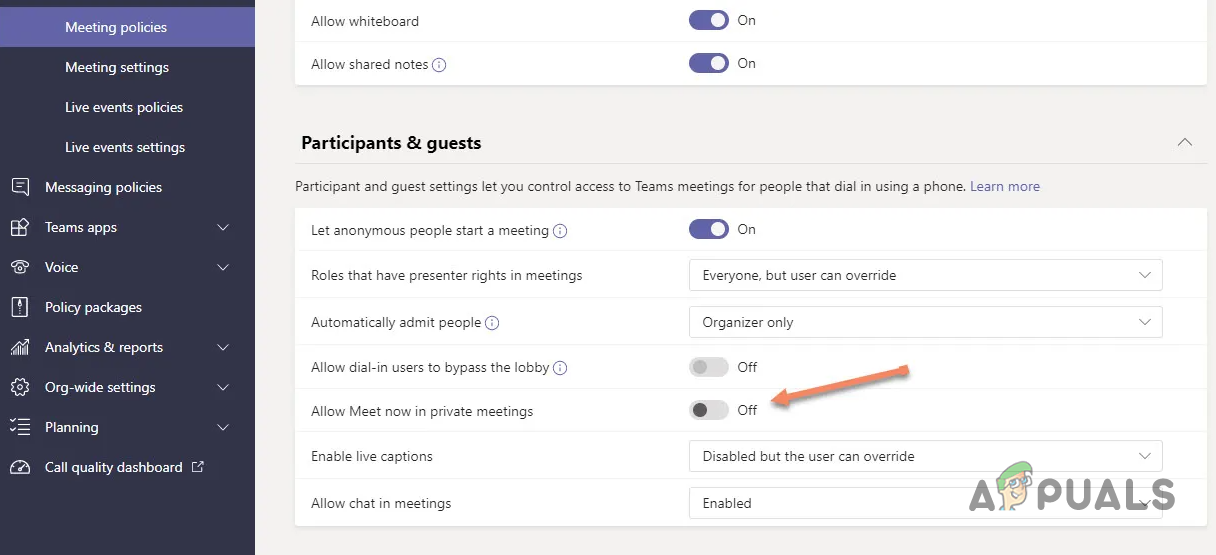
Enabling Allow Meet Now in Private Meetings - Once you do that, see if the problem persists.
3. VPN Interference
A third-party VPN connection can also prevent you from joining meetings in Microsoft Teams. This is because when using a VPN, your connection is masked by tunneling it through a number of servers before it reaches its destination.
Disconnect VPN and restart Microsoft Teams to resolve the issue.
If you have added a VPN connection to Windows, follow the instructions below to disconnect it:
- First, open the Settings app with the help of the Win key + I shortcut.
- Then, go to the Network and internet > VPN settings.
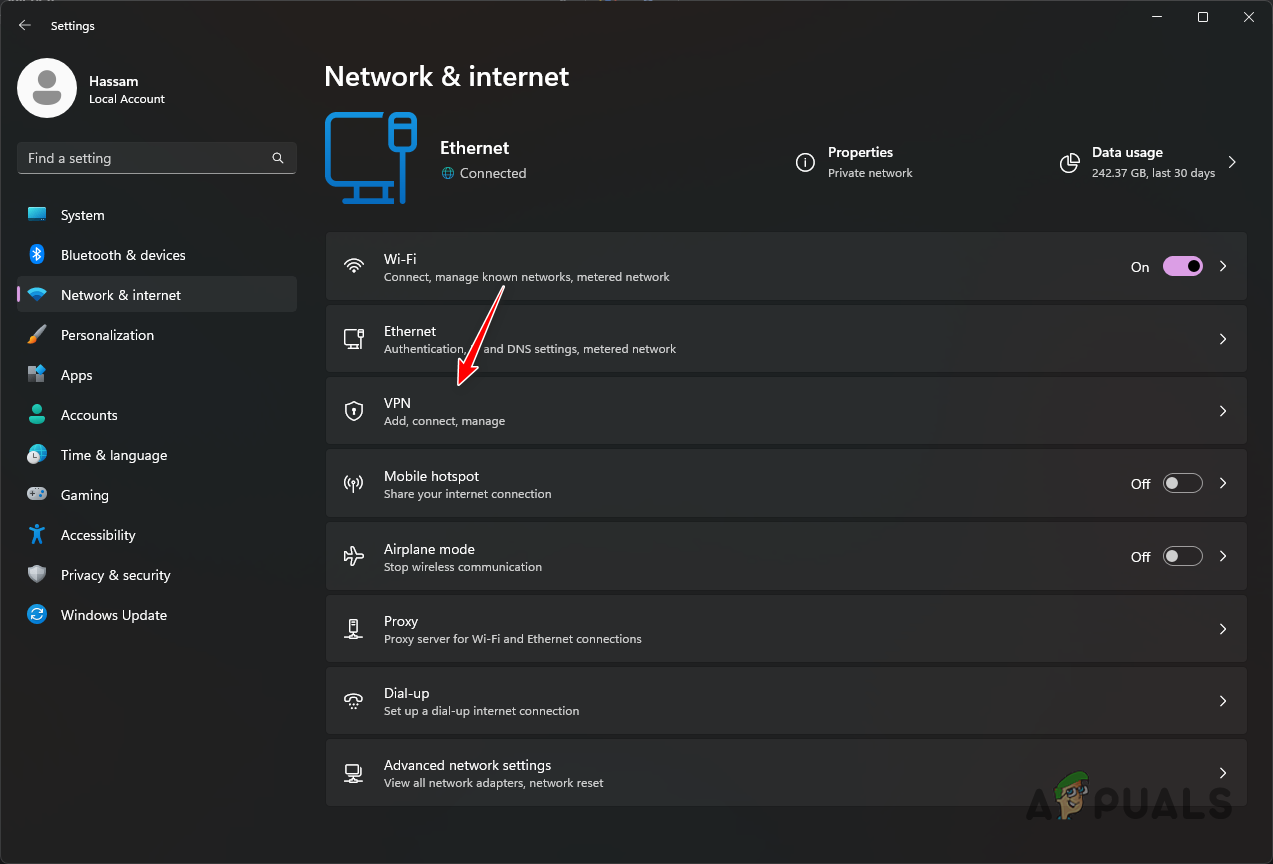
Opening VPN Settings - After that, click the Disconnect option to stop using the VPN.
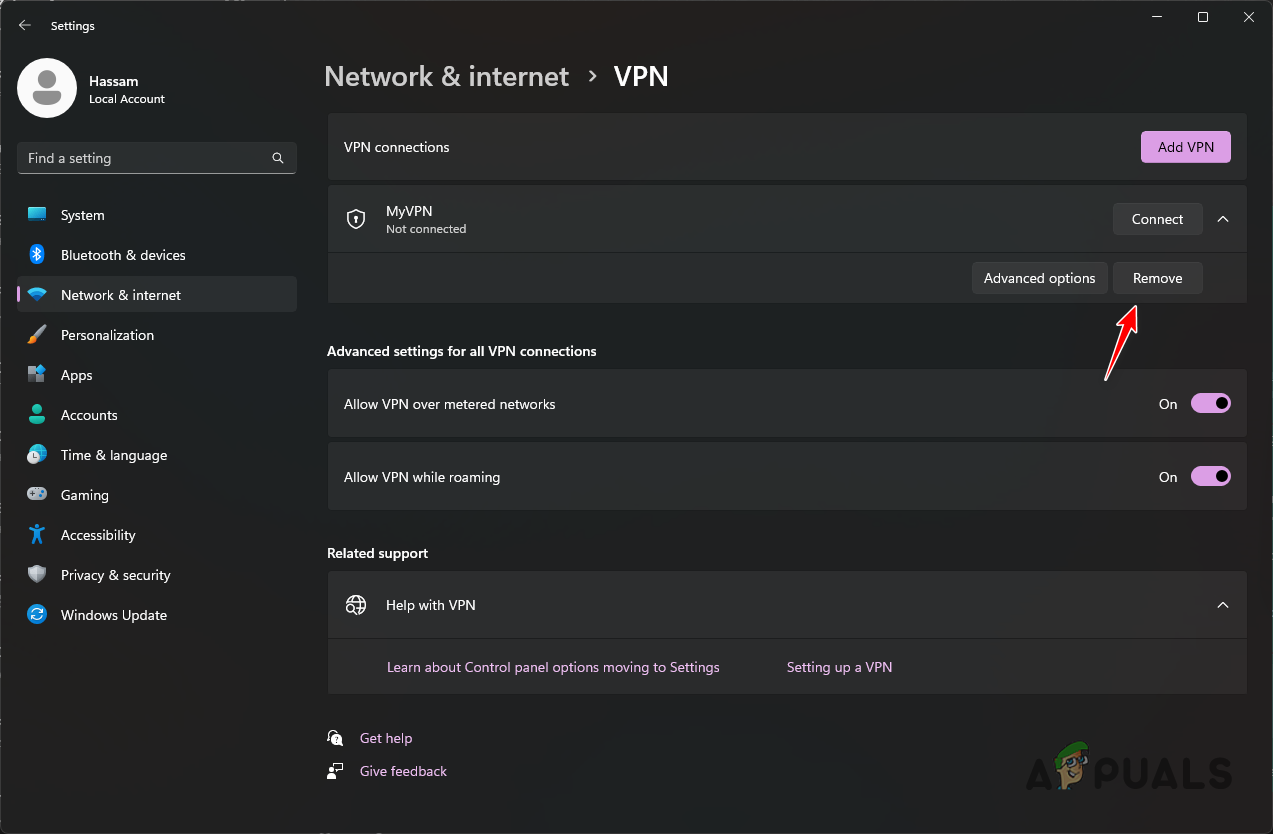
Removing VPN - If you want to remove the VPN, click the down arrow and use the Remove option.
4. Clear Microsoft Teams Cache
Microsoft Teams uses cache memory and files to speed up startup and performance. However, these cache files can sometimes become corrupted or outdated, which can prevent the app from connecting to the servers or syncing properly. To fix this, you can try clearing the Teams cache.
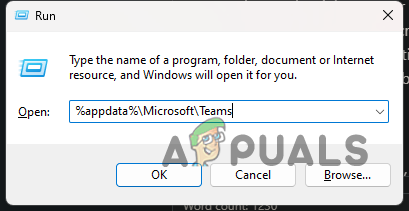
- First, close out Microsoft Teams. To do this, right-click the icon on the taskbar and select Quit.
- After that, open the Run dialog box with the Win key + R shorthand.
- Then, type in %appdata%\Microsoft\Teams in the Run box and hit Enter.
Navigating to Microsoft Teams Cache - This will open a File Explorer window.
- Delete all the files and folders inside the directory.
- After that, open Microsoft Teams and see if the error message is still there.
5. Delete Office Credentials
Windows uses a Credentials Manager that stores the credentials on your computer which can be accessed by the programs respectively.
In some cases, an inconsistency with the stored credentials can result in the error message in question. In this case, you will have to clear the Office credentials on your PC to resolve the issue. Follow the instructions below to do this:
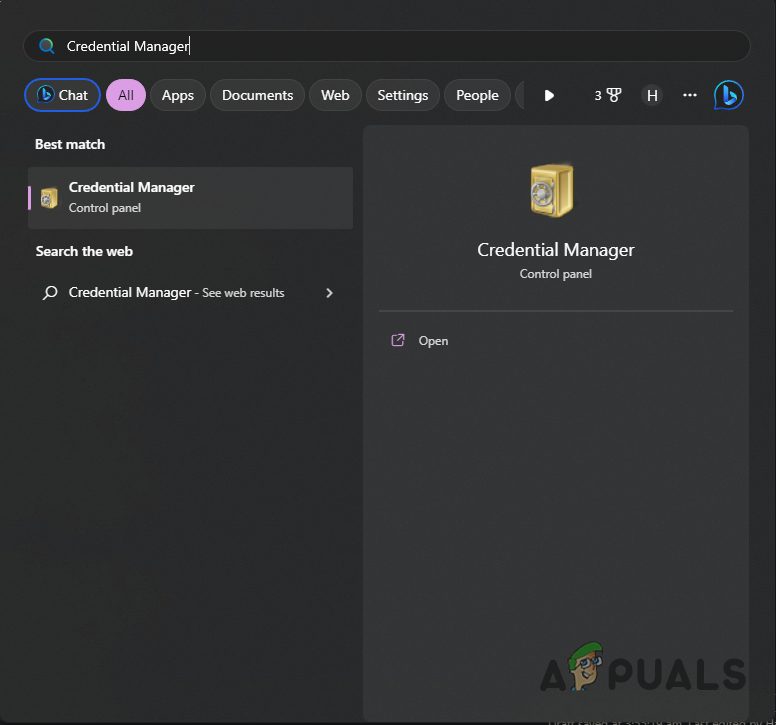
- First, open the Credential Manager by searching for it in the Start Menu.
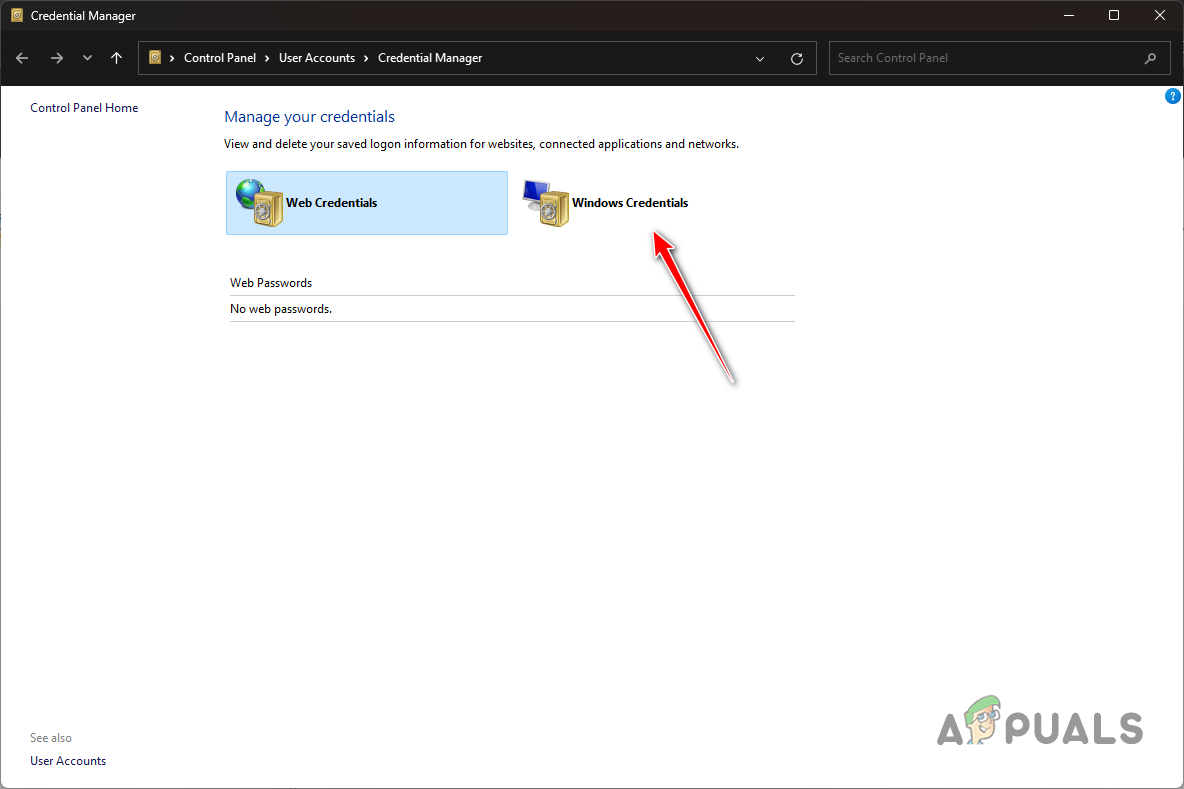
Opening Credential Manager - On the Credential Manager window, select the Windows Credentials option.
Switching to Windows Credentials - After that, look for Office credentials and click on the down arrow next to it.
- Then, click the Remove option to delete the credentials.
- See if that resolves the problem.
6. Perform a Clean Boot
The interference of third-party apps on your system with the Microsoft Teams program can also result in the above error message. This is quite common to occur with the increasing number of programs installed on a typical system.
In this situation, you will need to validate if the issue is indeed caused by a background program. You can do this by performing a clean boot. This will boot up Windows with only the required services running in the background.
Thus, all of the background apps will be disabled. If the problem goes away in clean boot, it will be evident a third-party app is behind the issue. In such an instance, you will have to identify the culprit by enabling the third-party services one by one.
Follow the instructions to perform a clean boot:
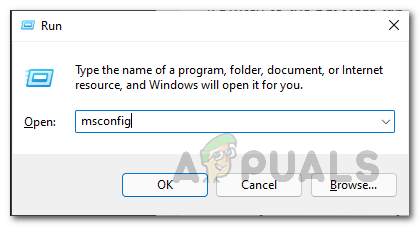
- First, open the Run box with the Win key + R shorthand.
- In the Run box, type in msconfig and press the Enter button.
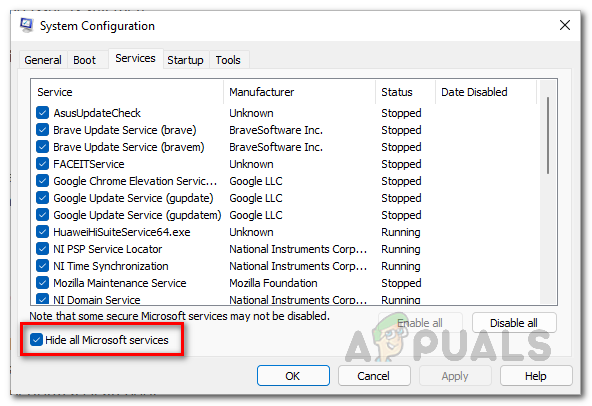
Opening System Configuration - Then, switch to the Services tab and click the Hide all Microsoft services box.
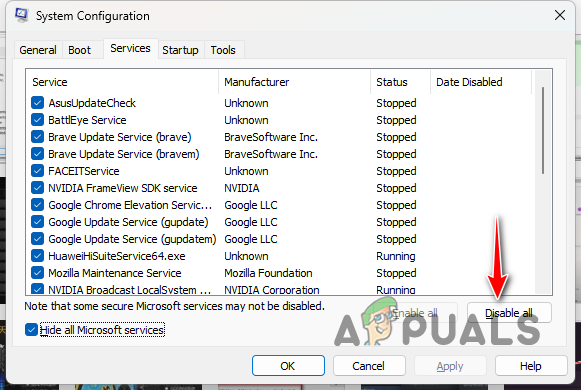
Hiding Microsoft Services - After that, use the Disable all button to disable the third-party services. Click Apply.
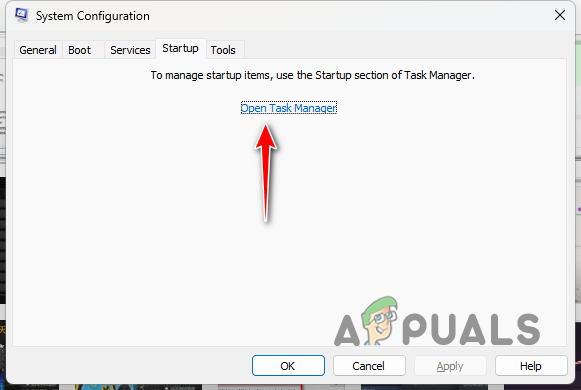
Disabling Third-Party Services - Now, switch to the Startup tab and click the Open Task Manager option.
System Config Startup Tab - Once the Task Manager is open, select the apps shown one by one and click the Disable option.

Disabling Third-Party Apps - Finally, restart your computer to perform a clean boot.
- See if the problem persists.
Lastly, if nothing works we suggest creating a new user profile to resolve the issue.
Creating a New User Profile using PowerShell and Command Line
Lastly, if nothing works we suggest creating a new user profile to resolve the issue.
Open PowerShell as an Administrator and Press Windows + X and select Windows PowerShell (Admin)
Create a New Local User Account
New-LocalUser -Name "NewUserName" -Description "Description of the New User" -NoPassword
Set a Password for the New User
Set-LocalUser -Name "NewUserName" -Password (Read-Host -AsSecureString -Prompt "Enter a password")
Verify the New User Account
Get-LocalUser -Name "NewUserName"
Type exit and press Enter to close PowerShell. Log out or restart your computer. At the login screen, select the new user profile and enter the password.
Note: Always ensure you have administrative privileges when creating new user profiles. Creating user accounts affects the system configuration, and you should be cautious when performing such operations. If you’re unsure, consult with your system administrator or IT department.
If you are still facing this issue, we recommend reaching out to the customer support team for Microsoft Teams via their official website. The support agents will be able to better help isolate the problem for you and deal with your case individually to reach an early resolution.