How to Root Android in Systemless Mode
Rooting as we know it, is a method of gaining administrative privileges on Android by install the su binary. Since Android 4.3, the su daemon needed to handle requests for root access had to run at startup and with enough permissions in order to work efficiently. This involved modifying the system partition on Android. However, when Lollipop was released, there was no way to start the su daemon at boot, so a modified boot image, known as the ‘systemless root’ was used and named as such because it doesn’t modify the files in the /system partition.
Another way to modify the system partition on Lollipop was found, which saw a stop to the use of the systemless method. With the introduction of Android Marshmallow, the security was strengthened, thereby making it impossible to modify the system partition to make the su daemon launch with the required permissions. This brought the systemless root method back – modifying the boot image instead of the system partition – and that’s is new way to root Marshmallow and newer operating systems, as well as Samsung devices running Android 5.1 and newer.
Before you continue you need to have met the following requirements:
- Unlocked bootloader – Visit your smartphone manufactures site to learn how to unlock your bootloader. Most Samsung phones have unlocked bootloaders.
- ADB and Fastboot binaries
- Your smartphone drivers – You can download and install this from your smartphone manufacturers website.
- TWRP Custom Recovery – The website provides the specific recovery image for your device.
- Latest Supersu – Copy this to root of your storage.
Method 1: On Devices Running Lollipop or Older
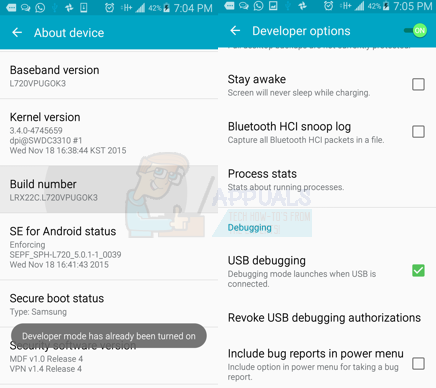
- On your Android phone go to Settings > About and tap ‘Build Number’ 8 times. Go back to Settings > Developer Settings and turn on USB Debugging Mode.
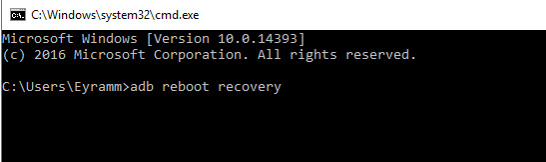
- Open a command prompt by pressing Windows + R keys, typing cmd and then hitting Enter. Type in the following command:adb reboot recoveryAccept any confirmation dialog that comes on your phone’s screen.
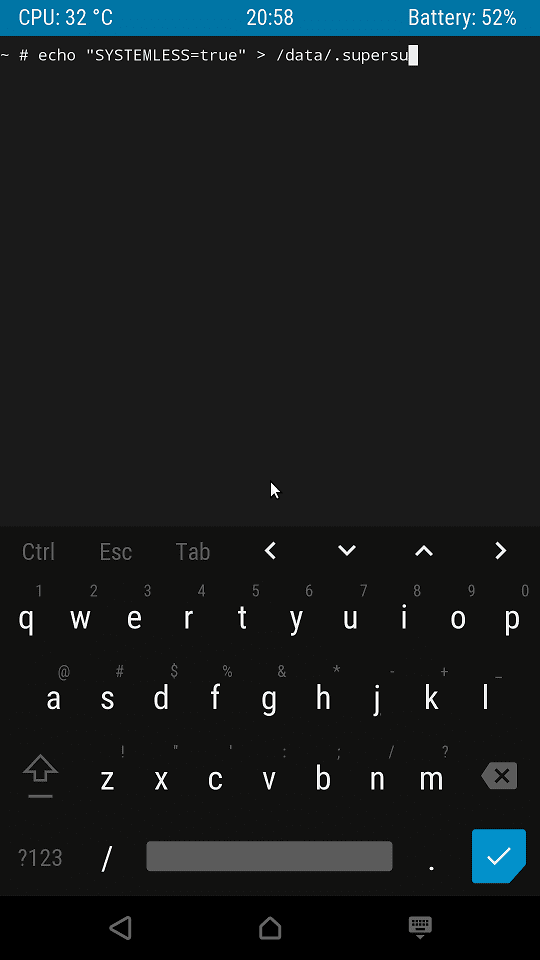
- In TWRP, navigate to Advanced > Terminal and type the following codeEcho “SYSTEMLESS=true” > /data/.supersu
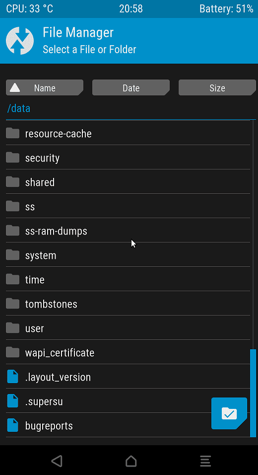
- Make sure the .supersu file is in /data by navigating to Advanced > File Manager > /data
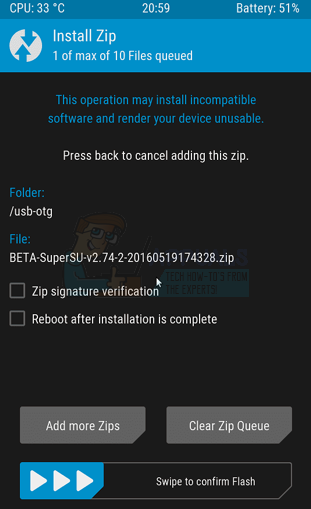
- Root your device by flashing SuperSU: Install > SuperSU-****.zip and then swipe to confirm Flash
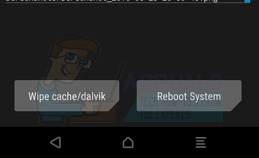
- Tap Reboot System.
Method 2: On Devices Running Marshmallow or Newer
Systemless rooting is enabled by default on devices running Marshmallow or newer. There’s no need to enter additional commands – just flash the SuperSU zip file.
- On your Android phone go to Settings > About and tap ‘Build Number’ 8 times. Go back to Settings > Developer Settings and turn on USB Debugging Mode.
- Open a command prompt by pressing Windows + R keys, typing cmd and then hitting Enter. Type in the following command:adb reboot recoveryAccept any confirmation dialog that comes on your phone’s screen.
- Root your device by flashing SuperSU: Install > SuperSU-****.zip and then swipe to confirm Flash
- Tap Reboot System.