How to Fix Print Sharing Not Working in Windows?
The print-sharing feature fails to work on Windows if the feature itself is incorrectly configured, a firewall is blocking the process, or if Windows is dealing with a corruption error, which can be caused due to malware or a faulty update.
Below, we take a look at the solutions to try if you are facing the same issue. We recommend going through the solutions first to understand the cause of the issue in your case. Once you have done that, move forward with the most relevant troubleshooting method.
1. Ensure the Feature Is Enabled
The first thing that you should do is check if the print-sharing feature is enabled on your computer. There is a chance that you or someone else using your computer unintentionally changed the settings, which is leading to the issue at hand.
If this is the case, enabling the feature back will resolve the problem without you having to go through the troubleshooting methods.
Here is how you can proceed:
- Type Control Panel in Windows search and click Open.
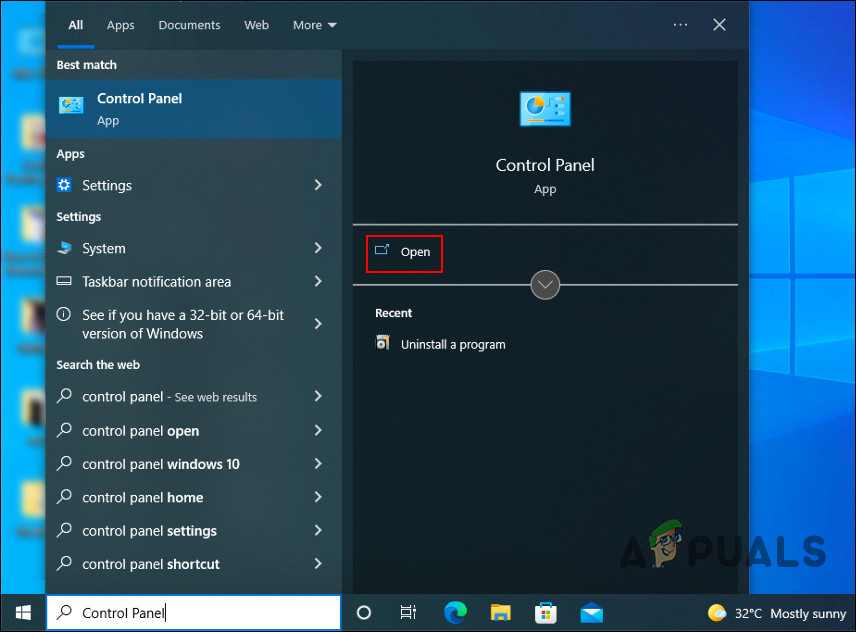
Click on the Open button - In the following window, click on Network and Internet option.
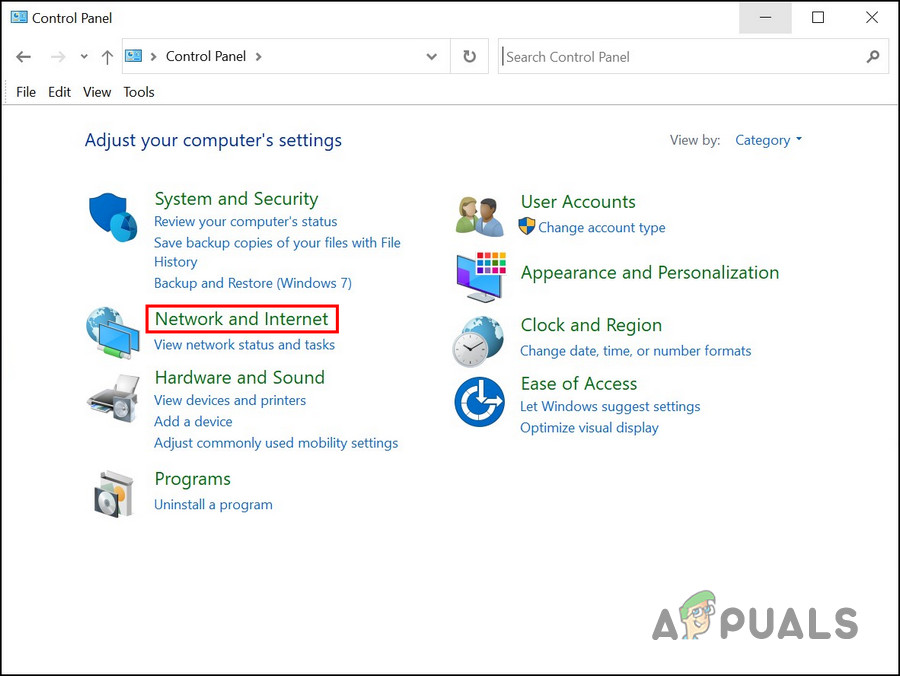
Click on the Network and Internet option - Click on the View network status and tasks hyperlink below the Network and Sharing Center option.
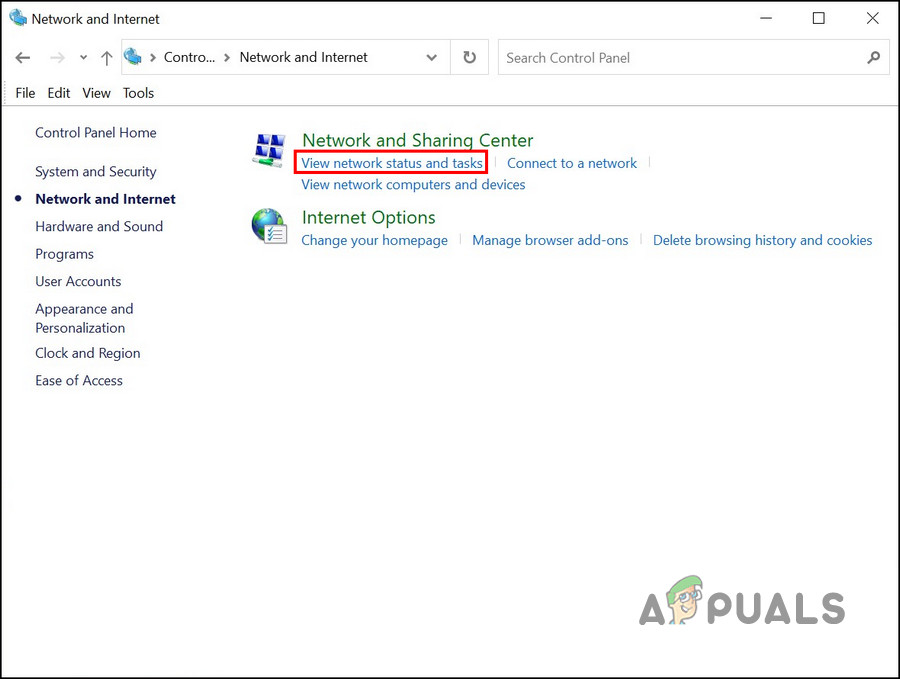
Click on the network status and tasks option - Now, locate the Change advanced sharing settings option from the left pane and click on it.
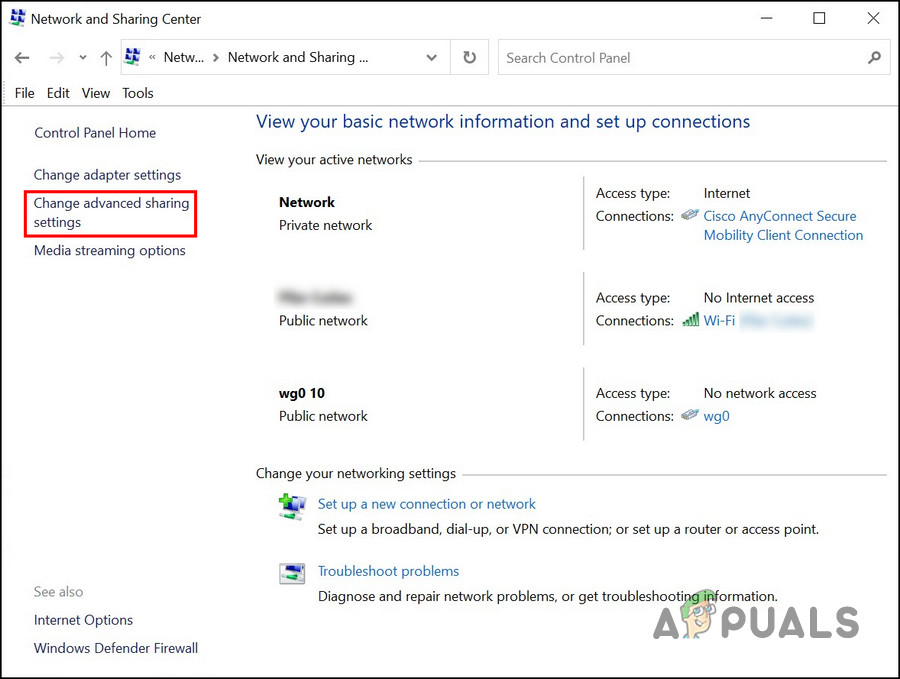
Choose Change advanced sharing settings - Head over to the File and Print Sharing section and choose the Turn on file and printer sharing option.
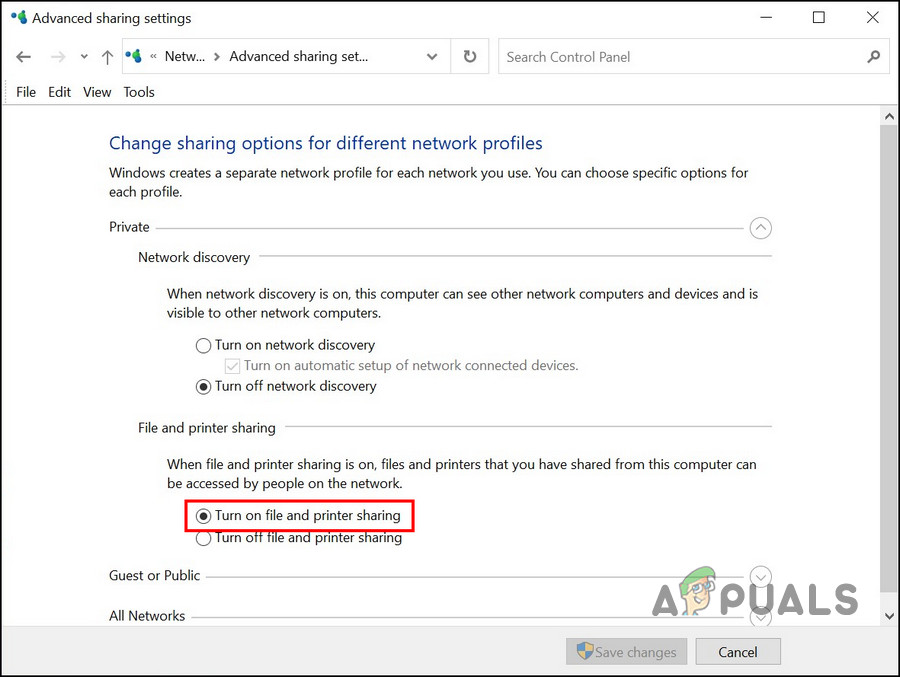
Choose the Turn on file and printer sharing option - Once done, hit the Save changes button.
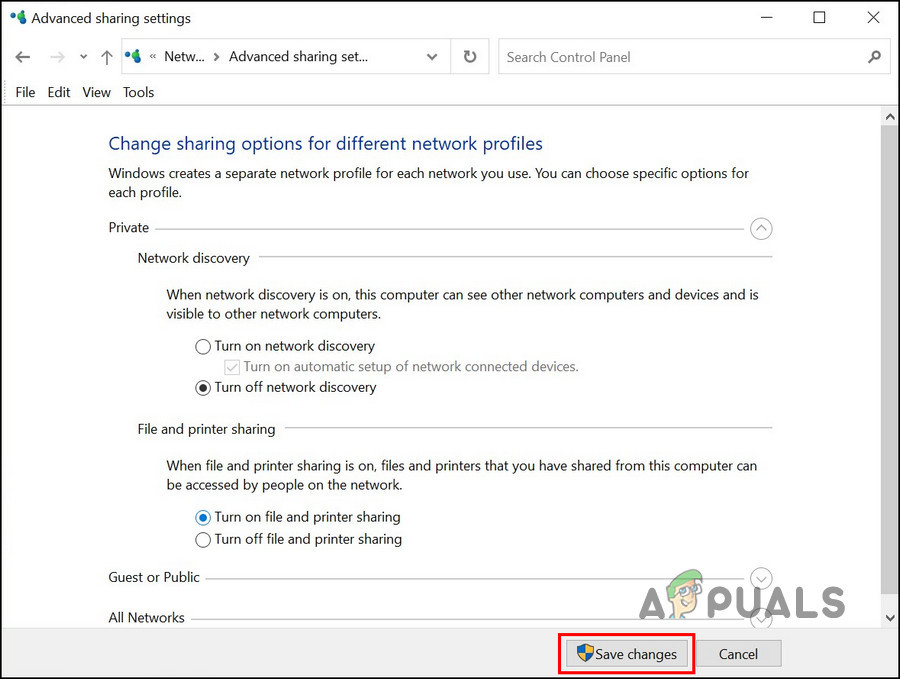
Hit the Save changes button
You can try repeating the action that was previously causing the error and check if it occurs again.
2. Install the KB5007253 Update
Another fix that worked for users was installing the kb5007253 update in Windows 10. Apparently, this update contains a fix related to the print-sharing issue, resolving the issue.
You can download the targeted update using the Microsoft Update catalog, which lists all the new and old updates released by Microsoft. All that you need to do is search for the targeted update and then install the one that fits your device’s specifications.
Here is all that you need to do:
- Launch your browser and head over to the Microsoft update catalog.
- Enter kb5007253 in the search bar in the top right and press the Enter key.
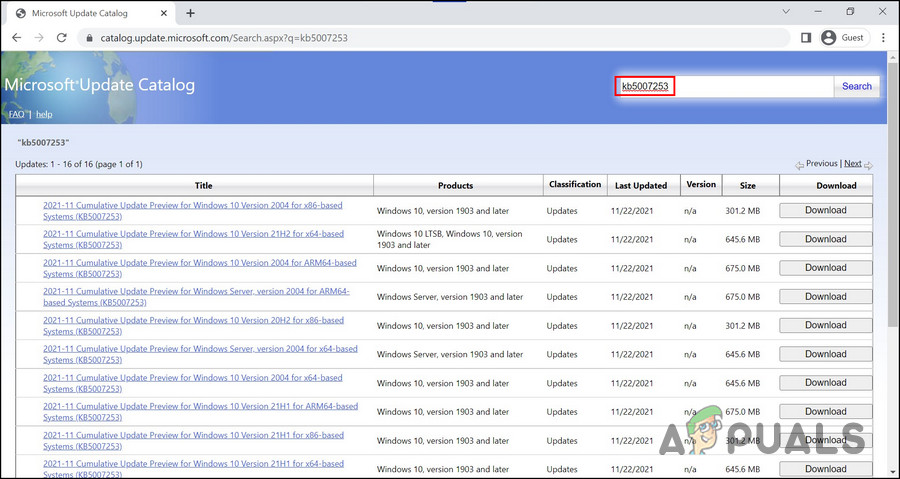
Search for the update - Once the results are displayed, find the right update version according to your system and click on the Download button for it.

Click on the Download button - After downloading the update, click on it and follow the on-screen instructions to complete the installation process.
Hopefully, you will no longer face the print-sharing error after the update is installed. If the issue persists, move to the next method below.
3. Uninstall the KB5005565 Update (If Applicable)
In some cases, the error occurred due to installing a faulty system update, the KB5005565 update. If you installed this update, removing it from the system should do the trick.
We will be using the Control Panel to perform this action.
Follow these steps to proceed:
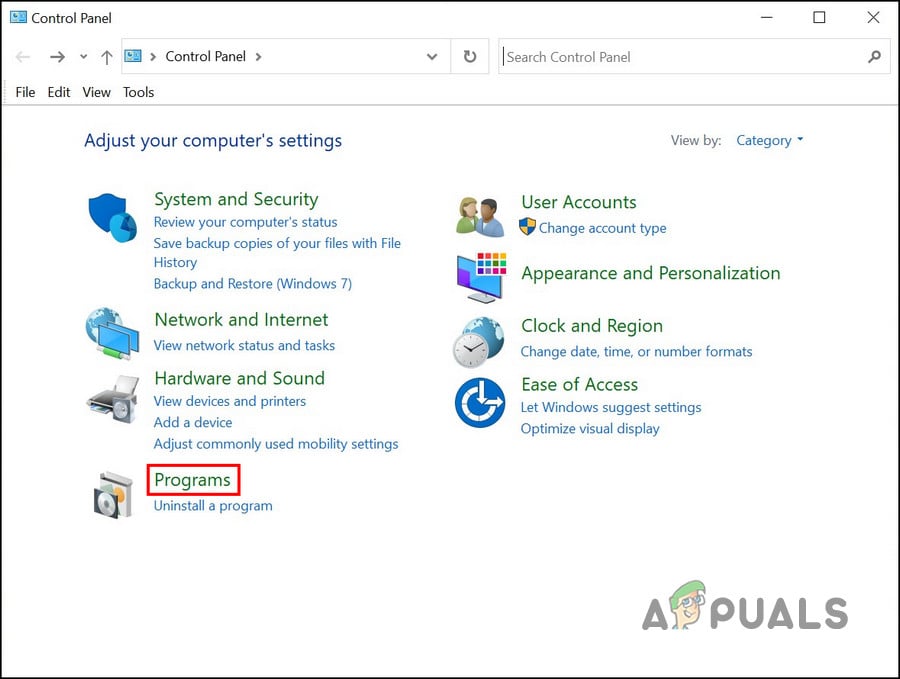
- Type Control Panel in Windows search and click Open.
- Choose Programs in the following window.
Choose Programs - Click on View installed updates in the left pane.
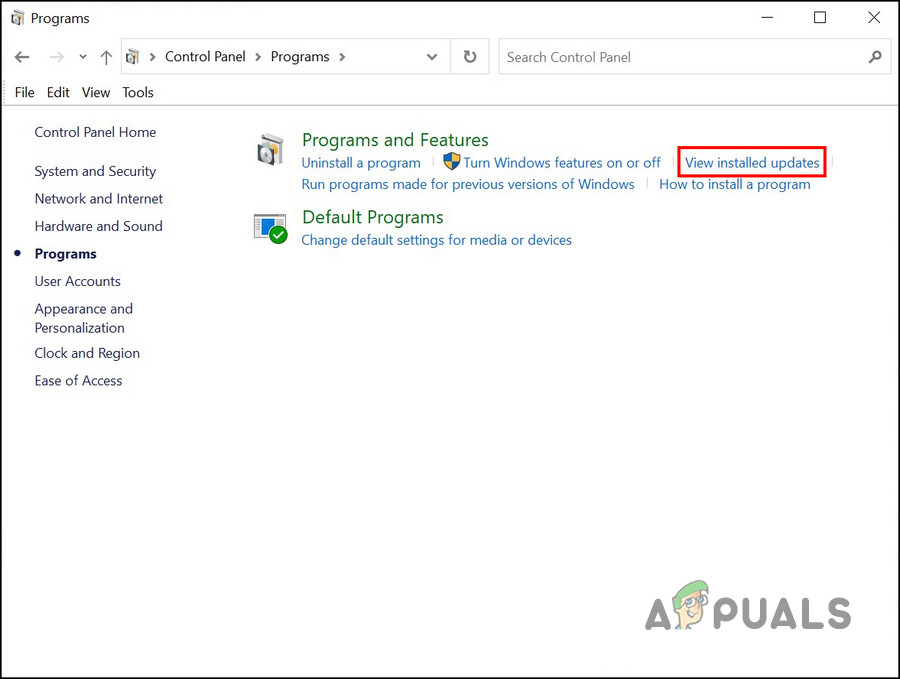
Click on the View installed updates option - You should now be able to view a list of installed updates in the system. Locate the KB5005565 update and right-click on it.
- Choose Uninstall from the context menu and follow the on-screen instructions to proceed.

Click on the Uninstall button - Once the update is uninstalled, restart your PC and then retry using the print-sharing feature to see if it works.
4. Restart the Print Spooler Service
For certain features and functions to work properly in Windows, the relevant services must be working. If any of these services are disabled or simply not working properly, you will encounter issues while using the service.
In the case of print sharing, the print spooler service must be working, and if it is not functioning properly, you are likely to encounter problems like the one at hand. Fortunately, in most cases, restarting the service fixes the problem.
Here is how you can restart the print spooler service:
- Press Win + R together to open Run.
- Type services.msc in Run and click Open.
- In the Services window, scroll down to locate the Print Spooler service and right-click on it.
- Choose Properties from the context menu.
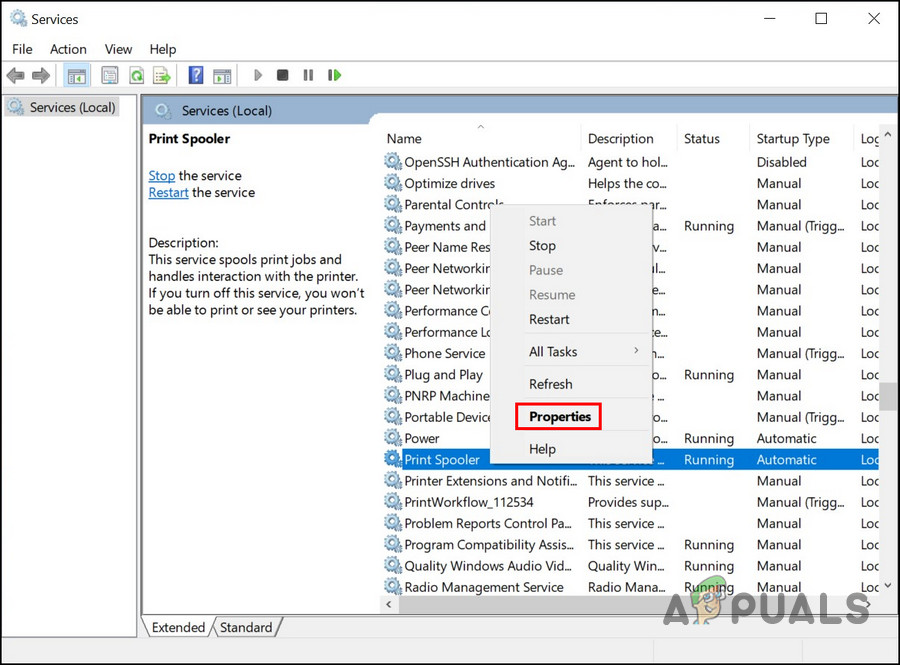
Launch Print Spooler properties - In the Properties dialog, click on the Start button if the service is disabled.
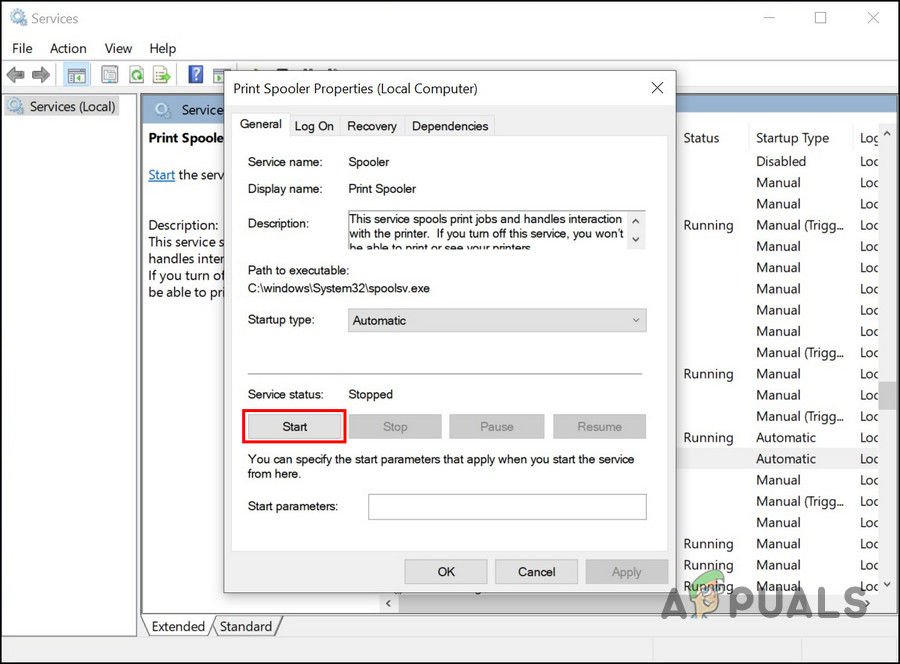
Click on the Start button - If the service is working, click on the Stop button, wait for a few seconds, and then hit the Start button.
- Expand the dropdown for Startup type and choose Automatic.
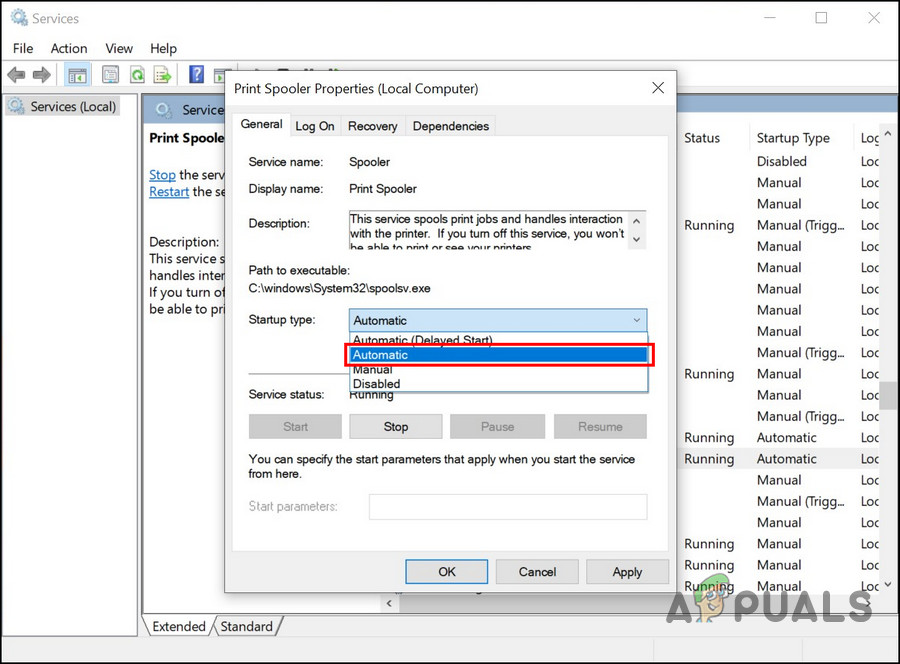
Set the startup type to Automatic - Click on Apply > OK to save the changes.
Once done, check if the issue is resolved.
5. Run the Printer Troubleshooter
There is also a chance that a corruption error within the system is causing the problem. If this scenario is applicable, the best way to counter the problem is by running a built-in Windows utility – the Print troubleshooter.
Microsoft has developed this tool to scan the system for potential issues that might be causing any print-related issues like the one under consideration. If a problem is identified, it will recommend fixes that you can also apply from within the troubleshooter without giving much input.
Here is how you can run the print troubleshooter:
- Open Settings by pressing Win + I.
- Choose Update & Security from the list of options available.
- Navigate to Troubleshoot > Additional troubleshooters.
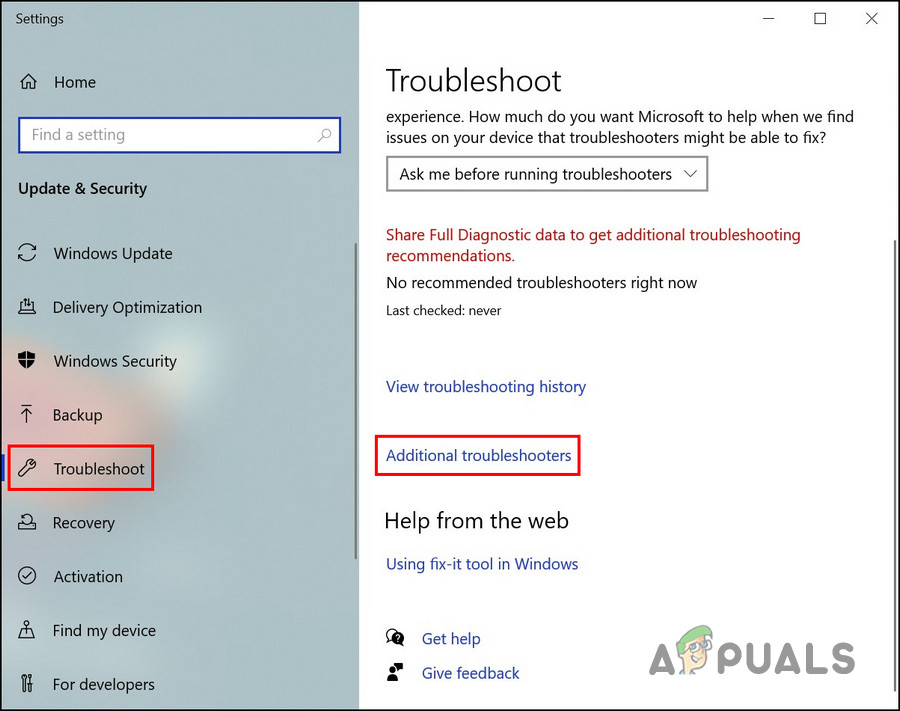
Choose Additional troubleshooters - In the following window, look for the Print troubleshooter and click on the Run button for it.
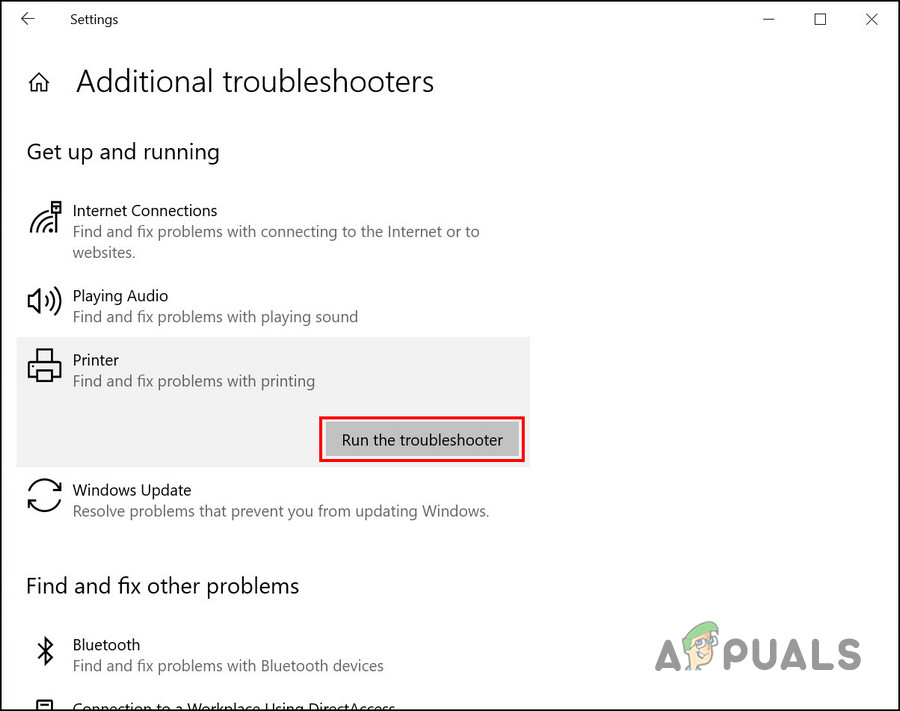
Click on Run the troubleshooter button - Wait for the scan to complete. If the troubleshooter has found errors, click on the Apply this fix option to proceed with the solutions.
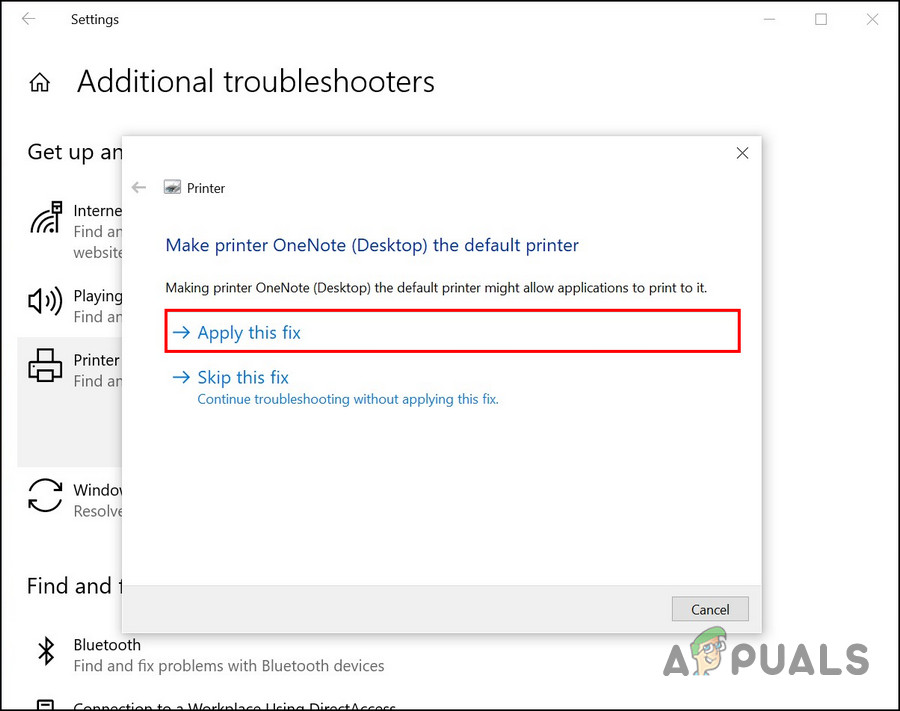
Click on Apply this fix - If it failed to locate any issues, click on Close the troubleshooter option.
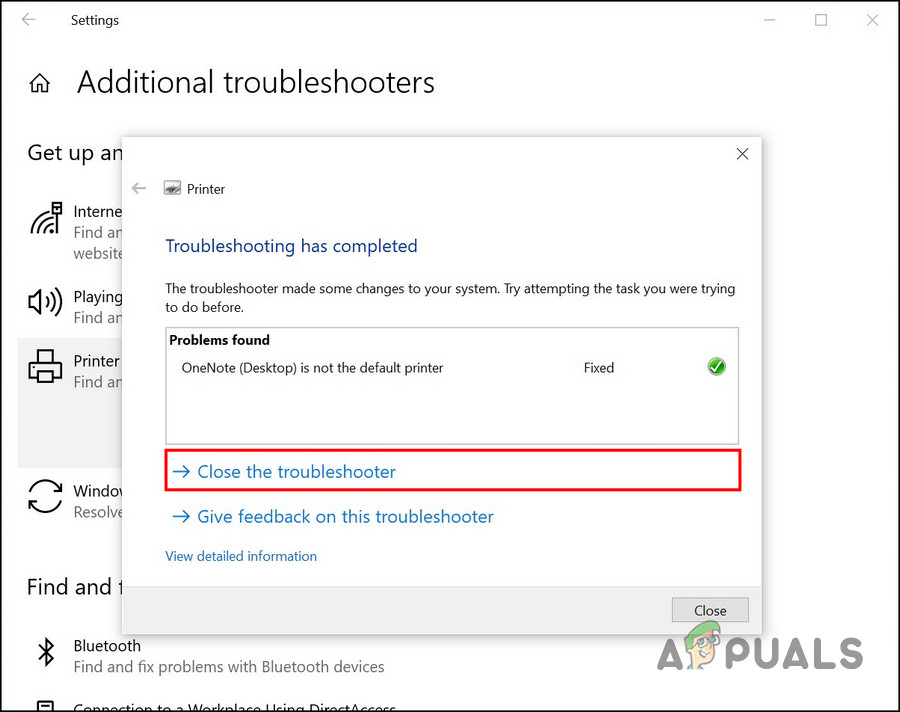
Choose to exit the troubleshooter
If none of the methods above work for you, we recommend reaching out to the official Microsoft support team and reporting the problem to them. They will help find the exact cause of the issue and suggest a relevant fix.


