How to Install Oracle VM VirtualBox on Windows 10
There are two types of virtualization, type 1 and type 2. Type 1 virtualization runs on bare metal and has direct access to the hardware resources and some of the known hypervisors are VMWare ESXi, Hyper-V, XenServer and others. The Type 2 virtualization runs on the top of the operating system. Some of the known and popular Type 2 virtualization platforms are Hyper-V Client, VMware Workstation, Oracle VirtualBox and others. We already covered multiple articles about installing, configuring and managing Hyper-V articles. In this article and a few articles that will come soon, we will talk about Oracle VirtualBox, the open-source type 2 virtualization. Oracle VM VirtualBox is a free and open-source hosted hypervisor for x86 virtualization, developed by Oracle Corporation.
In order to install Oracle VirtualBox on the machine, there are a few requirements that have to be fulfilled, including:
- CPU that supports virtualization (Intel or AMD). In order to have a stable and reliable virtualization environment, we are recommending to have a processor that has more than 4 cores. Our plan through the following articles is to deploy one virtual machine, so we do not need more resources.
- Minimum 8 GB of physical memory, 16 GB is recommended. These requirements are required for hosts and one guest machine.
- Minimum 80 GB of the disk space. We recommend having SSD min 120 GB.
- Network card connected to the internal network or Internet
- Windows 8, 8.1 or Windows 10. We will install it on the Windows 10 Professional.
- Others: Based on the different scenarios
In our case we will install VirtualBox on the Windows 10 Professional that has the following hardware specifications:
- CPU AMD Ryzen 3900 12 cores 24 threats
- Physical memory 32 GB DDR4
- SSD 512 GB NVMe
- Windows 10 Professional
For the sake of sharing information, Oracle VM VirtualBox can be installed on the following operating systems:
Windows hosts (64-bit):
- Windows 8.1
- Windows 10 RTM (1507 / 2015 LTSB) build 10240
- Windows 10 Anniversary Update (1607 / 2016 LTSB) build 14393
- Windows 10 Fall Creators Update (1709) build 16299
- Windows 10 April 2018 Update (1803) build 17134
- Windows 10 October 2018 Update (1809 / 2019 LTSC) build 17763
- Windows 10 May 2019 Update (19H1 / 1903) build 18362
- Windows 10 November 2019 Update (19H2 / 1909) build 18363
- Windows Server 2012
- Windows Server 2012 R2
- Windows Server 2016
- Windows Server 2019
Mac OS X hosts (64-bit):
- 13 (High Sierra)
- 14 (Mojave)
- 15 (Catalina)
Linux hosts (64-bit):
- Ubuntu 18.04 LTS, 19.03 and 19.10
- Debian GNU/Linux 9 (“Stretch”) and 10 (“Buster”)
- Oracle Linux 6, 7 and 8
- Red Hat Enterprise Linux 6, 7 and 8
- Fedora 30 and 31
- Gentoo Linux
- SUSE Linux Enterprise server 12 and 15
- openSUSE Leap 15.1
So, let’s start with the installation.
- Login into Windows 10
- Open the Internet browser (Google Chrome, Mozilla Firefox, Edge or others)
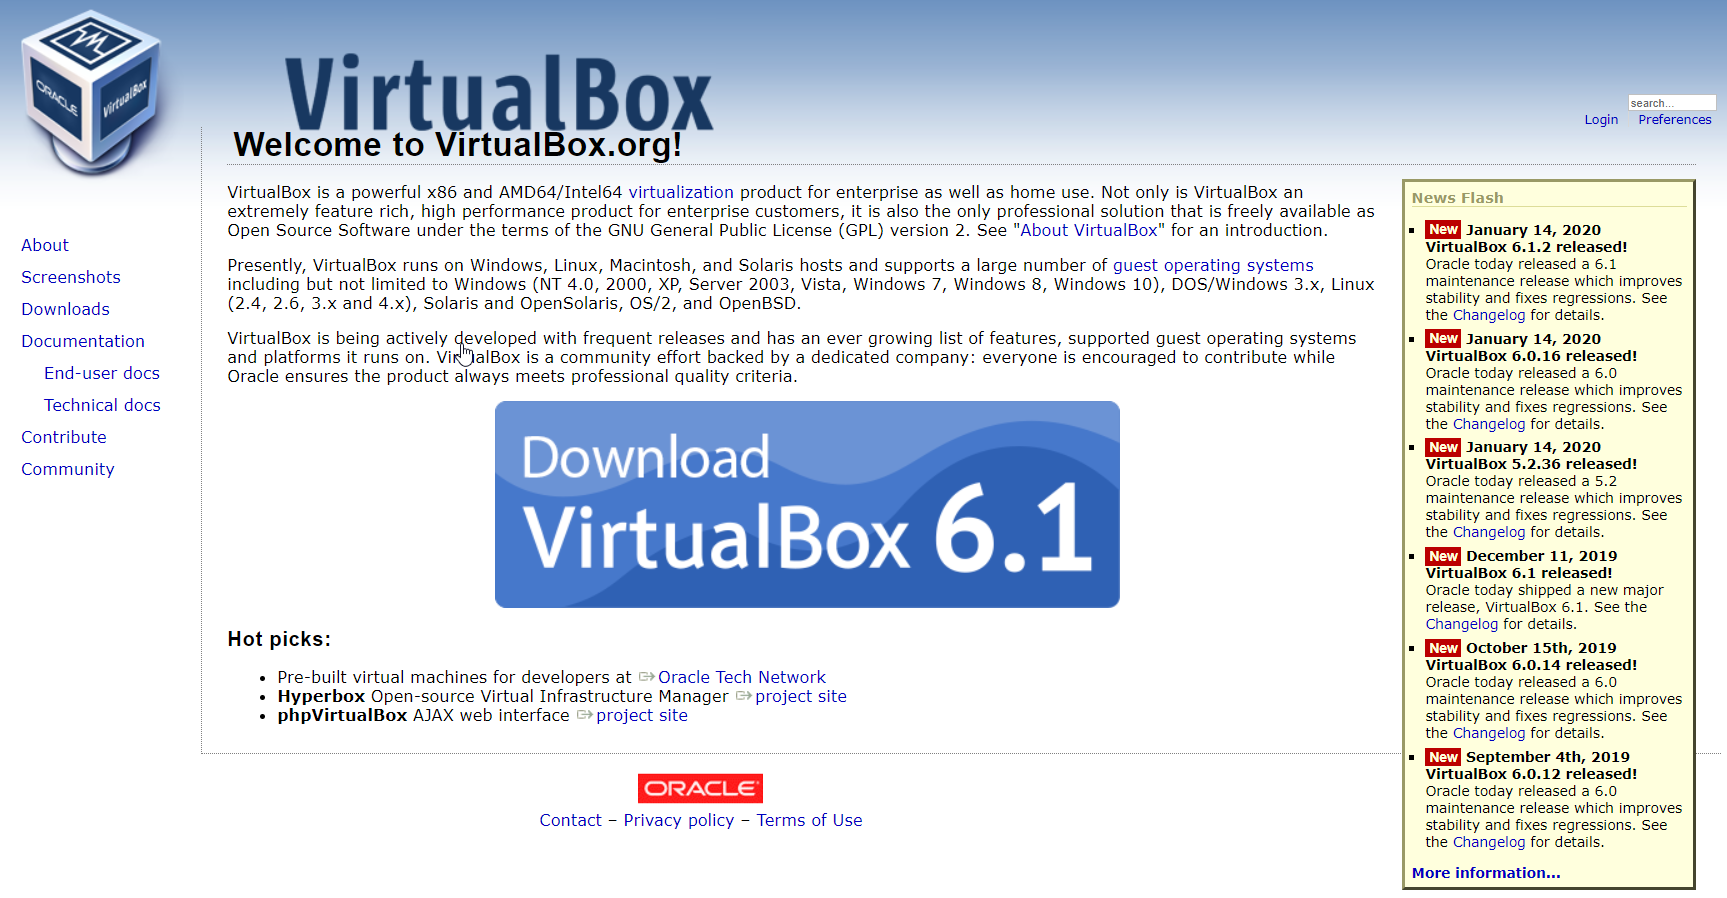
- Open the website Virtual Box website and click on the Download as shown in the screenshot below
- In the next windows click on Windows hosts under the VirtualBox 6.1.2 platform packages as shown in the screenshot. You will download the file named VirtualBox-6.1.2-135663-Win which is around the 108 MB

- Open the installer VirtualBox-6.1.2-135663-Win
- Under Welcome to the Oracle VM VirtualBox, 6.1.2 Setup Wizard click on the Next
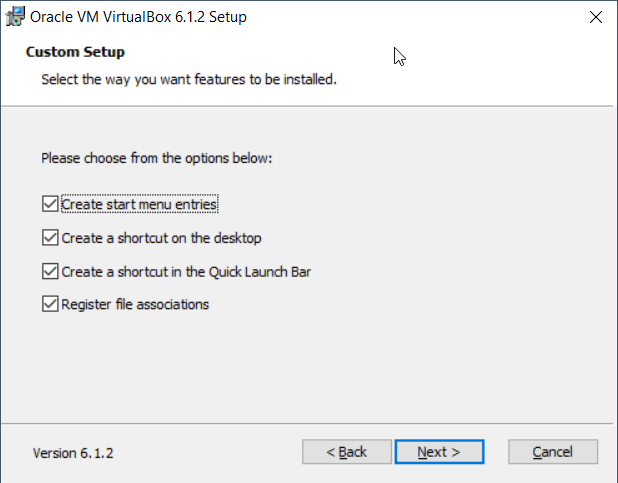
- Under the Custom Setup keep the default settings and location and then click
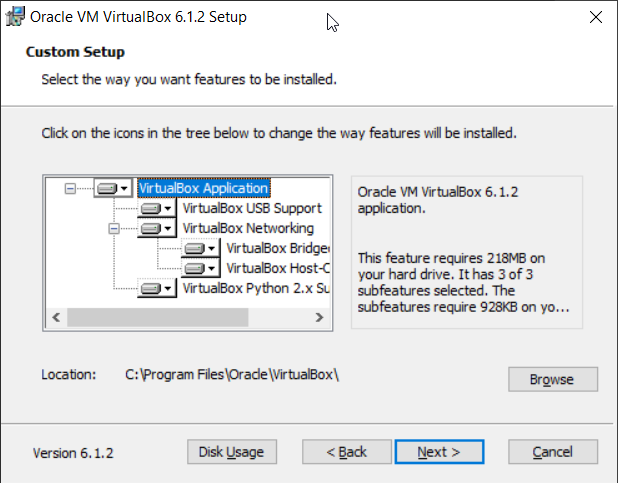
- Under Custom Setup click Next.
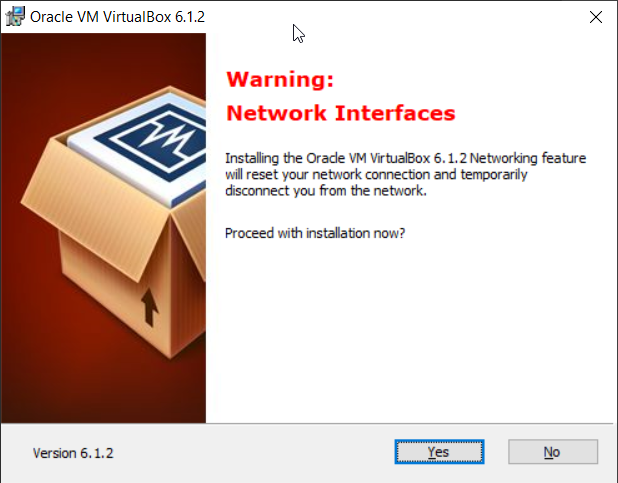
- Under Warning: Network Interfaces click Yes. Installing the Oracle VM VirtualBox 6.2.1 Networking feature will reset your network connection and temporarily disconnect you from the network.It will also create virtual network adapter in the Network Connections (Control Panel\Network and Internet\Network Connections)
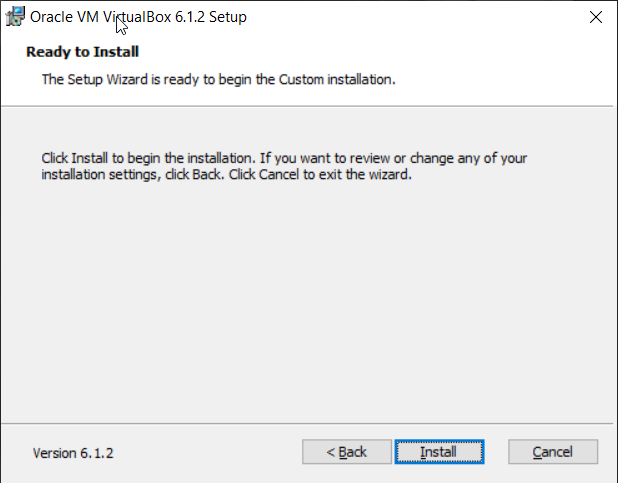
- Under the Ready to Install click Install
- Click Yes to confirm installing Oracle
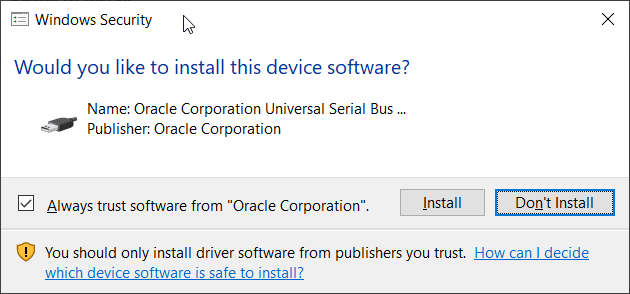
- Under Would you like to install the device software, select Always trust software from “Oracle Corporation” and click Install
- Wait until the installation is finished.
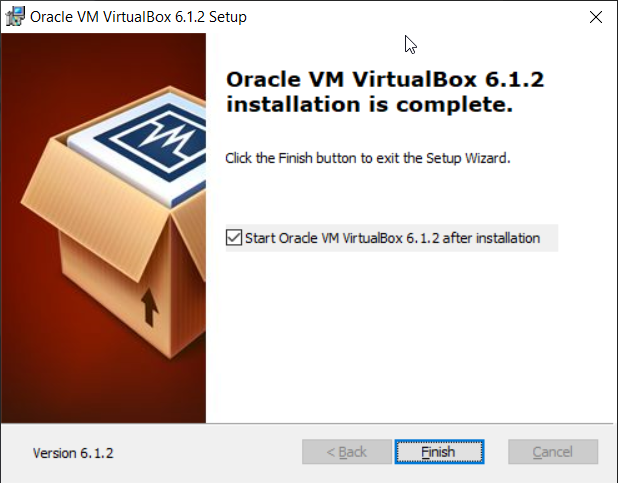
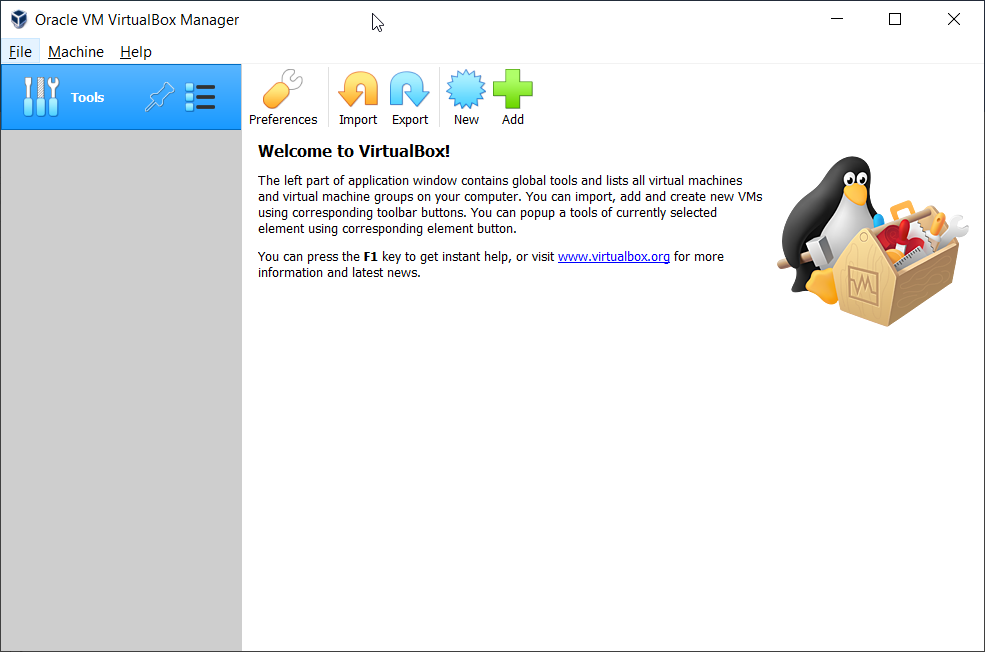
- Click Finish to start the Oracle VM VirtualBox 6.1.2
- Congratulations. You have successfully installed Oracle VM VirtualBox
In the next few articles, we will explain to you how to configure Oracle VM VirtualBox and create your first virtual machine.