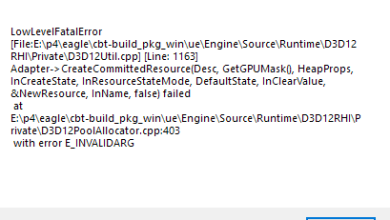
How to Fix “No Suitable D3D12 Adapter Found” in Marvel’s Guardians of the Galaxy?
While encountering the “No Suitable D3D12 Adapter Found” error in Marvel’s Guardians of the Galaxy, it indicates a specific issue: the game cannot detect a GPU that meets its requirements for DirectX 12_0 and sufficient dedicated VRAM.
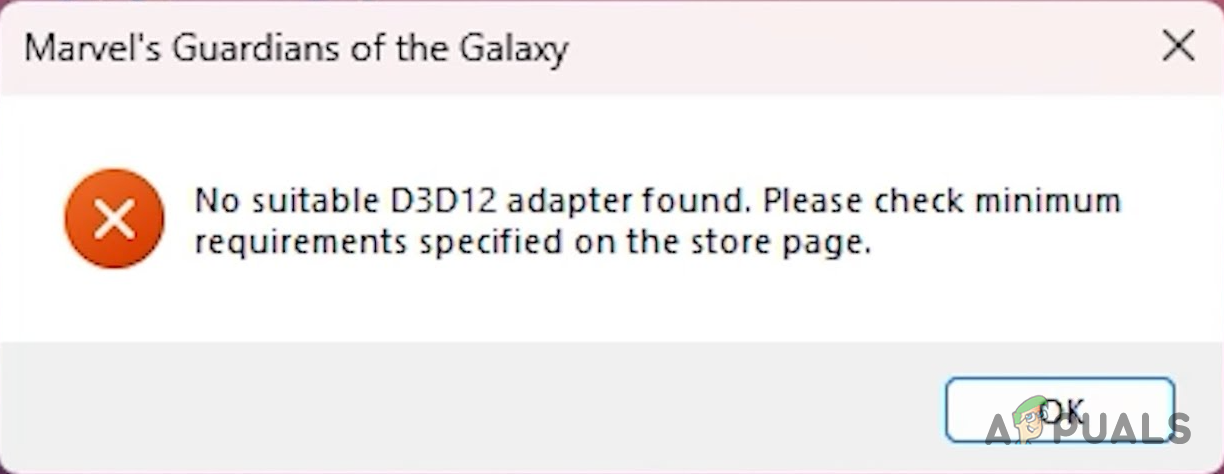
This error most commonly occurs due to the game’s inability to recognize a graphics card with at least 4GB of dedicated VRAM and support for DirectX12_0.
Additional factors, such as outdated GPU drivers, insufficient system specifications, or the presence of integrated graphics alongside dedicated GPUs, may also contribute to this issue.
You can overcome the VRAM availability obstacle by increasing the video memory from the BIOS menu. However, if your system does not meet the game’s minimum requirements, you will not be able to bypass the mentioned error message.
1. Check Minimum Game Requirements
The minimum GPU requirement for the game is an NVIDIA GeForce GTX 1060 or AMD Radeon RX 570. If your graphics card is older, the only option to play the game is to update your system.
To find the GPU installed on your computer, use the DirectX Diagnostic Tool:
- Open the Run dialog by pressing Win key + R on your keyboard.
- Type dxdiag in the dialog and press Enter.
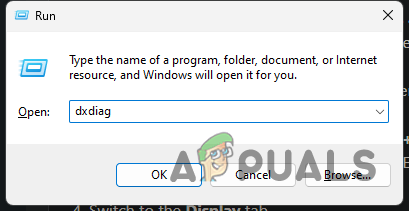
Opening the DirectX Diagnostic Tool - The DirectX Diagnostic Tool will launch.
- Go to the Display tab.
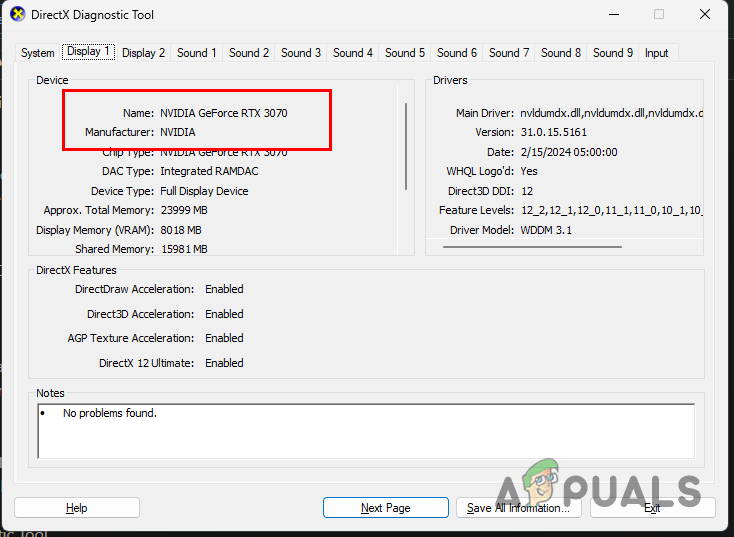
Graphics Card Information - Your graphics card’s name and manufacturer will be displayed.
2. Update Graphics Drivers
Outdated video drivers can lead to compatibility issues with newer games, such as Marvel’s Guardians of the Galaxy, and may prevent them from running properly.
Therefore, updating the graphics drivers is a crucial step. We also recommend performing a clean install using the Display Driver Uninstaller (DDU) utility to eliminate any underlying inconsistencies.
- Download Display Driver Uninstaller (DDU) from here.
- Extract it on your computer and run the Display Driver Uninstaller.exe file.
- In the DDU, click Continue in the General Options dialog.
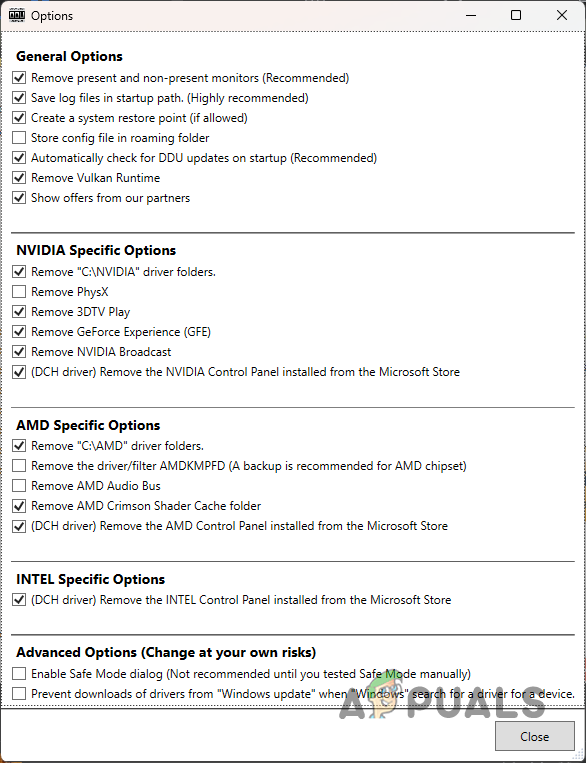
General Options Screen - Select GPU in the Select device type menu to load the GPU removal configurations.
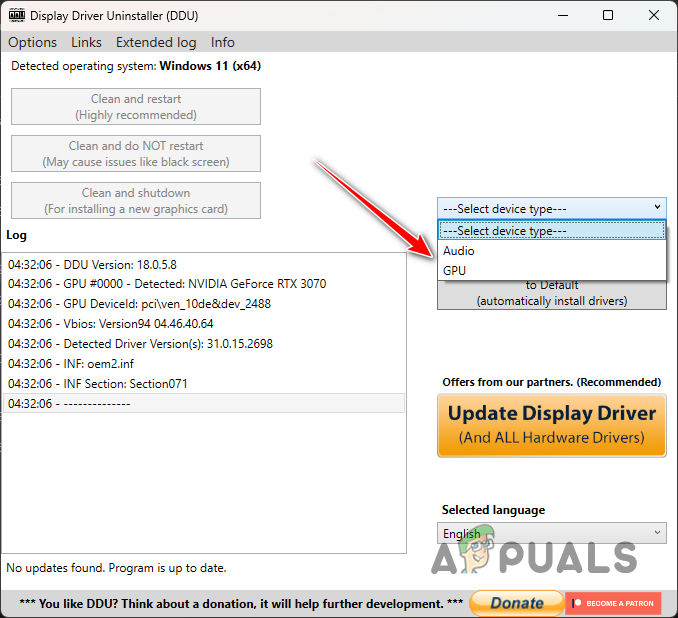
Choosing GPU as Device in DDU - Select the brand of your video card from the Select device menu. Refer to the instructions above to find your manufacturer if you’re unsure.
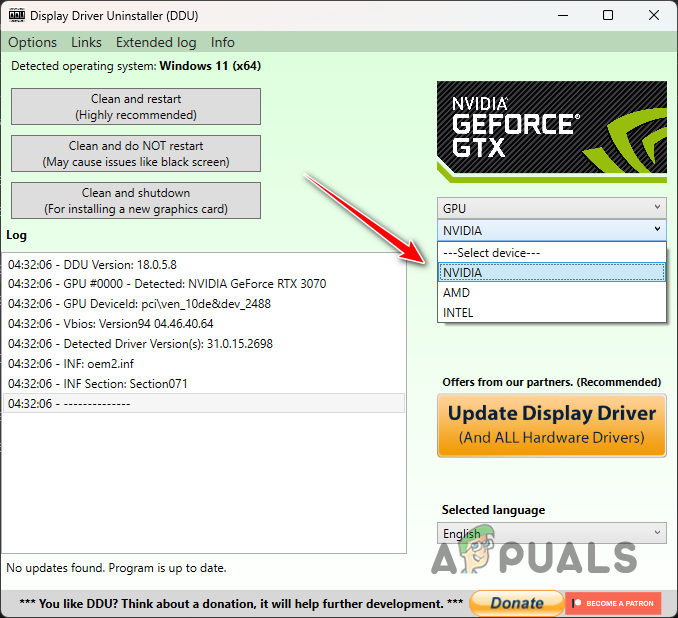
Choosing Video Card Brand in DDU - Choose the Clean and restart option to uninstall the current video drivers.
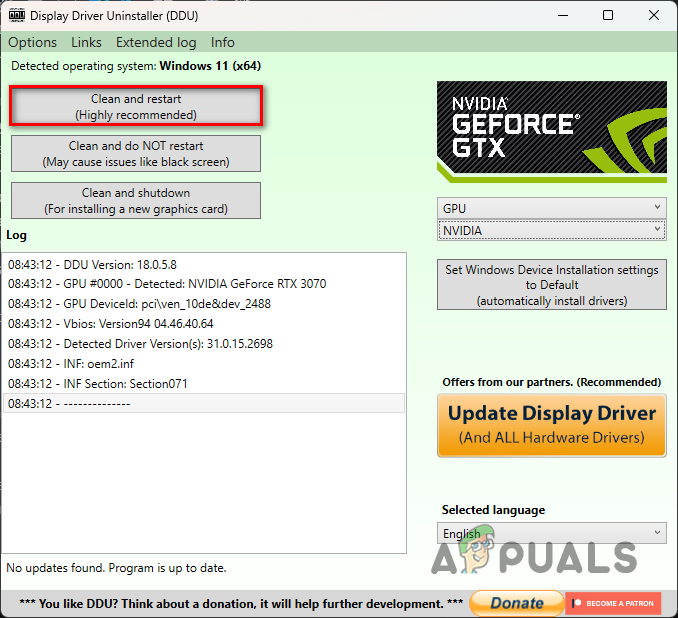
Uninstalling Graphics Drivers - After your computer boots up, visit your video card manufacturer’s website and download the latest drivers available.
- Install the new drivers and check if the error still occurs in Marvel’s Guardians of the Galaxy.
3. Change Game Launch Options
By changing the game launch options, you can force Marvel’s Guardians of the Galaxy to use Shared VRAM, thereby addressing the missing VRAM requirement.
Shared VRAM allows the graphics card to utilize system memory alongside its dedicated memory, meeting the VRAM demand.
- Open the Steam application and go to the Library.
- Right-click on Marvel’s Guardians of the Galaxy and choose Properties.
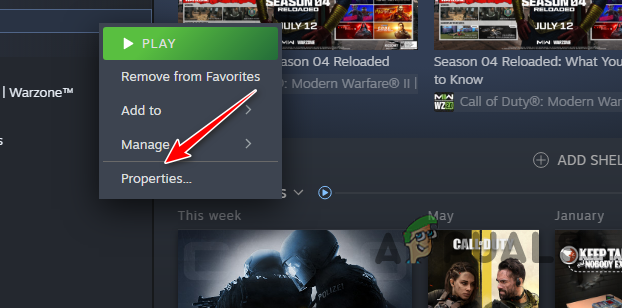
Opening Marvel’s Guardians of the Galaxy Properties - Input -sharedvram in the Launch Options field within the Properties window.
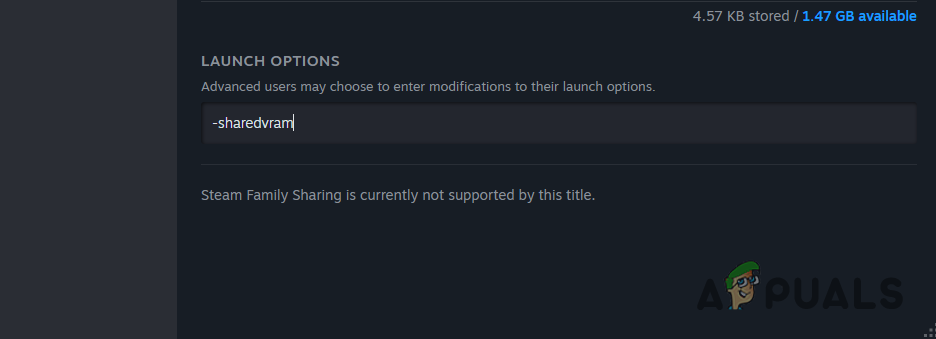
Adding the -sharedvram Launch Option - Start the game to see if the issue remains.
4. Increase VRAM
Increasing VRAM may allow Marvel’s Guardians of the Galaxy to run on your system, albeit with a potential performance trade-off. The dedicated video memory inside the GPU provides faster access and is optimized for graphics tasks, leading to better performance.
While adjusting the VRAM allows you to meet the necessary requirements, it may not result in optimal game performance. To modify the VRAM, access the BIOS menu.
- Restart your computer and enter the BIOS by pressing the dedicated key (commonly F2, DEL, or F10) based on your motherboard’s brand.
- In the BIOS, move to Advanced Mode by pressing F7.
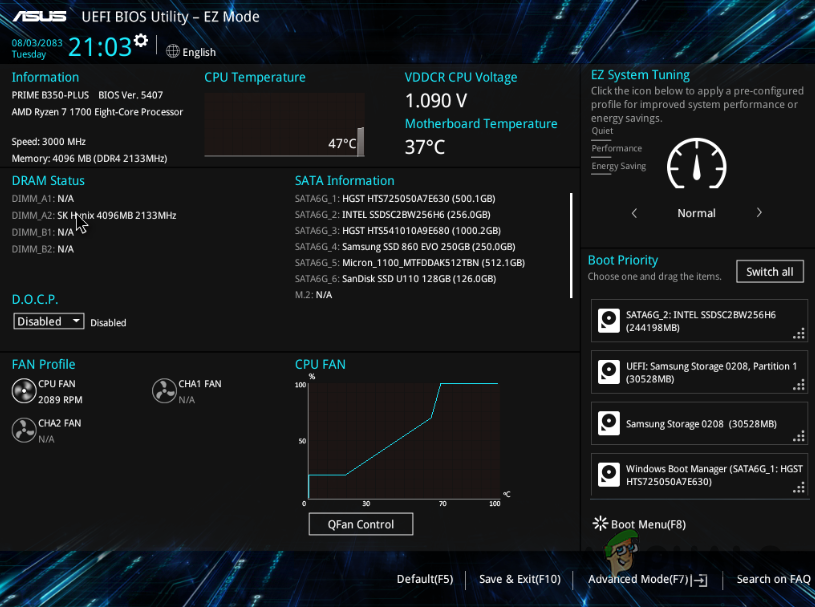
ASUS BIOS Menu - Search for the VRAM Graphics settings, which may vary in location depending on the motherboard manufacturer. Typically, it’s located under NB Configuration on ASUS motherboards or Integrated Graphics Devices Configuration on MSI ones.
- Adjust the VRAM using the VGA Share Memory Size or UMA Frame Buffer Size settings.
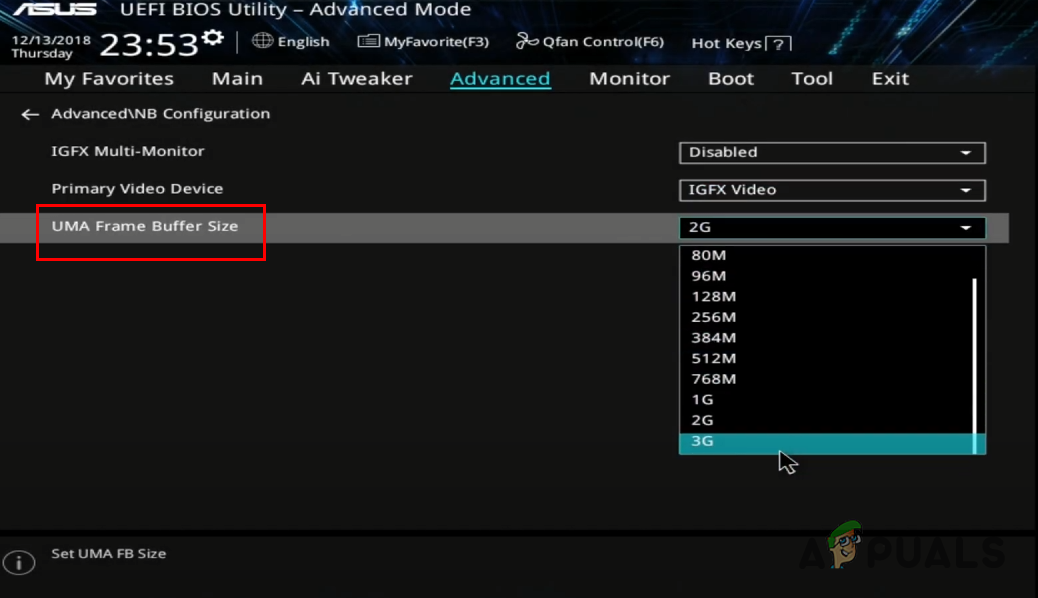
Increasing VRAM in ASUS Motherboard - Hit F10 to save the changes and restart your computer.
- Try launching the game again to check if the error message has been resolved.
If the problem persists, an upgrade to your system specifications will be necessary to resolve it.