How to Move iTunes Library to Another PC?
iTunes is an application for creating a library of your favorite music, shows, and more. You can sync your library across multiple devices, but it comes at an annual cost. However, if you do not want to pay the yearly fee, you can still manage to move your iTunes library elsewhere. The process may not be automated as syncing your devices, but there are still several ways of doing it.
You can move your iTunes library via the Home Sharing feature or use a more manual approach of copying the library from one place to another. You can follow any method that best suits you.
1. Manually Move iTunes Library
The first approach we will be showing you is more of a manual method. To follow this method, you need to have an external drive like a USB. You can skip this method if you do not have an external driver or USB.
To manually move your iTunes library, you must first consolidate your library files. This copies the files of the media in your library used by iTunes in a folder on your computer. Once you do that, you can copy the whole library onto your external drive and move it to another computer. It might sound somewhat tricky, but it is not at all.
The iTunes library files are stored on your computer in an iTunes Media folder. The exact location can vary depending on your iTunes settings. Follow the instructions down below to move your iTunes library:
- First, open up the iTunes app on your computer.
- In the iTunes app, click the File drop-down menu in the top-left corner.
- From the drop-down menu, go to Library > Organize Library.
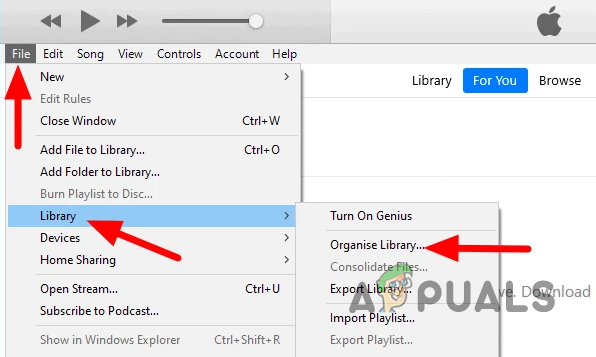
Navigating to Organize Library - This will bring up a new dialog box. In the dialog box, tick the Consolidate files checkbox and click OK.
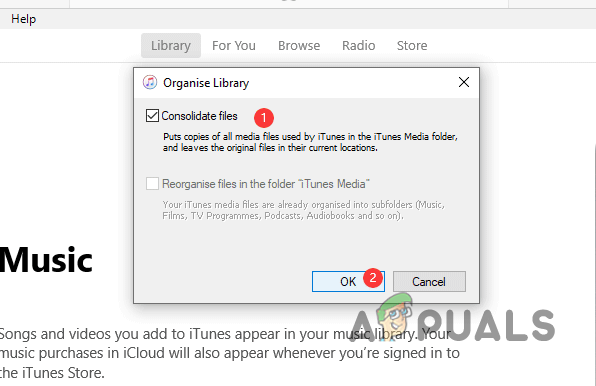
Consolidating iTunes Library Note: Consolidating files on your computer can take a while, so you must wait for it as it downloads the media files to your PC.
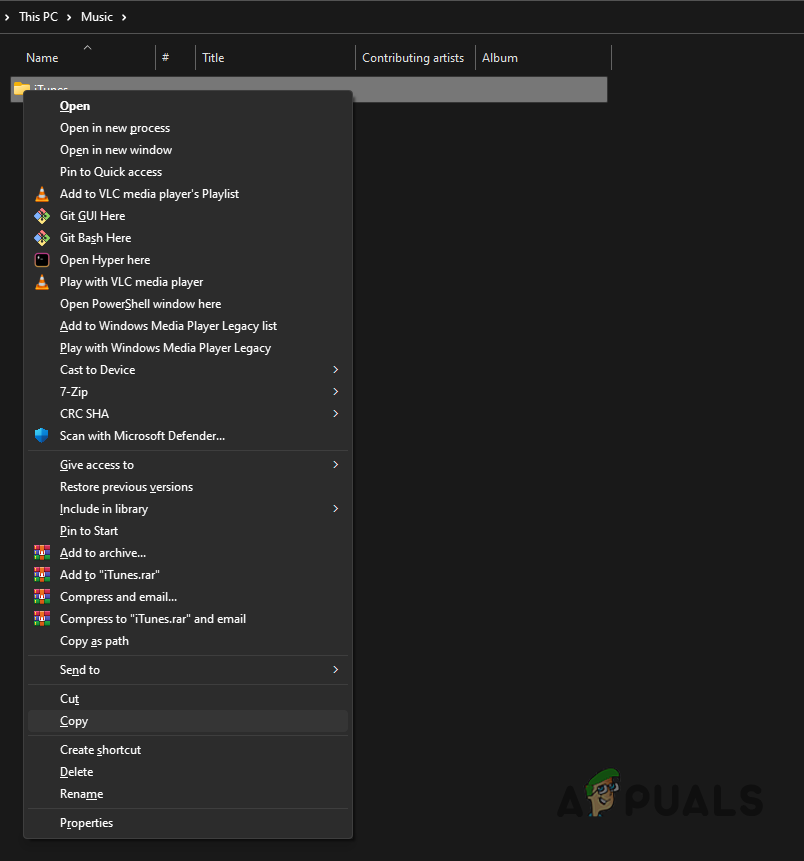
- Once you do that, a backup of your iTunes media files will be created in the iTunes Media folder. If you are on a Windows machine, you can find the iTunes media folder in the Music directory of your system. On a Mac, you will also find it in the Music folder by default.

Navigating to Music Directory - In case you do not find the iTunes media folder there, it is very likely you have changed the default directory. If this case is applicable, navigate to Edit > Preferences. On a Mac, you will find Preferences under iTunes in the menu bar.
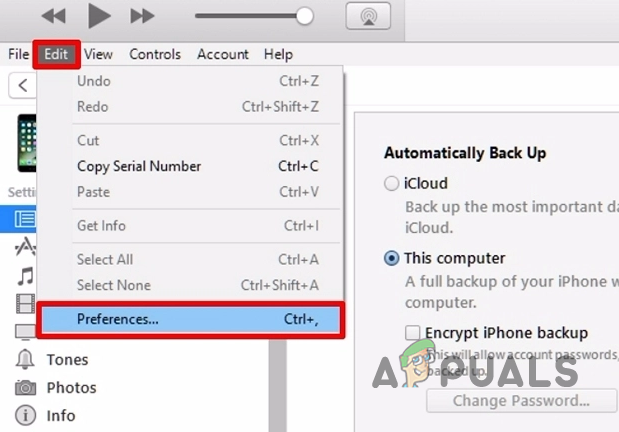
Opening Preferences Window - On the Preferences window, switch to the Advanced tab. You can copy the iTunes library location from there.
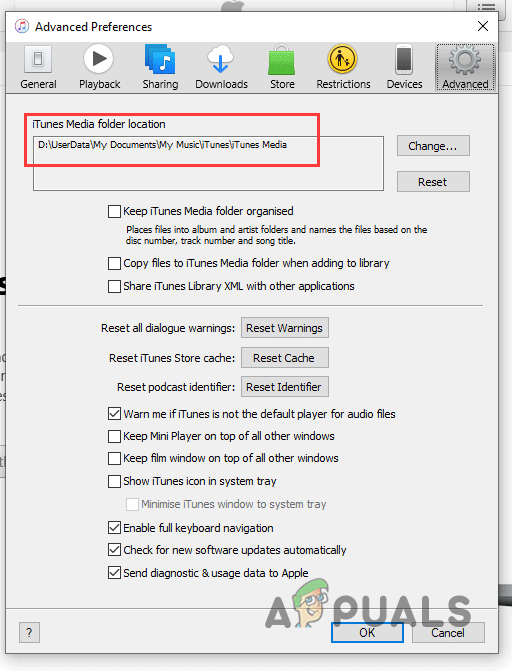
Locating iTunes Library Location - After that, navigate to the iTunes library location. Copy the iTunes library folder. Connect your external drive to the computer, and paste the iTunes library folder.
Copying iTunes Library - Once you do that, plug the external drive into your second computer. You will also need iTunes on the second computer, so ensure you have it installed. In case you do not, download and install iTunes now.
- After you install iTunes, open it up. Find the iTunes library location from the Advanced tab in the Preferences window.
Locating iTunes Library Location - Once you have the iTunes library location, navigate to it and delete the existing iTunes library folder.
- After deleting the folder, copy the iTunes library folder from your external drive and paste it there.
- Once you do all that, open up iTunes on your second computer, and you should be able to see your library.
2. Use Home Sharing to Transfer iTunes Library
Home Sharing is a feature that allows you to share media from one computer to another. The concept here is the same as syncing two devices. As such, to use Home Sharing, you will have to log in with the same Apple ID on both devices.
Once you do that, your iTunes library will upload to iCloud and then be downloaded on your second computer because of sync. In addition, it is vital for both computers to be in the same network. This means both devices must be using the same WiFi network.
The Home Sharing feature is not available on all versions of iTunes. You must have iTunes version 9 or later to use Home Sharing. Therefore, if you have not updated your iTunes application in a while, now would be the time to do it. Follow the instructions down below to transfer your iTunes library via Home Sharing:
- First, open up iTunes on both of your systems. Also, ensure both devices are on the same network.
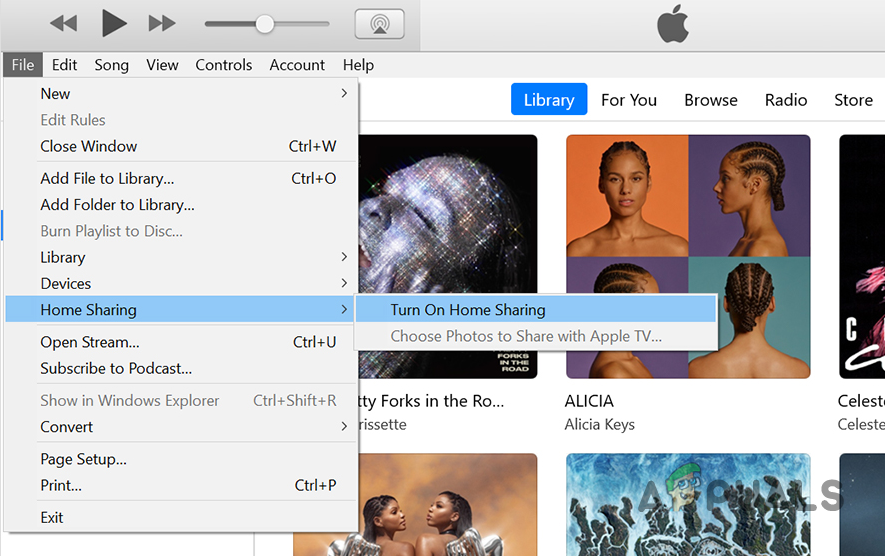
- Afterwards, click on the File > Home Sharing > Turn On Home Sharing option from the computer you want to transfer the iTunes library. This will enable the Home Sharing feature on your source computer.
Enabling Home Sharing - Now, you need to connect your second computer with the source computer by means of authorization. For authorization, you will be using the Apple ID. To do this, go to Account > Authorizations > Authorize This Computer on the second computer.
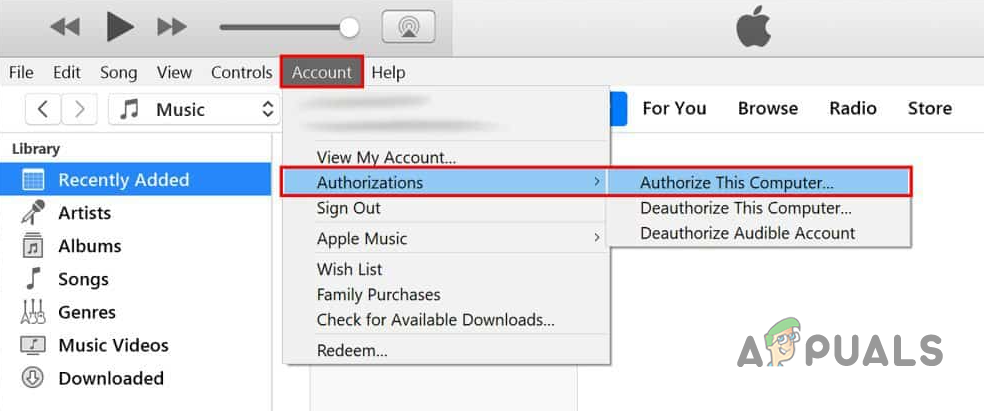
Authorizing This Computer - Provide the same email and password of the same Apple ID.
- After doing that, on the source computer, next to the player controls, click on the Home Sharing icon.
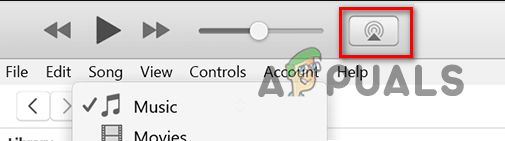
Home Sharing Icon - From the drop-down menu, tick the Shared Libraries checkbox.
- Once you do that, your computers will start syncing. Wait for the iTunes Library to sync to your second computer. This might take a while, depending on the speed of your WiFi network.
3. Use Third-Party Apps
Finally, another way of transferring your iTunes library to another computer would be using a third-party application. There are multiple third-party programs available that will move your iTunes library to a new system. Most of these apps use the same methodology as the one we mentioned in the first method.
If you want a trusted application to do the job for you, we would recommend iTunes Match. The downside of iTunes Match is that it comes at a yearly fee. In addition, iTunes match can only transfer your music library. Thus, if you have shows in your iTunes library, they will not be transferred.