How to Fix McpManagementService Error on Windows 11
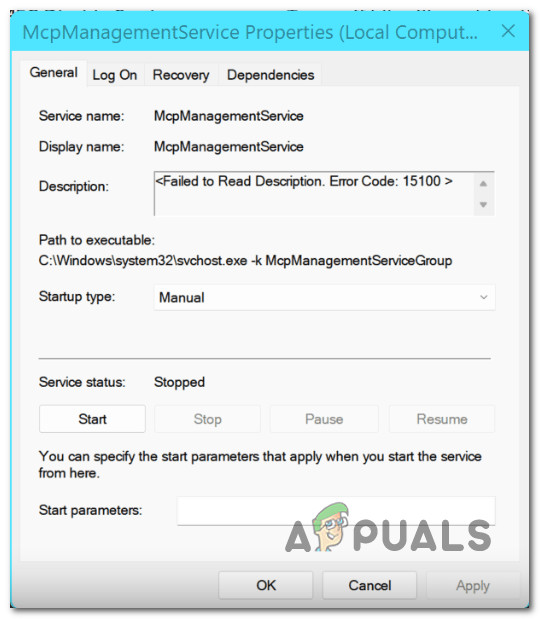
Some Windows 11 users have discovered that one service (McPManagementService) is currently not functioning and displays a ‘failed to read description error (error code: 15100)’. Aside from this error message, this problem doesn’t seem to produce any additional effects. This type of problem is only reported to occur on Windows 11.
After we’ve investigated this particular issue thoroughly, it turns out that there are several different scenarios that might cause this type of problem on Windows 11. Here’s a list of potential culprits that you should be aware of:
- Interference is caused by devicecensus.exe – As it turns out, one of the most common instances, where you will encounter this problem, is when the devicecensus.exe process is actually causing the problem by indirectly creating a TaskSkill argument. In this case, you can get the issue fixed by running an elevated Command Prompt or Powershell command.
- Missing or Corrupted Microsoft C++ Visual Redist Packages – According to several affected users, this type of problem is also encountered when a key dependency of McPManagementService is actually missing (or corrupted). To fix this problem, make sure you install every relevant Microsoft C++ Visual Redist. Packages.
- Malware or spyware infection – You should not disregard a potential malware or spyware interference from the culprit’s list. To make sure this is not the case, deploy a deep virus scan with a capable tool like Malwarebytes in order to deal with a potential case of virus infection.
- Recent system change – There are a lot of potential 3rd party interference cases where you will suddenly notice this error after a new driver or feature update was installed. If you don’t want to figure out the culprit yourself, an easy and quick way to fix it is to use System Restore to revert your PC back to a state in which this problem was not occurring.
- System file corruption – One of the most common instances where you will get constant errors pointing towards the McPManagementService service is some type of system file corruption that affects the service. In this case, start with SFC and DISM scans and progress towards a clean install or repair install procedure if the issue persists.
Now that we went over every potential cause of this error, let’s go over every confirmed fix that other users have successfully used and see which one of them makes a difference in your case.
1. Kill the DeviceCensus.exe process
It turns out that one of the situations, when you will run into this issue most frequently, is when the devicecensus.exe process is at the root of the issue by unintentionally creating a TaskSkill argument. In this situation, performing a Powershell or elevated Command Prompt command will resolve the problem.
Several affected users have confirmed that once they did this (either from Command Prompt or Powershell) the problem was resolved and no new instances of the McPManagementService-related error.
You can kill the responsible DeviceCensus.exe process in one of two ways:
1.1. Via Powershell
If you want to use Powershell, you need to open up an elevated terminal with admin access:
- Press Windows key + R to open up a Run dialog box. Next, type ‘powershell’ inside the text box and press Ctrl + Shift + Enter to open up an elevated Powershell window.

Access the Powershell window - When you’re prompted by the User Account Control (UAC), click Yes to grant admin access.
- Once you’re inside the elevated Powershell window, type the following command to kill the devicecensus.exe process:
Stop-Process -Name "devicecensus" -Force
1.2. Via CMD
If you decide to use CMD, make sure you open an elevated window otherwise the command below won’t work:
- Press Windows key + R to open up a Run dialog box. Next, type ‘CMD’ inside the text box and press Ctrl + Shift + Enter to open up an elevated Powershell window.
Open up the Command Prompt - When you’re prompted by the User Account Control (UAC), click Yes to grant admin access.
- Once you’re inside the elevated CMD window, type the following command to kill the devicecensus.exe process:
taskkill -f -im devicecensus.exe
If the same problem is still occurring and you still see new errors related to the McPManagementService despite following the instructions above, move down to the next method below.
2. Reinstall Microsoft C++ Visual Redist. Packages
This type of issue, according to multiple impacted users, can also arise when a crucial McPManagementService dependency is genuinely missing (or corrupted). Make sure to install the necessary Microsoft C++ Visual Redist packages in order to resolve this issue.
Remember that Windows 11 doesn’t actually ship with these dependencies set up since only older games and applications still make use of them.
After installing both the x86 and x64 versions of the Visual Studio 2013 redist releases, a number of users who were experiencing the McPManagementService error reported that the issue was finally resolved.
Downloading and installing the most recent packages from the Microsoft website will allow you to verify that.
The methods to carry out this and install the lacking Visual C++ requirements on your machine are as follows:
- To get started, go to the official Microsoft website and download the Visual C++ x86 and x64 packages.
When center-aligned, the Obtain the lacking Redist executables.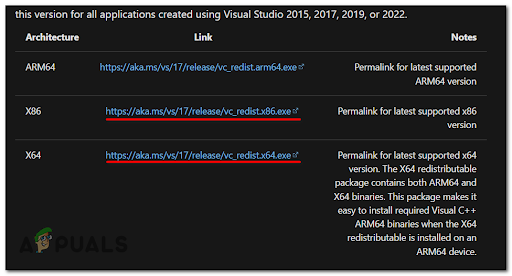
Download the missing redist packages Note: If you are downloading using Chrome, you must confirm that you want to allow downloading of multiple files.
- After both installers have finished downloading, double-click them (in any sequence) to begin the installation process for the missing Visual C++ requirements.
- After the installation is finished, reboot your computer.
- Wait until the computer boots back up, and then check to see if the issue has been fixed.
Move on to the next probable solution below if this method wasn’t successful in your situation or if you already had all the necessary Visual C++ dependencies.
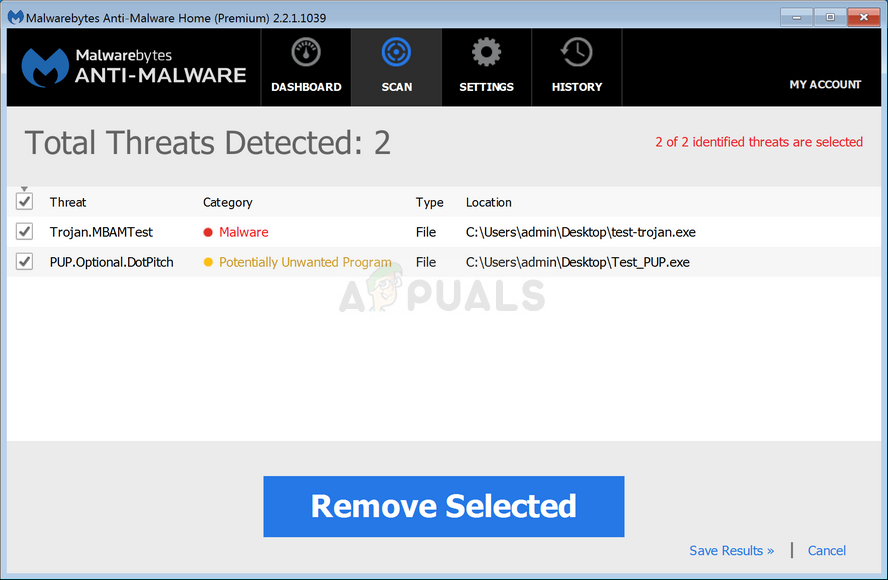
3. Deploy an antispyware scan
A possible virus or spyware intrusion from the list of offenders should not be disregarded. Apply a thorough virus scan using a powerful program like Malwarebytes to deal with a potential virus infection to make sure this is not the case.
Malware that has accessed your system and is consuming all of your CPU resources may be the cause of this problem. You can resolve the problem in this instance by running a full Malwarebytes scan to get rid of the virus infestation.
Ironically, the failure of some services, such as the McpManagementService, might also be a sign of a virus infection.
In other instances, the McpManagementService can potentially be malware masquerading as a legitimate system process and seeking to access system resources.
To make sure that this is not the case, you should perform a comprehensive scan using a reliable anti-malware tool. There are other ways to go about doing this, but since Malwarebytes is one of the most potent security scanners and works equally well on malware and adware, we recommend utilizing it.
Use these steps to deploy a Malwarebytes deep scan.
Open Event Viewer to check if there are any new instances of the McpManagementService error.
If the same type of issue continues, proceed to the next procedure stated below.
4. Perform SFC and DISM scans
If none of the aforementioned fixes for the McPManagementService error have worked for you, the next step is to conduct a system corruption issue investigation.
By promptly running SFC (System File Checker) and DISM (Deployment Image Servicing and Management) scans, the vast majority of likely issues that could be the root of this error code can be resolved.
Although the two built-in tools are roughly comparable, we suggest running both types of scans fast one after the other to increase your chances of fixing the issue without having to perform a clean install or repair install.
Your initial action should be an SFC scan. This scan will use a local archive to replace corrupt Windows files with healthy ones, so there is NO need for an Internet connection.
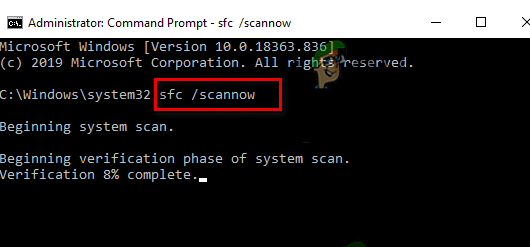
After starting this process, refrain from resuming, turning off, or closing the elevated CMD window.
By doing this, there is a potential that your PC’s HDD or SSD would suffer from further local issues.
After the SFC scan is finished, restart your computer, and when it comes back up, begin a DISM scan.
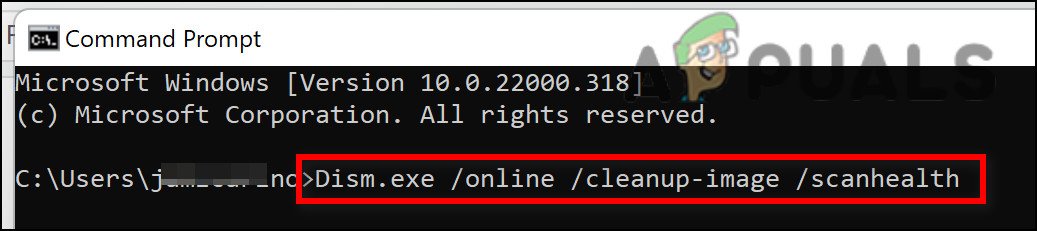
Notably, DISM requires a constant Internet connection in order to replace damaged files with their healthy equivalents, unlike an SFC check. This is necessary because, unlike SFC, which uses a local file archive, DISM gets brand-new copies that are free of corruption from a feature of Windows Update.
After the DISM scan is complete, restart your computer once more to determine if the problem has been fixed.
If the problem is still there, move on to the next potential fix below.
5. Use System Restore
When a new driver or feature update was installed, there are many possible instances of third-party intervention where you would suddenly discover this issue. Use System Restore to return your PC to a time when this issue was not present if you don’t want to investigate the cause further. This is a simple and quick cure.
You can roll back your computer to a previous system restore point if you’ve exhausted all other options to undo a system alteration that is resulting in the McPManagementService. This has helped several users find a solution to the problem.
You can restore your computer to a previous state using the Windows System Restore feature. This can be applied to resolve issues like broken systems.
To get your computer back in working order, follow these steps:
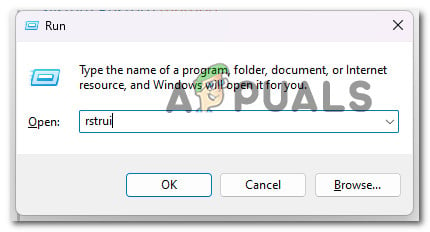
- To launch the Run command, press the Windows key + R.
- To launch the System Restore wizard, type “rstrui” in the Run box and press Enter.
Opening the System Restore - Select Select a different restore point on the following screen, then press the Next button.
- Choose a restore point that was created earlier than the moment you noticed significant resource utilization, then click Next again.

Picking the System Restore - After the restoration process has begun, click Finish and watch as your computer restarts.
- Restart Windows 11 to see if the problem has been fixed.
If the same kind of problem is still present, move on to the probable solution below.
6. Perform a clean install or repair install
If none of the aforementioned approaches have worked for you, the only option left is to entirely replace all of the impacted system file dependencies with healthy replacements.
At this point, your only choices are to perform a clean install or a repair install (in-place upgrade). If you encounter issues, we firmly advise selecting an in-place update (repair installation), if offered:
- Repair install (in-place upgrade) – Only the system files will be changed during a repair install (while keeping your personal files, user preferences apps & games).
- Clean install – Although this choice may be the best if only a small number of kernel processes are impacted, it has the disadvantage of wiping out all user data from the OS disk. You should be informed that if you do this, all of your personal information will be erased.


