How to Fix KB5012170 Fails to Install in Windows 11?
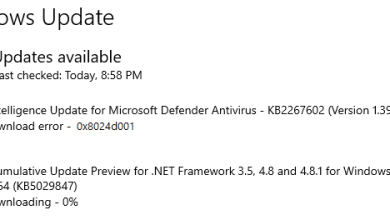
The security update KB5012170 fails to install with an error code 0x800f0922 occur due to the UEFI firmware version installed on Windows 11 system. The error message says, ‘Something went wrong without listing the root cause of the error’

The problem affects the Windows security updates from installing. This guide lists the troubleshooting solutions to fix the problem and install the KB5012170 update on Windows 11. Follow the fixes listed till you find the one that works for you
1. Run Windows Update Troubleshooter
You can always take the help of the troubleshooters provided by Windows to scan for the problem preventing the update from installing on your system. In this case, running the Windows Update Troubleshooter allow you to scan and fix the problems related to KB5012170 fails to install. To run the Windows update troubleshooter, follow the steps given:
- Press Windows + I to open the Windows settings.
- Now click on the Troubleshoot option.
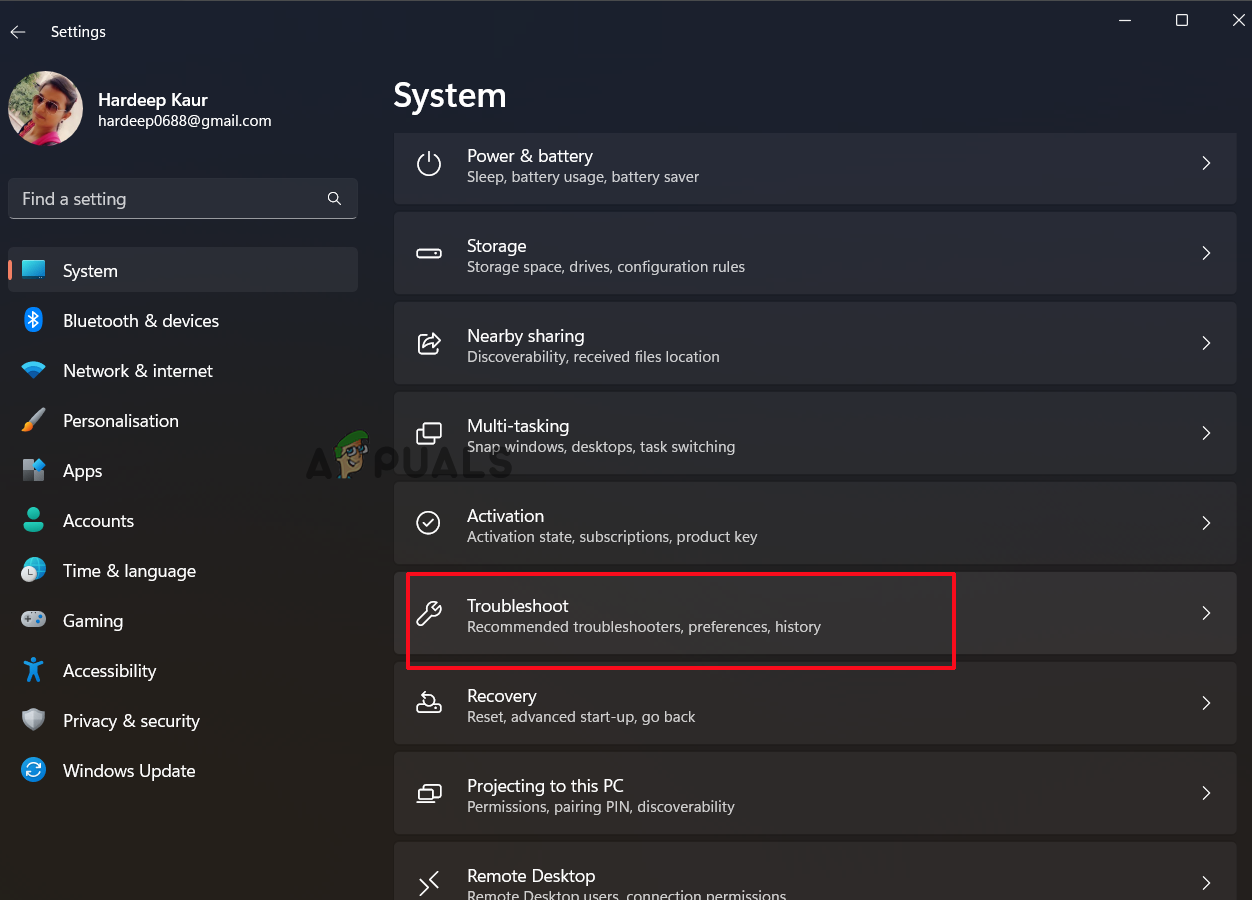
Click on Troubleshoot - Then click on the Other-Troubleshooters option and click on the Windows Update option and click on Run.
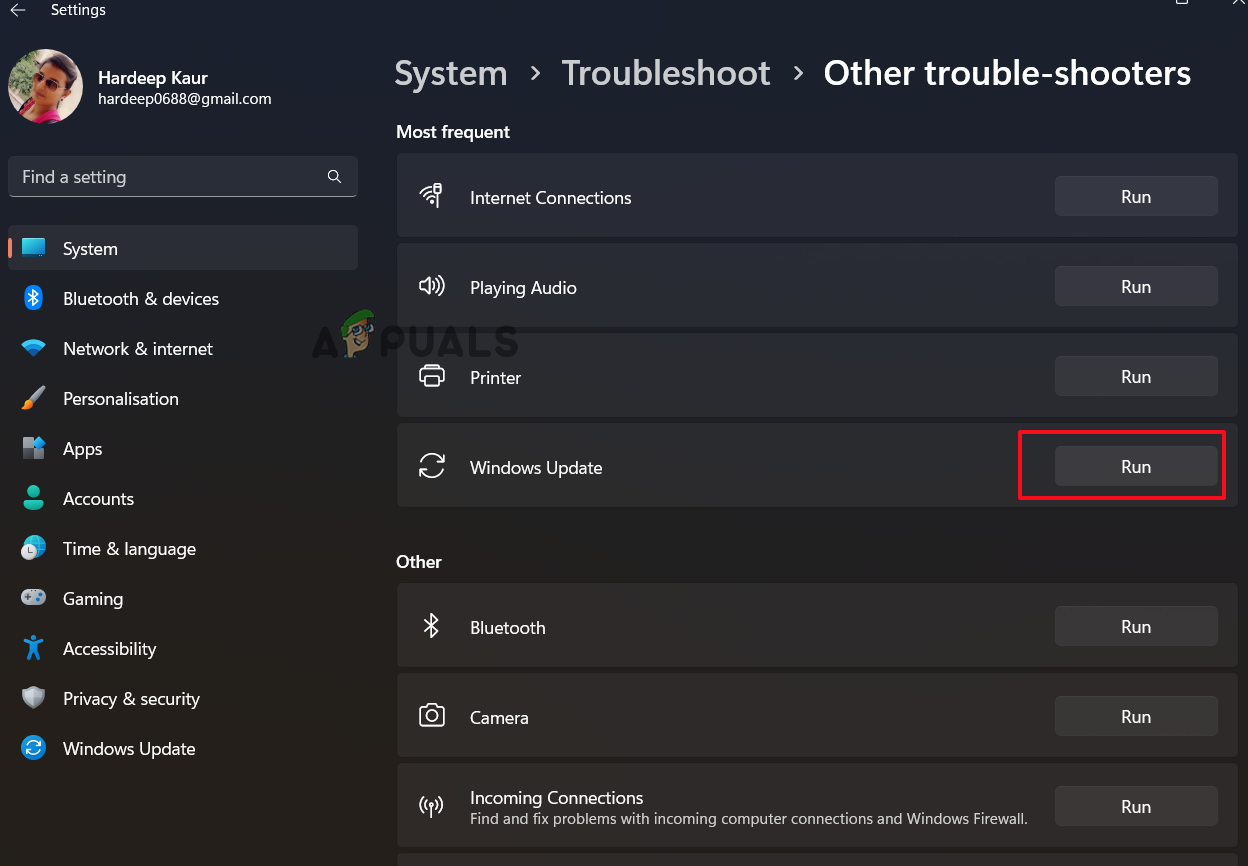
Run the Windows update troubleshooter - Now follow the instruction and let the troubleshooter fix the issue.
2. Perform an SFC scan
If your computer’s Windows files are corrupt or damaged, this could cause various problems, including the one in question. In this case, it is advised to run Window’s inbuilt System File Checker command to identify the corrupted files and repair them automatically. Follow the steps below to launch System File Checker:
- Click the Start button, type “Command Prompt” into the search box, right-click the result, and select “Run as administrator.”
- Type sfc/scannow into the Command Prompt now, then press the Enter key.
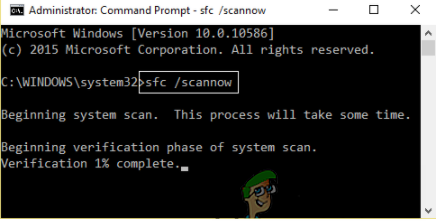
Type the SFC/SCANNOW command - After that, allow it to detect and correct any errors in the Windows system.
- Restart your device after the procedure is finished to see if the problem has been fixed.
3. Manually Download the Update
If the Windows system is facing a problem in installing the update manually, you can try to install the update manually. Microsoft has released an online update catalog, including the updates released. So head to the Microsoft update catalog and look for the targeted security update there and install it by following the instructions listed:
- Download the update from the link mentioned below: https://www.catalog.update.microsoft.com/Search.aspx?q=KB5012170
- Then type the KB number in the search box and click on Search
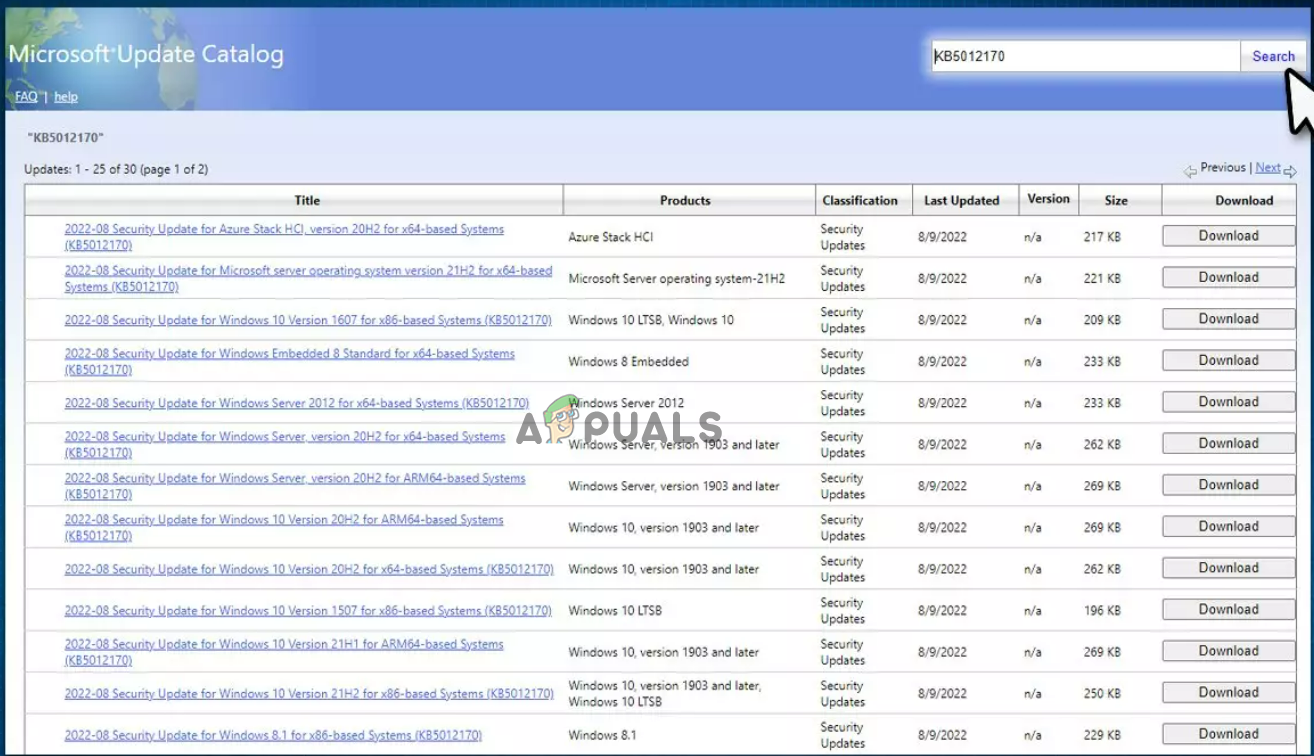
Type the KB number in the search box - And select the compatible version with the OS and click on Download
- Follow the onscreen instructions.
- Once the file is downloaded, install it manually, and restart your system to take effect.
4. Disable Third Party Antiviruses
The third-party antivirus program blocks various programs and updates from installing as a security measure. So, there are chances that the antivirus blocks the update. So, disable the security program installed. To do so, follow the steps given:
- Open the antivirus program, then select Settings.
- Now select the Protection option and deactivate every protection.
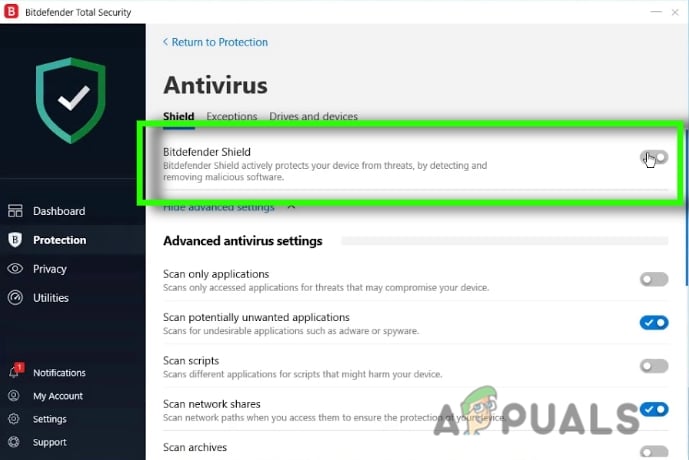
Disable the antivirus program - Try installing the update and check if the issue is resolved or not.
5. Uninstall Recently Installed Updates
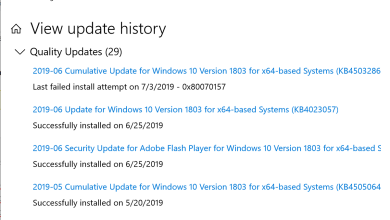
If you recently updated your device and failed to install the KB5012170 security update, then there are ample chances that the recently installed update is the culprit. So, uninstalling the recently installed update is recommended to fix the problem. The most recent Windows update can be uninstalled by following these instructions:
- Press Windows + I to open the Windows settings. Click on the Windows Update tab.
- Then click on Update History and then on Uninstall Updates.
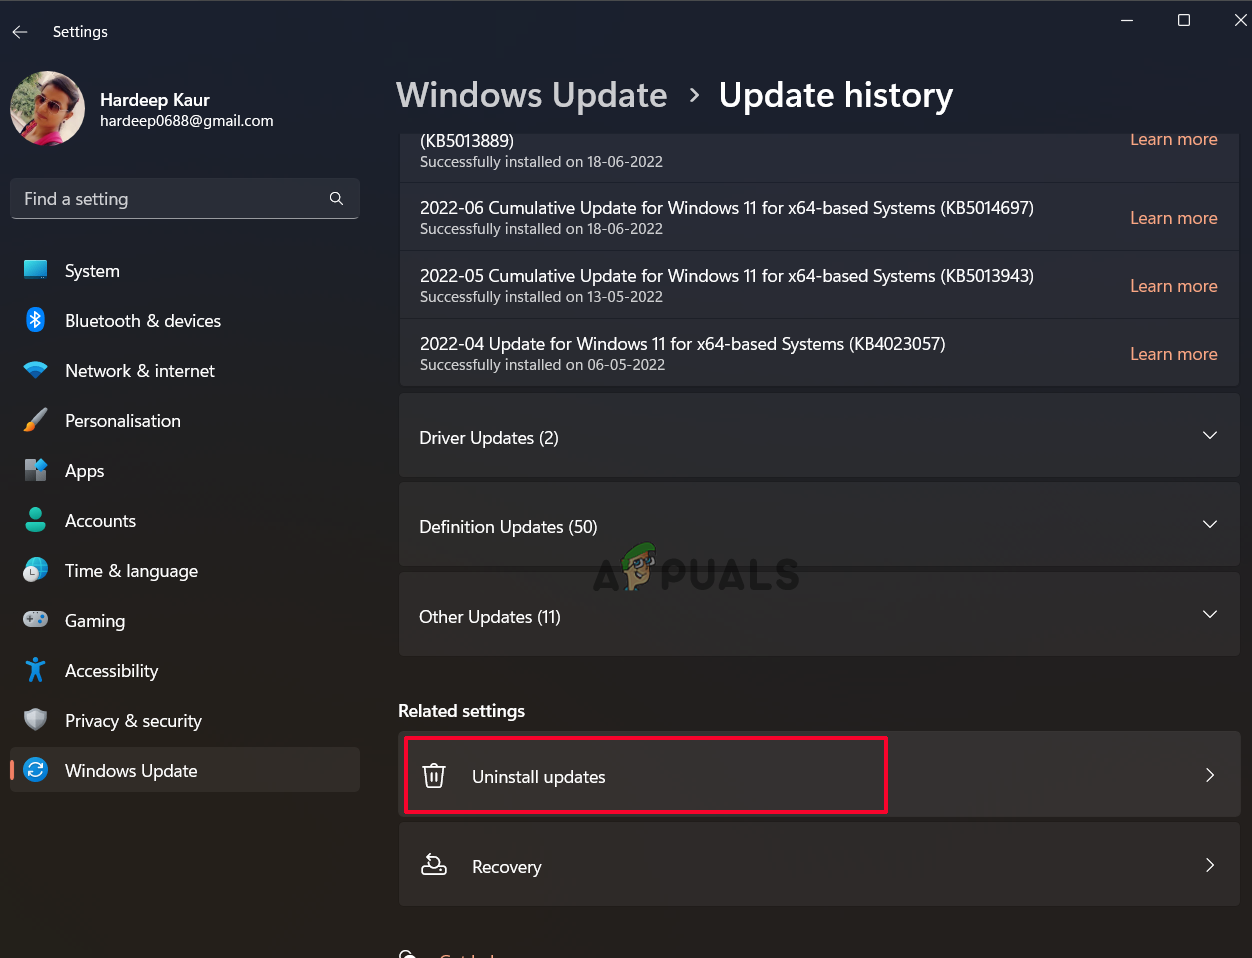
Click on Uninstall Updates option. - After that, right-click on the update you want to remove and choose “Uninstall” from the context menu.
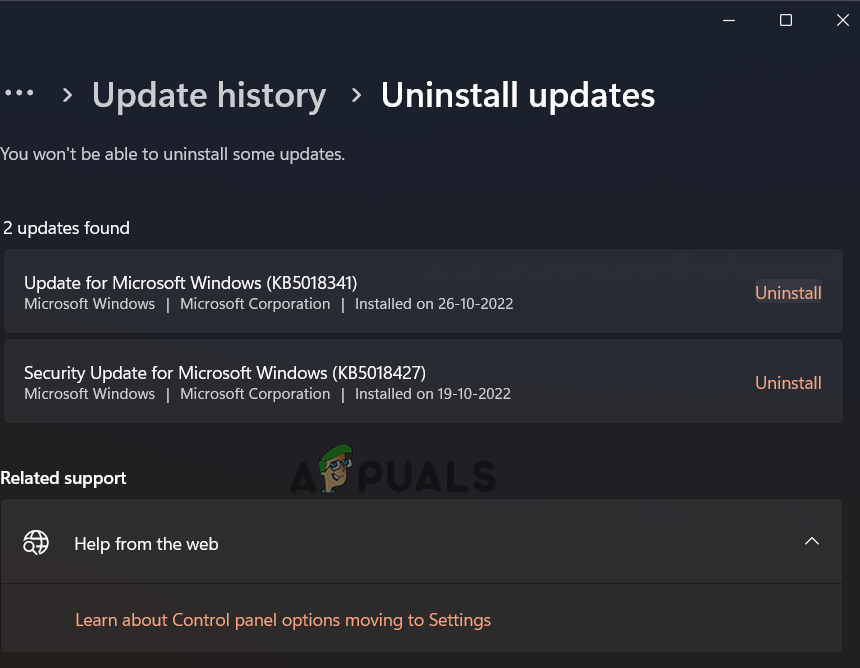
Click on Uninstall to remove the recent update. - As the procedure is complete, confirm whether the issue has been resolved.
6. Update BIOS
Updating the BIOS fixes various pr0oblems with the computer and for many users updating the BIOS worked to fix KB5012170 failure to install. So, try updating your computer’s BIOS and check if it helps you solve the issue. Follow the steps given:
- Go to the manufacturer’s website to download the most recent BIOS (UEFI).
- If necessary, unzip it before copying it to a USB flash drive with the FAT32 file system (NTFS may not be supported)
- Restart your computer, then press the corresponding key on your keyboard to access the BIOS (UEFI) (commonly F2, Del, or F10)
- Locate the update screen by navigating the options.
- Select the file on your USB drive by clicking the “Update” button.
- Restart the computer after the update procedure is finished.
7. Enable Secure Boot
If the secure boot is disabled, the update stops installing on the Windows 11 system. So, confirm your secure boot is enabled by following the steps listed.
- Turn off your computer.
- Power on once you see the manufacturer’s logo on your PC, and press the relevant key to access BIOS settings (e.g., F2, F10, F8, F12, or Del key).
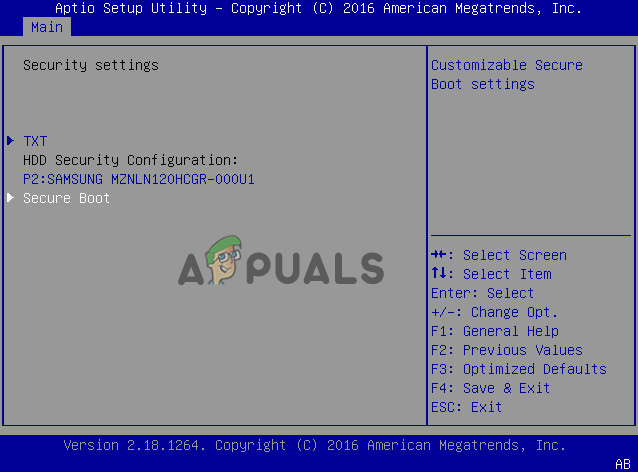
- Locate the Secure Boot setting in the BIOS’ Security settings and then disable it. Try installing the update after saving, then exiting.
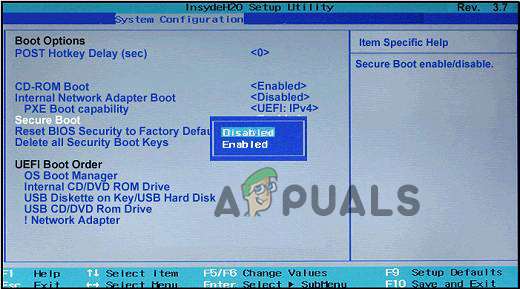
Disable the Secure Boot setting - *On some manufacturers, you may select “Secure Boot” from the System Configuration or Boot tabs.
- Start Windows, then attempt to install the KB5012170 update once more. If the installation goes well, continue and turn on Secure Boot once more and follow the next solution.
8. Reset the Secure Boot Keys to Default Factory Settings
After enabling the secure boot, it is suggested to reset the secure boot keys to default factory settings. As it clears the old and corrupted stale boot keys and allows the update for installing the necessary changes to the DBX. To reset the secure boot keys, follow the steps given:
- Turn off your computer.
- Power Once you see the manufacturer’s logo on your PC, press the relevant key to access BIOS settings (e.g., F2, F10, F8, F12, or Del).
- And choose the System Configuration, then click on BIOS/Platform Configuration (RBSU)
- Next, click on Server Security and then select Secure Boot.
Select the Secure Boot - Then from the System utility menu, click on the Advanced Secure Boot Options.
- Choose an exchange key or the signatures database option.
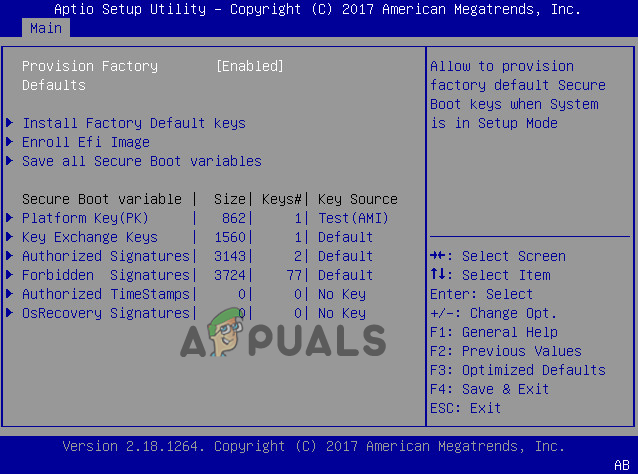
Choose an exchange key or the signatures database option - And select the option Reset to platform defaults for all keys. Select the Yes option.
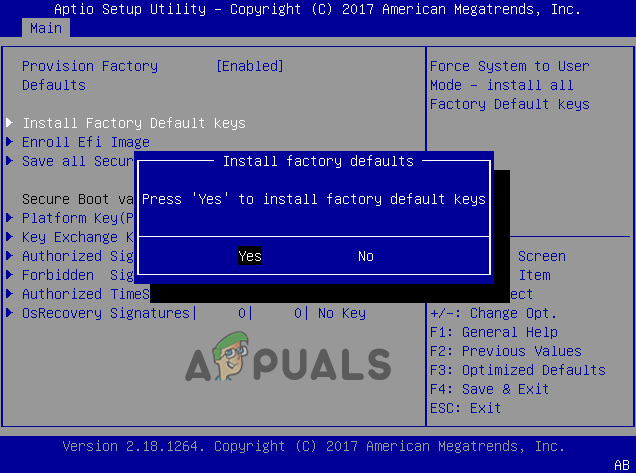
Select the Yes option to install factory default keys