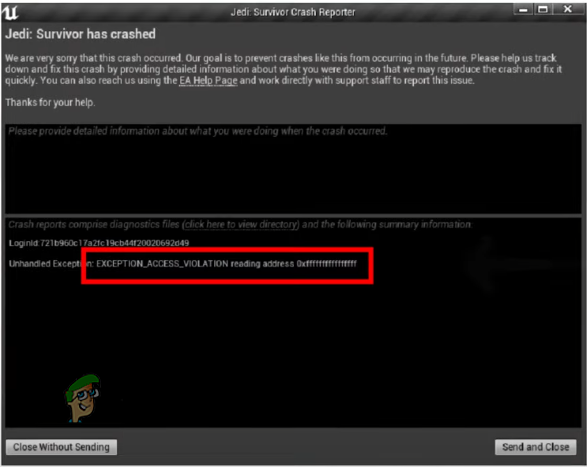
Fix: “EXCEPTION_ACCESS_VIOLATION” Error in Star Wars: Jedi Survivor
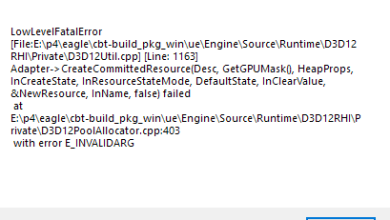
If you’ve encountered the EXCEPTION_ACCESS_VIOLATION error while playing Star Wars: Jedi Survivor, you are not alone. Many players have been experiencing this error, which crashes their game at random times. The error occurs when the game tries to access a memory address not permitted for its use. Outdated GPU drivers and corrupted game files are among the primary causes of this issue, and AMD users seem to be the main victims of this problem.
To help resolve this error, we’ve prepared a guide to walk you through the potential causes and fixes.
1. Repair the Game Files
When you encounter this error, your first step should be to repair your game files. Incorrectly downloaded or corrupted files can lead to various errors, including the EXCEPTION_ACCESS_VIOLATION Error.
Fortunately, Steam, Epic, and the EA App include built-in file repair features that automatically detect and fix erroneous files. Follow the steps below to repair your game files.
Steam:
- Open Steam and go to your Library.
- Right-click on Star Wars Jedi: Survivor and select Properties.
- Within the Local Files tab, click on Verify integrity of game files…
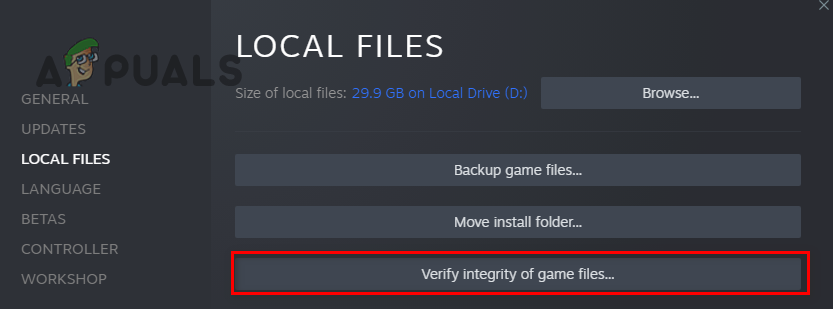
Repairing Game Files through Steam
Epic Games Launcher:
- Open the Epic Games Launcher and go to your Library.
- Click the three dots next to the game’s title and select Manage.
- Press the Verify button.
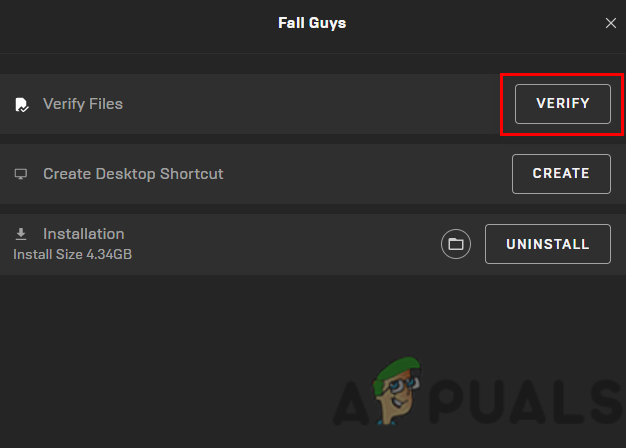
Repairing Game Files through the Epic Games Launcher
EA App:
- Open the EA App and find the game in your Library.
- Click the three dots at the game icon’s top-right.
- Select Repair.
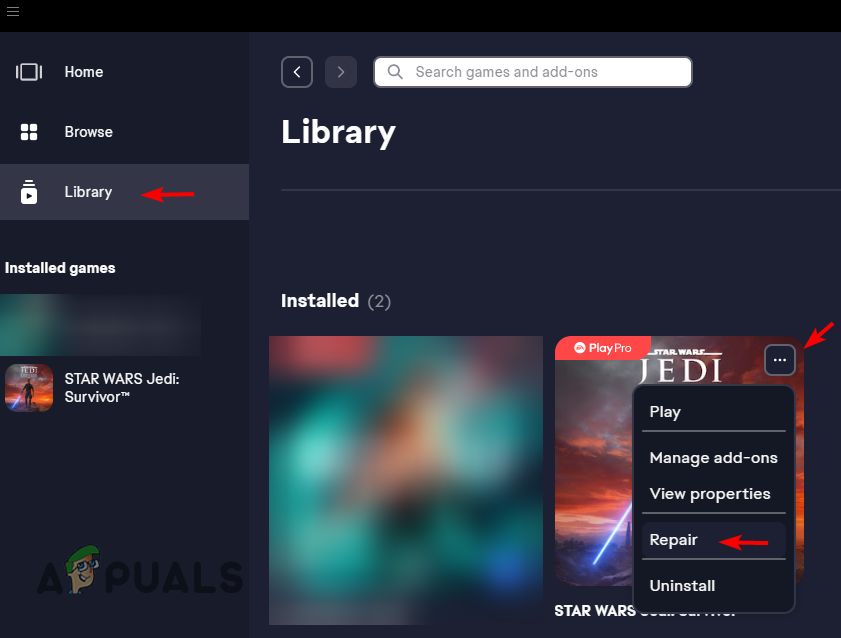
Repairing the game through the EA App
The launcher will scan your game files for any issues and automatically repair them.
2. Disable Overlays
Overlays from various applications can lead to game errors due to compatibility problems. Disabling these overlays could be the key to rectifying the error.
NVIDIA GeForce Experience:
- Press the Windows key and type GeForce Experience, then hit Enter.
- In the application window, click on the gear icon near your username.

Opening NVIDIA GeForce Experience Settings - Disable the In-Game Overlay feature.
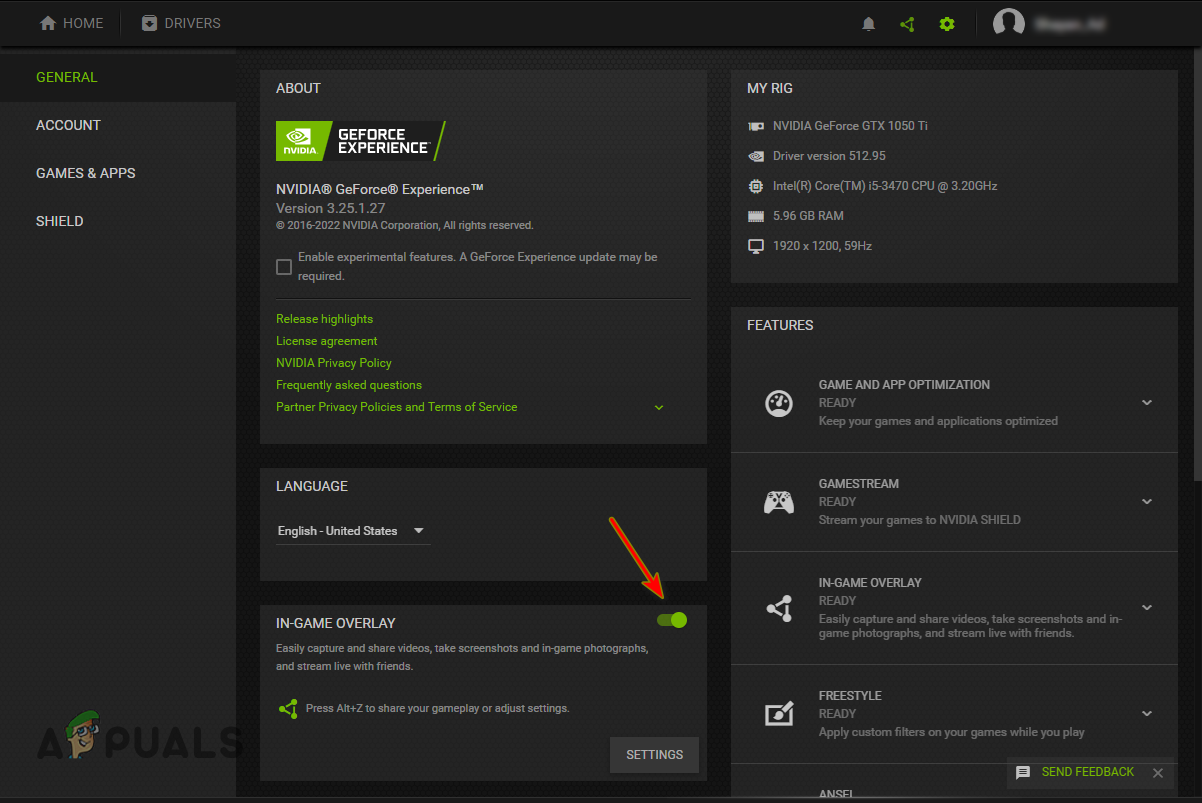
Disabling GeForce Experience In-Game Overlay
Steam:
- Launch Steam and click the Steam text at the top-left.
- Go to Settings.
Opening Steam Settings - Select the In-Game tab and uncheck Enable the Steam Overlay while in-game.
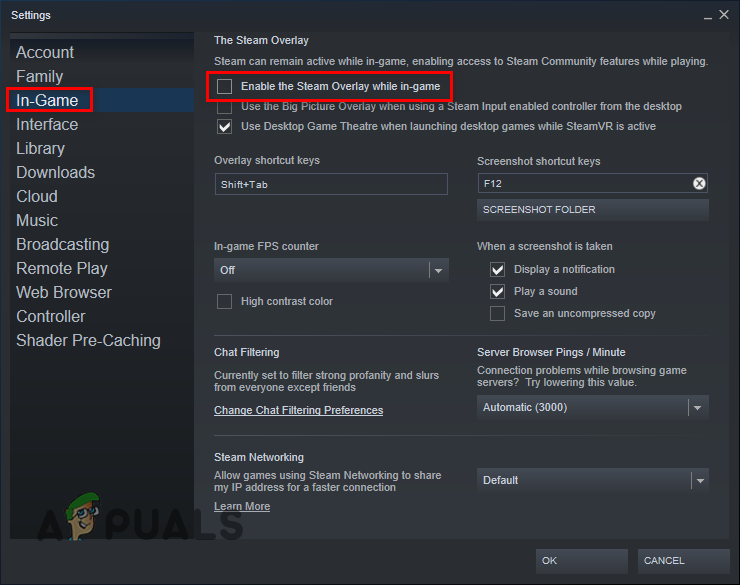
Disabling the Steam overlay - Click OK.
Discord:
- Open Discord and click the gear icon adjacent to your username.
Opening Discord Settings - Navigate to Activity Settings and select Game Overlay.
- Turn off the In-game Overlay.
3. Update Your Graphics Card Drivers
Latest GPU drivers are essential for optimal game performance and error prevention. If your GPU drivers are outdated, they may be causing the error.
Note: If you’re unsure of your GPU model, follow this guide to identify your graphics card.
Before updating your drivers, it is crucial to uninstall older versions to prevent conflicts. NVIDIA users can use Display Driver Uninstaller (DDU), while AMD users may use AMD’s Cleanup Utility.
- Press the Windows Key and click on the Power Icon.
- Hold the Shift Key and select Restart.
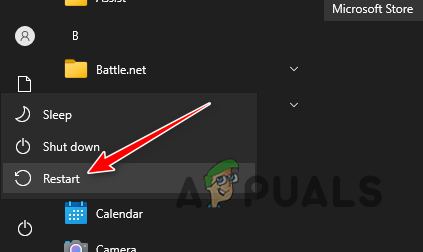
Restarting the computer - Upon reboot, navigate to Troubleshoot > Advanced Options > Startup Settings and select Restart.
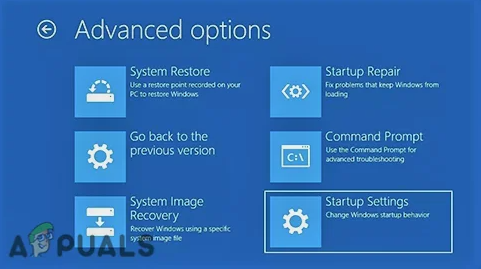
Navigating to Startup Settings - Hit F4 to boot into Safe Mode after the system restarts.
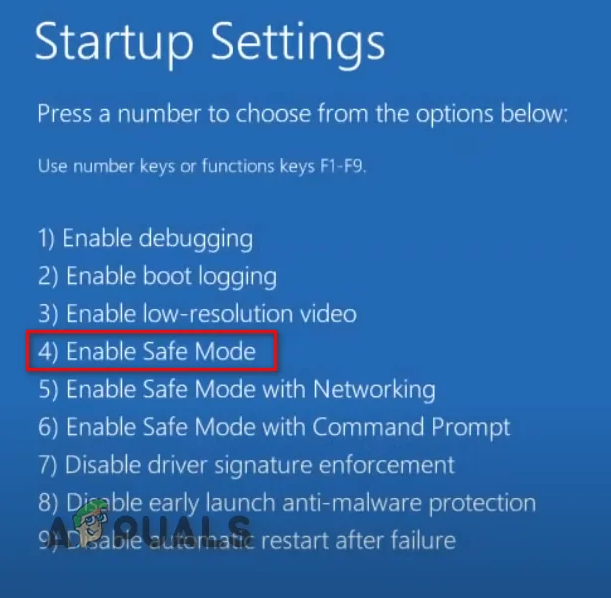
Rebooting into Safe Mode - Launch DDU, select the appropriate Device Type and manufacturer.
- Click Clean and Restart.
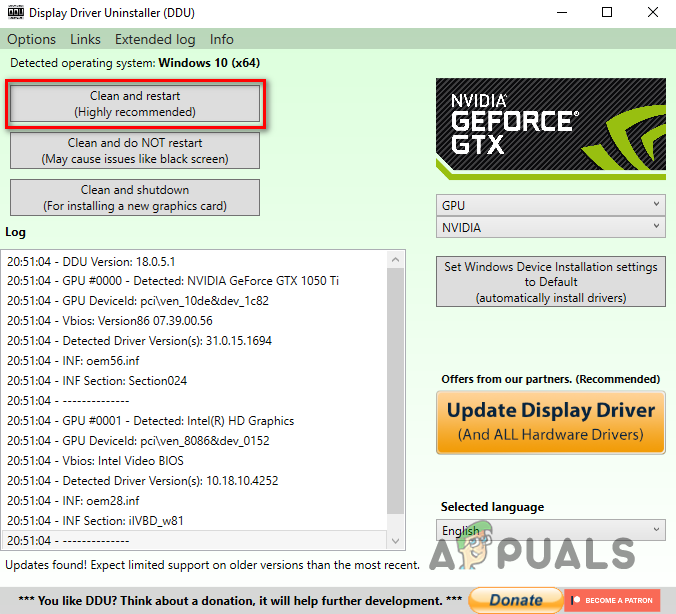
Uninstalling Drivers
After restarting, download and install the latest GPU drivers from the manufacturer’s website. See this guide for assistance with the installation process.
4. Launch with DX12
The game might default to DX11, which could lead to compatibility issues. Forcing the game to launch with DX12 may fix the error.
- Ensure the game is closed.
- In Steam, navigate to your Library and right-click Jedi Survivor.
- Select Properties.
- Type -dx12 into the Launch Options field.
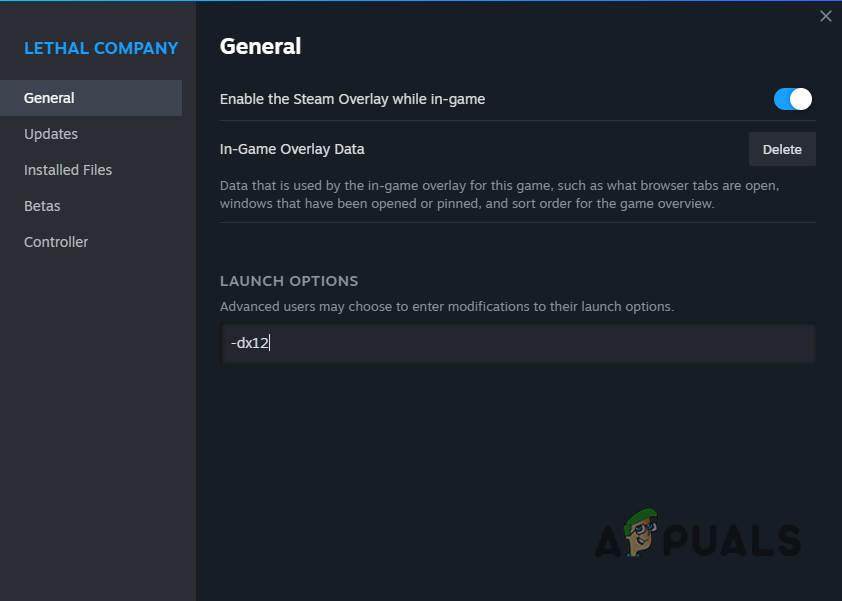
Launching the game with DX12
5. Delete the Config Folder
The config folder holds essential game information, but corrupt data within could lead to crashes. Deleting this folder will prompt the recreation of a fresh one the next time you play.
- Locate the Jedi Survivor installation directory by navigating to the Steam/Epic Library, right-clicking the game, and selecting Browse local files.
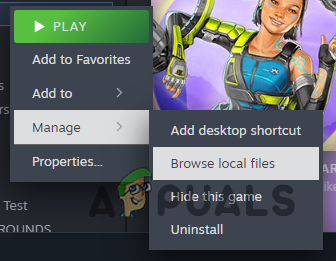
Opening Game Directory - Access the SwGame folder.
- Remove the config folder found there.
6. Contact EA Support
If none of the above solutions work, reach out to EA Support. They provide the option for live chat with a Support Agent, enabling real-time assistance.