How to Transfer Files Securely using Serv-U Managed File Transfer Server
In a business network, you are always transferring files from one device to another. File transfers are perhaps one of the most common tasks we all perform daily. To save us the time and trouble of downloading all of the files on every system separately, we simply opt for transferring them to all the other devices. The process is rather fast and pretty straight forward and doesn’t consume as much time as it would have we opted for downloading the files manually. However, we have never taken into consideration the safety of this process and how secure it is? FTP (File Transfer Protocol) is the most common file transfer protocol and since it was introduced a very long time, the security measures are off the hook.

As technology advances, so does security. Unfortunately, that is not the case here. Technologies like SSL and SSH are sure there to secure the process but it is not sufficient. We have to start using more advanced and secure protocols to ensure that no one can intercept the link between the sender and the receiver. For this purpose, today, we will be discussing MFT (Managed File Transfer) and guiding you on how to send your files securely using the Serv-U Managed File Transfer Server tool. Solarwinds is not an unfamiliar name. Every system or network engineer has surely used their products in some of their life/career. A name of excellence, Solarwinds surely lives up to it with its Serv-U Managed File Transfer Server tool.
Installing Serv-U Managed File Transfer Server
To be able to send your files securely, you will have to download and install the tool from Solarwinds’ website. To do this, head to this link and provide the required information. After that, click on the ‘Proceed to Free Download’ button so that you can evaluate the product for yourself. Once you have downloaded the tool, follow the instructions below:
- Extract the .zip file to any location you like. Navigate to the location and run the setup file.
- Select your language and then click Next.
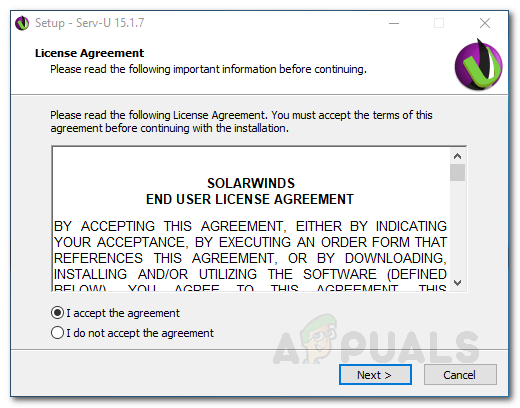
- Agree to the license terms and hit Next. Select the location where you want to install the tool and then click Next.
Serv-U License Agreement - Choose whether you want a Start Menu folder for the tool for not. Click Next.
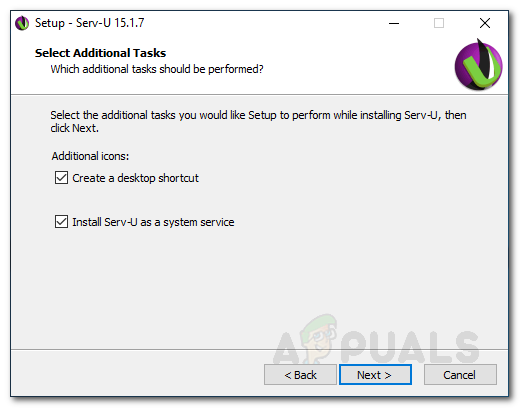
- If you want a desktop shortcut, just click Next. Otherwise, uncheck the desktop shortcut option and click Next.
Serv-U Installation - Click Install to start the installation process, wait for it to finish.
- Once done, click Finish to launch the Serv-U Management Console.
Creating a Domain
A domain in Serv-U Managed File Transfer Server is a collection of settings that are common between users and groups. Creating a domain does not mean that all of the users of the domain have access to all of the files and folders. They only can access the files and folders you grant them access to. Once you launch Serv-U Managed File Transfer Server, you will be prompted to create a domain. Here’s how to do it:
- Click Yes on the prompted dialog box when you open Serv-U MFT.
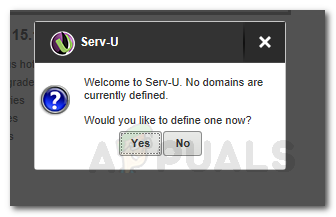
Creating a Domain - If you do not see any dialog box, just click the + icon in front of Navigation.
- Type in a name for the domain and give it a description. Click Next.
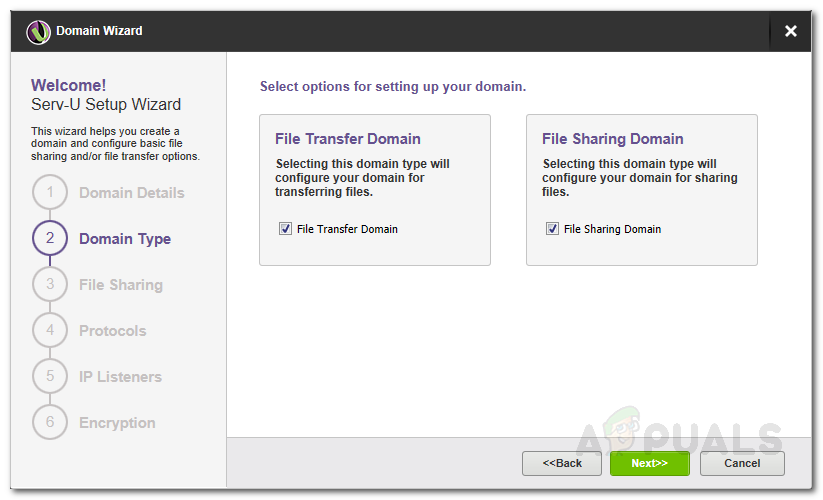
- Select the type of domain you want it to be. You can also choose both of the options and just click Next.
Domain Type - Type in the domain URL and specify the sharing repository. If you wish to use a secure URL, click on the respective checkbox.
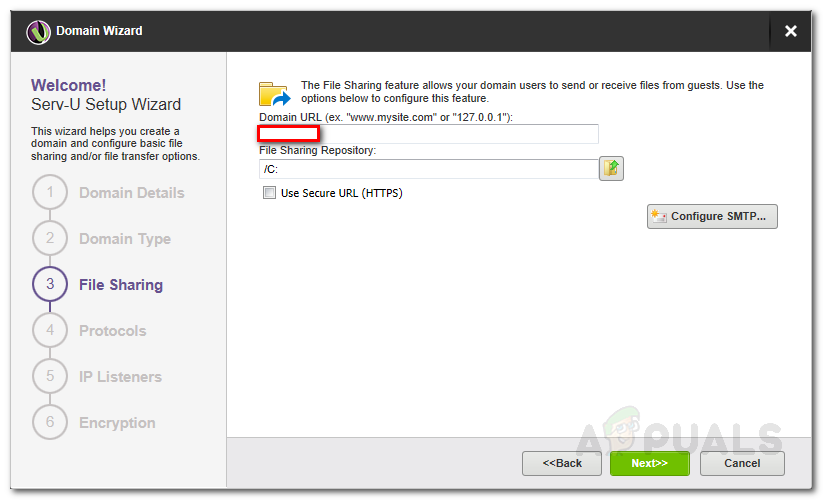
File Sharing - You can also configure SMTP by clicking Configure SMTP and providing the required credentials. Otherwise, just click Next.
- After that, on the Protocols page, specify the ports and protocols the domain should use to provide access to the users. Then, click Next.
- Enter the IP address that is used to access the domain on the IP Listeners page.
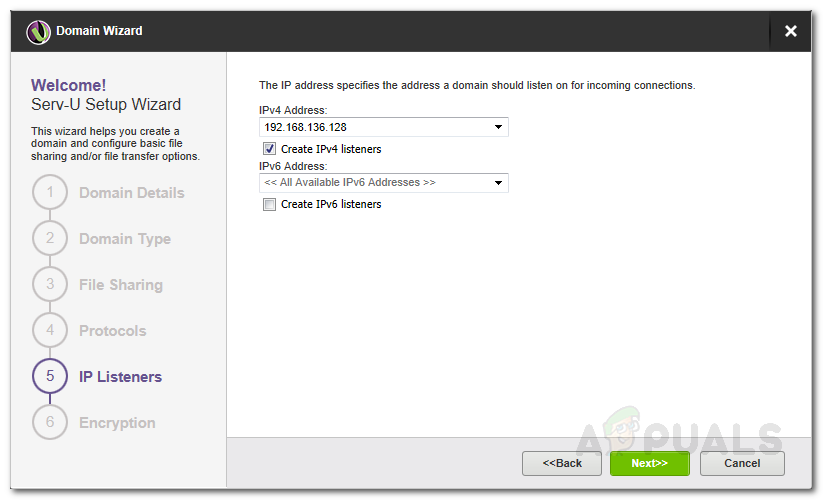
IP Listeners - Choose the encryption type you want when storing passwords.
- To allow the users to recover their password, check the respective box. Then, click Finish.
Creating User Accounts
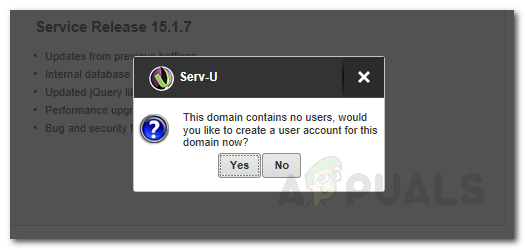
After you have created a domain, you will have to create users accounts for the domain. You will be automatically prompted to create a user account once you have finished creating a domain. Here’s how to create a user account:
- Click Yes on the dialog box. If you do not see one, you can run the wizard by going to the Users menu on the left-hand side and clicking Wizard.
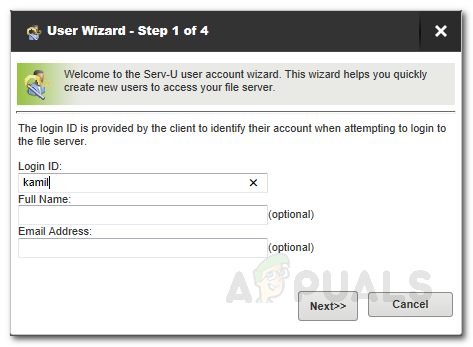
Creating a User - Click Yes when prompted to use the wizard to add a user.
- Provide a login ID. Enter the user’s full name and email if you wish to. Click Next.
Creating a User Account - An automatic password will be generated. You can change it if you wish so. Also, if you want the users to change the automatic password after the first login, tick the checkbox and then click Next.
- Select the directory to which the user has access to. Click Next.
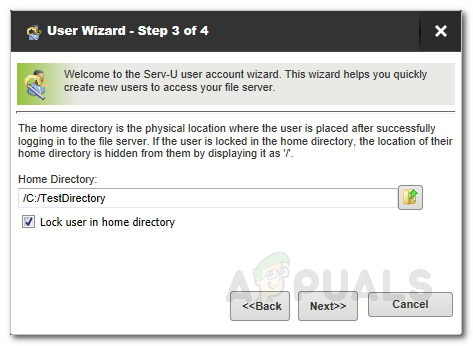
User Wizard - Grant the user access over the directory and then click Finish.
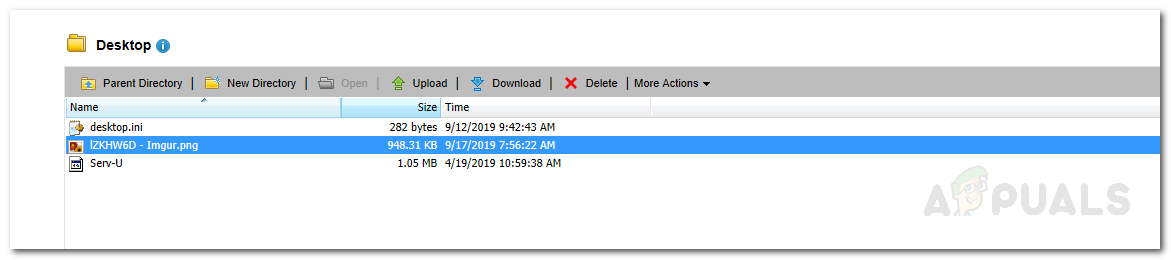
Sharing Files
Now that you have created user accounts and an active domain, you can start sharing your files. To do this, Serv-U must be configured to listen to HTTP/HTTPS requests. Once done, you can enter the IP address assigned to the Serv-U domain in a web browser. This will prompt you with a login screen. Enter your FTP credentials to log in. After that, you can start downloading and uploading files. Also, make sure that your IP address is not restricted by going to Domain Name > Domain Details > IP Access. If your IP address is not whitelisted, you will not receive a response from the domain IP address and hence unable to login.