How to Fix the Samsung Galaxy Tab Reboot Loop?
The Samsung Galaxy Tab ranks among the finest choices available for tablets that operate on the Android Operating System. Despite its quality, the Samsung Galaxy Tab can encounter issues, one of the most common being the reboot loop issue.
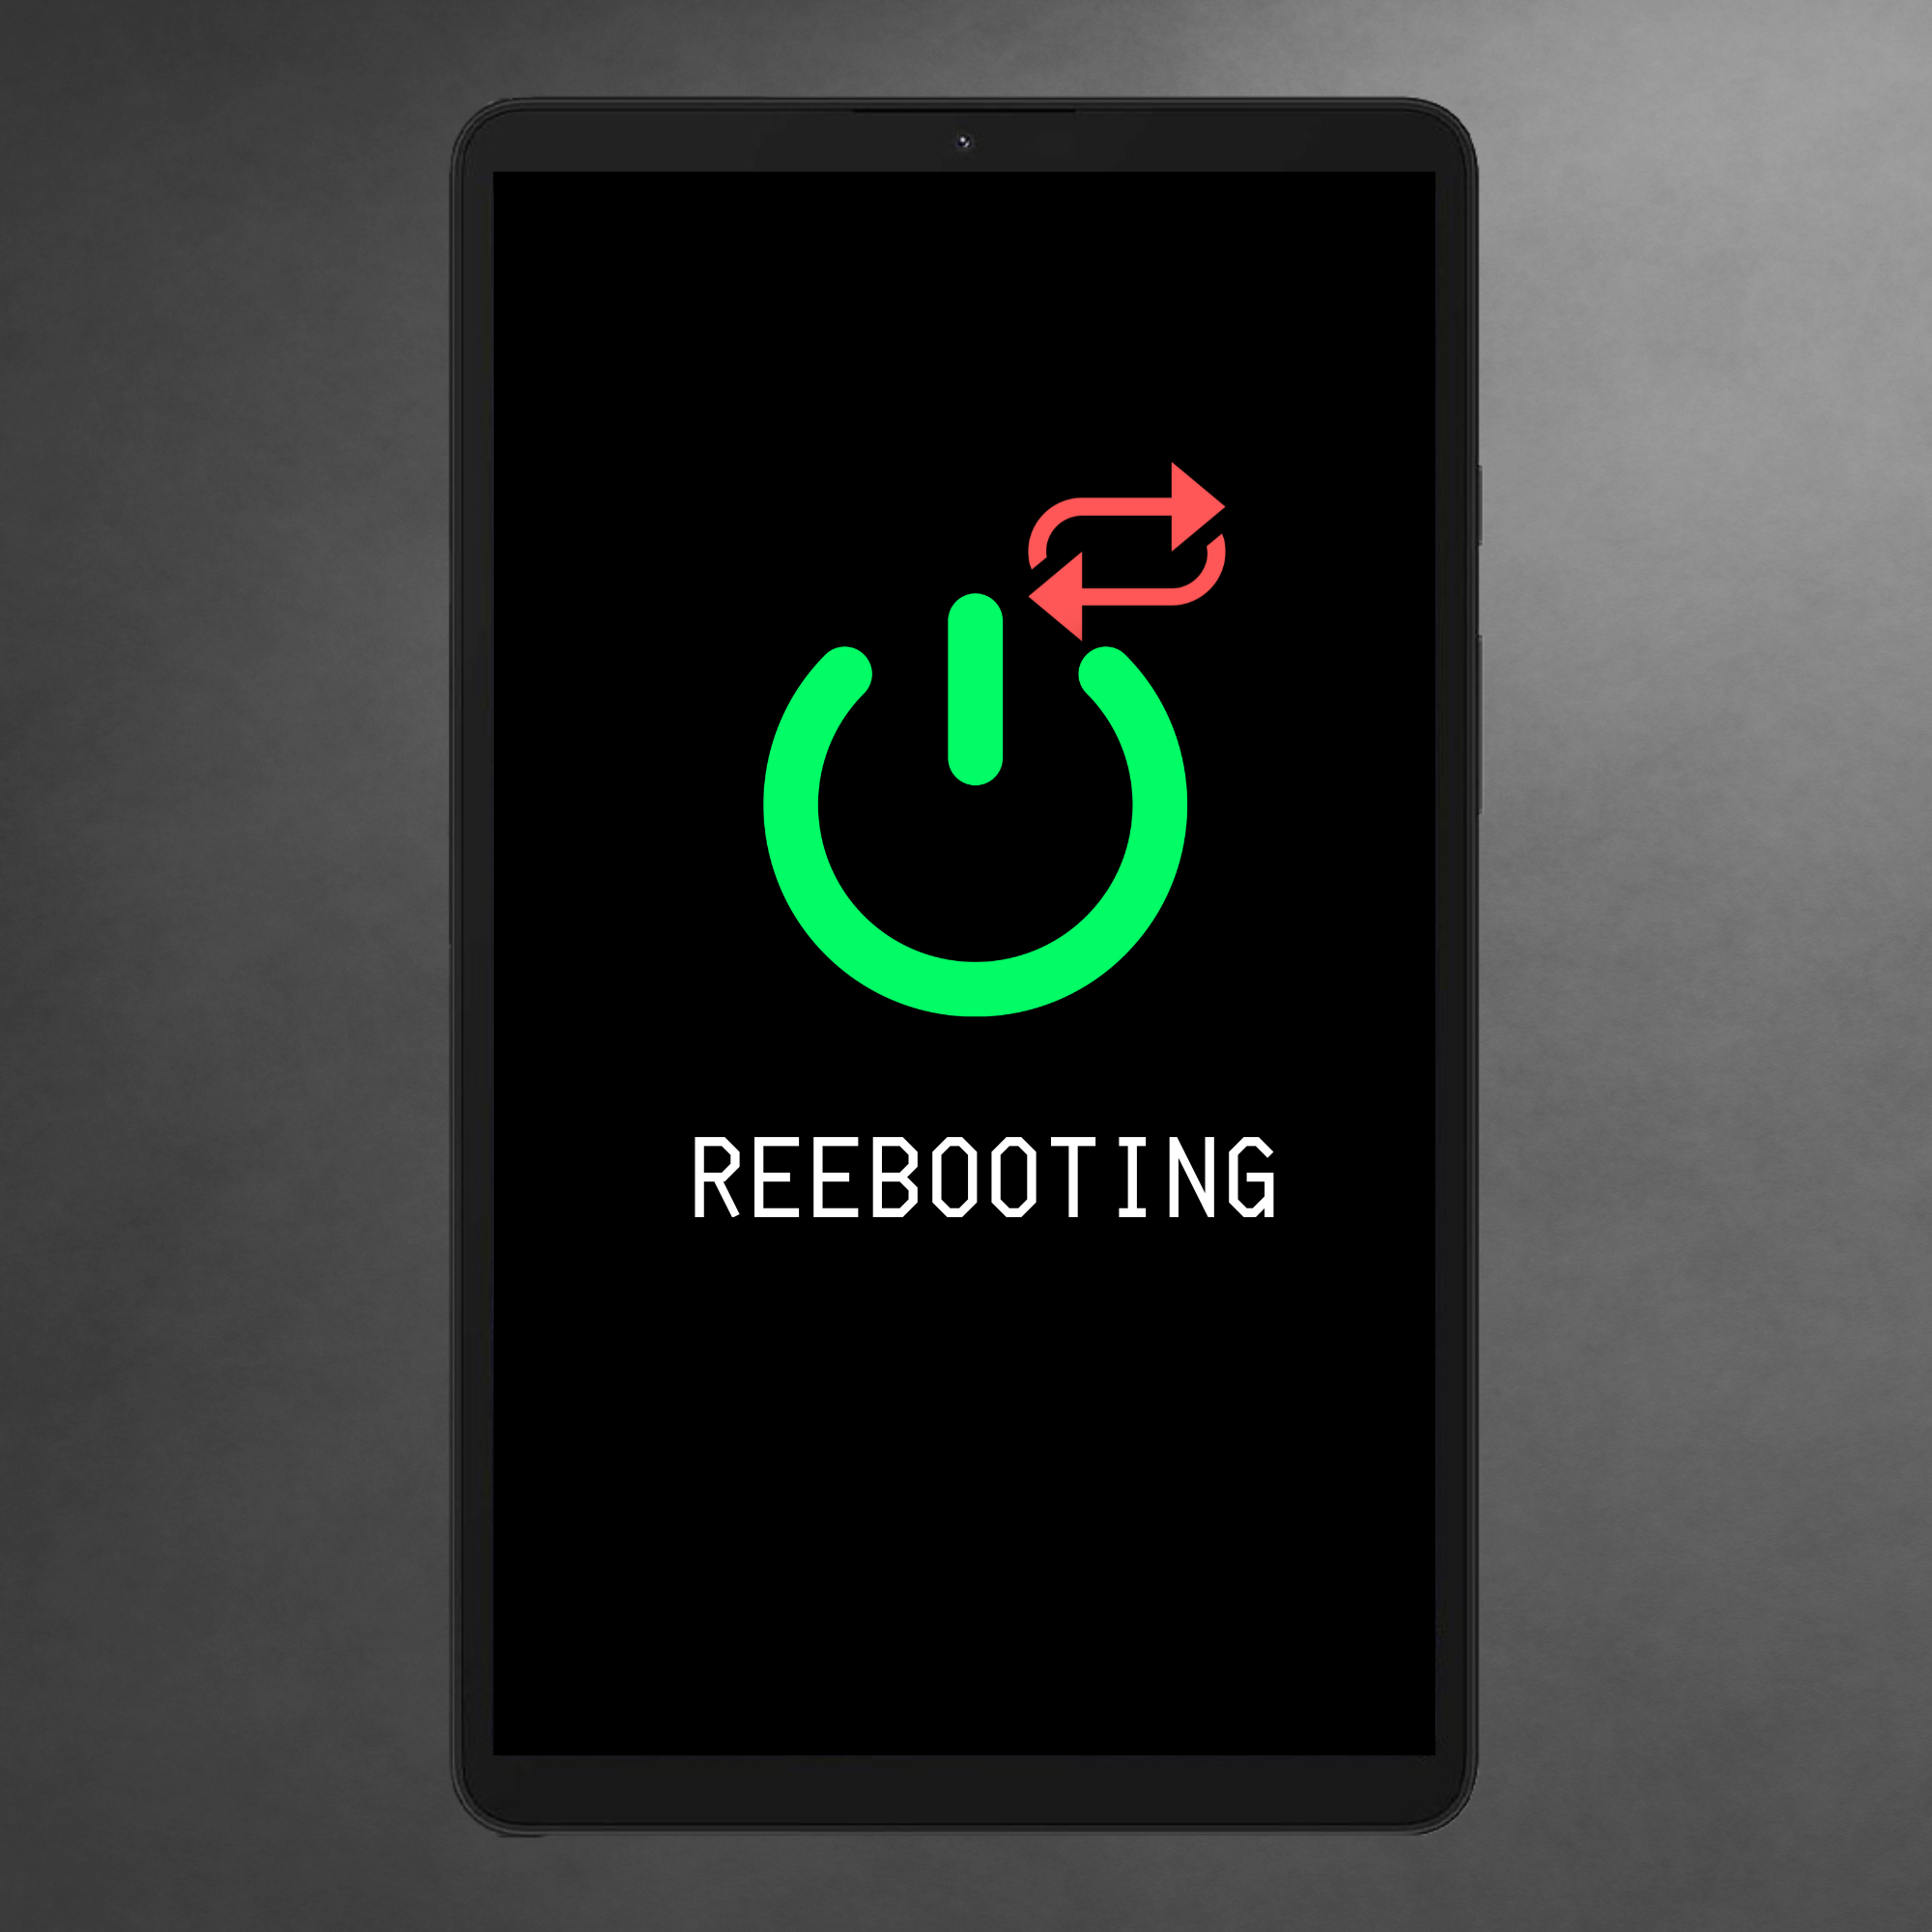
Any model or variant of the Samsung Galaxy Tab may become trapped in a reboot loop, a state where the device repeatedly powers off and on without pause.
The following solutions have proven to effectively fix the Samsung Galaxy Tab reboot loop:
1. Charge the Device to 100% While it is Powered Off
When the Samsung Galaxy Tab is charged while switched off, the device gets an opportunity to break the constant power cycling and instead focus on a singular task: recharging its battery. By reaching a full charge at a state of rest, the system’s electronics are allowed a momentary rest which can sometimes reset any minor glitches causing the reboot loop.
This stop in the loop often leads to the restoration of normal boot sequences, enabling you to power on the device post-charge without re-entering the loop.
- This seemingly odd step has resolved the reboot loop issue for numerous users worldwide.
- Insert the Galaxy Tab’s charger into a power outlet, and connect the tablet to the charger as it is in the midst of rebooting.
- Press and hold the Power button for about 6 to 10 seconds; the device will shut off.
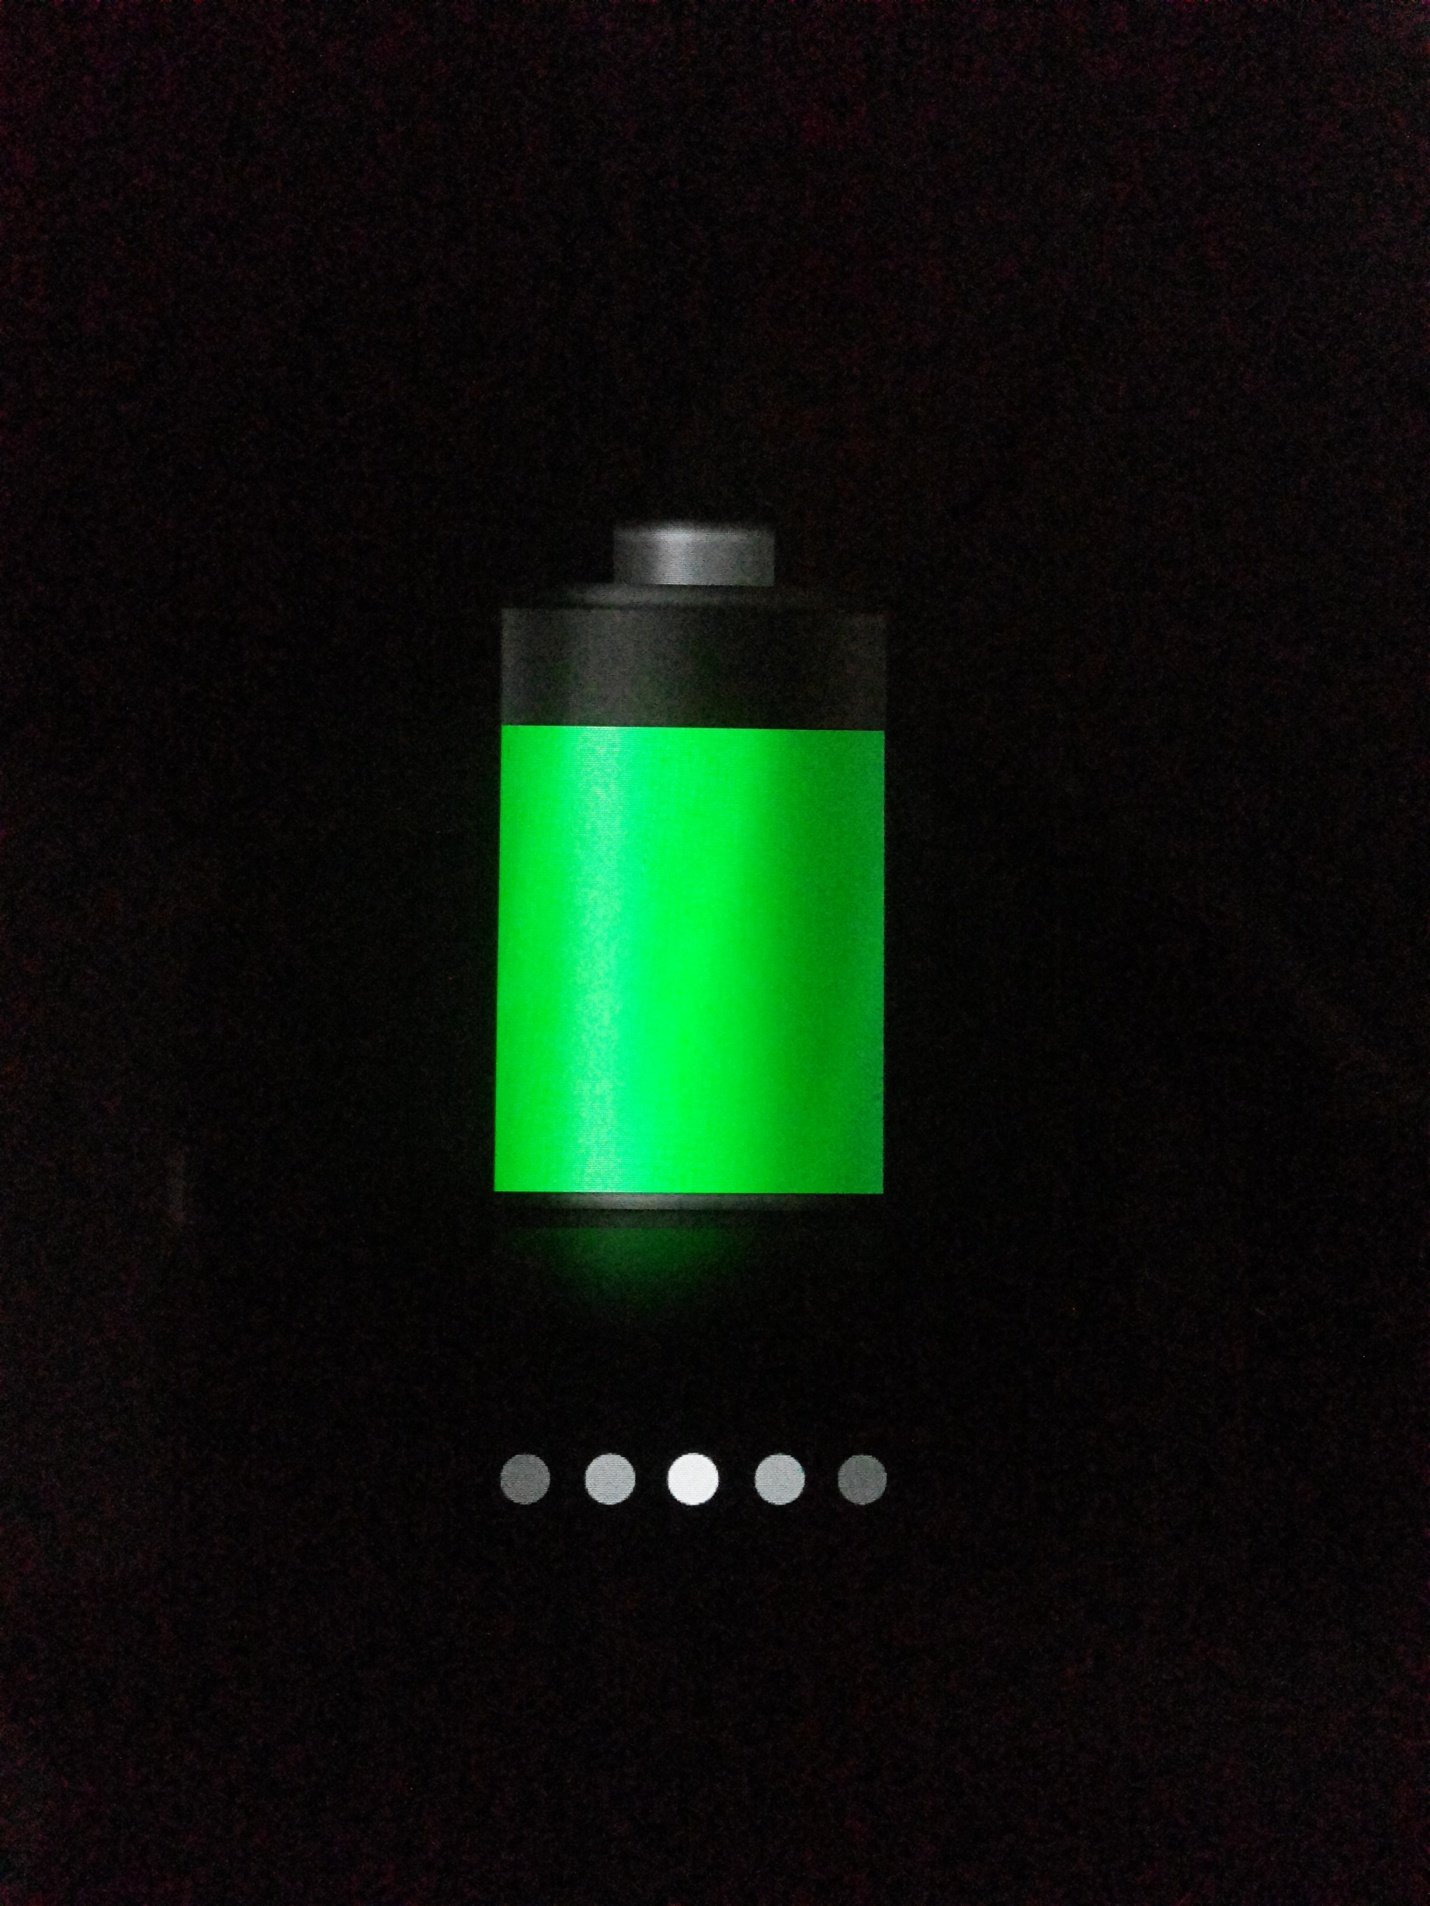
- Following the shutdown, the battery charging icon will appear on the screen instead of it restarting.
- Allow the Galaxy Tab to charge until it reaches 100%.
- After the tablet is fully charged, disconnect it from the charger, power it on, and it should exit the reboot loop.
2. Erase the Device’s Cache Entirely
Clearing the device’s cache removes temporary files that may have become corrupted and are causing your Samsung Galaxy Tab to enter a reboot loop. This housekeeping measure often eliminates software glitches without affecting your personal data, providing a clean slate for the system to operate smoothly again.
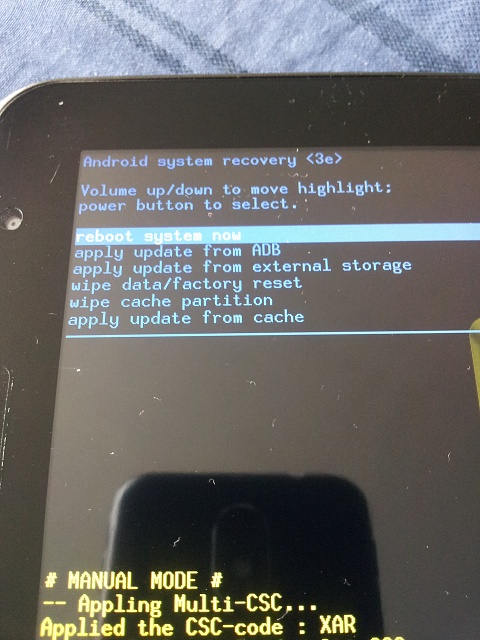
- Power off the Galaxy Tab.
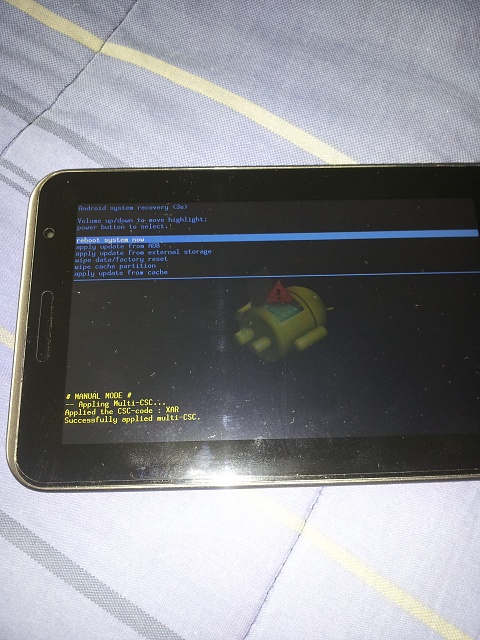
- Once it is off, simultaneously press and hold the Volume Up and Power buttons until the Samsung logo shows up, signaling the tablet’s entry into Android System Recovery (ASR) mode.

- Using the volume rocker, navigate to the ‘wipe cache partition’ option and select it by pressing the power button.
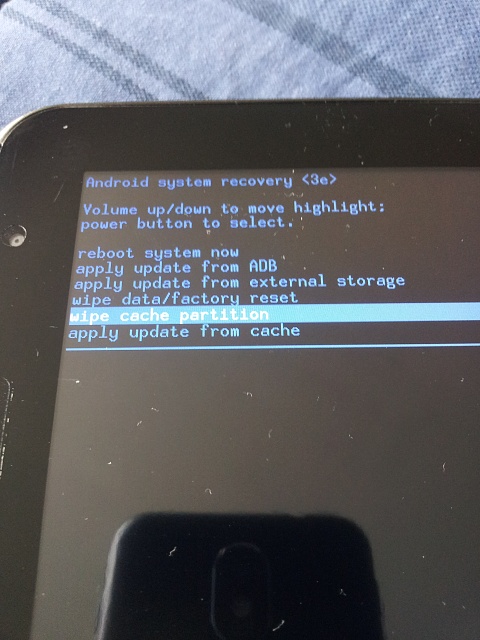
- After the cache has been cleared, select ‘Reboot System Now’ from the main menu to restart the tablet.
3. Reset the Device to Factory Settings
This process erases all data and settings on the device, returning it to its original system state as if it were brand new. This can be particularly effective in resolving the reboot loop issue as it removes any corrupted files or software glitches that may be causing the system to repeatedly restart.
It’s a powerful solution that can revive your tablet’s operating system, but be sure to back up any important data before proceeding, as this step will permanently delete all user data from the device.
- If the previous steps fail, as a last resort, you may need to reset the device:
- Turn off the device and boot it into Recovery Mode, as outlined in solution 2.
- In Recovery Mode, navigate to the wipe data/factory reset option with the Volume rocker, and select it using the Power button.
- Select Yes – Erase All User Data on the following screen to confirm your choice.
- Wait for the factory reset to complete.
- Lastly, select Reboot System Now to restart the device with the Android OS.
4. Downgrade Your Android Device
When newer system updates introduce bugs or compatibility issues, returning to an earlier version of Android, which was free from these problems, can be the key to escaping the reboot loop issue. This process effectively rolls back any changes that could be causing the device to malfunction.
However, be aware that downgrading should be done with caution, as it requires a certain level of technical expertise and can sometimes result in the loss of data. Always make sure to back up your data before attempting this fix.
You can flash an older version of Android using ODIN after acquiring it from the official website.