the GeForce Experience not Finding Games Problem on Windows?
GeForce Experience is an app made by NVIDIA used to keep your NVIDIA drivers up to date, optimize graphics settings, and provide in-game screenshots and recording features. By default, it should load the list of all games installed on your computer but users have complained that it’s unable to do so. Sometimes there are several problematic games and sometimes it won’t find any games at all.

Many users were stuck with this issue and many of them were able to find their solution to the problem. We have gathered those solutions in a single article and decided to present them to you step-by-step in this article. Make sure you follow the instructions carefully!
What Causes the GeForce Experience Not Finding Games Problem on Windows?
Before you start troubleshooting this issue, make sure you check whether the problematic games which can’t be found are supported by GeForce Experience. You can find the full link by opening this link. If the games are supported and you still notice the same issue, make sure you check out our full list of possible causes. Pinpointing the correct cause is great as it can help you pick out the correct method more easily!
- Lacking administrator issues – If the games are located in folders which can’t be accessed properly without administrator permissions, the best thing you can do is to simply provide these permissions to the GeForce Experience executable.
- Game locations are not provided – GeForce experience will only look for games in folders you have set up as game locations inside the client’s preferences. If you have installed any games beyond that folder, make sure you add these folders to resolve the problem.
- Lacking ownership and control – If the folders where the games are located are restricted by access, you can resolve the problem easily by providing ownership and permissions to the Everyone account.
- Blocked by a firewall – GeForce Experience needs to connect to the Internet properly to check for game information to find them as installed. Windows Defender Firewall might block it from doing that so make sure you allow it through.
- Problems with the installation – Your GeForce Experience client may be simply misbehaving so you’ll need to fix it. You can do that by enabling experimental features, deleting its cache, or reinstalling and updating to the latest version.
- Driver issues – If your client is up-to-date and your graphics drivers are old, this problem can appear. Make sure you install the latest NVIDIA drivers using GeForce Experience!
Solution 1: Run GeForce Experience as an Administrator
This is probably the easiest method to try out in this article and it has provided great results to users who struggled with this problem. The explanation is that the games are probably installed in a folder which can’t be fully accessed without administrator permissions. Providing this access can help the GeForce Experience locate the games and include them as such.
- First of all, you need to locate the GeForce Experience executable. It might be on your Desktop. If it’s not, make sure you try to search for it in the Start menu. Right-click the first result and choose Open file location. Its shortcut in the Start menu should appear in a folder. Right-click on it again and choose Open file location once more.
- Alternatively, you check the folder below which is the default installation folder for GeForce Experience:
C:\Program Files (x86)\NVIDIA Corporation\NVIDIA GeForce Experience
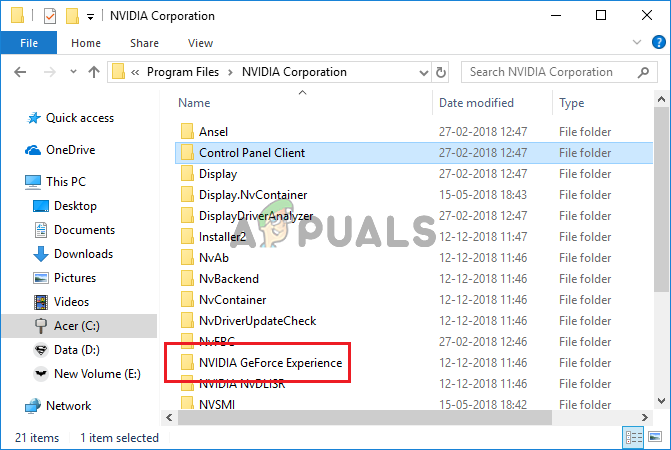
- When you locate it, right-click the NVIDIA GeForce Experience executable file and choose Properties from the context menu which will appear. Make sure you navigate to the Compatibility
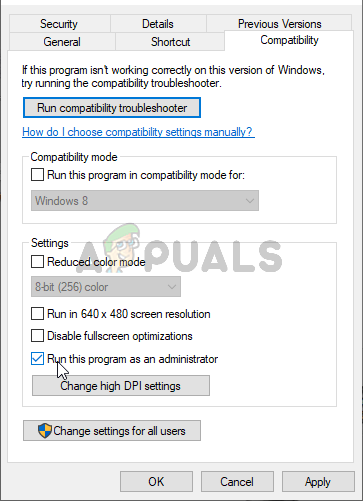
- Check the box next to the Run this program as an administrator option and click the OK button to apply the changes you have made. Reopen GeForce Experience and see if the problem still appears!
Solution 2: Add Proper Folders as Game Locations
It’s quite possible that you installed a game in a different location to where you usually install them and GeForce Experience simply doesn’t look for it. You need to set up the location to look for in GeForce Experience properties. This can be done simply by following the steps we have provided below!
- First of all, you need to locate the GeForce Experience executable. It might be on your Desktop. If it’s not, make sure you try to search for it in the Start menu. Either way, open it and make sure you navigate to the Preferences tab from the top menu bar.
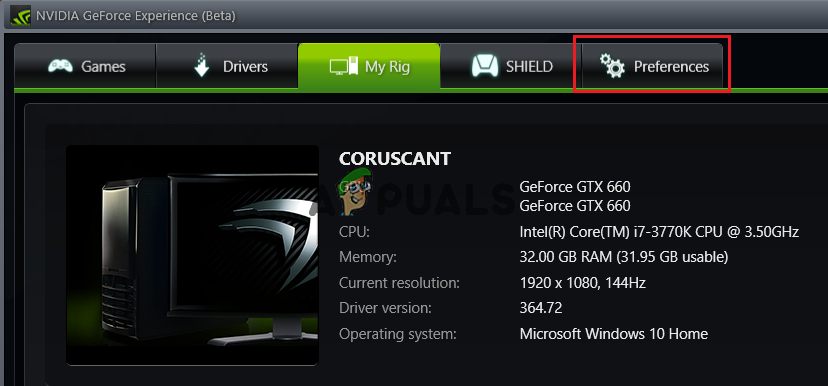
- After that, navigate to the Games section under Preferences and check the Scan for games If the folder where your problematic game is located is missing, click the plus button to the right and navigate to the folder where your game is located.
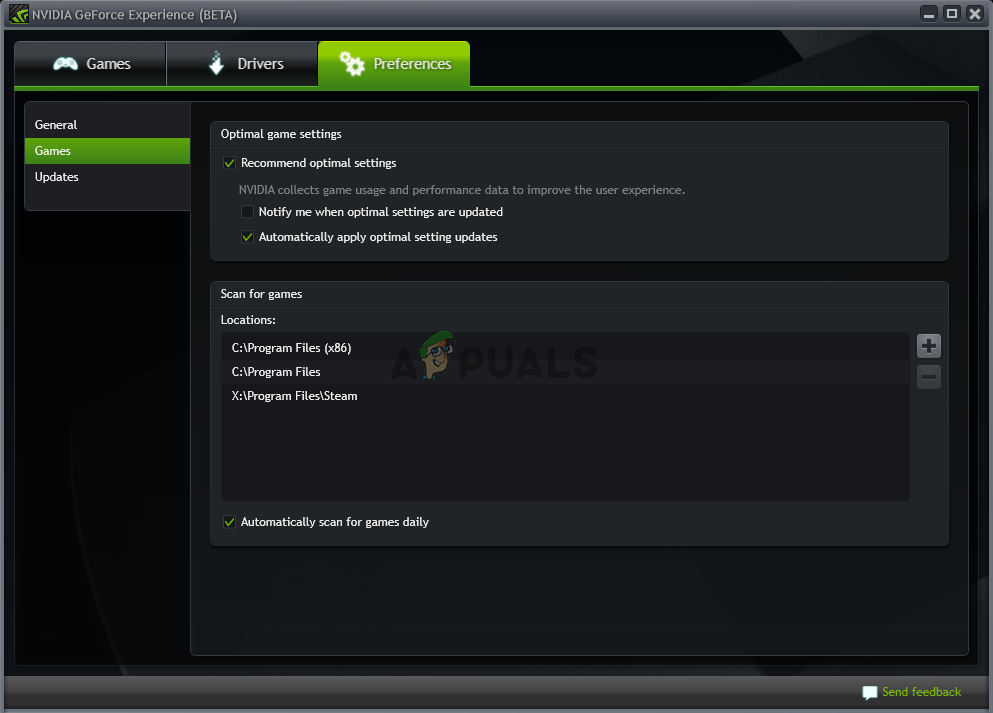
- Check to see if your issue is resolved after GeForce starts scanning for the games you have installed.
Solution 3: Take Ownership and Provide Full Control for the Folder the Games are Located in
If the problem only appears with games located in a certain folder on your computer where the games are installed, you should consider adding the Everyone account as the owner and providing full control. This way, the client will have access to it and it will be able to locate the games. Follow the instructions below!
- First of all, you need to locate the game’s folder. It should be the folder which contains many different installation folders for many games you own. If the problematic games are located in different folders, make sure you repeat this process for each one!
- Alternatively, you check the folder below which is the default installation folder for all programs on your computer
C:\Program Files (x86)
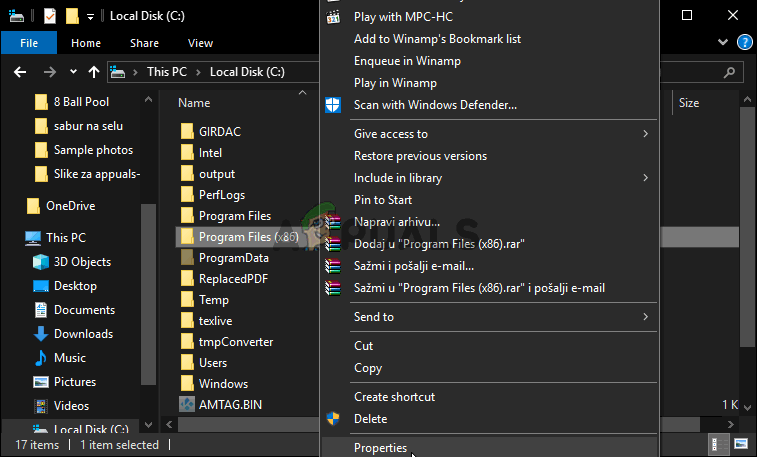
- When you locate it, right-click the folder where the games are located and choose Properties from the context menu which will appear. Make sure you navigate to the Security
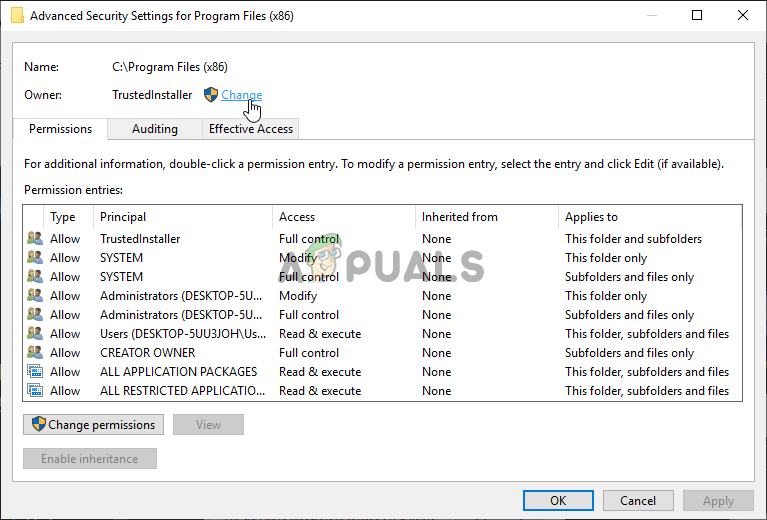
- Click the Advanced button at the bottom of the window. In the Advanced Security Settings window, click the blue Change button next to the Owner section at the top.
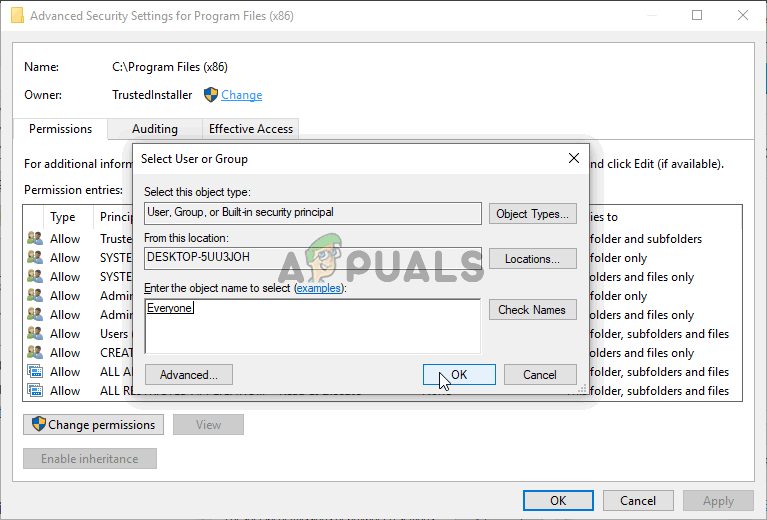
- In the Enter the object name to select, type Everyone and click the Check Names The text should become underlined. Click the OK button to add Everyone as the owner of the folder.
- In the Advanced Security Settings window, click the Add button to add new permissions. Click the blue Select a principal button at the top. Again, type Everyone and click Check Names. Click OK. Make sure the Type is set to Allow.
- In the Basic permissions section, check the box next to the Full control Click the OK button to add full permissions. Click OK two more times to close all windows which will appear and reopen GeForce Experience to check whether it’s able to find all games you have installed!
Solution 4: Allow GeForce Experience in Windows Defender Firewall
The other side of the problem might be the fact that GeForce Experience is struggling to connect to the Internet properly. This may be a problem since GeForce experience needs to connect to the Internet to find out what to look for to recognize a game. Make sure you allow it through in Windows Defender Firewall to resolve this problem!
- Search for Control Panel in the Start menu and click the first result which appears. Alternatively, use the Windows Key + R key combination to open the Run Type “control.exe” in the box and click the OK button.
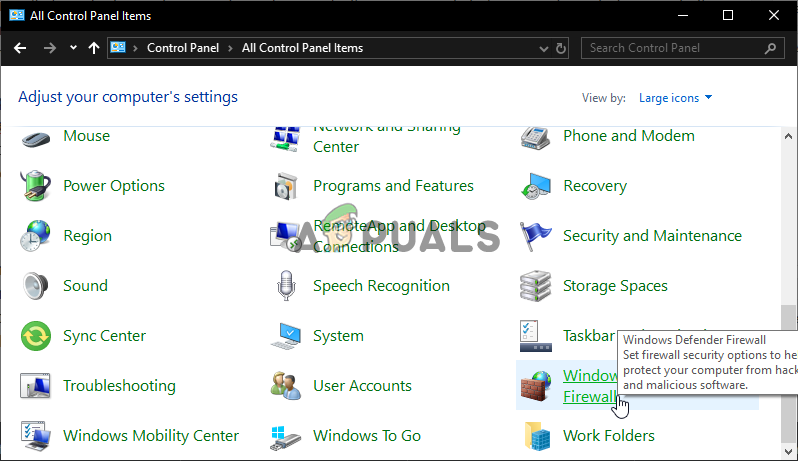
- Anyway, change the View by option to Large or Small icons from the top-right corner of the Control Panel window. Click the Windows Defender Firewall icon at the bottom of the window.
- After its window opens, check the left-side menu for the Allow an app or feature through Windows Defender Firewall option and click it. Click the Change settings button at the top of the window and provide administrator access if needed.
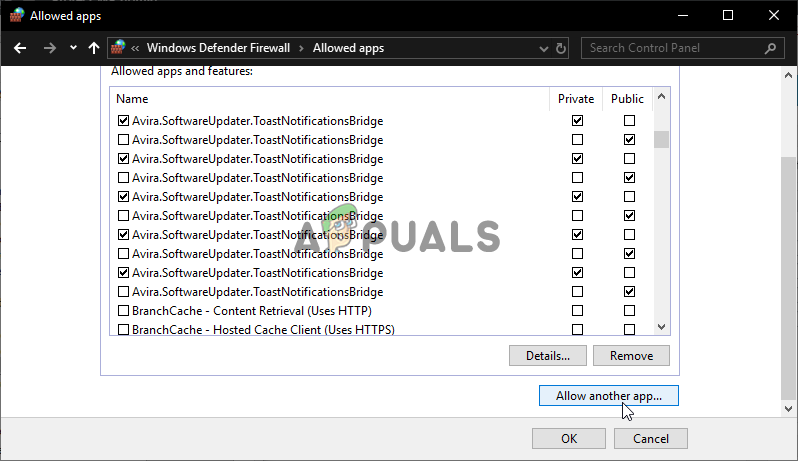
- Check the list of Allowed apps and features for GeForce Experience. If you are unable to locate it, click the Allow another app from the bottom of the window.
- Click the Browse button and navigate to the GeForce installation folder. By default, it should be:
C:\Program Files (x86)\NVIDIA Corporation\NVIDIA GeForce Experience
- Make sure you add its executable. Click the Network types button and check the boxes next to both Private and Public options before clicking OK. Click the Add Click OK again and reopen GeForce Experience to see if it’s still struggling to locate games on your computer!
Solution 5: Enable Experimental Features
Experimental features are features which haven’t been tested fully and NVIDIA probably plans to release them in future GeForce Experience versions. Some users have claimed that enabling these features managed to help them resolve the problem quite easily so make sure you follow the steps below to do so!
- First of all, you need to locate the GeForce Experience executable. It might be on your Desktop. If it’s not, make sure you try to search for it in the Start menu. Either way, open it and make sure you navigate to the Preferences tab from the top menu bar.
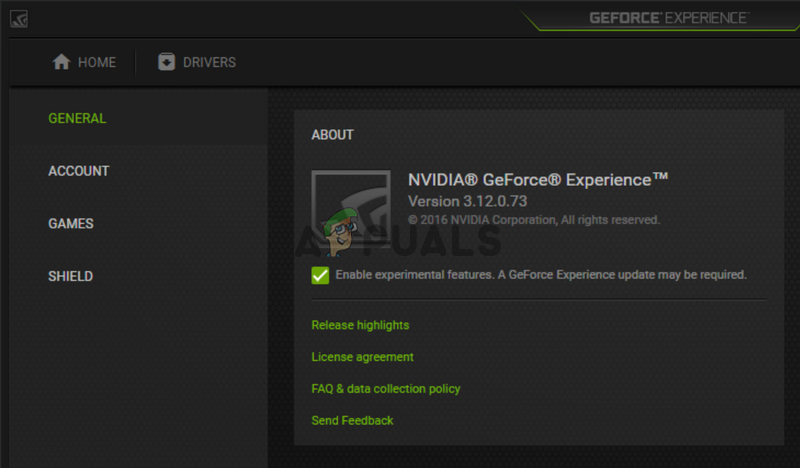
- After that, navigate to the General section under Preferences and check the About Check the box next to the Enable experimental features option. Make sure you restart the GeForce Experience client and check to see if it’s able to locate your games now!
Solution 6: Delete the App’s Cache
GeForce Experience keeps its cache files in the AppData folder. Deleting its folder will reset its cache and refresh the app without you losing any data at all. On the plus side, it may help the client locate the games you have installed easily. Make sure you follow the steps below to try out this method!
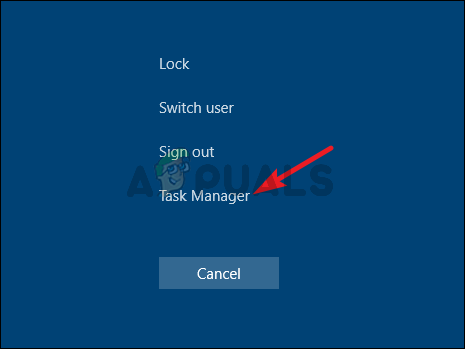
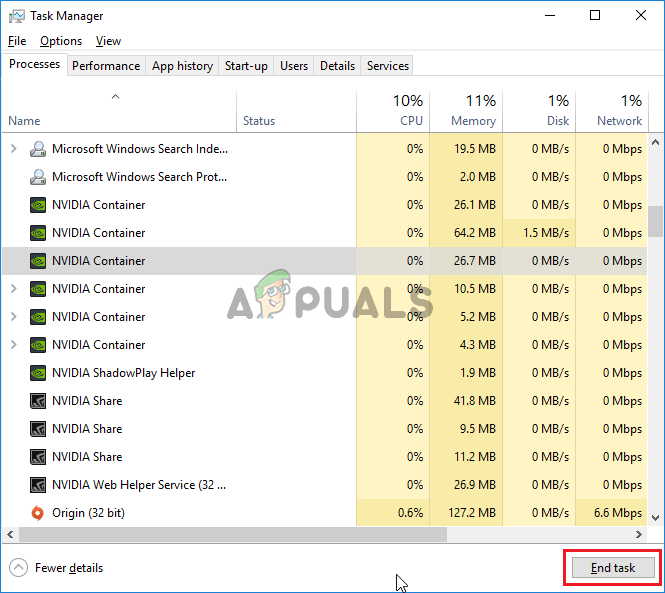
- First of all, you need to close any instance of GeForce Experience running on your computer. You will also need to close certain NVIDIA-related processes. Use the Ctrl + Shift + Esc key combination to bring up Task Manager. You can also use the Ctrl + Alt + Del key combination and left-click Task manager from the blue screen which will open.
- Click the More details button in Task manager to expand it and look for the following processes under Background processes: NVIDIA GeForce Experience, NVIDIA Container, NVIDIA Container (32 bit), and NVIDIA Web Helper Service. Left-click on each one and click the End task button at the bottom right corner.
- Open This PC on your Desktop by double-clicking its icon. Alternatively, open any folder on your computer or click the Libraries icon at the Quick Access menu on the taskbar. From the right-side navigation menu, click This PC.
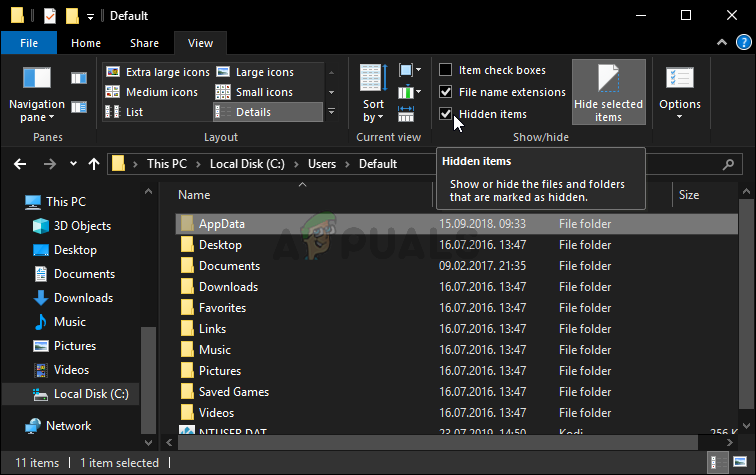
- Open your Local Disk and open the Users Double-click the folder named as the current you are logged in to. Try opening the AppData folder inside. If you can’t see it, click View from the menu bar at the top of the window and check the box next to Hidden items.
- In the AppData folder, navigate to Local >> NVIDIA Corporation >> NVIDIA GeForce Experience. Right-click the CefCache folder inside and choose the Delete option from the context menu which will appear. Reopen GeForce experience and check to see if it can find the games you have installed!
Solution 7: Update your NVIDIA Drivers
Weirdly enough, many users were able to resolve the problem simply by updating their NVIDIA drivers. If you are using the latest version of the client and an older version of the driver, you might experience the issue where games are simply not recognized. Follow the steps below to update your drivers using GeForce Experience!
- First of all, you need to locate the GeForce Experience executable. It might be on your Desktop. If it’s not, make sure you try to search for it in the Start menu. Either way, open it and make sure you navigate to the Drivers tab from the top menu bar.

- After that, click the Check for updates button at the top-right corner of the screen and wait for the client to see if there are any new drivers available.
- If a newer driver is found, it will appear in Available section so make sure you click the green Download button to save it to your computer.
- Wait for the download to finish. After that, click the Install button and the driver should install. Restart your computer when prompted, reopen GeForce experience, and check to see if the same problem still appears!
Solution 8: Reinstall and Update to the Latest Version
There are several problematic games which have struggled to be recognized by GeForce Experience. Folks from NVIDIA have promised that the new update will be able to resolve the problem. However, it’s better if you completely reinstall GeForce Experience and install the latest version to make sure you also check if your current installation is faulty. Make sure you follow the steps below!
Windows 10:
- Click the Start menu button in the lower-left part of your screen and click the cog-like icon which will appear. It will open Windows 10 Settings. Alternatively, make sure you use the Windows Key + I combination to open Settings directly.

- Click the Apps section to open it and you should immediately see the list of all programs installed on your computer. Scroll down and look for the GeForce Experience entry in the list. Left-click it and click the Uninstall button which will appear. Follow the instructions which will appear on the screen!
Other versions of Windows:
- Search for Control Panel in the Start menu and click the first result which appears. Alternatively, use the Windows Key + R key combination to open the Run box. Type “exe” in the box and click the OK button.
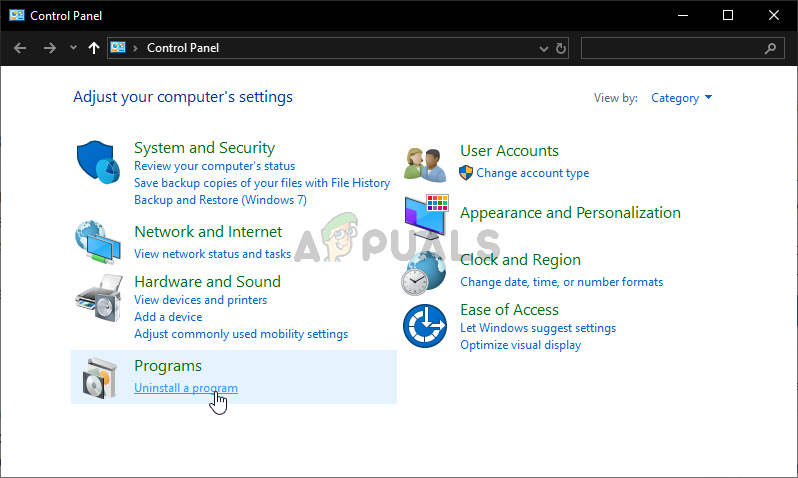
- Anyway, change the View by option to Category from the top-right corner of the Control Panel window. Click the Uninstall a program link under the Programs
- Look for GeForce Experience in the list which will appear. Right-click its entry and choose the Uninstall option from the context menu which will appear. Follow the instructions inside the uninstallation wizard!
Either way, make sure you download the latest version of the GeForce Experience client by opening this link and clicking the green download now button. Run it after it downloads and follow the instructions on-screen to install it. Check to see if GeForce Experience now recognizes the games you own properly!