How to Fix Surface Book Keyboard not Working
Several users have been reaching us with questions after discovering that their Surface Book Keyboard has suddenly stopped working. Most affected users report that the issue started occurring abruptly, and they didn’t install any software that might cause such behavior. Even more, the issue doesn’t seem to be specific to a certain Windows version as it’s confirmed to occur on both Windows 10 and Windows 8.1.

What is causing the Surface book keyboard to stop working on Windows?
We investigated this particular issue by looking at various user reports and the repair strategies that are commonly being used to fix this particular issue. As it turns out, there are a couple potential culprits that might end up causing this issue:
- Bad Security Update (KB4074588) – In the vast majority of cases, the issue is being caused by a bad security update that ended up breaking the functionality on most Surface Book Devices. If this scenario is applicable, you should be able to resolve the issue by either installing the hotfix for it via WU (Windows Update) or by uninstalling and hiding the KB4074588 update.
- System file corruption – System file corruption can also be responsible for the apparition of this issue. Several affected users have managed to resolve the issue by using the System Restore utility to return their computer to a healthy state.
If you’re currently having issues with your Surface book keyboard, this article will provide you with several troubleshooting guides that should allow you to resolve the issue. Down below, you’ll find different methods that other users in a similar situation have successfully used to resolve the issue. Each potential fix is confirmed to be effective by at least one affected users.
For the best results, we advise you to follow the methods in the order that they are presented since we ordered them by difficulty and efficiency. One of the potential fixes should resolve the issue regardless of the culprit that’s causing it.
Let’s begin!
Method 1: Installing every pending Windows update
As it turns out, the most common cause that will effectively break your Surface Book’s keyboard is a bad Windows update. The issue is most commonly reported to occur on Windows 10. Most affected users have managed to resolve the issue and restore the functionality of the Surface Book’s keyboard by installing every pending Windows update.
This suggests that Microsoft has since released a hotfix for that resolved the problem created by the upgrade. Here’s a quick guide on installing every pending update for your Windows computer:
- Press Windows key + R to open up a Run dialog box. Then, type “ms-settings:windowsupdate” inside the text box and press Enter to open up the Windows Update tab of the Settings app.
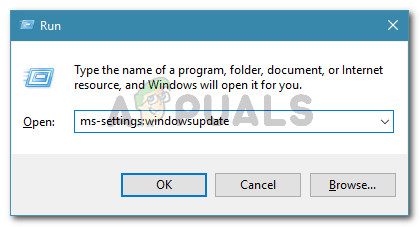
Run dialog: ms-settings:windowsupdate Note: If you’re not using Windows 10, type “wuapp” instead.
- Once you’re inside the Windows update screen, click on Check for Updates, then follow the on-screen prompts to install the pending updates.
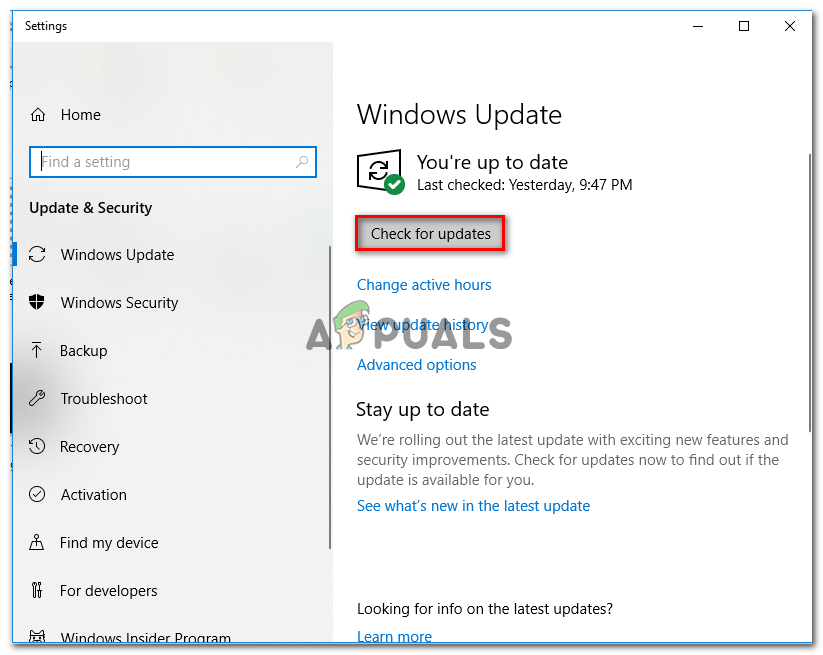
Installing every pending Windows update Note: If you’re prompted to restart before every pending update is installed, do so and then make sure to return to the Windows Update screen to complete the uninstallation of the rest of updates.
- When every pending update is installed, do one final update and see if you’re still encountering the issue once the next startup sequence is complete.
If the issue is still not resolved, move down to the next method below.
Method 2: Uninstalling Security Update KB4074588
If you’re encountering this issue on Windows 10 and Method 1 didn’t allow you to resolve the issue, you should be able to resolve the issue by uninstalling the security update that ended up causing the issue in the first place (KB4074588).
Most Windows 10 users that also encountered this issue with Surface book keyboards have reported that the functionality was back after uninstalling the KB4074588 update. Here’s a quick guide on how to do this:
- Press Windows key + R to open up a Run dialog box. Then, type “ms-settings:windowsupdate” inside the text box and press Enter to open up the Windows Update screen of the Settings app.
- Once you’re inside the Windows Update screen, click on View Update history from the left-hand pane.
- Then, once the list of recently installed updates loads up, click on Uninstall updates (at the top of the screen).
- Scroll down through the list of installed updates and locate the KB4074588 update inside the list of installed updates.
- When you manage to locate the update, right-click on it and choose Uninstall from the context menu. Then, click Yes at the confirmation prompt to start the process.
- Once the update has been uninstalled, visit this link (here) to download & install the Microsoft Show or Hide troubleshooter package.
- When the download is complete, open the .diagcab file and start by clicking on the Advanced button. Then, check the box associated with Apply Repairs Automatically.
- Click Next to advance to the next menu, then wait for the utility to finish the scan for updates before clicking on Hide Updates.
- Next, check the box associated with the update that you want to hide, then click on Next to advanced to hide the selected update from Windows Update.
- Wait until the procedure is complete, then restart your computer and see if the issue has been resolved once the next startup sequence is complete.
If the issue is still not resolved, move down to the next method below.
Method 3: Doing a System Restore
If none of the methods above have helped you in resolving the Surface Book keyboard issue, doing a system restore should allow you to return a healthy state in which this particular problem wasn’t occurring. Several affected users have confirmed that going this route has allowed them to resolve the issue permanently (it hasn’t returned even after a couple of weeks)
Here’s a quick guide on doing a system restore:
- Press Windows key + R to open up a Run dialog box. Then, type “rstrui” inside the text box and press Enter to open up the System Restore wizard.

Opening the System Restore wizard via Run box - Once you’re inside the System Restore wizard, click Next at the initial prompt.

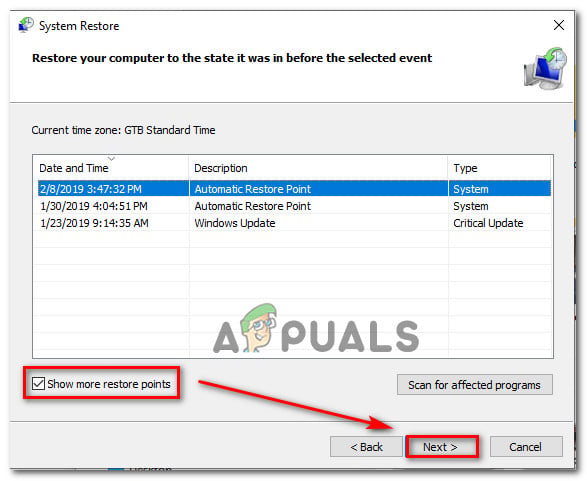
Getting past the initial screen of System Restore - Once you get to the next screen, check the box associated with Show more restore points.
- Then, proceed by selecting a restore point that is dated before you first started experiencing the issue with your Surface Book keyboard and click Next to advance.
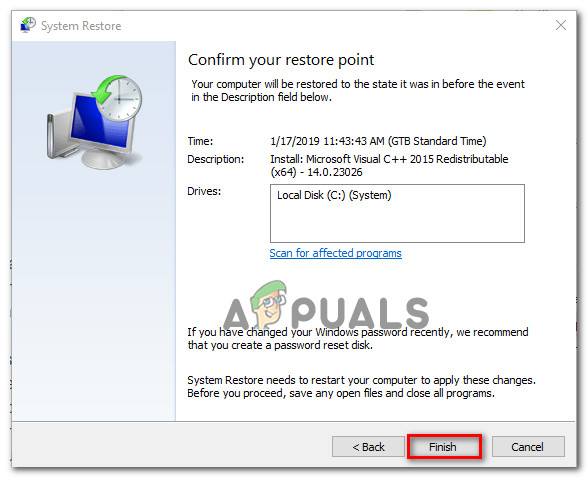
Restoring your system to a previous point in time Note: All changes that you made after that date will be undone. This means that any installed applications, enforced user preferences and anything else will be removed. This process will restore your computer to the exact state in which it was when the restore point was taken.
- Next, click Finish and then Yes at the confirmation prompt to start the restoring process. As soon as you hit that button, your computer will restart and the old state will be enforced.
Starting the System Restore process - Once the next startup sequence is complete, see if the Surface Keyboard issue is resolved.