How to Fix ‘ERR_NAME_NOT_RESOLVED’ Error on Google Chrome?
ERR_NAME_NOT_RESOLVED indicates that the domain name cannot be resolved. The DNS (Domain Name System) is tasked with resolving domain names, and every domain on the internet is connected to a name server, enabling DNS resolution. This particular error in Google Chrome conveys that the domain name couldn’t be resolved. Understanding this issue more thoroughly can help you pinpoint and resolve the problem.

This error typically appears when a website fails to load. It signifies that the domain name cannot be resolved due to various potential causes; it may come from misconfigurations on your computer or router, or it could be related to an issue with the website itself, possibly being offline.
There are two primary scenarios: the problem might originate from the website’s DNS, or it could be an issue with your network. Determine which scenario applies to you and proceed with the corresponding steps.
1. Check if the website is Working
By performing a quick nslookup command, you essentially ask your system to find the IP address associated with the site’s domain name, which indicates whether its servers are reachable from your end. If the lookup provide a positive result, it assures you that the website is functioning, and the problem may reside within your local network settings.
On the other hand, a failed lookup can hint that there might be issues on the website’s side, guiding you towards the next relevant steps.
- Hold the Windows Key and Press X. Select Command Prompt (Admin) or PowerShell (Admin).
- Type nslookup followed by the URL of the website you’re attempting to access.
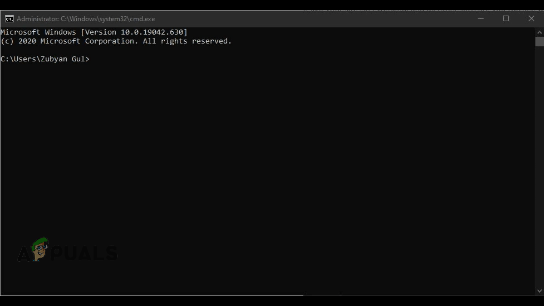
Checking Website
If you do not receive a Valid IP Address, or if you’re told the domain doesn’t exist among other potential errors, it’s likely an issue with the website. If you own the website, you must contact your host for a resolution. However, if you are merely visiting the website, it’s advisable to wait and retry later to see if the problem has been fixed.
2. Change your DNS Server
Your DNS server is similar to a directory assistant for the internet, guiding your computer to the correct addresses upon request. Occasionally, this assistant can stumble upon inaccuracies or become outdated.
By switching to a reliable public DNS—like those offered by Google or Cloudflare—you’re effectively opting for a more updated and sometimes faster directory service, one that might not be experiencing the same issues as your previous server. This switch can result in successfully reaching the desired website without encountering frustrating errors.
- Press and hold the Windows Key and Press I to open the Windows Settings app.
- Navigate to Network & Internet.
- Select Change Adaptor Settings.

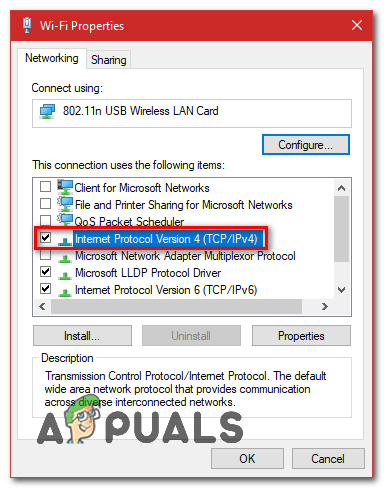
Internet Settings - Right-click on your Network Adaptor and select Properties.
- Double-click Internet Protocol Version 4 (TCP/IPv4).
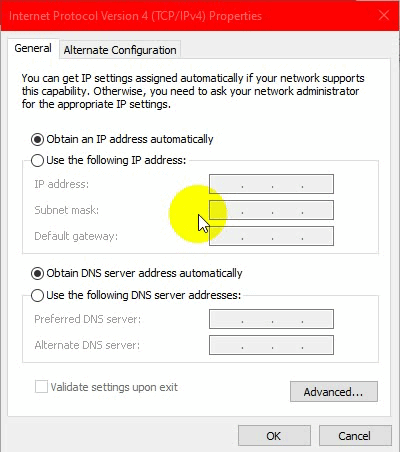
Changing IPv4 DNS - Choose Use the following DNS server addresses.
- Enter “8.8.8.8” in the preferred DNS server field and “8.8.4.4” in the alternate DNS server.
Changing the DNS server - Press the Windows Key and Press X again. Choose Command Prompt (Admin) or PowerShell (Admin).
Enter the following commands to refresh the DNS settings on your computer:
ipconfig /flushdns
ipconfig /renew
ipconfig /registerdns
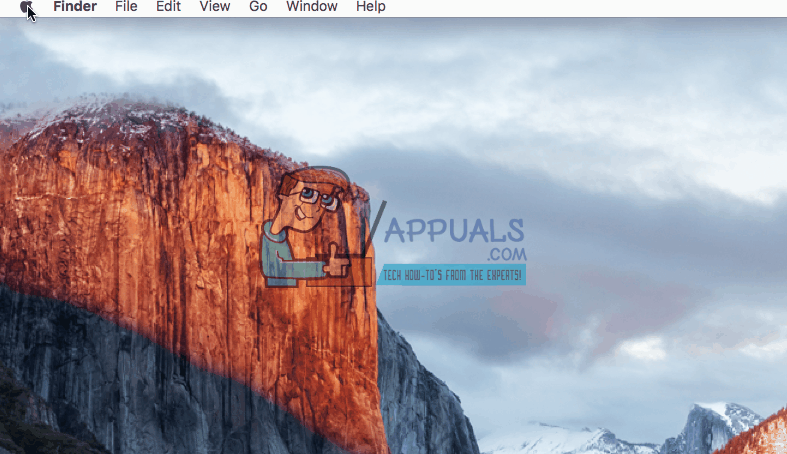
Change your DNS (MacOS)
If you are using a Mac, you can change the DNS with the following instructions:
- Click the Apple icon in the top left corner and select System Preferences.
- Click the Network icon.
- Select your active adapter (ethernet or wireless) then click Advanced.
- Go to the DNS tab.
- In the IPv4/IPv6 Section, click the ‘+’ button.
- Add “8.8.8.8” and “8.8.4.4” to the DNS entries and remove any existing entries.
Changing your DNS on a Mac
3. Clear Chrome’s Host Cache
When you clear the cache, Chrome discards the stored address information of previously visited websites, which might be outdated or incorrect. By doing so, your browser will seek to fetch the most recent and accurate address details when you visit sites again, potentially resolving the error by eliminating any stored data that could be causing the issue.
This step is a digital reset button that can help in establishing a smooth sailing online experience, free from the obstacles of outdated information.
- Launch Google Chrome.
- Type the following URL in the address bar and press Enter:
chrome://net-internals/#dns
- Chrome’s Host resolver cache page should open. Click Clear Host Cache.
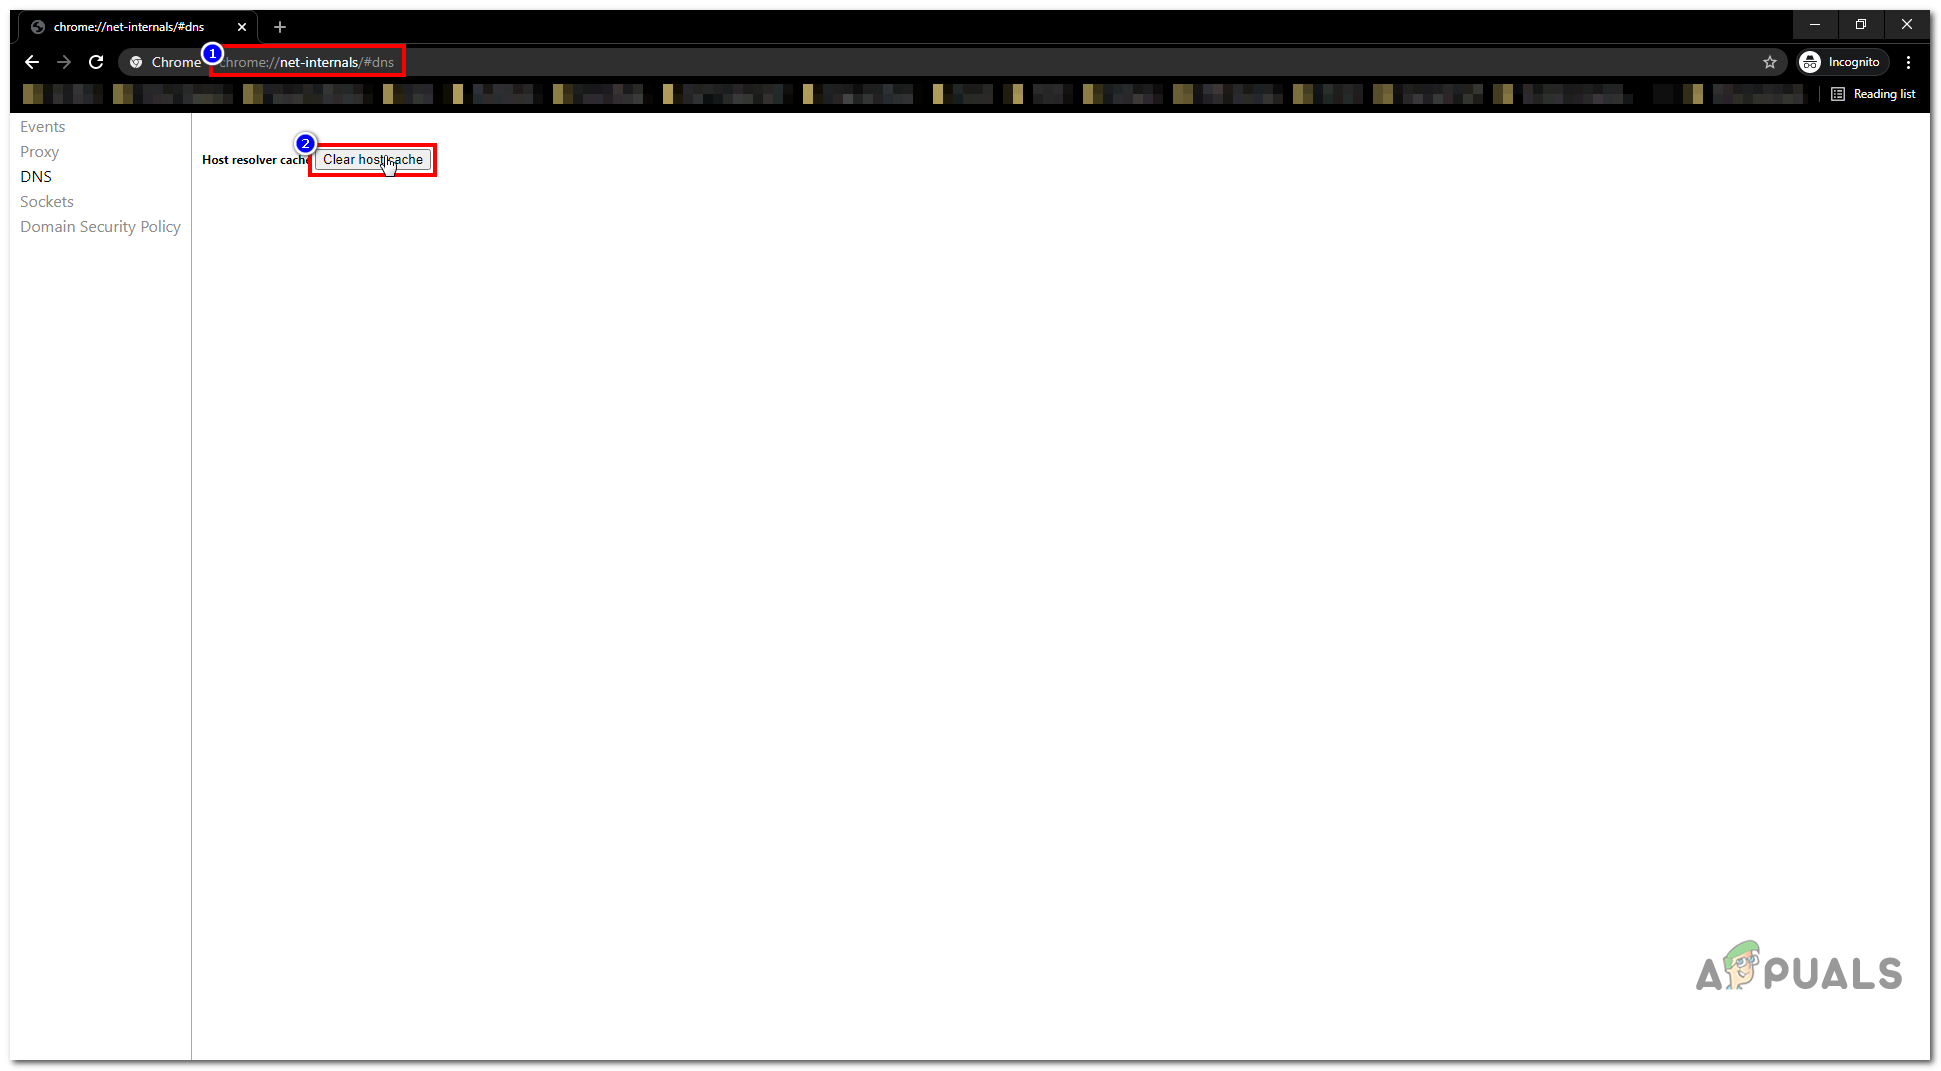
Clearing Host cache - Restart Google Chrome and check if you can access the website.
4. Disable the Preload Pages Option
This feature is similar to Chrome’s host cache but maintains a record of DNS entries for preload purposes. While the previous method clears the cache, it doesn’t prevent websites from recaching. Disabling Preload Pages stops the storing of DNS cache to avoid errors but may cause websites to load slower initially.
- Open Google Chrome.
- Enter the following URL in the address bar and press Enter:
chrome://settings/cookies
- Locate the option named “Preload pages for faster browsing and searching”.
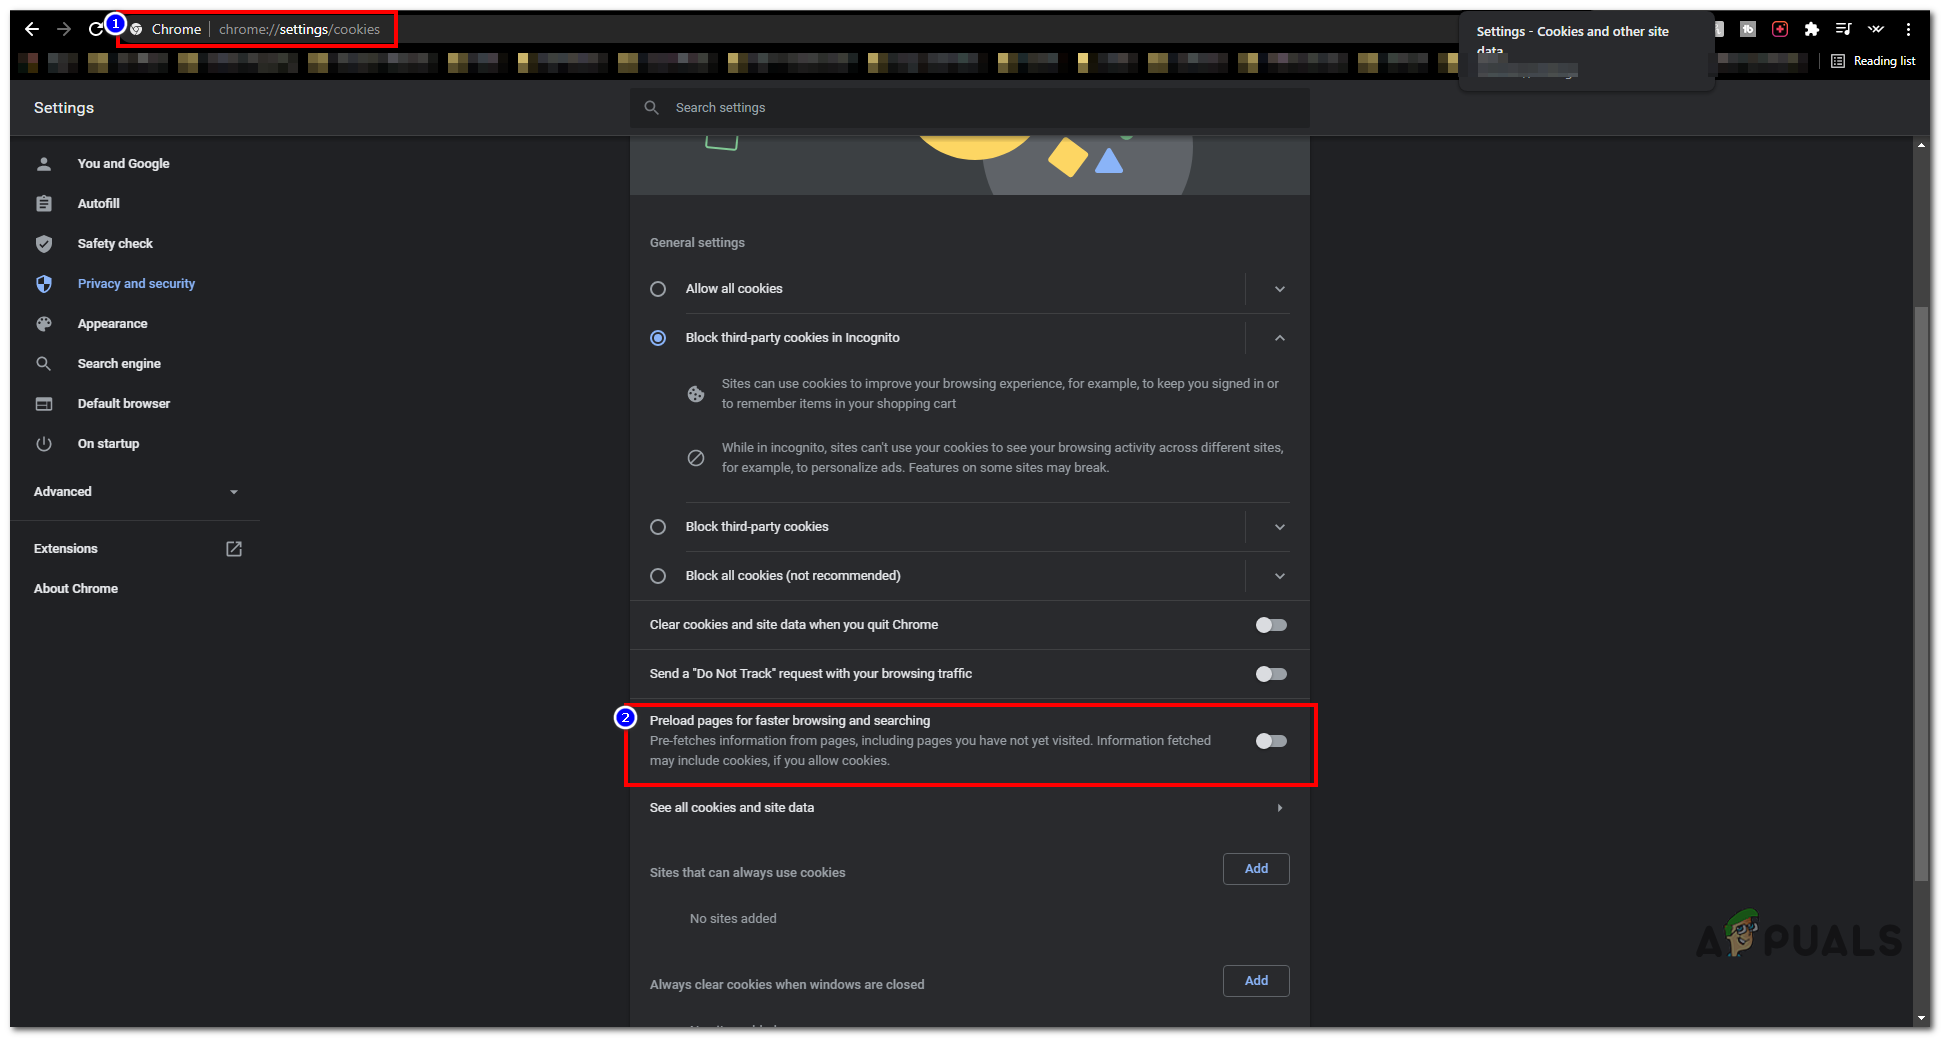
Disabling Pre-load Pages Option - Make sure it’s unchecked.
- Restart Chrome and check if the problem continues.
5. Reset your Network Configuration
Resetting your network settings reverts all network information to its default state, removing any improper configurations that may have gotten in due to third-party applications or manual changes. By clearing out the old data and starting anew, this process makes sure your system requests fresh network information, which often resolves persistent connectivity issues like this error.
- Hold the Windows Key and Press X. Choose Command Prompt (Admin) or PowerShell (Admin).
- Type the following commands one after the other to reset your network settings:
netsh winsock reset
netsh int ip reset
ipconfig /release
ipconfig /renew
netsh interface ipv4 reset
netsh interface ipv6 reset
ipconfig /flushdns
- Restart your computer and check if the issue has been resolved.
Other Workarounds
If none of the methods above were effective, consider using a different browser to determine if the website is accessible there. Should the website function properly on another browser, try uninstalling and then reinstalling Google Chrome. If the website also fails to load on the alternative browser, reaching out to your ISP for assistance would be advisable. Additionally, you can experiment with using a VPN. If a VPN resolves your access issue, your IP address might have been blocked.