How to Delete Windows Update Files
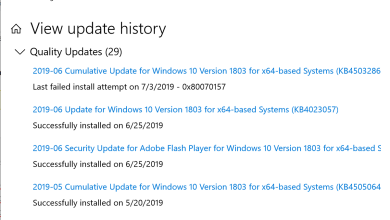
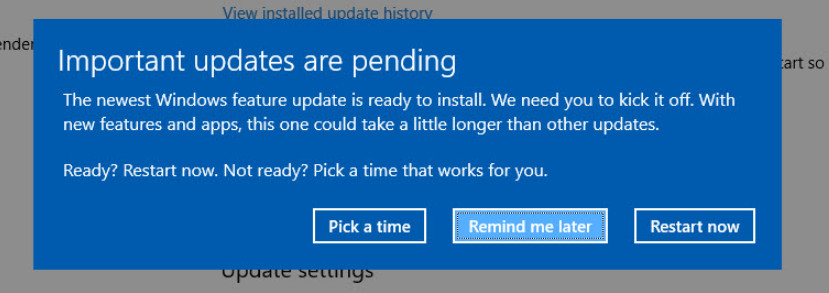
There are numerous cases where Windows Update induces problems in itself and fails to update the components which it downloaded. You might see the ‘pending changes’ notification on your update module which refuse to install despite attempting several times. In cases like these, it is recommended that you delete the already downloaded windows update files.
The update module will check if it has the files present. If it doesn’t, it will reinitialize the entire process and start downloading the updates again. The update files getting downloaded partially is not something and this will fix that issue.
Method 1: Deleting contents of the temporary folder
The temporary folder on your computer holds the files when they are being downloaded and the installer fetches the files from this folder when attempting to install them to the correct directory. The installer never downloads files to the same folder where the installation is selected to happen.
We can try deleting the contents of the temporary folder to fix whatever issue you are having by accessing it using the Run terminal.
- Press Windows + R, type “%temp%” in the dialogue box and press Enter.
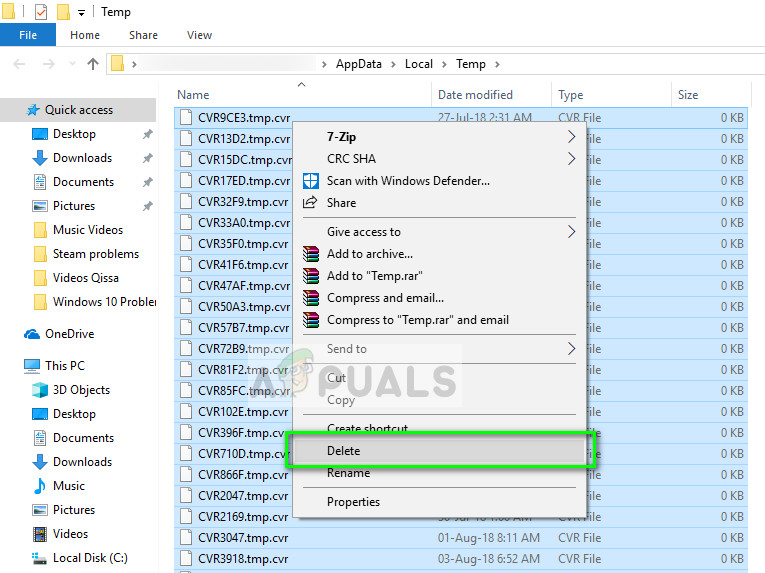
- In the directory, you will see hundreds of entries if you haven’t cleared your temp folder ever. It is also advisable that you make a copy of this folder to another location so you can restore if anything wrong happens.
Select all the items, right-click them, and select Delete.
- Power cycle your computer after this and see if this action fixed whatever problem you were having.
Method 2: Deleting content of SoftwareDistribution folder
SoftwareDistribution is a folder located in windows directory which is used to temporarily store files which may be required to install the latest windows updates on your computer. This is a requirement for the update module and the read/write operation to this is managed by WUagent.
Deleting the contents of this folder will delete your update history. Deleting the history can have its own perks, for example, the update module will no longer take large amounts of time to initialize. Before we delete the contents, we have to disable the update module.
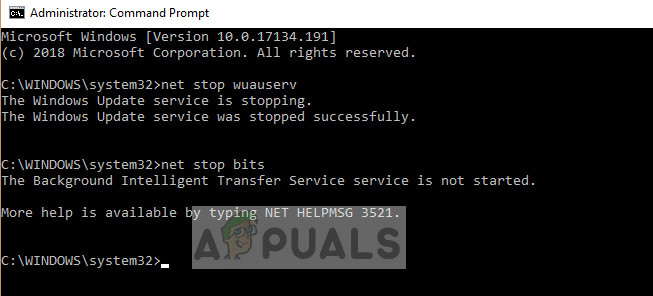
- Press Windows + S, type “command prompt” in the dialogue box, right-click on the application and select “Run as administrator”.
- In the command prompt, type “net stop wuauserv” and “net stop bits”. Don’t close the command prompt yet, we may need it later on.
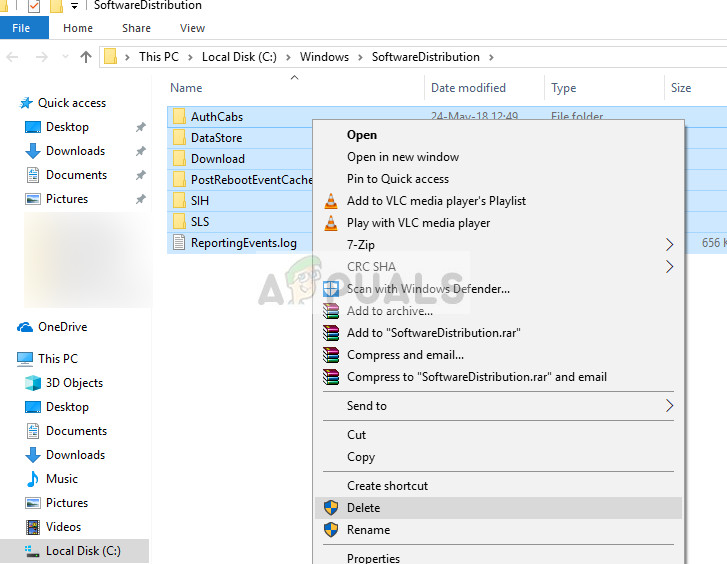
Now we will navigate to Windows Update directory and delete all the updated files already present. Open your file explorer or My Computer and follow the steps.
- Navigate to the address written below. You can also launch the Run application and copy paste the address to reach directly.
C:\Windows\SoftwareDistribution
- Delete everything inside the Software Distribution folder (you can also cut paste them to another location in case you want to place them back again).
Note: You can also instead rename the software distribution folder. Name it something like “SoftwareDistributionold”.
Now we have to turn the Windows Update service back on and launch it again. Initially, the Update Manager might take a few minutes to compute details and prepare a manifest for the download.
- Press Windows + S, type “command prompt” in the dialogue box, right-click on the application and select “Run as administrator”.
- In the command prompt, type “net start wuauserv” and “net start bits” and press Enter.
- Now restart your computer and try doing the activity which prompted you to delete the Windows update files.
Solution 3: Deleting the XML files
Windows maintains an XML file to keep track of all the update files downloaded, or currently in queue to be downloaded. When we delete this XML file, all the list be lost and when Windows will find the list missing, it will create a new one and reinitialize all the operations.
Note: Instead of deleting the list, it is wise to cut paste the file to another location so you always have the option to restore if anything goes wrong.
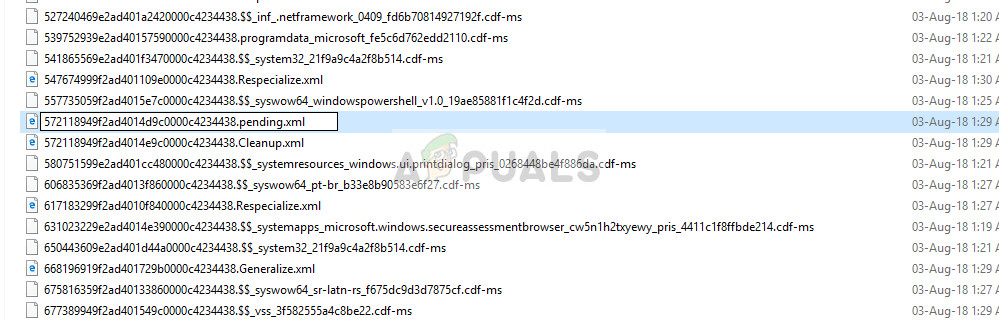
- Press Windows + R, type “C:\Windows\WinSxS\” in the dialogue box and press Enter.
- Search the directory for a pending XML file and delete
- Restart your computer properly and check if windows update files are deleted successfully.
Solution 4: Resetting the CatRoot2 folder
Catroot and catroot2 are folders which are essential for Windows Update operation. These are used to store the signatures of the update packages and they help in its installation process. Resetting the catroot2 folder is a known fix for several Windows update problems.
Note: Do not delete or rename the catroot2 folder. This folder is automatically recreated by Windows but it isn’t recreated if the latter is done.
- Press Windows + S, type “cmd” in the dialogue box, right-click on the application, and select Run as administrator.
- Once in elevated command prompt, execute the following command statements one by one:
net stop cryptsvc

md %systemroot%\system32\catroot2.old
Now delete all the contents of catroot2 folder and after deleting, execute the following command:
net start cryptsvc
The catroot folder will be reset whenever you launch Windows update again.