How to Change Your Name on Facebook
Facebook allows its users to change the name of their Facebook profile whenever they want to. People usually change their name if their old one wasn’t exactly their name or was a nickname for them. Girls especially change their name when they get married. Such changes are allowed by Facebook however, there are a few restrictions that must be taken care of when changing the name on Facebook. These restrictions include:
- Don’t style your name with symbols and characters. Keep it simple and direct. And readable of course.
- You cannot use the titles like Mr. or Mrs. You must only use the name itself and now titles attached to it. You can add these details later on your profile.
- Note: Once you change your name on Facebook, you will not be able to change it again for another 60 days. This means that the name that you choose to write right now will be what people will see you as on Facebook for two complete months. So make sure that the name you are about to write is not what you would want to change the next instant.
The process of changing your name on Facebook is very easy. Just follow the steps as mentioned below.
- Sign in to your Facebook account you want to change your name for.

Sign in to your Facebook account - On the top right corner of your screen, locate the downward facing arrow, which is where you will find the settings tab for your Facebook account.
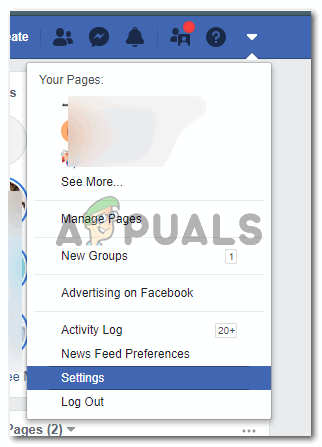
Click on the downward facing arrow which is on the top right corner of your screen. This is what you usually go to for accessing the log out option for logging out of your account. Click on the tab for settings next, as highlighted in the image above.
- You will be directed to a page full of settings. Under the heading for General settings, which is open as the first page for settings by default, you will see your username on this screen and the email address with which you have made this account. Along with these settings, you will also see the edit tab on the opposite side of these settings which looks like a pencil.
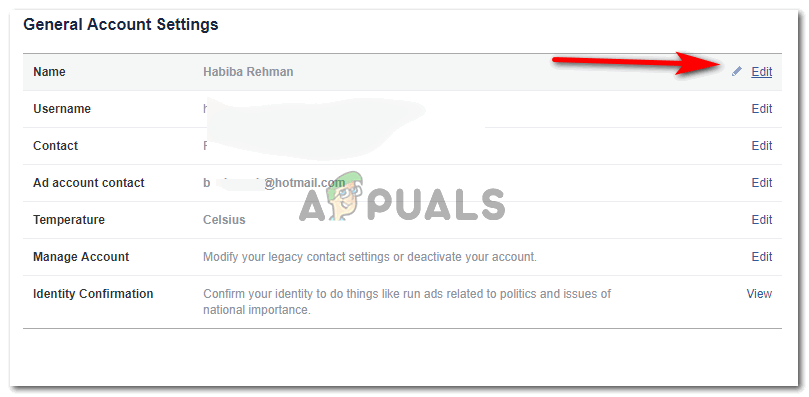
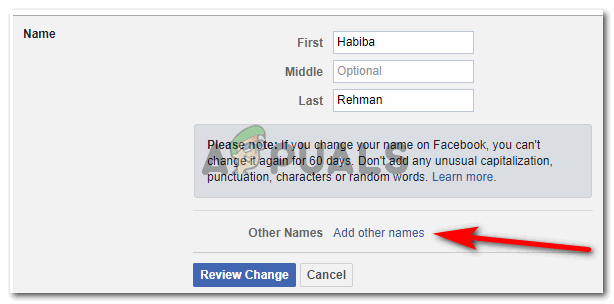
General settings and other Facebook-related settings will show here on this page - Clicking on these edit tabs will lead you to an additional settings screen where you will see you First, Middle and the last name on the screen. These fields are editable so you can change these. Middle name is not a mandatory field, so you can always skip that part. Make the rest of the changes as you like.
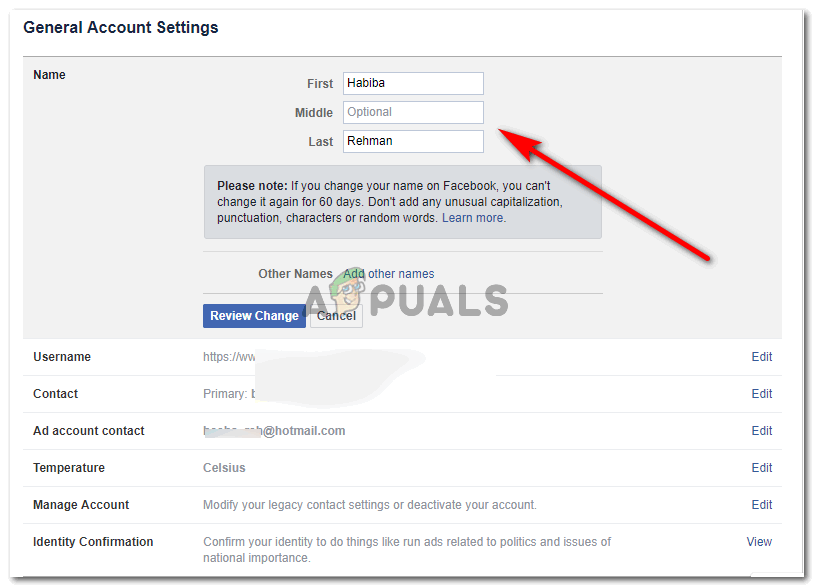
Clicking on the blue text for Edit will make the Name, Middle and Surname editable for you. You can make the changes as you like I changed my second name for this example.
- Once you change your name, you need to click on the blue tab that says Review Change. Clicking on this tab will show you the difference between your old and the new name. After this, you will be asked for your password which will finalize the changes you made. And once you have clicked this tab after changing your name, there is no turning back for at least two good months. For two months, the changes you just made in your name will be unchangeable. So think twice before you click the blue button.
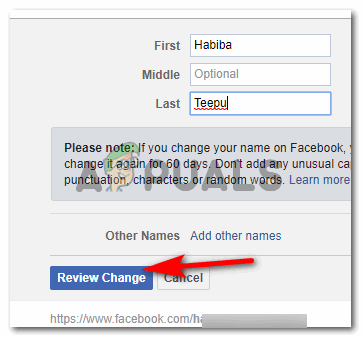
Think thoroughly before reviewing the changes that you just made 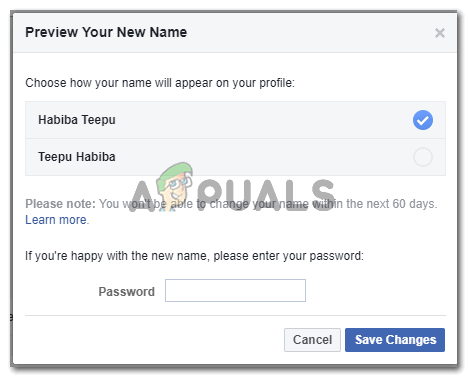
Save the Changes - If you were changing your name just to write down your nickname. You have another way of doing this. This alternate way of adding a nickname will keep your original profile name as it is. At the same time, you will be able to add a nickname to your profile so that your friends and family on Facebook can see this. For this, right where we changed the name for a Facebook profile, under the same area, you will find the option for ‘Adding other name’, as shown by the arrow in the image below. Click on this to add a nickname to your profile.
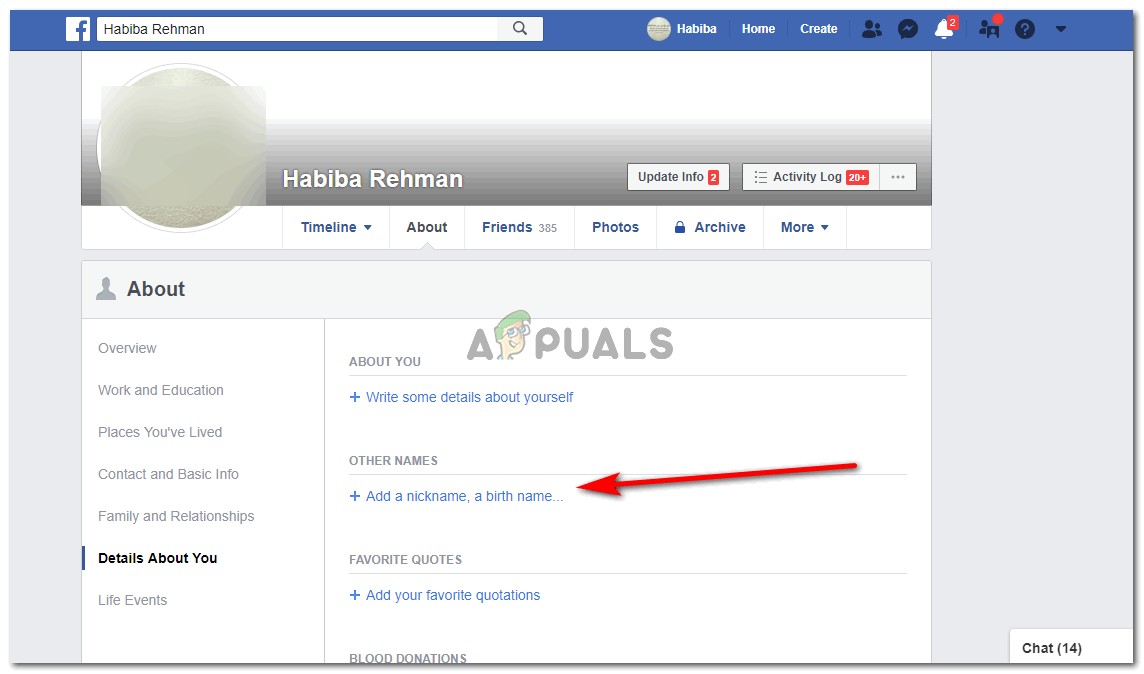
Adding a nickname or a birth name - You will be directed to your profile where you can add all the extra details about you, including your nickname. Click on the blue text that says ‘Add a nickname,a birthname…’
Add a nickname - You will be redirected to another screen where you will be asked the nickname or birthname that you want to show on your Facebook profile. You can even choose to show this name at the top of your Facebook profile if you wish. Once the name has been added, click on the blue tab that says ‘Save Changes’. This will save the nickname that you just entered and will show it on your profile just like how the other information about you is visible on your profile.
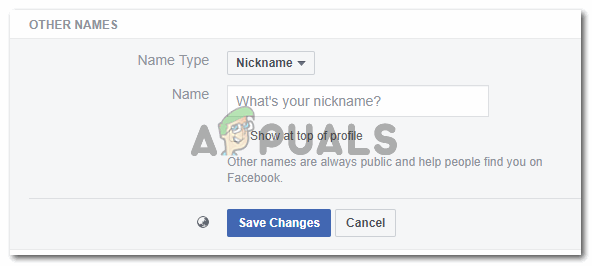
Save the changes made