How to Add Pattern to Shapes and Text in Adobe Illustrator?
Adobe Illustrator is popularly used by designers to make some amazing designs, whether it is for the web or for printing purposed. Although it might be a bit confusing to use Illustrator at first, and with so many tools to explore, you might just end up making a disaster if you don’t use the tools accurately. So, to save you from creating a disaster and helping you learn how to use patterns for shapes and text on a design, follow the instructions below.
Adding a pattern makes the design very appealing. Depending obviously on what kind of design you are making. Adobe Illustrator has many patterns as a part of the program which can be used by the users. To access those designs, here is how you can go about it.
- Open Adobe Illustrator. I am using the CC 2018 version.
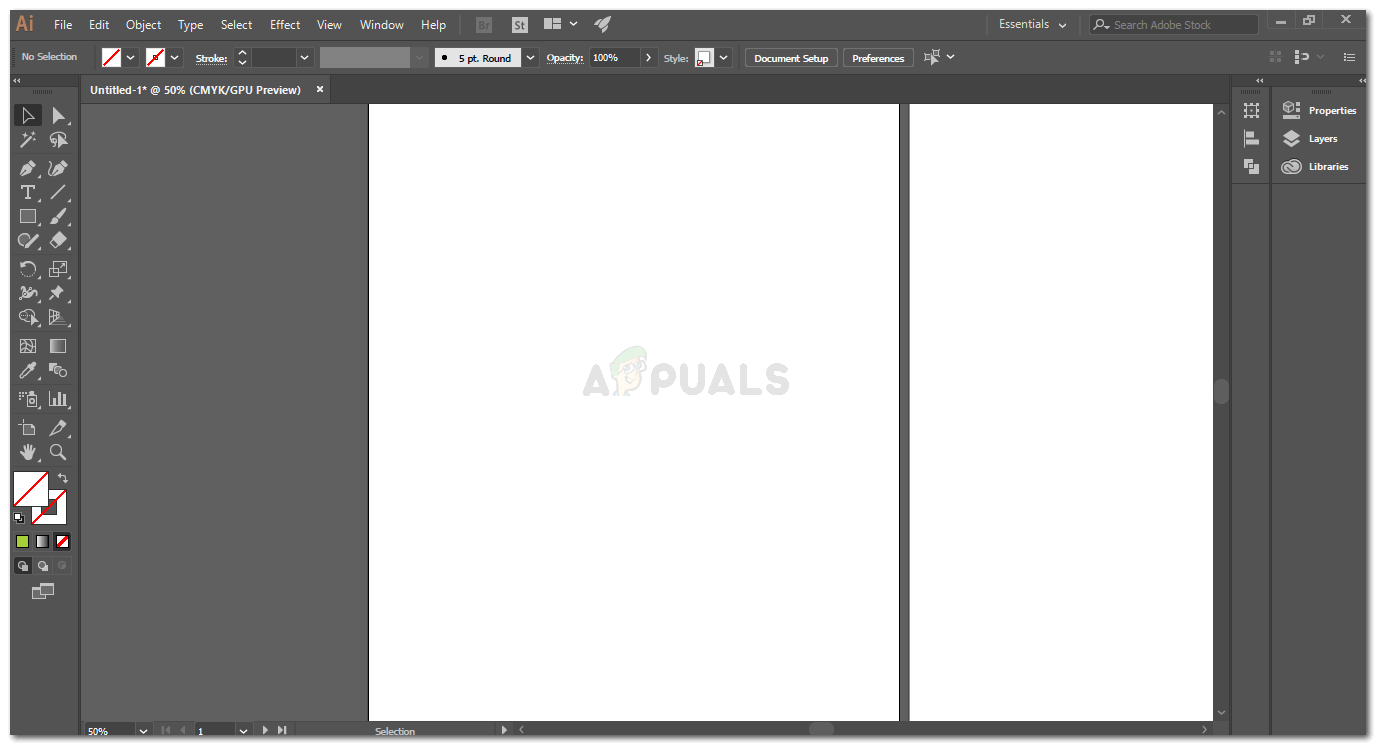
Open your Adobe Illustrator CC 2018 - Now, if your design has to be a shape, you will add a shape by using this icon. You can make quite a few shapes when you click the right button on this icon. I selected the rectangular tool and created a rectangle.

Add a shape in which you want to add a pattern - Now, you can press on the ‘styles’ option, as shown in the picture below. This is where you can find the library for patterns that already in Adobe Illustrator. This panel only shows the ones that you have used. Since I have not used many patterns in my work, I will now access the library, which is the books-sort icon, and click on it. I will be directed to a number of options for patterns.

Styles: to access the library for patterns 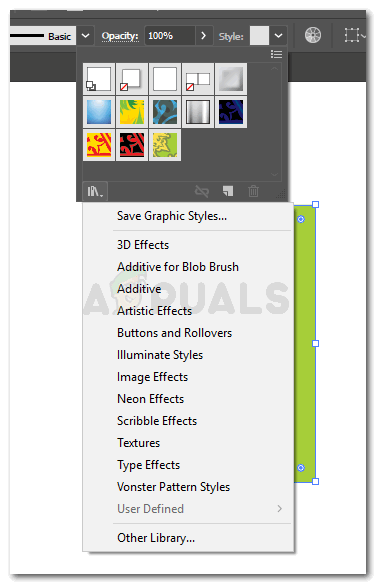
All the options for patterns on Adobe Illustrator. - While the shape is selected, I will click on one of the patterns, and the shape will look something like this.
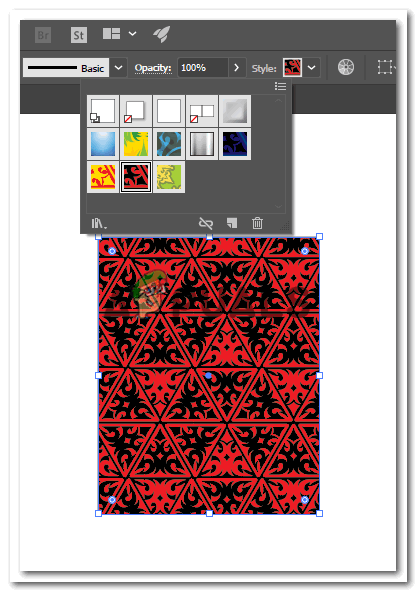
You can only add a pattern to the shape if you have selected the shape. Otherwise, the pattern will not appear on the shape. - You can play with the colors of the pattern from the panel that appears on the right for color and color guide. Now, if you want to add a pattern to the border, you will have to first increase the size of the border stroke of the shape. Otherwise, you will not be able to see the pattern. Previously, my shape had no border/stroke, so now, I will on the steps as highlighted in the picture below from 1,2 & 3.
Make the border active by first selecting 1, then click on either the black or white color to make the border visible. And after this, increase the points of the stroke by increasing the number at arrow number 3.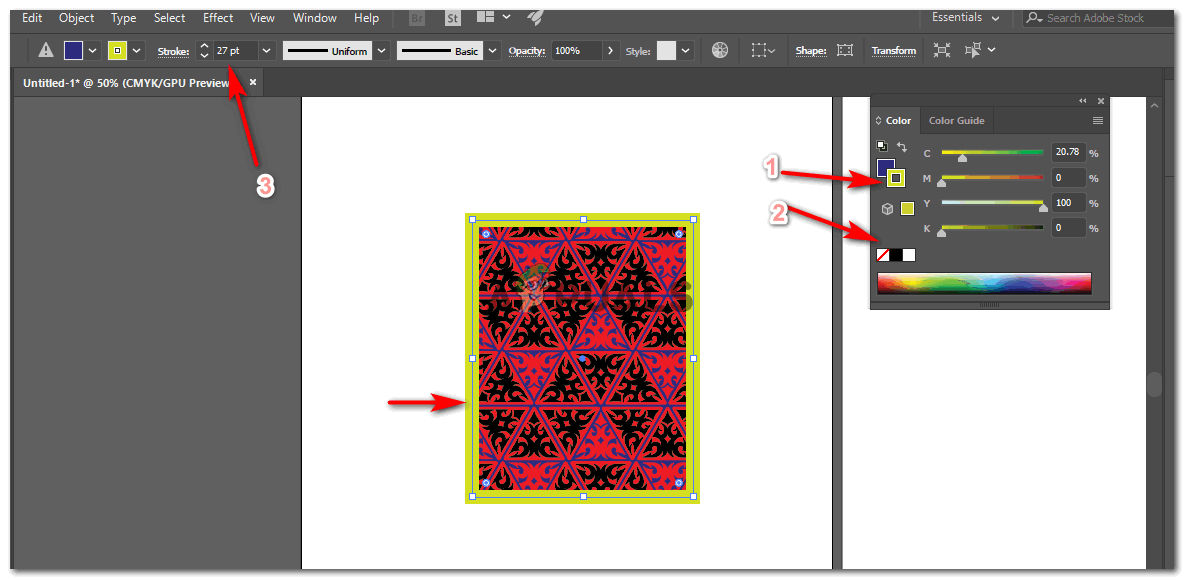
Once the pattern has been added to the main shape, you can also add the same or a different pattern to the stroke of that shape. Now, for easy access to patterns that you have opened from the library, you can open the bar for ‘swatched’ from ‘Windows’ on the top toolbar.
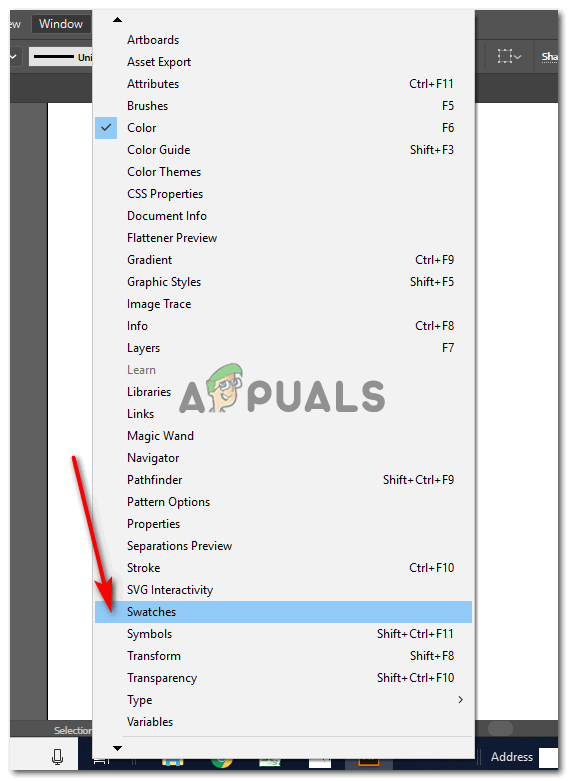
Windows>Swatches You can locate the patterns here.
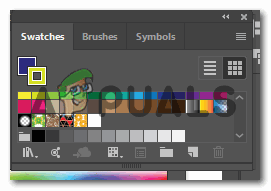
Swatches: will show you all the colors, patterns and other shades to help you make your design better. - Now, I will click on the pattern I want on the stroke. I can select any pattern from the library. Or I can even make my own pattern.
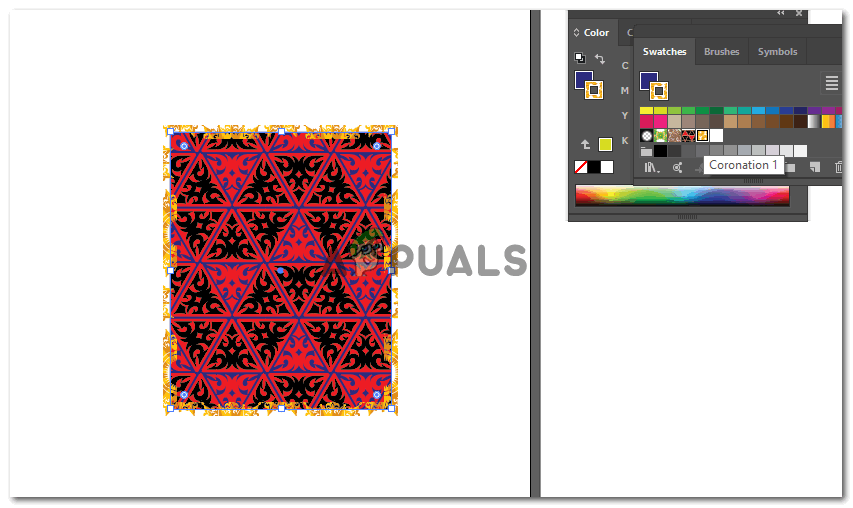
I added a pattern to my border/stroke of the rectangle. - To rotate the shape, I will simply select the shape, and bring the cursor to the edge. When the cursor becomes something like the one I have drawn in the image below, you can click and rotate the shape.
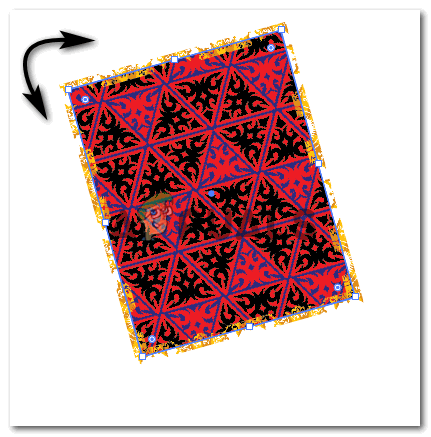
Rotate the image as you wish to. - You can also add patterns to the text. For this, write something, and make sure the text is something in bold so that the pattern is highly visible.
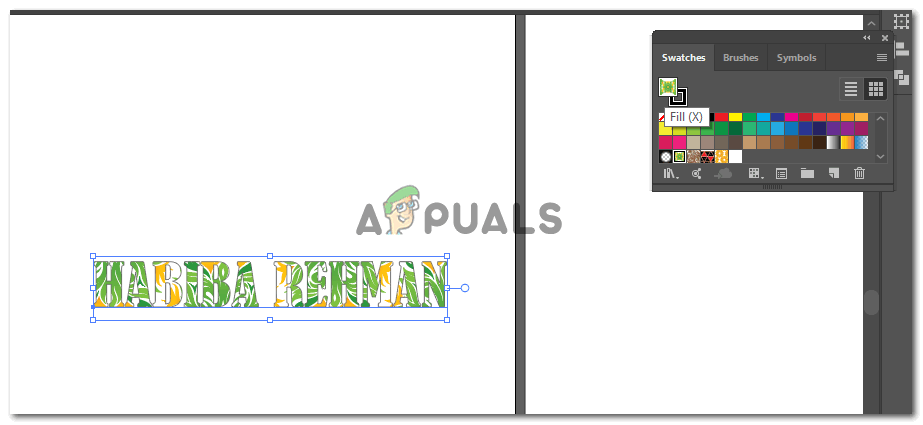
Adding pattern to the text Select the text, and click on any of the patterns from the swatches box.
If you don’t like how the text looks like after adding the pattern, you can change the text by simply going to the character bar and changing the font.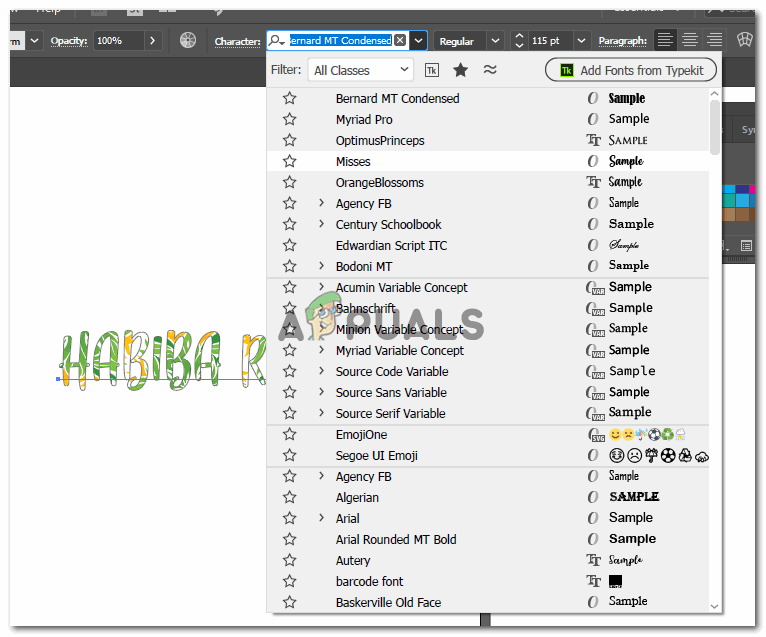
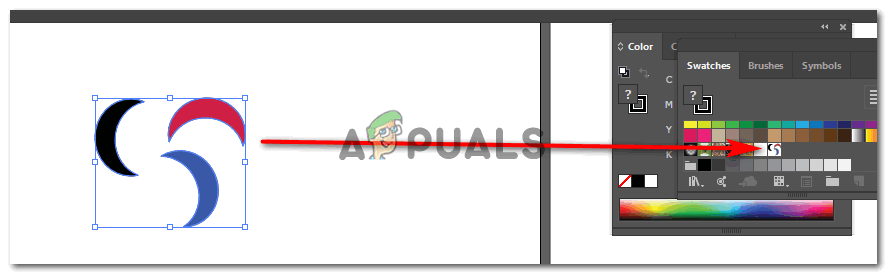
change the font on the go. - If you want to make a pattern of your own, you can do that as well. For this, make the pattern how you want to. Use shapes, texts of whatever it is you want to make the pattern of. I used circles and the Pathfinder tools to make this crescent. And copy paste them with a certain distance to make this:

Create your own pattern. Draw a patch first I will select all three shapes, group them by clicking right and selecting the option for ‘group’, and then dragging this grouped image to the swatches panel.
Drag and drop to swatches Now, whenever I want to use this pattern, I can simply go to the Swatches panel and click on the pattern that I created.
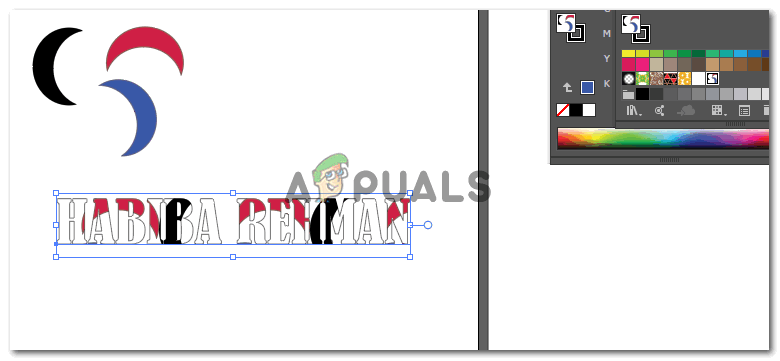
Add the pattern you created on the text.