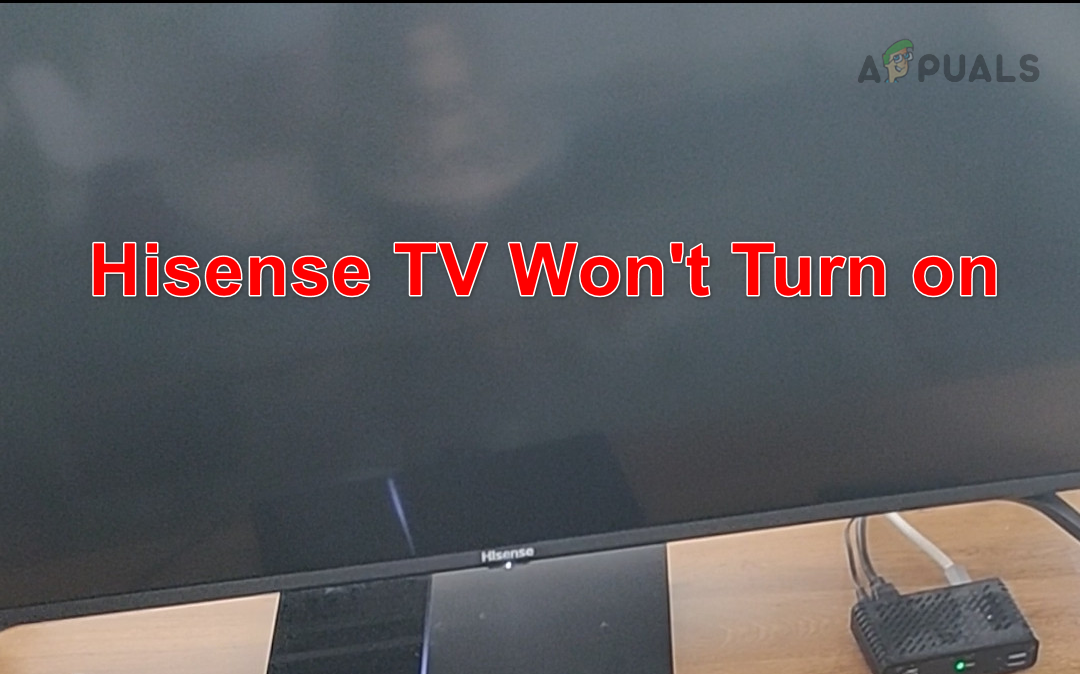
Fix: Hisense TV Won’t Turn On (Red Light Flashing)
A Hisense TV won’t turn on if the TV’s firmware is no longer valid. Try resetting or reinstalling the TV’s firmware, as this will return all related modules to their default state and resolve the issue. Most users have reported a flashing red light and their Hisense TV not turning on, while some users have reported no light at all. In this article, we will show you solutions for both cases.
Before starting the troubleshooting process, ensure the proper input is selected on the TV. A wrong input on the TV will display a black screen and may lead a person to believe that the TV is not powered on.
1. Perform a cold restart.
If your Hisense TV won’t turn on, it could be because the leftover electrical charge in the TV’s weak capacitors is preventing certain parts from resetting to their default state. This leaves these parts stuck between being off and on, causing the problem. To fix this, perform a cold restart of the TV, which will reset the necessary components to their default states.
- Turn on the TV using the power button and check if it has turned on. If so, you may switch the remote’s mode between IR and Bluetooth.
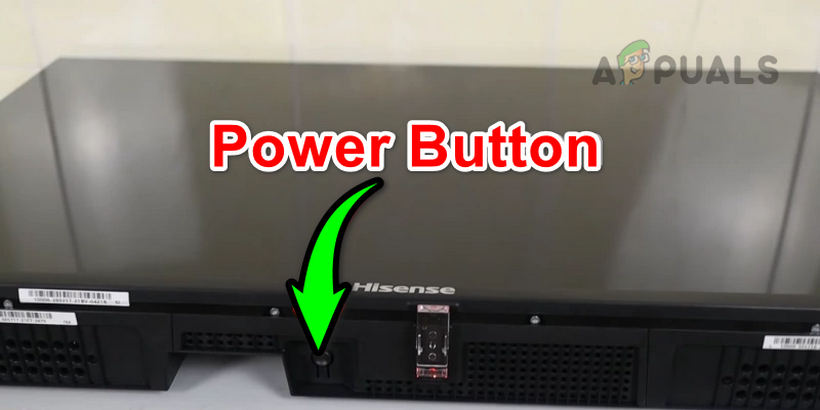
Power on the TV Through the TV’s Power Button - If not, turn off the TV using the TV’s power button and unplug its power cable from the power source.
Unplug the Hisense TV from the Power Source - Remove any other connected devices (such as a networking cable, sound bar, streaming stick, etc.) from the TV and power off your Wi-Fi.
- Wait for 5 minutes, and then press and hold the TV’s power button for a minute.
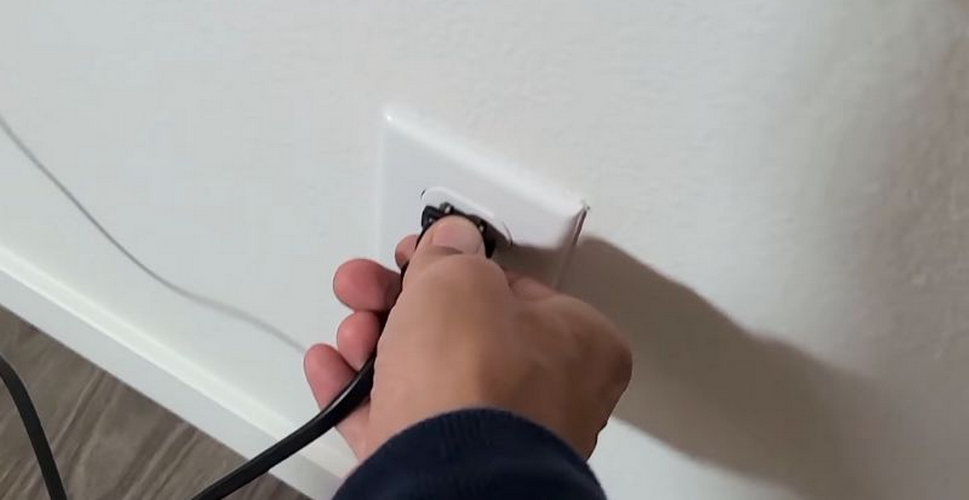
- Release the button and plug the TV’s power cable back into the power source. This time, try using a different power outlet and ensure that no surge protector or extension cable is used.
- Turn on the TV and check if it is powering on.
- If you still cannot turn on the TV, repeat the above steps, but this time keep the TV unplugged for an extended period (such as overnight). Afterward, check if the TV can be turned on correctly.
If the TV is turned on but you have to repeat the process every time to power it on, consider using a smart plug to avoid the hassle.
Another technique that you can adopt is to fully power off the TV, not just put it to sleep. To do so, hold the power button on the remote and then select ‘Power off.’
2. Perform an OTA Update of the TV’s Firmware (if applicable).
If your TV consistently struggles to turn on after being powered off, but a cold restart works, it may be due to outdated firmware causing the problem. In this case, updating your TV’s firmware through an over-the-air (OTA) update can help prevent this issue from occurring again.
Keep in mind, this step will only work for people who can turn on their Hisense TVs by performing a cold restart.
- Launch the settings of your Hisense TV and navigate to Device Preferences > About > System Update.

Update the Firmware of the Hisense TV - If a firmware update is displayed, download and install the update.
- Restart the TV and check if it is working properly.
- If that fails, check whether disabling the screen saver on the TV resolves the issue.
3. Reset the TV to factory defaults (using the physical button).
If your Hisense TV won’t turn on due to invalid firmware, it might be because the TV was accidentally powered off during a recent firmware update. To resolve this issue, reset the TV to its factory default settings. Keep in mind that the reset method may vary depending on the specific model.
Reset the TV through the settings.
- Launch the TV Settings and navigate to Device Preferences > Reset.
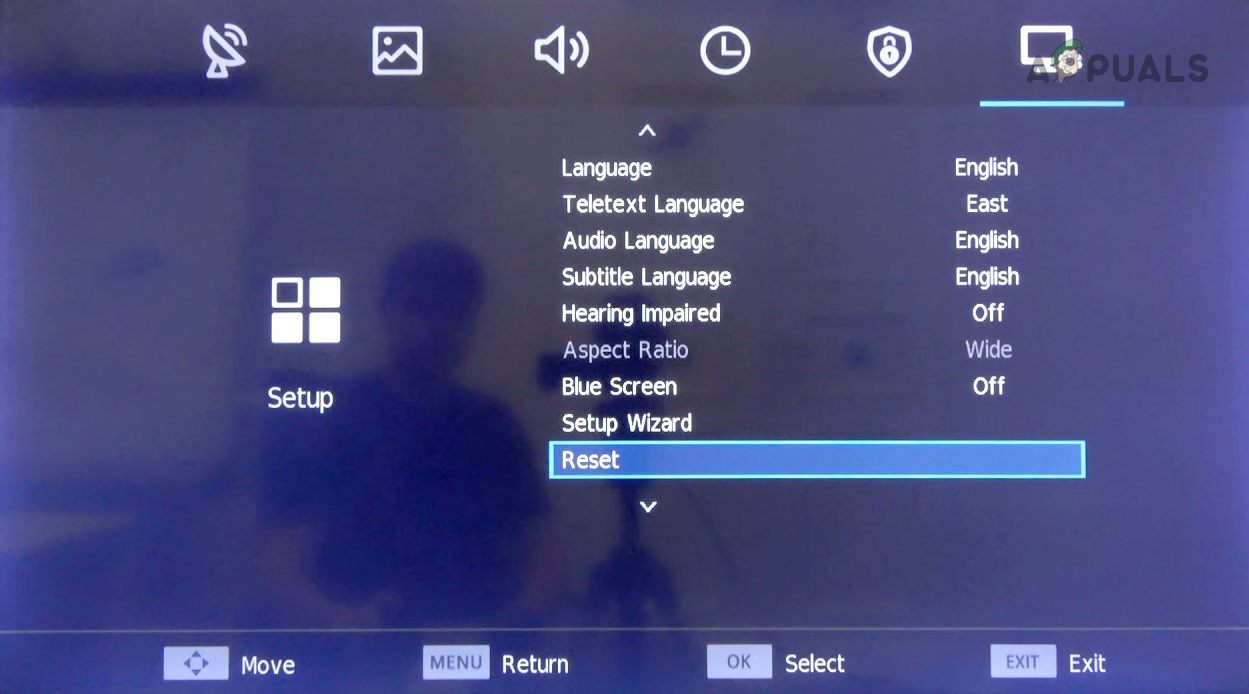
Reset the Hisense TV to the Factory Defaults by Using the TV Settings - Select ‘Erase Everything‘ and wait until the process is complete.
- Once completed, set up the TV according to your requirements and check if it is working properly.
Reset the TV using the reset button.
- Grab a pin or any pointy object, and use it to press/hold the TV’s reset button for 30 seconds.
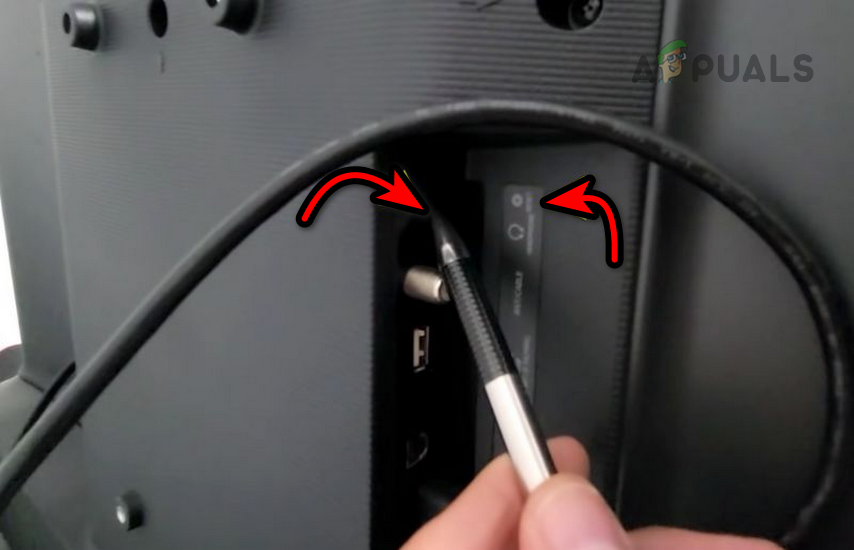
Reset the Hisense TV Through the Reset Button - Release the button and check if the TV is working properly.
Perform a hard reset on the TV using the TV buttons.
- On the TV’s side panel, press and hold the Volume and Menu buttons. If the Menu button is not present, press and hold the Input and Volume Up buttons.
- While holding these buttons, press and release the TV’s power button.
- Release the buttons after counting to five, and if the TV boots in recovery mode, proceed with the reset process. Afterward, check if the issue is resolved.
- If not, unplug the TV from the power source and press/hold the following buttons on the side panel of the TV:
Channel Down

Input
- While holding these buttons, plug the TV back in. You may need help from someone else to complete this step.
- Keep on holding the buttons until the TV powers on. If the TV does not power on, repeat the above steps.
- If powered on, follow the prompts on the screen to proceed with the factory reset process. Once done, check if the issue is resolved.
4. Perform a local update or reinstall the TV’s firmware.
If your TV isn’t turning on due to being stuck in a firmware loop and is unable to complete the required steps, you can try performing a local update or reinstalling the TV’s firmware to resolve the issue.
If your TV is still under warranty, it’s recommended to take advantage of the warranty to either receive a refund or a replacement TV.
- Firstly, contact Hisense support and ask for the latest firmware update for your Hisense TV. Make sure the model and other details are valid. In the case that you have a 55-inch H8F Hisense TV, you may download the firmware update provided by a user (try at your own risk).

Download the Firmware Update of the 55-inch H8F Hisense TV - Download the TV’s firmware and extract it.
- Plug a USB device into your system and format it in FAT32. Ensure that the USB device is a 2.0 version, as a 3.0 USB device may cause issues during a firmware update.
- Place the extracted firmware in the root directory of the USB device and unplug the TV.
- Wait for five minutes and connect the USB device to the topmost USB port of your TV.
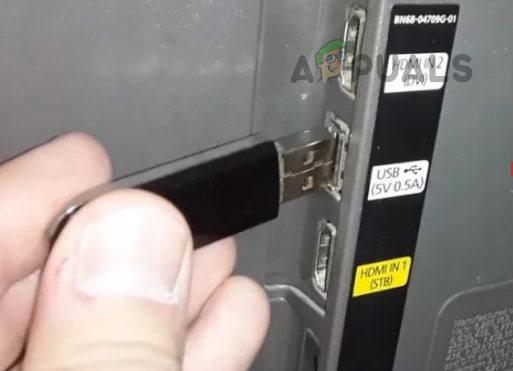
Update the Firmware of the Hisense TV Through a USB - Plug the TV back in and press/hold the TV’s power button to boot it through the USB. If it does not boot from the USB, repeat the above steps, but at step 6, press and hold the remote’s power button while plugging the TV back in.
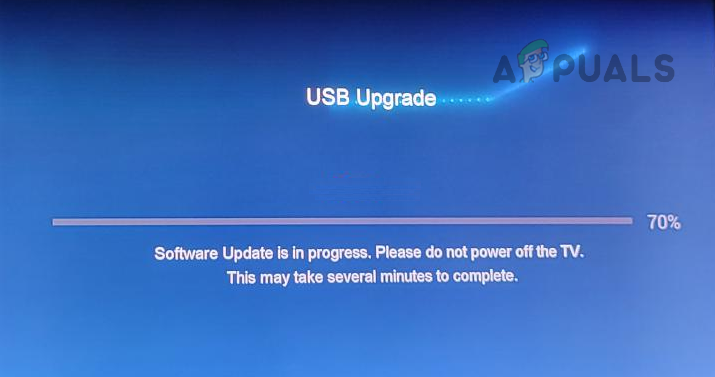
USB Upgrade of the Firmware of the Hisense TV - Follow the prompts on the screen to complete the process. Ensure that the TV does not power off during the update process. This can take approximately 5 to 8 minutes.
- Once finished, turn off the TV and unplug it.
- Remove the USB from the TV and wait for 5 minutes.
- Turn on the TV, and hopefully, it will power on properly.
5. Check for hardware issues.
If the problem persists, consider reaching out to Hisense support. If your TV is under warranty, you can have it replaced. If it is not covered by warranty, have it repaired for a hardware issue at an authorized service center.
For those looking to confirm a hardware-related issue or tech-savvy individuals who prefer to repair the TV themselves, proceed with caution. If you are not confident in your abilities, it is best to let a professional handle it. However, you can follow some basic guidelines:
- If the TV’s light has a blinking pattern or remains on continuously, consult the TV manual or search the internet for Hisense blinking TV codes. This will help identify the problematic area of the TV circuitry.
- Unplug the TV and plug it back into the outlet.
- Press the power button and point a flashlight at the TV screen. You may switch off the room’s light to make the room dark.
- If a dim image, such as the Hisense logo, is visible on the TV screen, then the TV’s backlights are faulty and need replacement.
- If that is not the case, unplug the TV and open the TV’s back panel. Make sure the TV’s front is placed on something soft, as a hard surface may cause scratches on the TV.
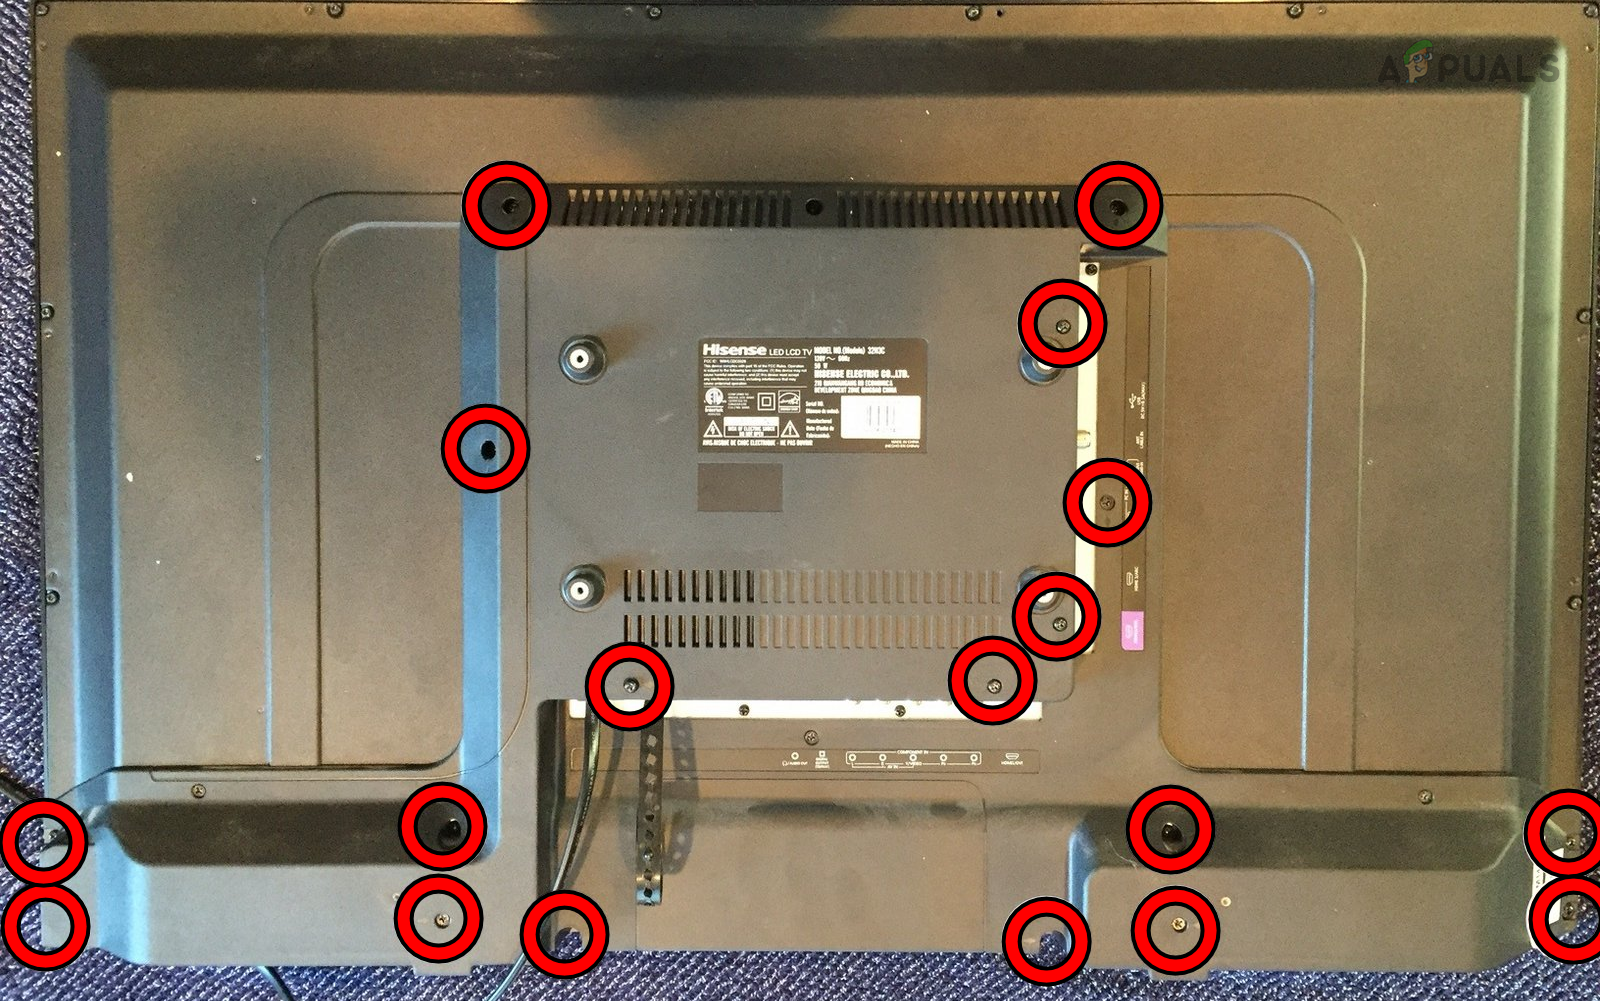
Remove the Back Panel of the Hisense TV - Examine the board for any physical damage, such as swollen capacitors, or loose wires. If found, replace the damaged parts or securely reseat the wires.
If that is not the case, the issue may be with the PSU (power supply unit) or the main board. You will need to replace the problematic part, but testing is required to isolate it.