Fix: Focused Window Overflows onto Second Monitor
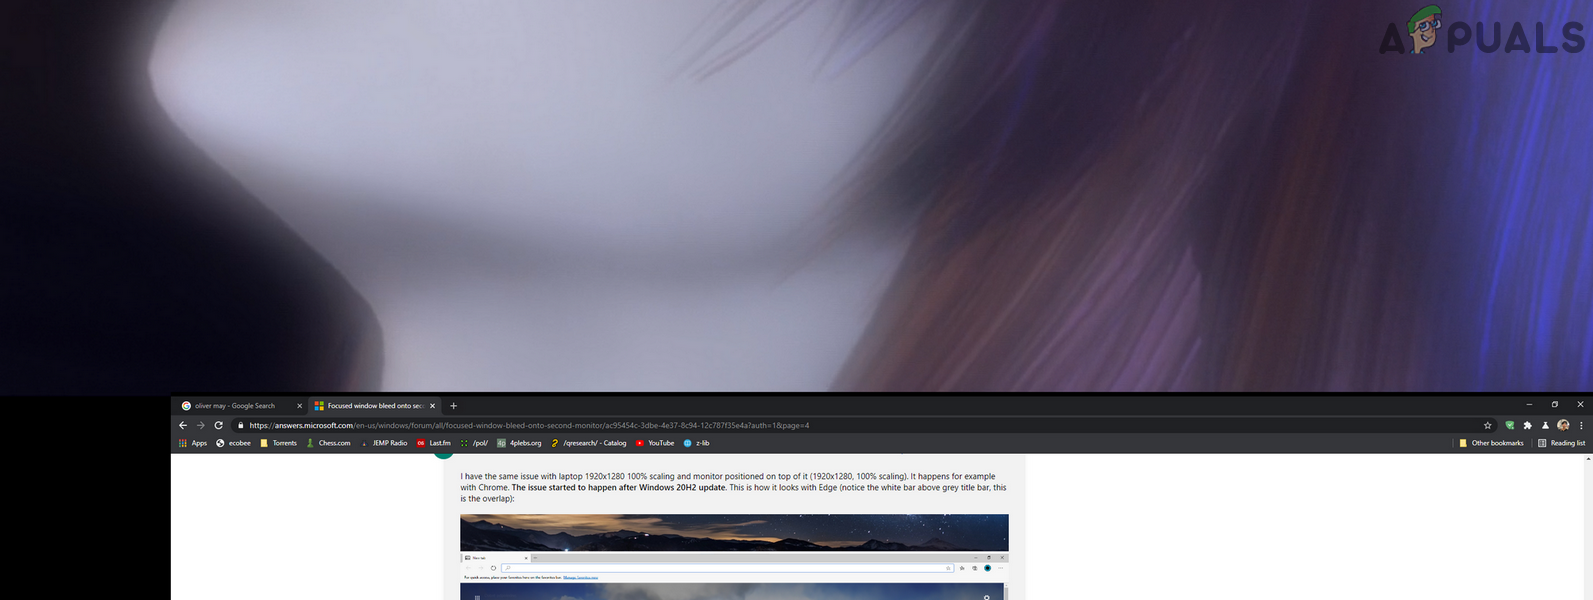
Your focused window may overflow to the second monitor if the monitor is not properly configured. Moreover, the wrong configuration of the different display settings (like Scaling) may also cause the issue under discussion. The issue arises when a part of the focused/active window overflows (or bleeds) to the second monitor (regardless of the order i.e., side by side or up/down).
Before proceeding, move the Taskbar to a new location (e.g., to the bottom) of your screen to check if it solves the problem. You can also check if using the F11 key in the focused window (or enabling its Menu bar) resolves the issue. Last but not least, remove the other screen from the system and check if the overflow issue is resolved. If so, reboot your PC and then check that the issue does not reappear after connecting to the other screen.
Solution 1: Auto Adjust Your Monitor
The issue at hand could be the result of a misconfiguration of your monitor. In this case, auto-adjusting your monitor may clear the glitch and thus solve the problem. The instructions may slightly differ for some users.
- Launch your monitor settings (you may have to use the buttons on your monitor).
- Now steer to the Auto Adjust tab and press the tick-mark key (on the monitor’s panel).
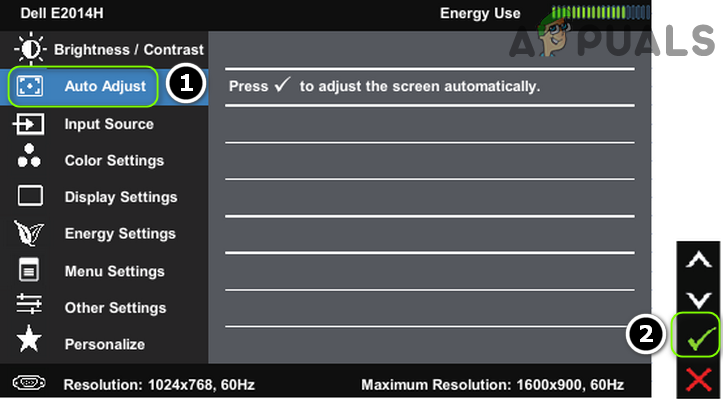
Auto-Adjust the Monitor Settings - Then let the auto-adjustment process complete and check if the system is clear of the window overflow problem.
Solution 2: Change the Monitor Order in the Windows Settings
The window overflow issue could be a temporary glitch of the display modules. This glitch may clear if the monitor order in the Windows settings is changed.
- Press the Windows key and open Settings.
- Now open System and then, in the Rearrange Your Displays section (in the Display tab), click and hold on a display (e.g., Display 2).
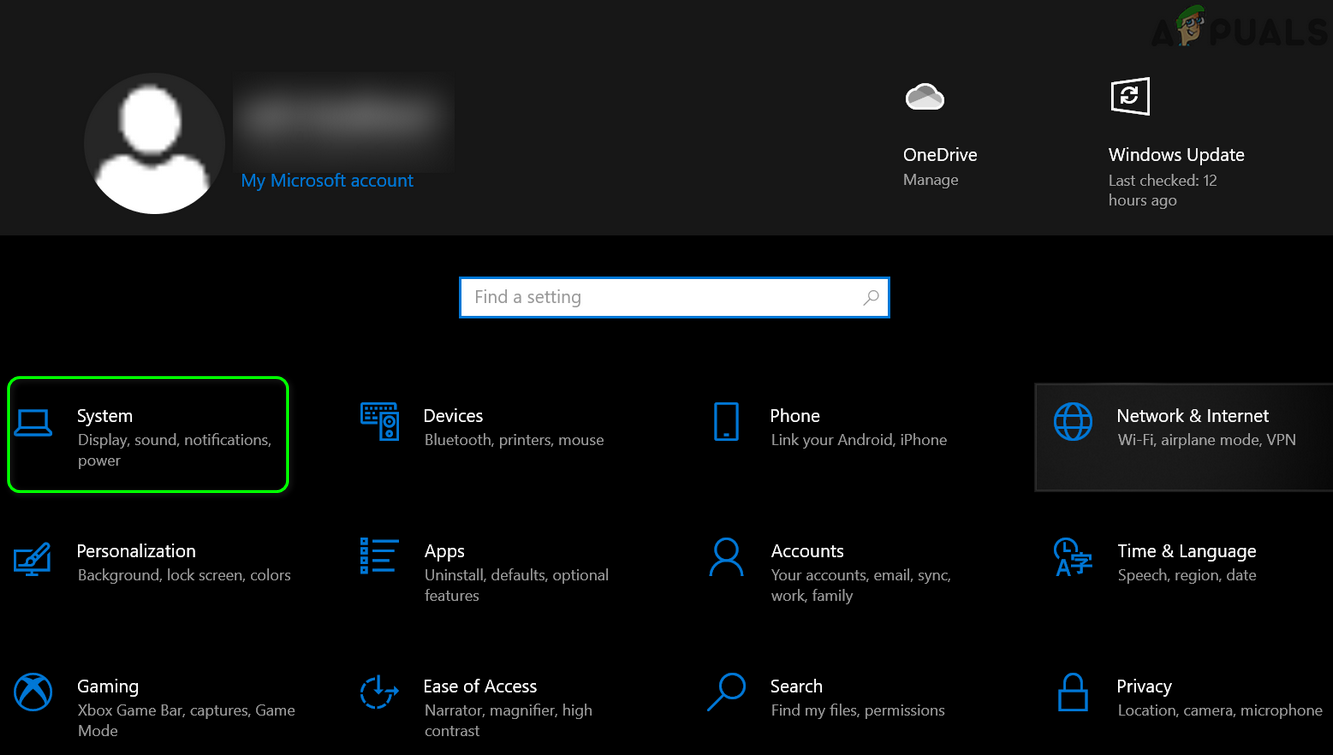
Open System in Windows Settings - Then drag it to a different position (e.g., left of Display 1) and Apply your changes.
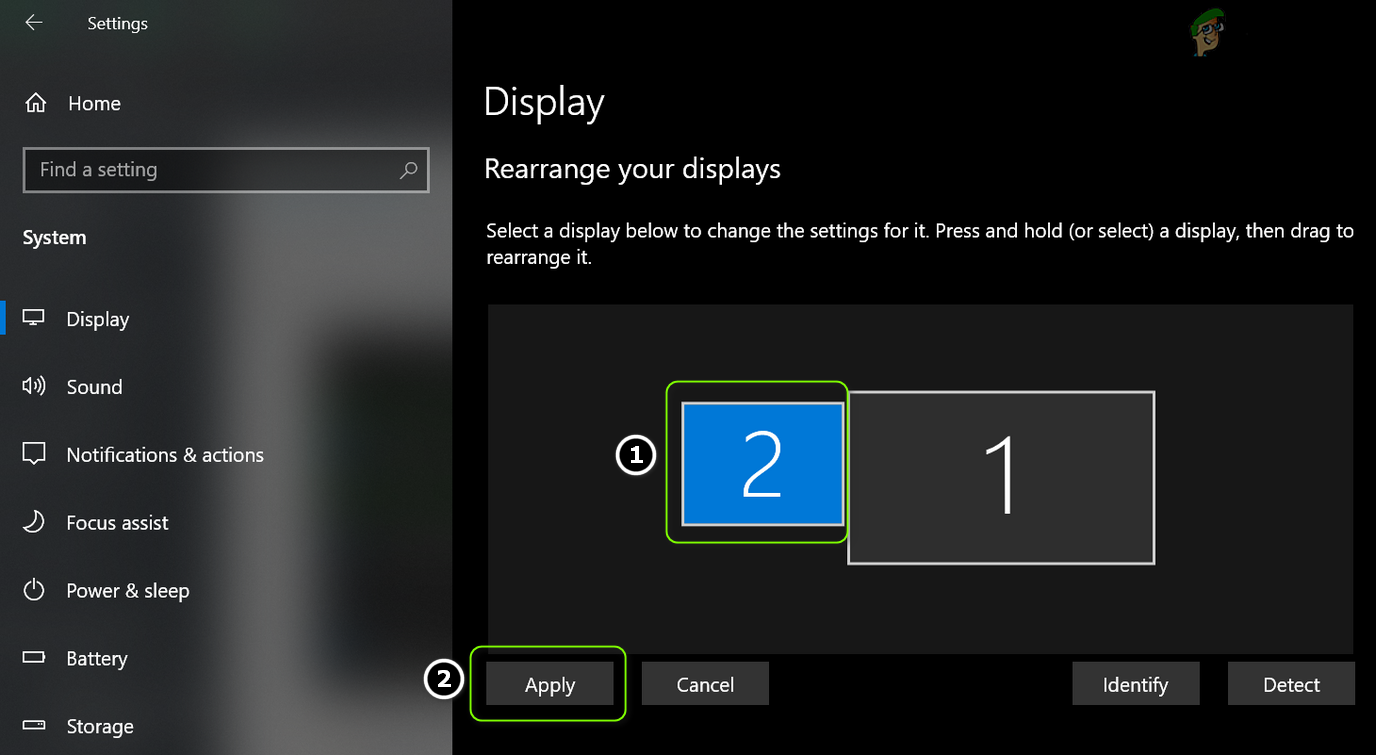
Rearrange the Displays - Now change the position of the display twice or thrice and then place it to the position where you want it to.
- Then Apply your changes and check if the window overflow issue is resolved.
- If the issue persists, then check if slightly increasing the distance (this is especially important if displays are overlapping) between the displays (in the Rearrange Your Displays section) sorts out the overflow problem.
Solution 3: Change the Main Display of Your System
The glitch (causing the window overflow issue) may get cleared if the main display of the system is changed as it can force the display modules to re-adjust.
- Right-click on your desktop and in the context menu, choose Display Settings.
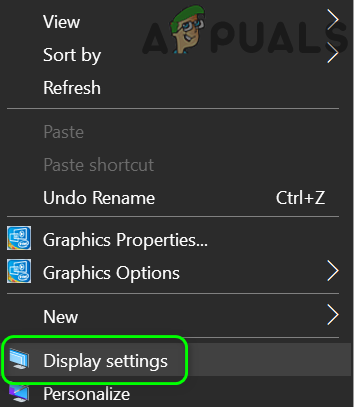
Open Display Settings - Now, select your secondary monitor (by selecting 1 or 2) and scroll a bit.
- Then, under the Multiple Displays, checkmark the option of Make This My Main Display and check if the windows overflow is cleared.
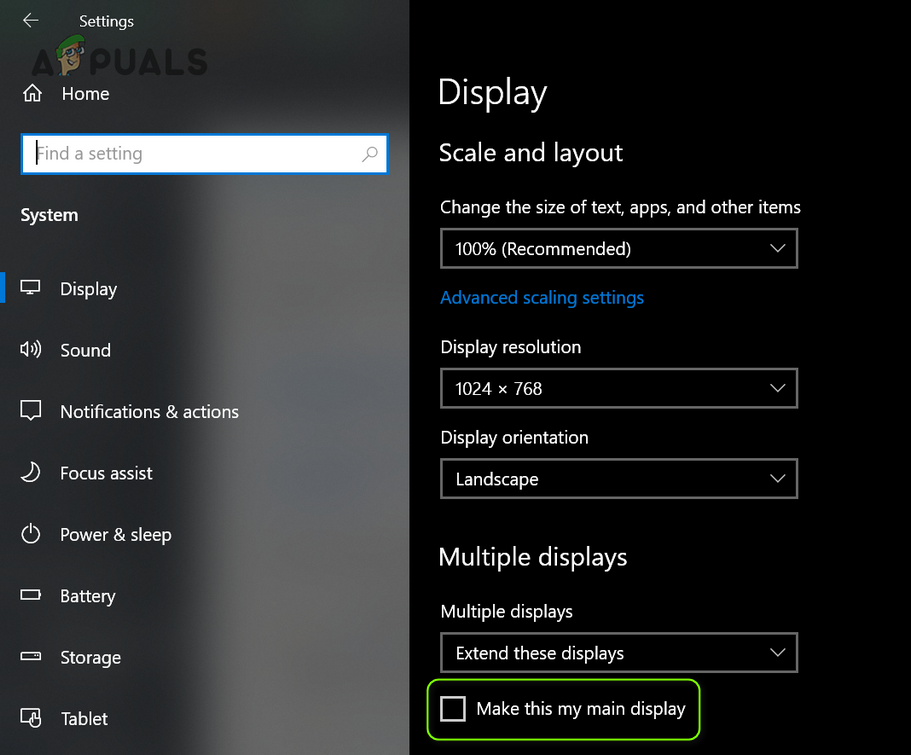
Enable Make This My Main Display for the 2nd Display
Solution 4: Adjust Scaling of the Display
The window may overflow to the second monitor if the scaling of your monitor is not properly set. In this context, adjusting the scaling of the display may solve the overflow problem.
- Right-click on the desktop of your system and in the context menu, choose Display Settings. Then choose the problematic display (e.g., 1 or 2).
- Now scroll a bit and expand the dropdown under Scale and Layout.
- Now select the value of 125% and check if the display issue is resolved. If that did not do the trick, you may try another value of the scaling.
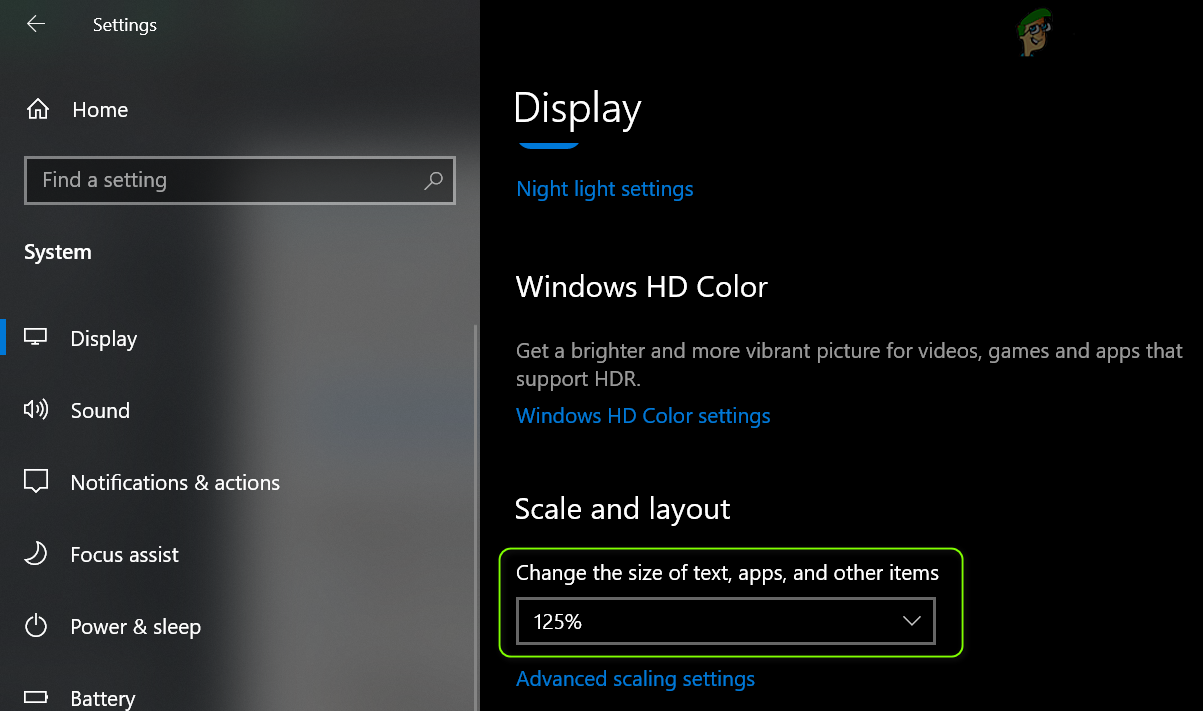
Set the Display Scaling to 125% - If the issue persists, launch the Display settings of the problematic display (steps 1 to 2) and open Advanced Scaling Settings (in Scale and Layout section).
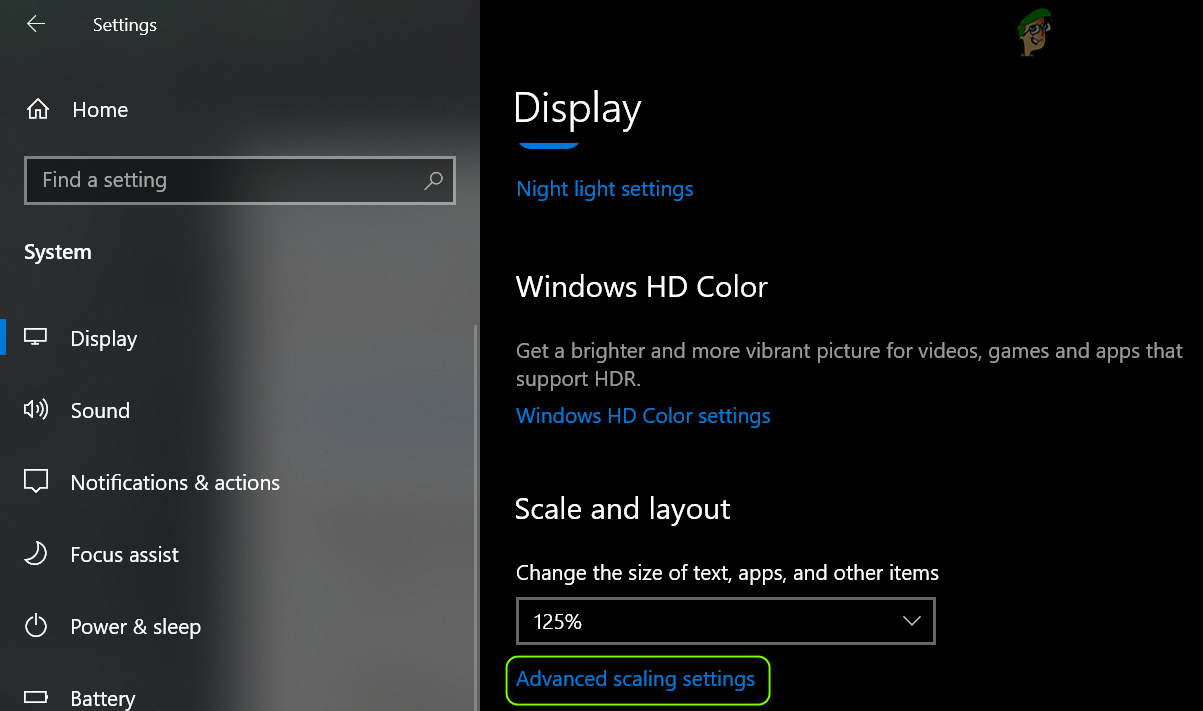
Open Advanced Scaling Settings - Now disable the option of Let Windows Try To Fix Apps So They’re Not Blurry by toggling its switch to the off position and reboot your PC.
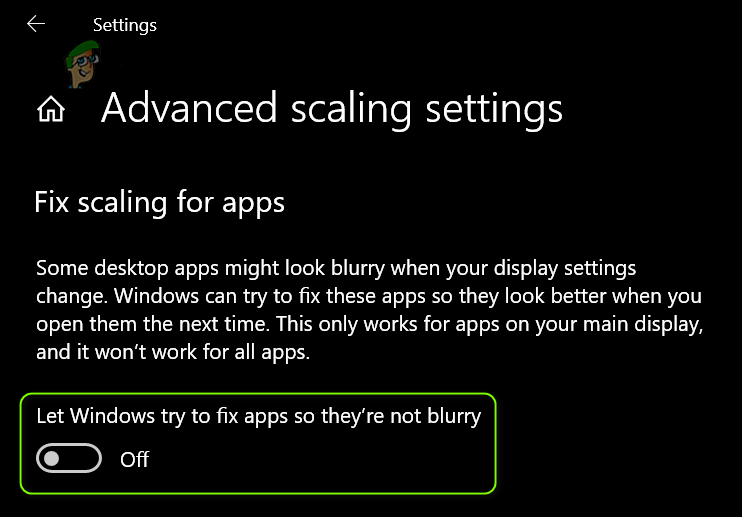
Disable Let Windows Try To Fix Apps So They’re Not Blurry - Upon reboot, check if the system is clear of the windows overflow issue.
If the issue is still there, then check if using similar scaling (or recommended scaling) for all displays solves the problem.
Solution 5: Use the Graphics Control Panel
The overflow issue can be a result of a misconfiguration of display in the Graphics Control Panel (like Nvidia Control Panel). In this case, editing the relevant settings (e.g., Desktop Resizing or Scaling) in the Graphics Control Panel may solve the problem. For elucidation, we will discuss the process for the Nvidia Control Panel.
- Launch the Nvidia Control Panel (by right-clicking on your desktop and choosing the Nvidia Control Panel).
- Now in the left pane, expand Display and select Adjust Desktop Size & Position.
- Then, in the right pane, select the problematic display and in the Apply the Following Settings section, set the Scaling to Aspect Ratio or Full Screen (but make sure it is not set to No Scaling).
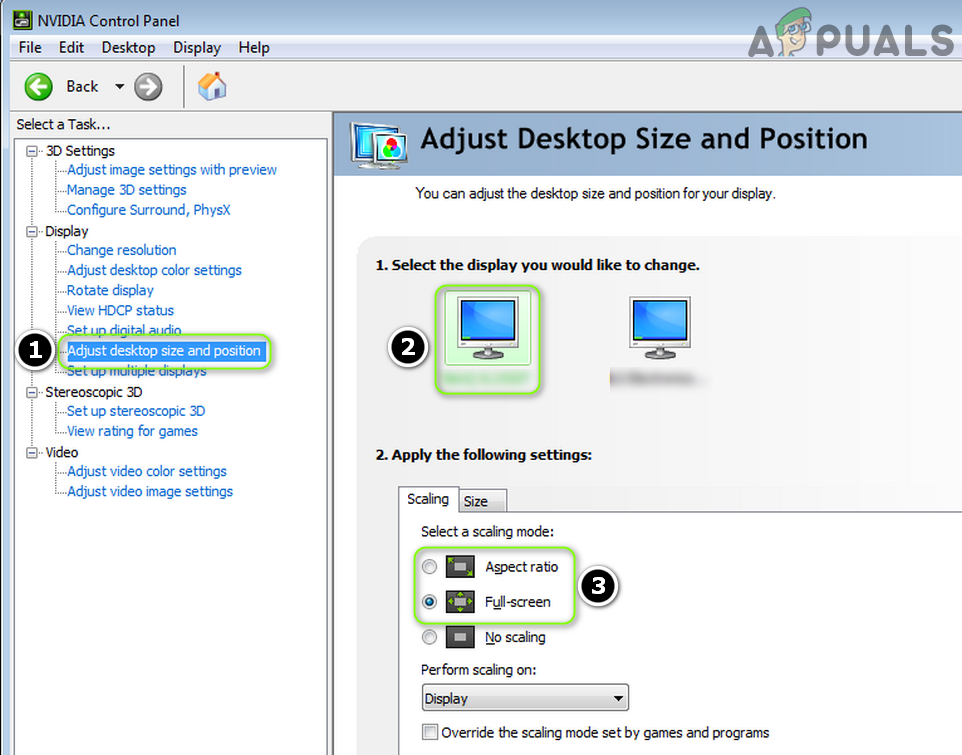
Set the Scaling to Full Screen or Aspect Ratio in the Nvidia Control Panel - Now apply your changes and check if the display issue is resolved.
- If not, steer to the Size tab (in the Apply the Following Settings section) by repeating steps 1 to 3 (if required).
- Now checkmark the option of ‘Enable Desktop Resizing‘ and then click on the Resize button.
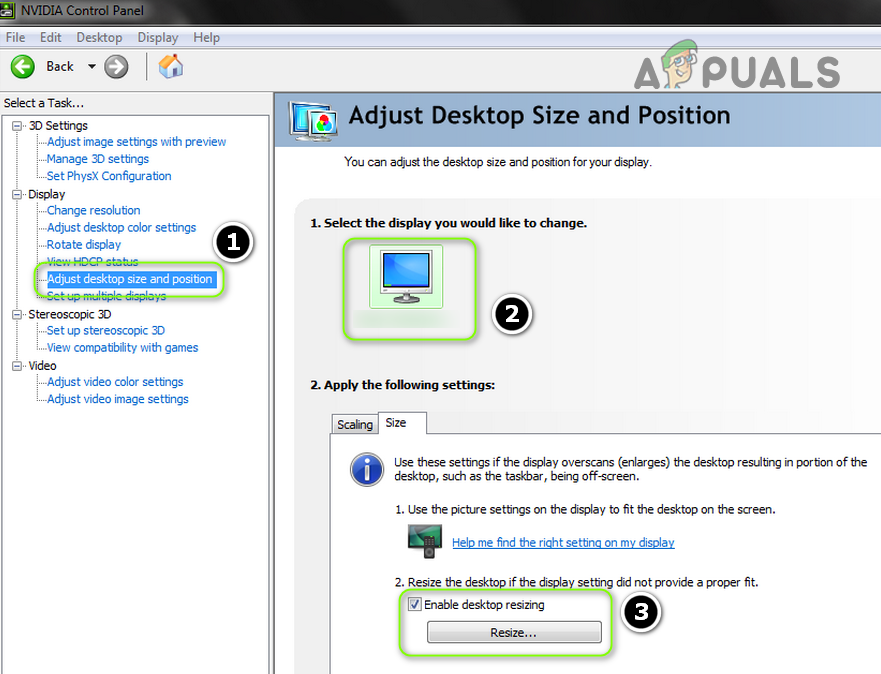
Enable Desktop Resizing - Then, a screen with the four arrows will be shown. Now use the slider on the arrows screen to adjust your desktop size.
- Once a size that fulfills your requirement is implemented, check if the window overflow issue is resolved.
Solution 6: Change the Compatibility Settings of the Application
If you are encountering the window overflow issue with some of the applications (for example, Notepad++), then the issue could be cured by changing the compatibility setting (i.e., Change High DPI Settings) of the problematic applications.
- Right-click on the shortcut icon of the problematic application on your desktop (e.g., Firefox) and select Properties.
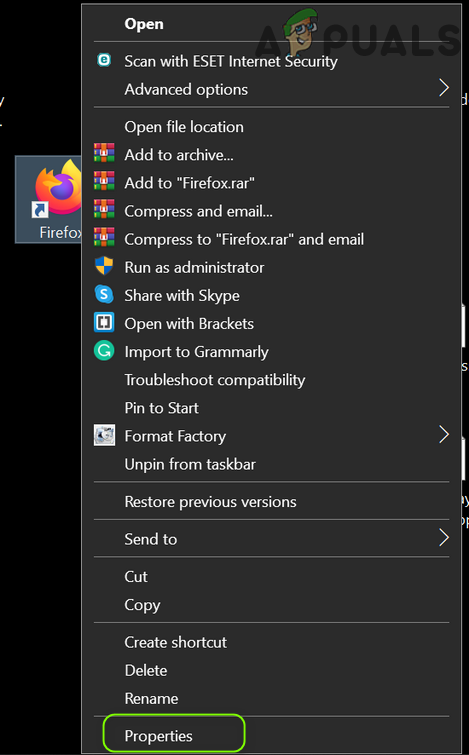
Open Properties of the Desktop Shortcut of Firefox Shortcut - Now, steer to the Compatibility tab and click on the button of Change High DPI Settings.
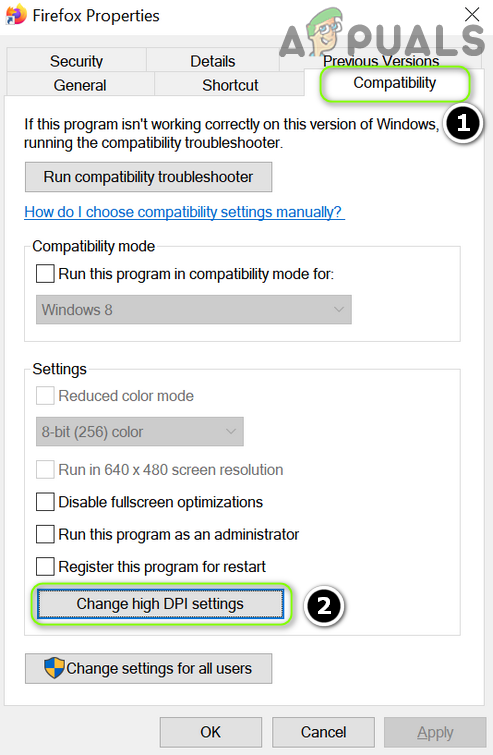
Open Change High DPI Settings in the Compatibility Tab - Then checkmark the option of “Override High DPI Scaling Behavior. Scaling Performed by” and in the dropdown of select any of the options (e.g., Application).
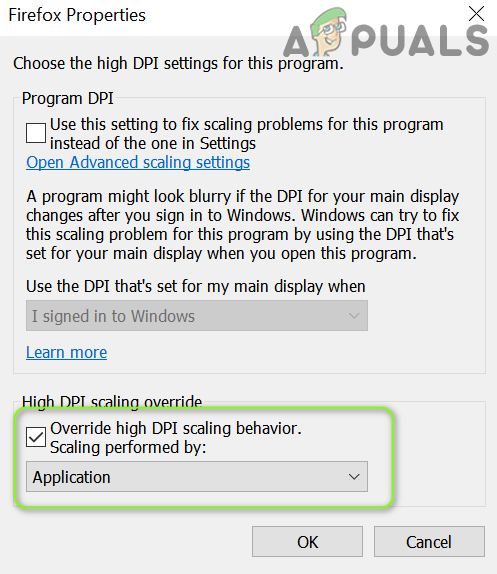
Enable Override High DPI Scaling Behavior. Scaling Performed by and Set its Value to Application - Now apply your changes and check if the window overflow issue is resolved.
- If the issue persists, then check if changing the Scaling Performed by to System (or System Enhanced) solves the display problem.
If the issue persists, then use the system without maximizing the window of any program. Also, you may try the Microsoft PowrToys (by using Fancy Zones) or a 3rd party utility (like WinDivvy) to sort out the window overflow issue.