How to Fix the Not Working Flashlight in Starfield?
If the flashlight in Starfield does not work correctly, it can hinder gameplay significantly. Although the flashlight appears to be in the correct state—either on or off—when viewed in 3rd person, it may not activate or deactivate properly in-game. You might hear a clicking sound when trying to use the flashlight, but to no avail.
Occasionally, you may notice a brief flash of light upon activation, which then automatically turns off. In more infrequent cases, the flashlight may point consistently towards the ground or emit only a very dim light.
1. Equip the Helmet and Put It On
To function, the flashlight must be attached to an equipped helmet. Make sure you’ve both equipped the helmet and are wearing it properly to address any issues.
- Equip the helmet on your character.
- Press and hold (not just press) the flashlight key:
F key for PC
LB on a Controller
- Examine if the flashlight operates as intended.
- If the problem persists, re-equip the helmet and attempt again.
- Should this not solve the issue, ensure the helmet is able to support the flashlight by checking it in the Inventory and Equip sections.
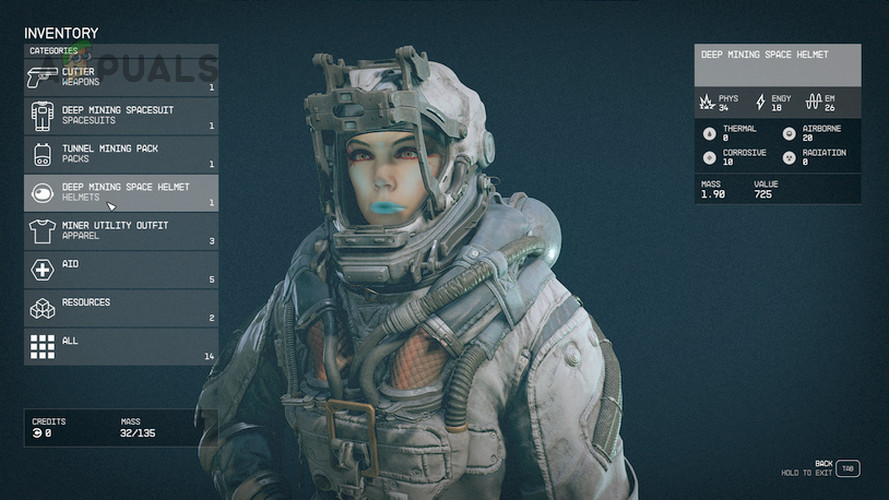
Equip Helmet in the Starfield Inventory - Continue gameplay and verify the functionality of the flashlight.
If your character is in disguise and unequipped with gear, the helmet will also be unequipped, rendering the flashlight inoperative. Double-check to ensure that the disguise is not interfering with its function.
2. Bind the Flashlight to Another Key
If the key bind for the flashlight becomes invalid, the flashlight will not respond. Rebinding the flashlight to a different key can provide a solution.
- Access Starfield Settings > Bindings.
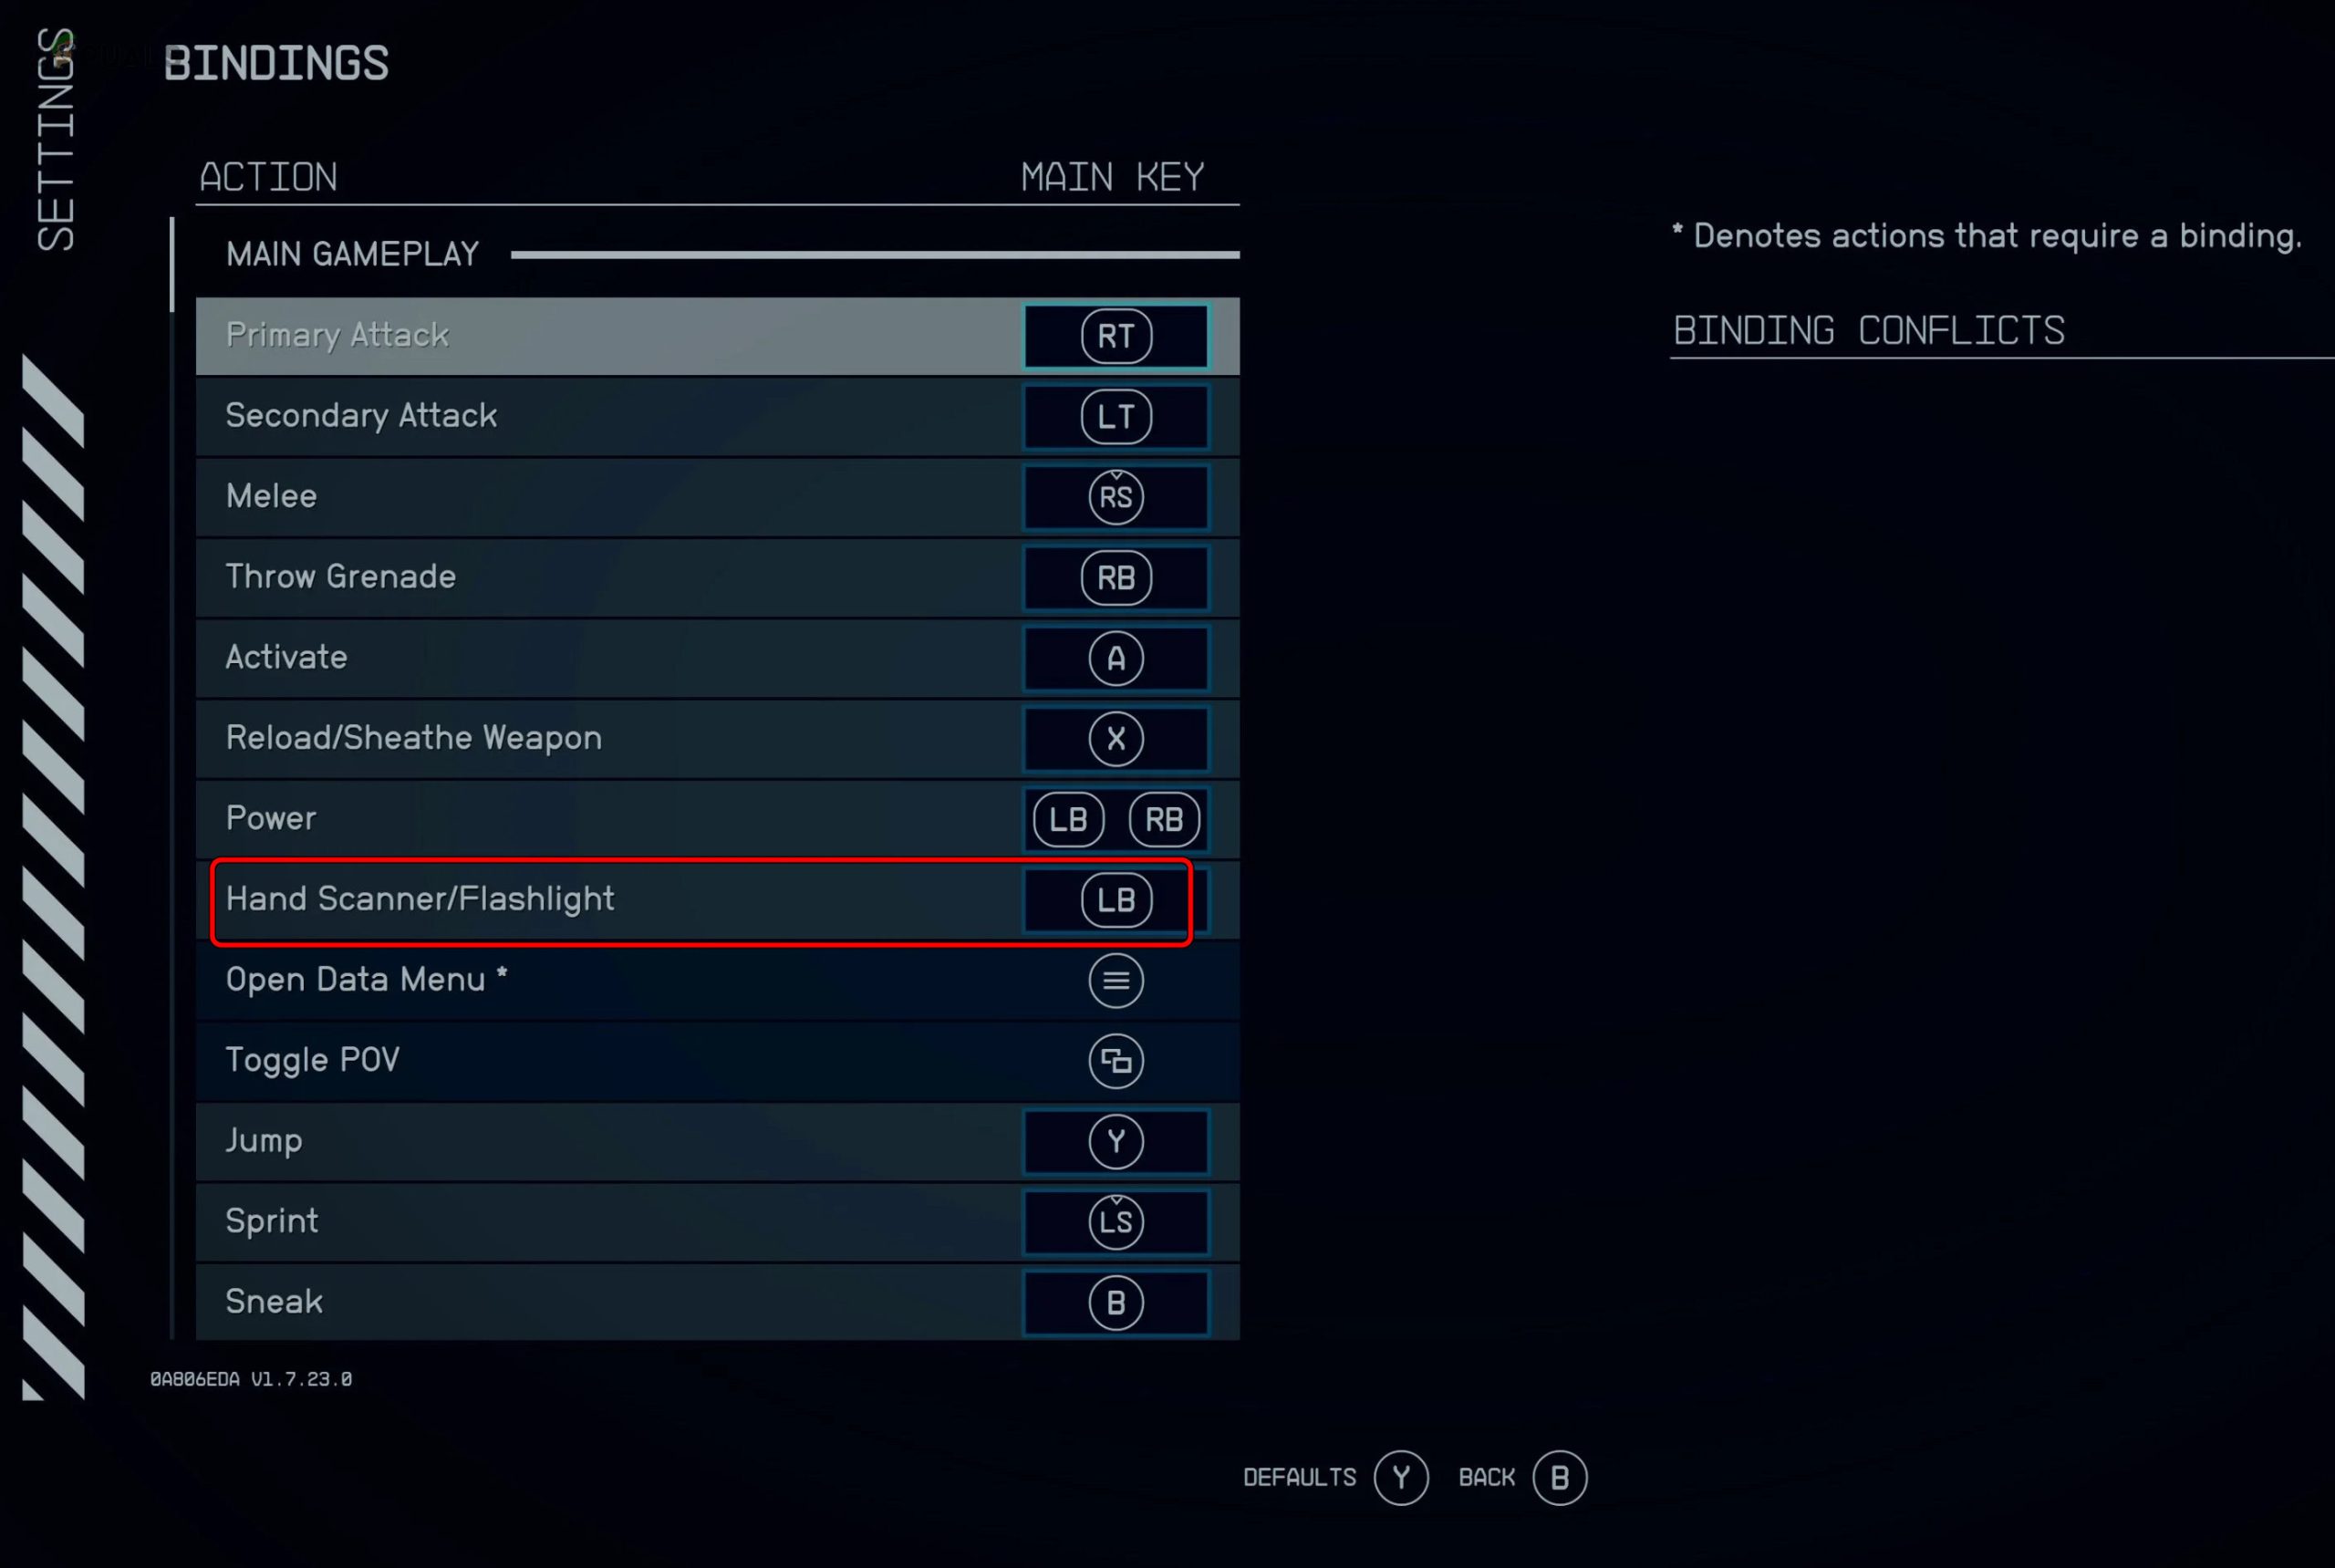
Change the Binding Key of the Flashlight in Starfield - Assign a new key to the flashlight and then test it in-game.
- If successful, consider reverting the binding to the original key (F on PC) if desired.
3. Use Another Controller (Consoles Only)
Incompatibility or malfunctioning of a console’s controller may result in the flashlight not working when the LB button is pressed. Try utilizing a different controller to resolve this issue.
- Power down the console and disconnect the original controller.
- Connect a different controller (for example, use a PS5 controller on an Xbox console or vice-versa), and then turn on the console.
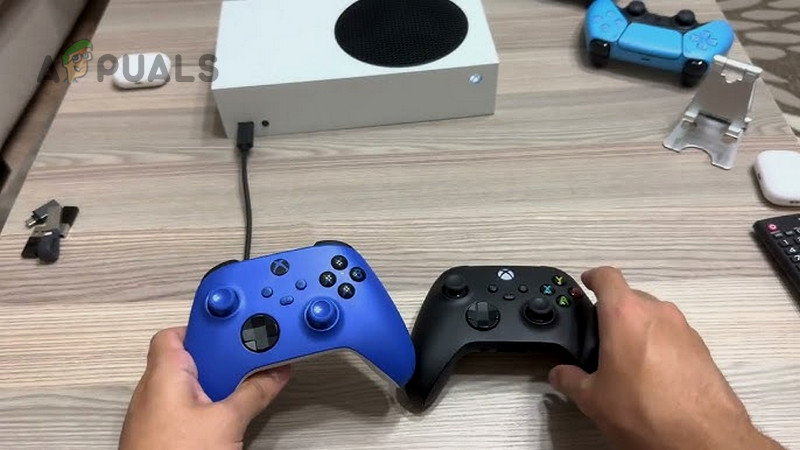
Connect Another Controller to the Console - Boot up Starfield and test the flashlight’s responsiveness to the LB button.
4. Clear the Shader Cache
The shader cache enhances the shades in Starfield, and if it becomes corrupted, it could result in the flashlight issue. Clearing the game’s shader cache might fix the problem.
- Close Starfield and terminate any related game processes via the Task Manager.
- Press the Windows + R keys to open the Run dialog and enter:
%localappdata%\Starfield
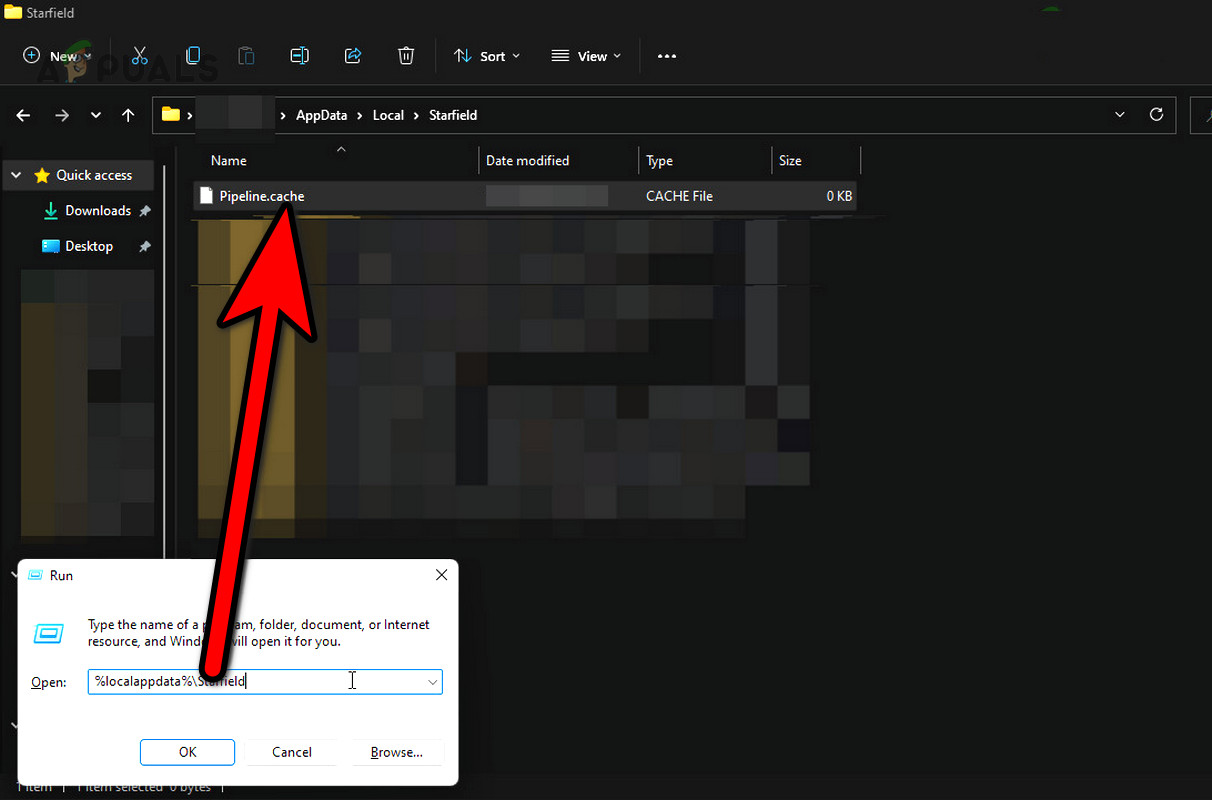
Delete Pipeline.cache File in Starfield Local AppData Directory - Eliminate the Pipeline.cache file and then reopen Starfield.
- Should the game prompt for shaders to be recompiled, confirm it; afterwards, verify if the flashlight issue has been resolved.
- If the issue persists, exit the game and remove the Cache files located in directories respective to your GPU:
%localappdata%\Nvidia\DXCache

%localappdata%\AMD\DxCache
- Relaunch Starfield and check for proper flashlight functionality.
5. Update, Roll Back, or Reinstall the Display Driver
Outdated, incompatible, or faulty display drivers can lead to issues with the flashlight in Starfield. Updating, rolling back, or reinstalling the display driver may rectify these problems.
Roll Back the Driver
- Navigate to Device Manager by right-clicking on the Windows button and selecting Display Adapters.
- Right-click on the graphics device and choose Properties > Driver tab.
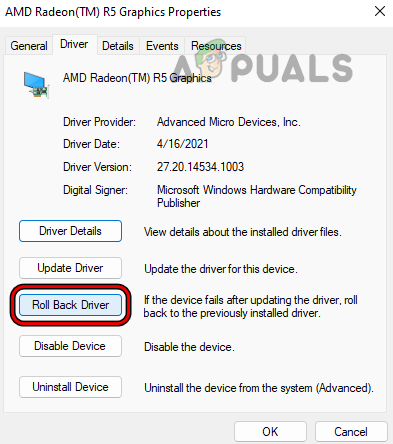
Roll Back the System’s Graphics Driver - Select the Roll Back Driver option and proceed with the rollback.
- After restarting your system, evaluate if the issue has been resolved.
Update the Drivers and OS
- Right-click on the Windows icon and navigate to Settings > Windows Update.
- Install all the updates that are available.
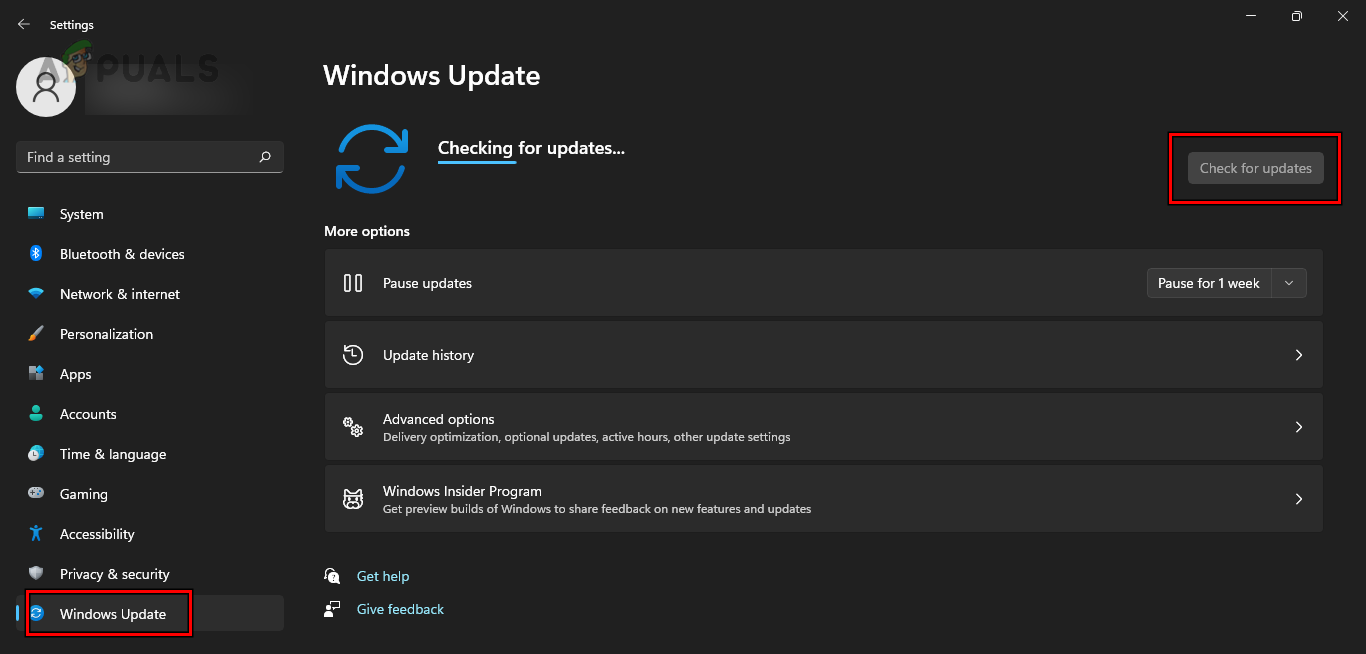
Check for Windows Updates - Restart your computer to see if the flashlight problem in Starfield has been resolved.
- If it still persists, right-click on the display driver in the Display Adapters section of the Device Manager and select Update Driver.
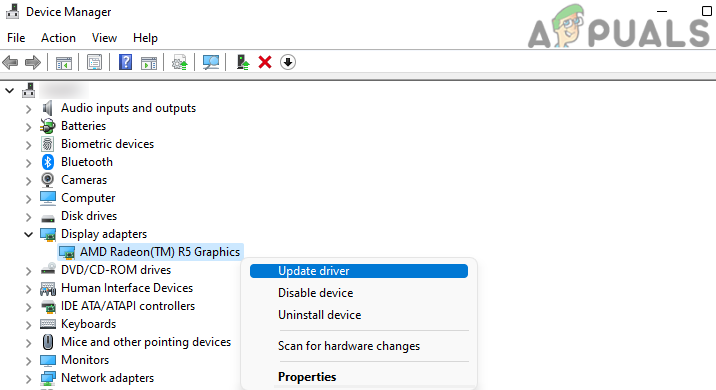
Update Driver of the Graphics Device in the Device Manager - Opt for Search Automatically for Drivers, and once the update is complete, restart the PC to check the functionality of the flashlight.
- If the problem is not resolved and an OEM update utility (such as Nvidia GeForce Experience) is available, utilize it to update the drivers and verify if the issue is fixed.
Reinstall the Driver
- Download the most recent driver from the OEM’s website.
- In the Device Manager, right-click on the display adapter and select Uninstall Device.
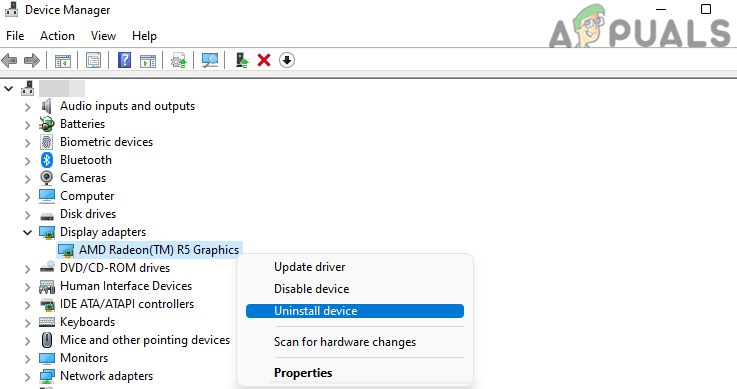
Uninstall the Graphics Driver in the Device Manager - Proceed with the uninstallation and then restart your system.
- Install the downloaded display driver and restart once more.
- Open Starfield to assess if the flashlight works correctly.
- Should the problem persist, try installing an older version of the display driver to see whether it rectifies the issue.
6. Edit the Graphics Settings of the Game and System
Improperly configured PC graphics settings could be responsible for flashlight issues in Starfield. Tweaking these settings may resolve the problem.
Change Image Settings to Performance
- Launch the Nvidia Control Panel and navigate to Adjust Image Settings with Preview > Use My Preference Emphasizing.
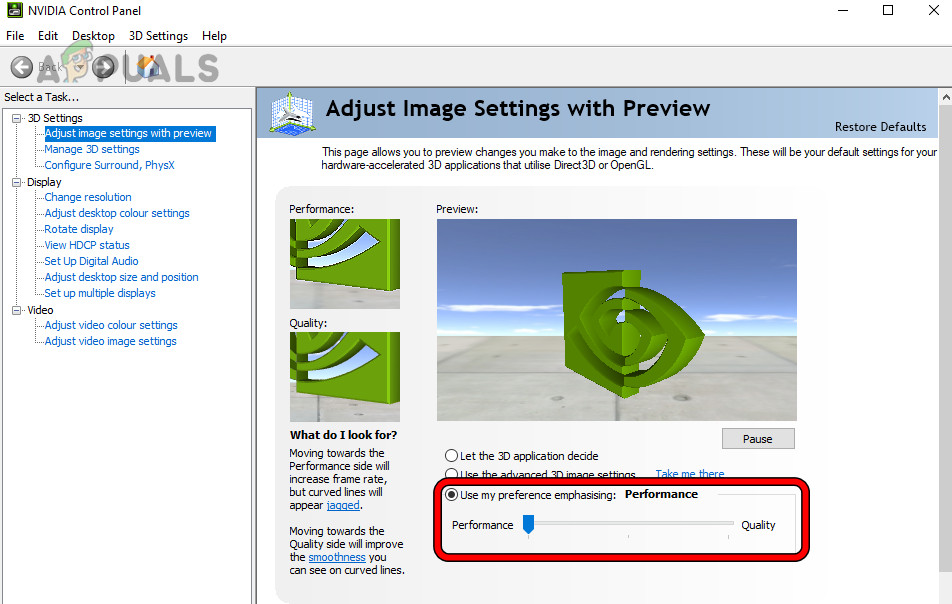
Set Use My Preference Emphasing to Performance in the Nvidia Control Panel - Adjust the setting to Performance and apply your changes.
- Reopen Starfield to confirm the issue with the flashlight has been resolved.
Set Anisotropic Filtering to Application Controlled
- In the Nvidia Control Panel, go to the Program Settings specific to Starfield.
- Alter Anisotropic Filtering to Application Controlled and select Off/Linear.
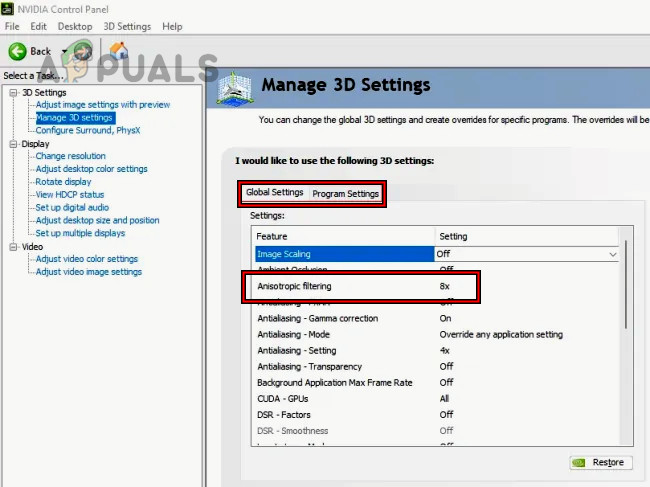
Set Anisotropic Filtering to Application Controlled - Apply these changes, then restart Starfield to check if the flashlight is now working properly.
Disable Motion Blur and HDR
- Within Starfield’s Settings, select Display.
- Turn off Motion Blur, then restart the game.
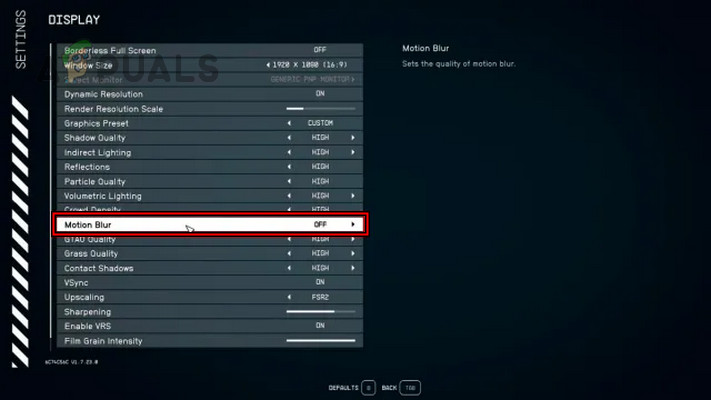
Disable Motion Blur in Starfield’s Display Settings - Engage in gameplay to ensure the flashlight functions correctly.
- If the flashlight remains nonfunctional after disabling Motion Blur, enable it and relaunch Starfield to test again.
- If the problem continues, adjust every other Display Setting in Starfield to Ultra and reactivate Motion Blur.
- Restart the system and recheck the flashlight’s performance.
- If none of the above tactics succeed, you might need to disable HDR in the game’s settings to see if that resolves the issue.
Reset the Game Graphics to the Defaults
- Access the Starfield Settings menu and select Display.
- Use the Reset Settings option to revert them to their default state, and then close the game.
- Quit the Steam client, then bring up the Nvidia Control Panel.
- In the Manage 3D Settings area, configure the Shader Cache Size to Unlimited exclusively for Starfield.
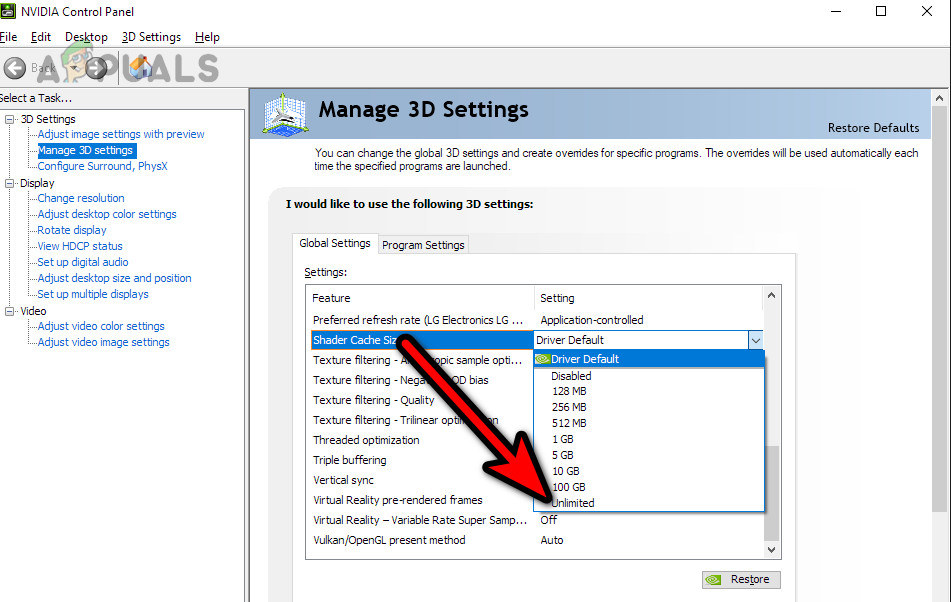
Change the Shader Cache Size to Unlimited in the Nvidia Control Panel - Proceed to clear the Shader Cache (as previously discussed) and then restart your system.
- Open Starfield, close it as soon as the main screen displays, then clear the Shader Cache once more and restart your computer.
- Try Starfield again to evaluate if the flashlight works properly now.
Reset the Starfield Graphics to Defaults in the Nvidia Control Panel
- Locate Starfield under the Program Settings of the Nvidia Control Panel and select Restore.
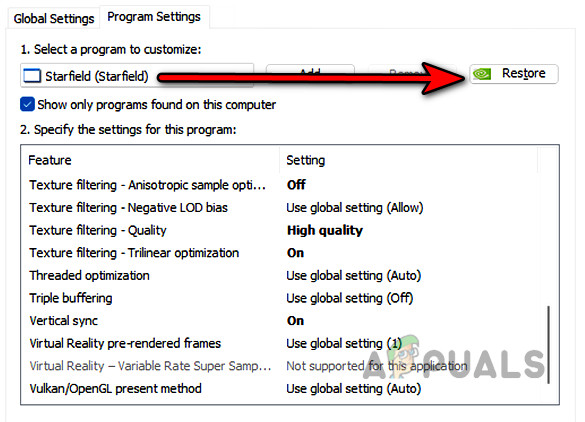
Restore Starfield Graphics Settings in the Nvidia Control Panel - Confirm this action and then reboot your system.
- Open Starfield and see if the flashlight problem is now resolved.
Restore Global Graphics Settings to Default in Nvidia Control Panel
- Open the Nvidia Control Panel, navigate to Manage 3D Settings > Global Settings.

Restore the Global Settings of the Nvidia Control Panel to the Defaults - Click on Restore, confirm, and then restart your computer.
- Check if the flashlight in Starfield is functioning properly post-restart.
7. Reinstall Starfield
When all else fails and the flashlight still does not work, it is possible that the game files handling the flashlight feature are corrupted. Reinstalling Starfield is a likely solution.
If you wish to preserve any important game data, such as screenshots, back it up before proceeding.
- Head to the Steam Library, right-click on Starfield, and select Uninstall.
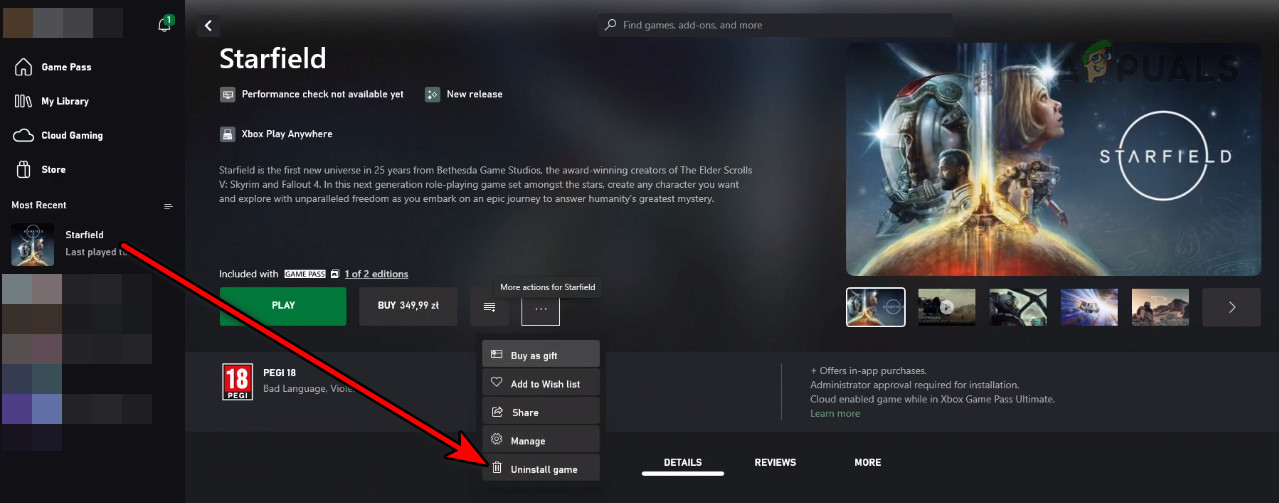
Uninstall Starfield - Follow the on-screen instructions to complete the uninstallation process.
- Restart your computer and navigate to the game’s installation directory.
- Remove any leftover game files and access the following directory:
%localappdata%
- Delete the Starfield folder, then reopen the Steam client.
- Reinstall Starfield on the system drive (preferably an SSD) and run it as an administrator. This should fix the flashlight functionality.
Should the problem persist, reach out to Starfield Support for further assistance. In the meantime, you could consider using a flashlight mod as an alternative solution.