Overwatch Error “Your Rendering Device has been lost”
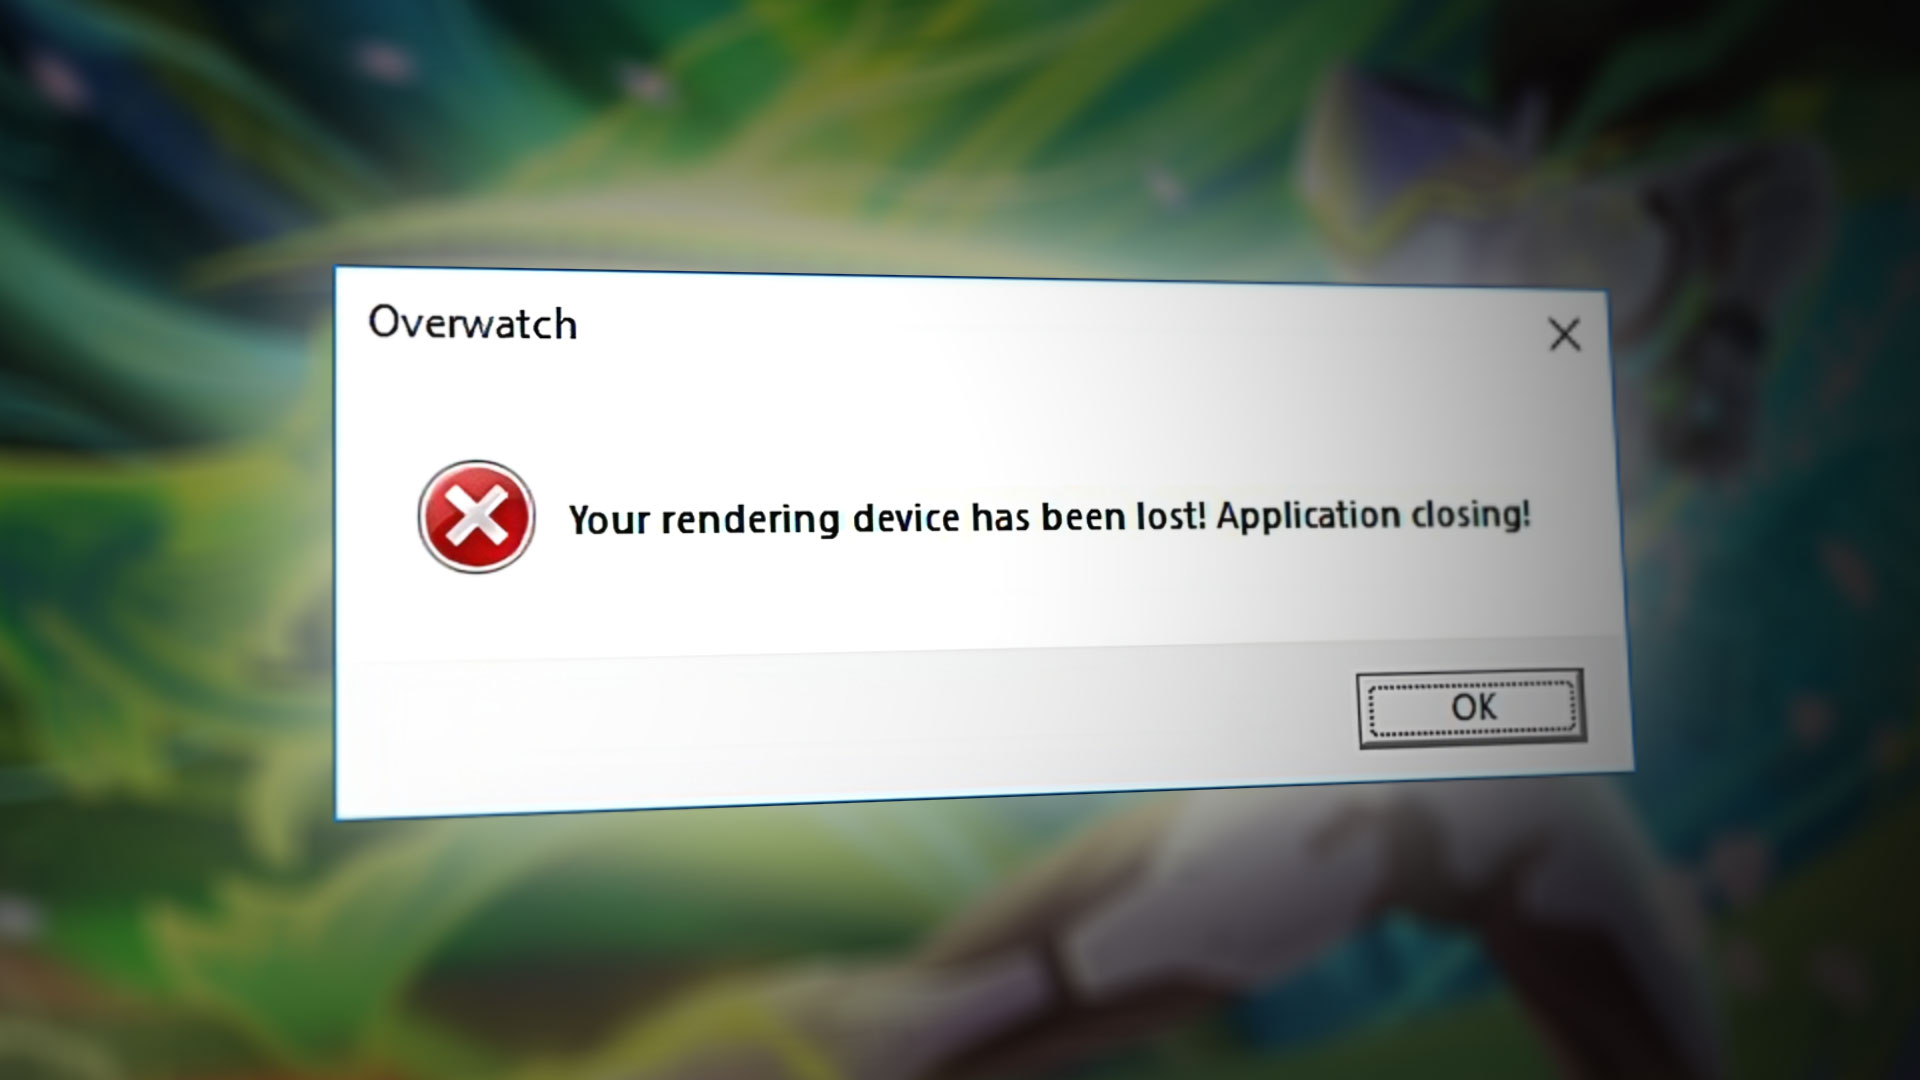
The error “your rendering device has been lost” occurs when playing Overwatch; while in mid-game, the application fails to render your gameplay. This error has seen a spike in the late 2017 and is one of the deadly errors due to which you lose your SR points. You are not able to connect back within the required time-span during a competitive match and face the loss of points.
This error was a big one and was acknowledged by all the actors (i.e. Blizzard, NVIDIA, AMD etc.). The fixes for this error are quite straightforward. They are a needle in a haystack to figure out but once you do, they sure are a piece of cake. Take a look below!
Solution 1: Checking Running Applications
The first fix is the simplest one; you have to check your background running applications and see if they are causing the problem. Background applications share your CPU resources with the application you are running in the foreground. In this case, your foreground application is Overwatch. If the game got into a resource race with any other application, it may fail to keep running and rendering the graphics.
- Press Windows + R, type “taskmgr” in the dialogue box and press Enter.
- Once in the task manager, navigate to the tab of “Processes” and see all the ‘extra’ applications running. For example, if you have Google Chrome running, it may be consuming a lot of CPU resources.

- End all the background processes and ensure that only Overwatch is running. Close the task manager and try launching the game. Make sure that you are not ending important Microsoft services.
Tip: It was also noted that ‘alt-tabbing’ the game with other applications triggered the error condition so refrain from it once you have started playing.
Solution 2: Checking PSU and Disabling Overclocking
Another fix that seemed to work for many users was disabling overclocking their processors. Overclocking enables your processor to perform short-powerful bursts of processing in order to get more processing power. This keeps happening until it reaches the threshold temperature upon which it is normalized. It seems that overclocking your CPU or GPU can cause the error condition to occur.
In some cases, underclocking the modules seemed to do the trick. Weird right?

Another point you should consider is your PSU. PSU (power supply unit) converts the AC to low-voltage regulated DC power for the functioning of internal components of your computer. If the PSU is not functioning correctly or there isn’t enough power for your GPU, the game might fail to render and the error message will be popped up.
- Make sure the PSU has enough wattage output to power all the hardware on your system. Especially when the GPU is taking a full load of the game.
- Make sure that all the power cables are correctly attached to all other modules.
Solution 3: Checking SuperFetch Service
SuperFetch pre-loads most of your used applications into the main memory not only based on your usage patterns but also when you use them. It has two purposes; it decreases the time required to boot and makes sure that the application you open frequently load more efficiently. It also takes timing into effect and analyzes your usage patterns to adjust itself. It was stated by Overwatch officially that in order for the game to work properly, SuperFetch must be enabled and up and running.
- Press Windows + R, type “services.msc” in the dialogue box and press Enter.
- Once in services, navigate through all the list until you find “SuperFetch”. Right-click it and select Properties.

- Set the startup type as “Automatic” and click on “Start” if the process isn’t already running.

- Press Apply to save changes and exit. Now check if Overwatch runs as expected and doesn’t crash.
Solution 4: Tweaking GPU Settings
Another workaround to try before we update the drivers is to tweak the GPU settings. The main issue why this error comes forward in the first place is because of GPU drivers. Downgrading/upgrading GPU requires a lot of time and patience.

Check your GPU settings and try changing some settings according to your hardware. For example, you can turn GPU Scaling off if you are using AMD or disable image stabilization. It entirely depends on the hardware you are using and the specifications.
Solution 5: Rolling back/Updating Graphics Drivers
Like mentioned before, the ultimate fix which works for almost all the cases is downgrading graphics drivers. It seems that the drivers update brought unexpected errors in the operation and forced Overwatch to stop mid-game. In order to fix this, you can either update the graphics drivers to the latest build (we are updating because manufacturers such as AMD released a dedicated update to fix this issue) or downgrade the drivers to a previous version.
Before we upgrade or downgrade, we can try installing the default drivers and see if this fixes the problem.
- Download and install the utility Display Driver Uninstaller.
- After installing Display Driver Uninstaller (DDU), launch your computer in safe mode.
- After booting your computer into safe mode, launch the DDU which we just installed.
- After launching the application, select the first option “Clean and restart”. The application will then automatically uninstall the installed drivers and restart your computer accordingly.

- Boot your computer into normal mode, press Windows + R, type “msc” in the dialogue box and press Enter. Most probably the default drivers will be installed. If not, right-click on any empty space and select “Scan for hardware changes”.
This step will install the default drivers on your computer. Now try running Overwatch and see if the error condition still appears. If it does, continue with the next steps.

- Now there are two options. Either you can search online for the latest/older driver available for your hardware from the manufacturer’s website such as NVIDIA etc. (and install manually) or you can let Windows install the latest version itself (search for updates automatically).
- We will take a look on installing manually. Right-click on your hardware and select “Update driver”. Select the first option “Browse my computer for driver software”. Choose the first option if you are updating automatically.

- Browse to the driver package you just installed and completely shut down your computer before starting it again. Now check if this solves the error condition.
Tip: You can also run Windows Update from Settings and try checking for any updates available for your computer.