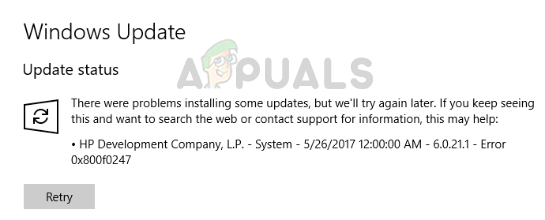
Fix: Windows Update Error Code 0x800f0247
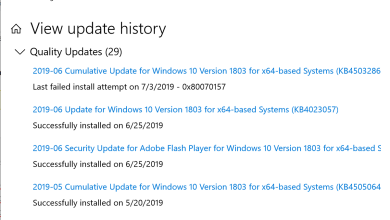
Updates are an integral part of Windows. Whenever an update fails to install, then it generates an error code so that the problem could be diagnosed and solved. The error code 0x800f0247 is generated when there are any corrupt files in the Window’s registry.
What does an Error code 0x800f0247 mean?
Some users are getting the error code 0x800f0247 in a result of a failed update. This error code always indicates that there is corruption in either the system files or the registry. Usually, the update was not suitable for the system, or Windows was unable to install the update because of a faulty registry or bad system files. So in order to fix this error will have to find the exact cause and then proceed accordingly.
What causes the Error code 0x800f0247?
The error 0x800f0247 is specifically caused by corrupted files in the registry; either after a failed software installation or after an unsuccessful windows update. Bad sectors in your hard drive could also cause this error. You will have to try all of the listed fixes in order to find the real culprit that is causing this issue.
- Incompatible hardware driver update: In rare cases, the Windows force a hardware driver update that is not compatible with the device, this causes a failed update with the error code 0x800f0247. Disabling the Hardware Updates fixes the problem.
- Bad sector or a corrupted file allocation table: Most of the times this error is caused by either a corrupted file in the allocation table or by a bad sector in the hard drive. This can easily be fixed by a simple disk scan.
- Corrupted System files: Some users report that the error was fixed by running an SFC scan. The SFC scan checks the integrity of the system files.
- Component Store corruption: Sometimes the error code 0x800f0247 could also be caused by a corrupted registry in the Component Store. Running a DISM scan will usually fix that problem.
Not to worry. If you follow the given step-by-step procedures then, you will be able to get rid of this issue.
Method 1: Disabling the Hardware Updates on your Windows
A few people with older hardware specs reported that the error with the code 0x800f0247 was fixed when they turned off the Windows updates for hardware drivers. Windows sometimes force newer drivers on older hardware which causes a lot of problems including this one. So turning off updates for older hardware and downloading the required drivers from the manufacturer’s website was the only solution.
- Open This PC from the desktop.

This PC 2. Right-click anywhere and select Properties.
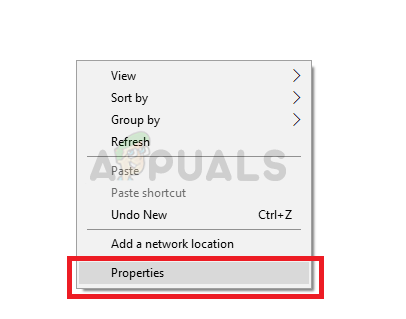
Click on Properties
- Open This PC from the desktop.
- 3. Select Advanced system settings from the upper left panel.
- 4. Now select the hardware panel from the dialog box and click on Device Installation Settings.
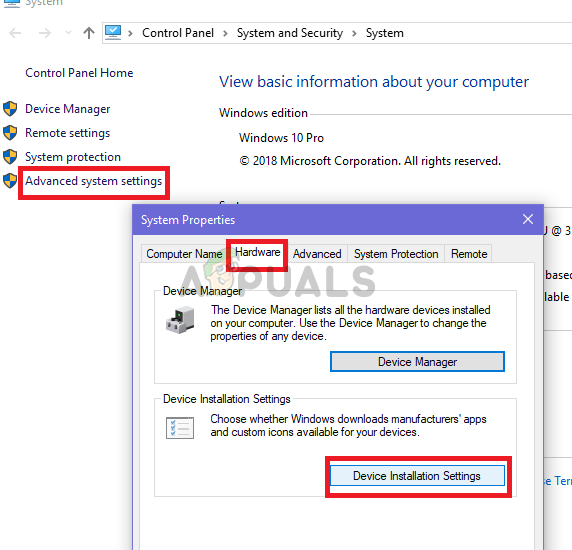
Click on Device Installation Settings 5. Click No and then click Save Changes.
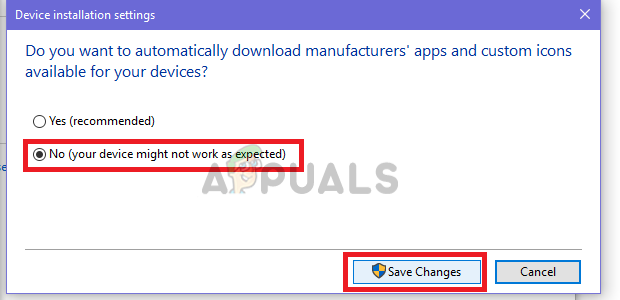
Select No and Save Changes 6. Restart the computer to let the settings take effect.
Method 2: Using Scan-disk to check for bad sectors and file system errors
In most cases, the Windows update was generating the error because there were bad sectors or file system errors on the hard drive. Although bad sectors cannot be regenerated, the data in them can be moved to good sectors and file system errors can be easily fixed just by a simple disk scan.
- Open This PC from the desktop.
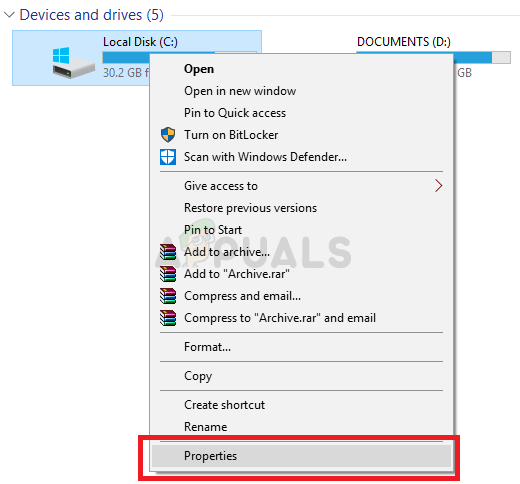
Open This PC - Right click on the Windows drive and select Properties.
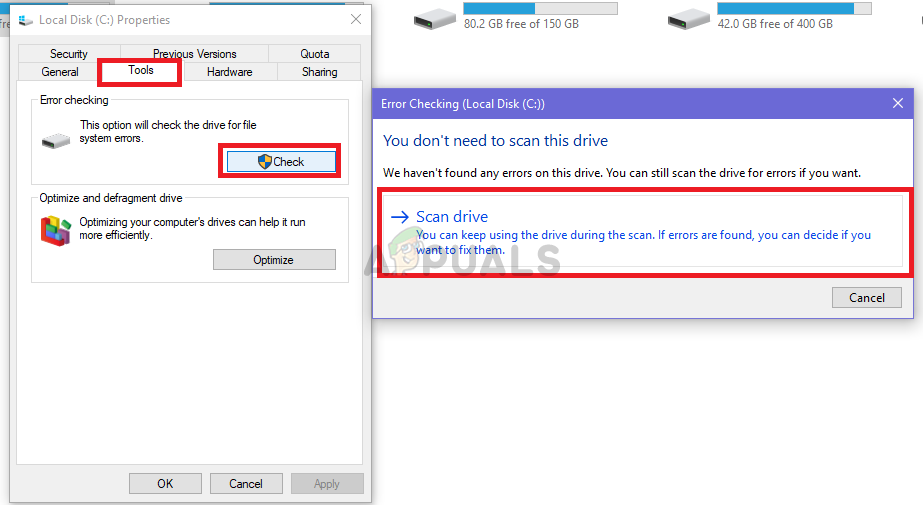
Open Properties - Go to the Tools panel and click on the Check button under the “Error-checking” section.
- Now click on Scan Drive button. This will start the scanning process and will take some time. If errors are found then it will ask to fix them, click on Fix errors. If no errors were found, then move on to the next method.
Click Scan drive after clicking Check under Tools
Method 3: Running an SFC scan for corrupted System files
A lot of users encountering this issue have managed to resolve it just by running an SFC scan, an SFC scan automatically checks and resolves issues related to the file system. It takes some time to check the whole system and it cannot be paused or canceled.
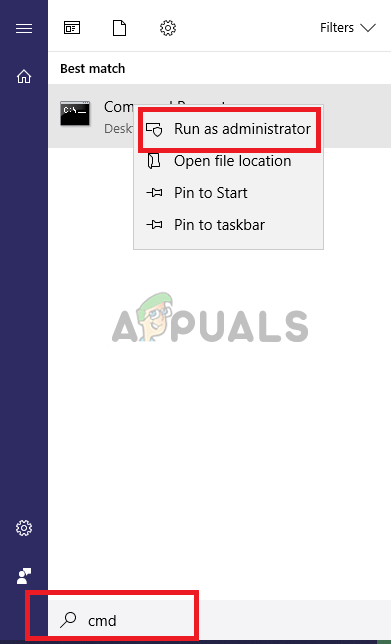
- Open the Start menu and type “cmd” in the search bar.
- Run the command prompt as admin by right clicking on it and then clicking “Run as administrator”. If prompted by UAC (User Account Control) then click yes to grant administrator privileges.

Run CMD - Type the following command in CMD “sfc /scannow” and hit Enter. This will take a while and verify the integrity of the whole system.

Type sfc /scannow in CMD
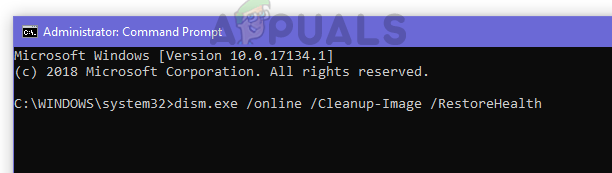
Method 4: Running a DISM scan
DISM (Deployment imaging servicing and management tool) is a tool that enables the user to restore the health of his system back to normal. DISM has three commands, but only the “RestoreHealth” command repairs the system files.
- Open the Start menu and type “cmd” in the search bar.
- Run the command prompt as admin by right clicking on it and then clicking “Run as administrator”. If prompted by UAC (User Account Control) then click yes to grant administrator privileges.
Run CMD as administrator - Type the following command in CMD “dism.exe /online /Cleanup-Image /RestoreHealth” and hit Enter. You will have to wait patiently because the scan will get stuck at 20%.
Type dism.exe /online /Cleanup-Image /RestoreHealth - Once the repair is complete, restart your pc.