Fix: Windows Update Error 8024402c
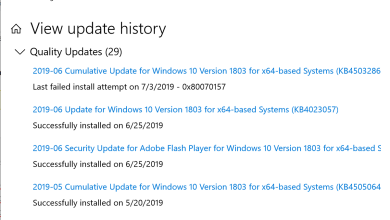
Windows update errors are one of the worst errors to experience because Windows constantly forces you to install and download new updates but when you finally decide to install them, some error pops up and prevents you from doing so. One such errors is definitely the 8024402c error which is common amongst Windows 7 and Windows 10 users.
There are quite a few different solutions to the problem and you can sometimes even blame your Internet provider as their address is sometimes not allowing your PC to connect to Microsoft’s servers. Anyway, follow the methods below in order to solve your problem.
Solution 1: Change Your DNS Address
If your Internet provider is really causing these problems, you may find other solutions quite unhelpful because they can’t fix the fact that your current DNS address is simply incompatible with Microsoft servers. Luckily, changing the DNS address is quite an easy process if you follow the instructions below carefully. You can reverse the process quite easily if something goes wrong.
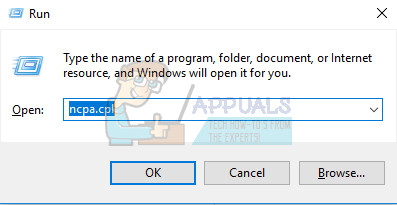
- Open the Run dialog box by pressing the Windows logo key + R key together. Then type “ncpa.cpl” in it and click OK.
- Now that the Internet Connection window is open, double-click on your active Network Adapter.
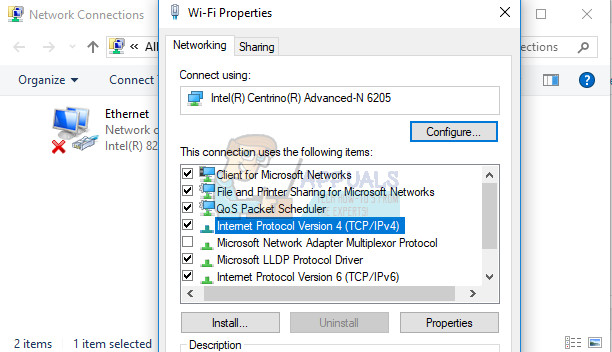
- Then click Properties and double-click on Internet Protocol Version 4 (TCP/IPv4).
- Locate Use the following DNS server addresses option.
- Set Preferred DNS server to be 8.8.8.8
- Set Alternate DNS server to be 8.8.4.4
Note: That’s Google’s public DNS server addresses.
- Now try to install Windows Updates again and check to see if the same error code still appears.
Solution 2: Update Your HDD and SSD Drives
Some users shared their experience regarding the same error code and they said that updating their HDD or SDD drivers helped them solve many problems on their computer, including this specific Windows Update error code. We recommend you do the same, especially if you have recently added a new storage device to your computer.
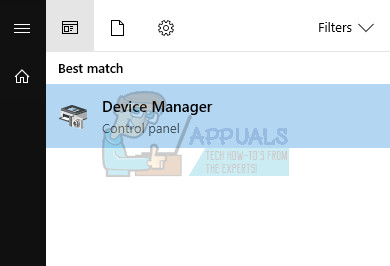
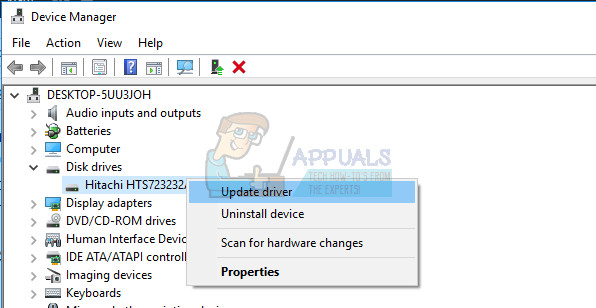
- Select the Start button, type Device Manager, and select it from the list of results.
- Expand one of the categories to find the name of your device, then right-click (or tap and hold) it, and select Update Driver. For storage devices, expand the Disk drives category, right-click on the device you want to update and choose the Update option from the context menu.
- Select Search automatically for updated driver software.
- If Windows doesn’t find a new driver, you can try looking for one on the device manufacturer’s website and follow their instructions.
Note: If you are using Windows 10, the latest drivers are often installed alongside other Windows updates so make sure you keep your computer up to date. Windows Update is run automatically on Windows 10 but you can check by following the instructions below for a new update.
- Use the Windows Key + I key combination in order to open Settings on your Windows PC. Alternatively, you can search for “Settings” by using the search bar located at the taskbar.

- Locate and open the “Update & security” section in the Settings app.
- Stay in the Windows Update tab and click on the Check for updates button under the Update status in order to check whether there is a new version of Windows available.
- If there is one, Windows should proceed with the download process automatically.
Solution 3: Disable IPV6 on Your PC
This Windows Update error sometimes occurs if you have enabled IPv6 and you don’t have a local gateway that is needed to connect. There are several users who were able to solve the problem this way whereas it didn’t work for others. Your safest bet is to try and see if it’s working yourself.
- Open the Run dialog box by pressing the Windows logo key + R key together. Then type “ncpa.cpl” in it and click OK.
- Now that the Internet Connection window is open, double-click on your active Network Adapter.
- Then click Properties and locate the Internet Protocol Version 6 entry on the list. Disable the checkbox next to this entry and click OK. Restart your computer in order to confirm the changes and check to see if the error appears again.
Solution 4: Command Prompt Tweak
This solution can be quite helpful as it can be performed easily and it can solve the problem by resetting the proxy settings on your computer which may have gone corrupt since the last time you ran the update. Follow the instructions below in order to solve the problem.
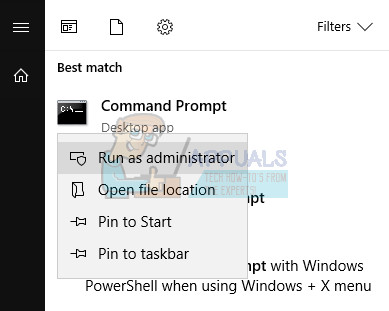
- Use the Windows Key + X key combination in order to open the menu where you should select the Command Prompt (Admin) option. Alternatively, you can right-click on the Start menu for the same effect or you can simply search for Command Prompt, right-click on it and select Run as administrator.
- Type in the commands presented below and make sure you press Enter after each one in order to run it properly.
netsh
winhttp
reset proxy
- Return to Windows Update and check to see if the problem still appears on your PC.
Solution 5: Reset Windows Update Components
This method is somewhat advanced and it takes a while to accomplish it. However, users have reported that, even when the other methods failed, resetting the components was still able to fix their issue.
Before proceeding with this solution, it’s recommended that you close all of your running programs and it’s advisable to create a backup of your registry just in case something goes terribly wrong while you edit it.
- Let’s proceed with the solution by killing the following services which are the core services related to Windows Update: Background Intelligent Transfer, Windows Update, and Cryptographic Services. Disabling them before we start is crucial if you want the remainder of the steps to perform smoothly.
- Search for “Command Prompt”, right-click on it, and select the “Run as administrator” option. Copy and paste the following commands and make sure you click Enter after each one.
net stop bits
net stop wuauserv
net stop appidsvc
net stop cryptsvc
- After this, you will have to delete some files which should be deleted if you want to continue with resetting the update components. This is also done via Command Prompt with administrative privileges.
Del “%ALLUSERSPROFILE%\Application Data\Microsoft\Network\Downloader\qmgr*.dat”
- The following step can be skipped if this is not a last resort. This step is considered to be the aggressive approach but it will definitely reset your updating process from its very core. So we can recommend that you try this out. It has been suggested by a lot of people on online forums.
- Change the name of the SoftwareDistribution and catroot2 folders. In order to do this, at an administrative command prompt, copy and paste the following commands and click Enter after copying each one.
Ren %systemroot%\SoftwareDistribution SoftwareDistribution.bak
Ren %systemroot%\system32\catroot2 catroot2.bak
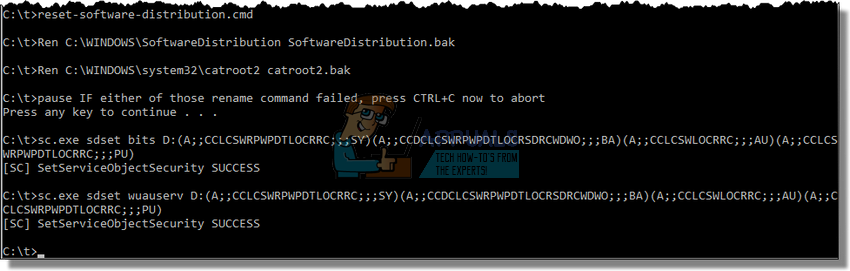
- The following commands will help us reset the BITS (Background Intelligence Transfer Service) and the wuauserv (Windows Update Service) to their default security descriptors. Make sure you don’t modify the commands below so it’s for the best if you simply copy them.
exe sdset bits D:(A;;CCLCSWRPWPDTLOCRRC;;;SY)(A;;CCDCLCSWRPWPDTLOCRSDRCWDWO;;;BA)(A;;CCLCSWLOCRRC;;;AU)(A;;CCLCSWRPWPDTLOCRRC;;;PU)
exe sdset wuauserv D:(A;;CCLCSWRPWPDTLOCRRC;;;SY)(A;;CCDCLCSWRPWPDTLOCRSDRCWDWO;;;BA)(A;;CCLCSWLOCRRC;;;AU)(A;;CCLCSWRPWPDTLOCRRC;;;PU)
- Let’s navigate back to the System32 folder in order to proceed with the solution at hand.
cd /d %windir%\system32
- Since we have completely reset the BITS service, we will need to reregister all of the files necessary for the service to run and operate smoothly. However, each of the files requires a new command in order to make it reregister itself so the process may end up being lengthier than what you are used to. Copy the commands one by one and make sure you don’t leave out any of them. Here is a list of files that need to be reregistered along with the corresponding commands next to them.
- Some files may have been left behind after these processes so we are going to look for them in this step. Open the Registry Editor by typing “regedit” in either the search bar or the Run dialog box. Navigate to the following key in Registry Editor:
HKEY_LOCAL_MACHINE\COMPONENTS
- Click on the Components key and check the right side of the window for the following keys. Delete them all if you locate any of them.
PendingXmlIdentifier
NextQueueEntryIndex
AdvancedInstallersNeedResolving

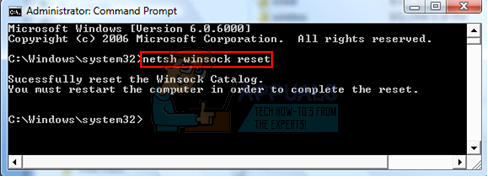
- The next thing we are going to do is reset Winsock by copying and pasting the following command back into the administrative Command Prompt:
netsh winsock reset
- If you are running Windows 7, 8, 8.1, or 10, at a command prompt, copy the following command, and tap the Enter key:
netsh winhttp reset proxy
- If all of the steps above have gone through painlessly, you can now restart the services you killed in the very first step by using the commands below.
net start bits
net start wuauserv
net start appidsvc
net start cryptsvc
- Restart your computer after following through with all of the steps which are listed.
Solution 6: Edit Certain Settings in Internet Explorer
Internet Explorer is usually the first place where you should look if you encounter certain errors regarding Windows Update and your Internet Connection overall. These settings are quite easy to adjust so make sure that this solution is your first step in approaching the problem.
- Open Internet Explorer and click on the Gear icon located in the top right corner.
- From the menu which opens, click on Internet options.

- Navigate to the Connections tab and click on LAN Settings.
- Mark the checkbox next to Automatically Detect Settings and make sure the Proxy servers are blank unless you actively use one, which is not recommended while updating Windows.
- Make sure you apply the changes you made and restart your computer before you check to see if the update error still appears.
Solution 7: Turn off UAC until Your Update Your Computer
UAC is designed to keep you safe but it appears that there is a bug that causes this error to occur if UAC is turned on. It’s recommended that you keep it on at all times but you can disable UAC for a while until the update is installed but make sure you re-enable it as soon as possible.
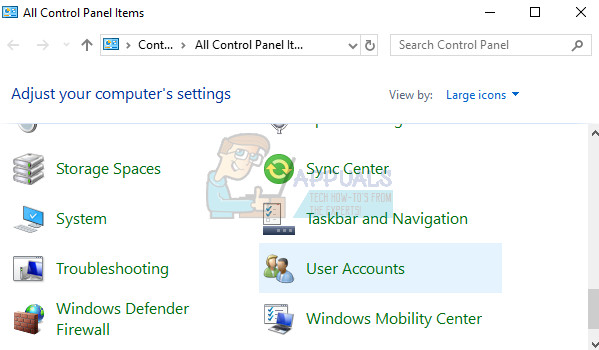
- Open Control Panel by searching for it in the Start menu.
- Switch the View by option in Control Panel to Large Icons and locate the User Accounts option.
- Open it and click on “Change User Account Control Settings”.
- You will notice that there are several different options you can choose on the slider. If your slider is set at the top level, you will definitely receive more of these pop-up messages than usual. Also, the error messages similar to the one you are experiencing right now are usually caused by User Account Control.
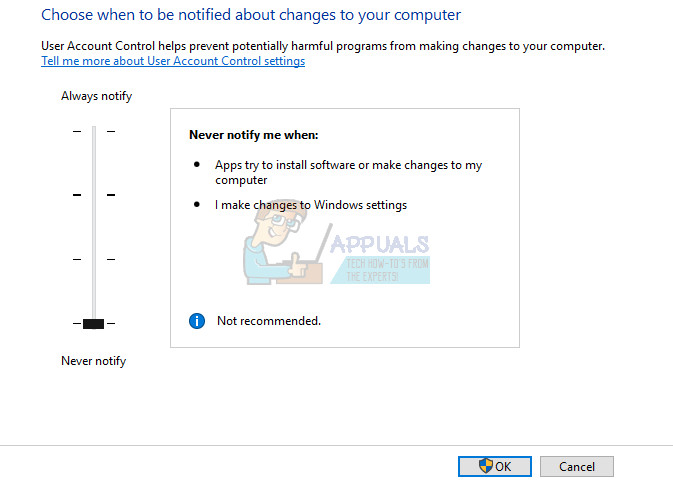
- We recommend you turn it off for now as the update should probably install successfully. This may have helped solve your current problem but you should definitely leave it on as it serves to protect your PC.
Solution 8: A Simple Registry Hotfix
This process requires editing your registry which can be quite helpful but also dangerous. Before proceeding with this solution, it’s recommended that you close all of your running programs and it’s advisable to create a backup of your registry just in case something goes terribly wrong while you edit it.
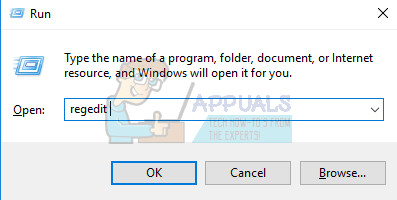
- Open Run dialog box by pressing Windows logo key + R key together. Then type regedit in it and click OK. Click Yes when prompted by User Account Control.
- In the Registry Editor window, head to HKEY_LOCAL_MACHINE >> SOFTWARE >> Policies >> Microsoft >> Windows >> WindowsUpdate >> AU
- On the right pane of AU key, double-click on UseWUServer, change its value data into 0, and click OK.
Note: If you can’t find WindowsUpdate, you should create one. Follow the steps below.
- Right-click on the Windows folder, then choose New > Key and name the new key WindowsUpdate.
- Right-click on the WindowsUpdate folder, then choose New >> Key and name the new key AU.
- Right-click on the right pane of AU key, choose New >> DWORD (32-bit) Value. Name the new value UseWUServer. Set its value to 0.
- Now try to install Windows Updates now.
Solution 9: Install the Latest Version of .NET Framework
Having the latest version of this tool is a must if you want the updating process to proceed smoothly.
Navigate to this link and click the red download button in order to download the latest version of the Microsoft .NET Framework. After the download has finished, locate the file you downloaded and run it. Note that you will need to have constant access to the Internet.
- After installing the latest version, it’s time to check its integrity. On your keyboard, use the Windows Key + R key combination to open the Run dialog box.
- Type in Control Panel and click OK in order to open it.

- Click the Uninstall a Program option and click Turn Windows features on or off. Make sure you locate the .NET Framework 4.6.1 entry and make sure it’s enabled.
- If the checkbox next to .NET Framework 4.6.1 is not enabled, enable it by clicking the box. Click OK to close the Windows Feature window and reboot the computer.
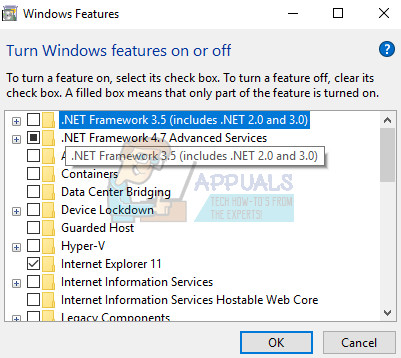
- If .Net Framework 4.6.1 is already enabled, you can repair .Net Framework by clearing the box and rebooting the computer. After the computer has restarted, re-enable .Net Framework and restart the computer again.
Note: If you are using a version of Windows other than Windows 10, the latest version may be different which you should also install.