Fix: Windows Host Process Rundll32 High Disk and Cpu Usage
You are no doubt reading this article because you are facing problems of a high disk and CPU usage by those rundll32.exe processes. If you have been using Windows for a long time, you might have noticed that there are indeed millions of .dll processes. The extension DLL stands for Dynamic Link Library. They are used to store some common application logic which is in turn accessed by various other applications.
There is no way to directly launch a DLL file. The rundll32.exe is simply used to launch the functionality stored in shared .dll files. Do note that sometimes some malware infect machines by creating an alias of rundll32. You should scan your computer and check for any discrepancies.
Solution 1: Disabling items from Task Scheduler
If you are experiencing problems right after installing a Windows 10, it is possible that some Windows processes are causing the rundll32.exe to consume so much CPU and Disk usage. This was the case for the majority of the users but if it doesn’t work for you, you can always revert back the changes anytime using the same method.
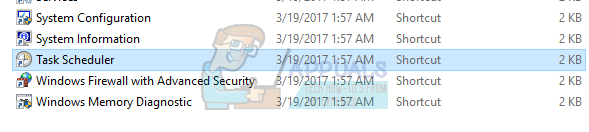
- Press Windows + S to launch the search bar and type “administrative tools” in the dialogue box. Open the first relevant application which comes forth.

- Browse through the shortcuts and open “Task Scheduler”.
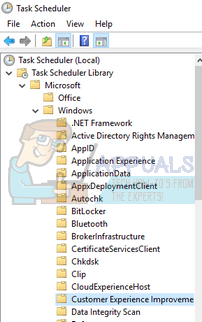
- Now navigate to the following file path using left navigation pane on the window.
Task Scheduler Library > Microsoft > Windows > Customer Experience Improvement
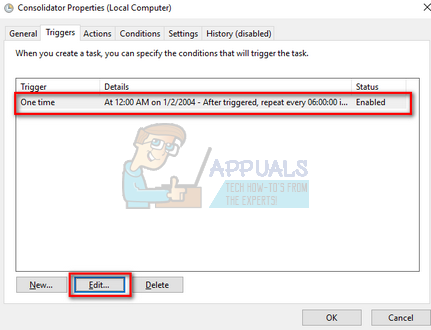
- On the right side, you will see three items in this schedule. Click on “Consolidator” to open its properties. Navigate to the triggers tab. Here you will see a trigger which triggers the service every once in a while. Click it and select “Edit”.
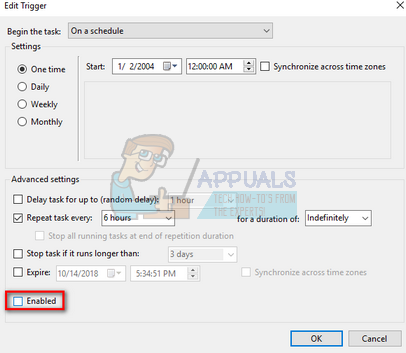
- Once the trigger properties are opened, navigate down to the advanced settings and uncheck the box “Enabled”. Click Ok to save changes and exit.
- Now come back to the list of items. Right-click them one by one and select “Disabled” in each case. The name of the items are:
Consolidator
KernelCeip Task
UsbCeip
- Close the scheduler, restart your computer and check if the usage got fixed.
Solution 2: Disabling Telemetry Services
Part of Microsoft’s user experience program is to gather data from your system and compare it to PC’s. This will then locate any discrepancies/changes which will be used to improve the user experience in the future. This feature is also known to cause several high disk/CPU usage problems. We can try disabling it and check if the problem still persists.
- Press Windows + R to launch the Run application. Type “services.msc” in the dialogue box and press Enter.
- After the services windows pop up, search for “Connected User Experience”. Double-click it to open its settings.

- Click “Stop” underneath service status. Then select “Startup type” and set the option to Disabled. Once you are done making changes, press Ok and exit.

- Restart your computer and check if the problem got solved.
Solution 3: Renaming aienv.dll
aienv.dll is a library file of the Application Experience Inventory in Windows. It is a non-system process and originates from software/application installed on your computer. Many users reported that stopping the service or renaming it caused their issue of disk/CPU usage to get fixed. We can try the same. Follow this method at your own risk, it is advised that you create a Windows restore point in case anything goes wrong.
- Open Windows Explorer and navigate to the following file path:
C:\Windows\System32
You can also copy the above address, press Windows + R, paste the address and press Enter to navigate to the location directly.
- Once in the folder, search for “aeinv.dll”. You can also use the search bar present at the top right side of the screen.

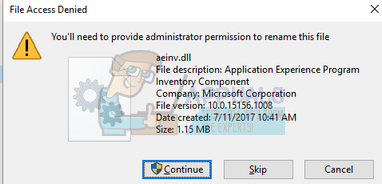
- Once you have located the file, right-click it and select rename. Rename the file to “oldaeinv.dll”. Windows might require permission to rename this file. Make sure you are logged in as an administrator and click “Continue”.
- If you are still having problems renaming the file, you can change ownership of the file. This will grant you rights to amend/rename it.
- After renaming it, restart your computer and check your disk/CPU usage.
Solution 4: Uninstalling Google App Engine
Google App Engine is a web framework for developing/hosting web applications in Google-managed data centers. This application offers automatic scaling for web applications as the number of requests for the application increases. It has multiple supported languages such as Java, Ruby, Python and other JVM languages.
Many users reported that after the installation of Google App Engine, their disk/CPU usage increased dramatically through the process of rundll32.exe. You can try uninstalling the application and check if the problem still persists.
- Press Windows + R, type “control panel” in the dialogue box and press Enter.
- Once in the control panel, select the category of “Uninstall a program” under the heading of “Programs”.

- Locate “Google App Engine”, right-click it and select “uninstall”.

- After the uninstallation, restart your computer and check if the problem got solved. If it didn’t and you are still facing high CPU/disk usage, feel free to install the application back.
Solution 5: Checking through Process Explorer
Process Explorer is a tool by Microsoft which shows you information regarding which DLL’s have been opened/loaded along with all the details about which parent process started it. It gives you information regarding the resources consumed, CPU usage etc. We can try checking for processes using rundll32.exe and troubleshoot why they are using it.
- Download Process Explorer from the official Microsoft website.
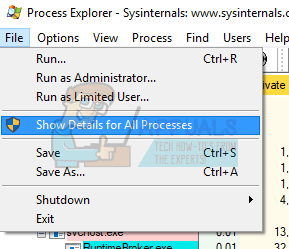
- Once you have unzipped the package in an accessible directory, launch it. You will be greeted by a number of processes along with their details. Click on “File” at the top left and select “Show Details for All Processes”. You might require administrator privileges to perform this operation
- Now locate the process “rundll32.exe”, right-click it and select Properties. Navigate to the Image tab. Here you will see the culprit i.e. which process is using the executable.

- Do a little digging and locate the application/service. You can easily disable as service using “services.msc” or uninstall an application like we did before.
Solution 6: Uninstalling Lenovo Dependency Package
If you are running a Lenovo, you must check if the uninstallation of Lenovo Dependency Package solves your problem. It is a set of services/drivers installed on a Lenovo machine to help the Metro application “Lenovo Settings”. By itself, the dependency package doesn’t do anything. As a precaution, create a restore point for your Windows before performing this solution.
- Press Windows + R, type “control panel” in the dialogue box and press Enter.
- Once in the control panel, select the category of “Uninstall a program” under the heading of “Programs”.

- Locate “Lenovo Dependency Package”, right-click it and select “uninstall”.
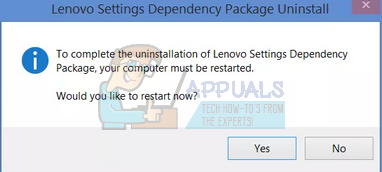
- After the uninstallation, restart your computer and check if the problem got solved. If it didn’t and you are still facing high CPU/disk usage, feel free to install the application back.
Solution 7: Disabling Inventory Collector
Inventory Collector is a tool by Microsoft which helps you examine your organization’s computers, identify the installed applications, devices, and system information, in order to collect a catalog of information. You can view this data using the Application Compatibility Manager. If you don’t use this feature, we can try disabling it and check if it brings any luck to our problem.
- Press Windows + R, type “gpedit.msc” in the dialogue box and press Enter. This will launch the Group Policy Editor of your computer.
- Once in the editor, navigate to the following path”
Computer Configuration > Administrative Templates > Windows Components > Application Compatibility
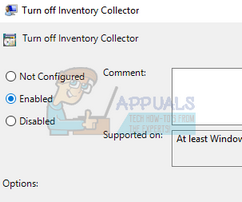
- On the right side of the screen, you will see an entry “Turn off Inventory Collector”. Double-click it to open its properties.
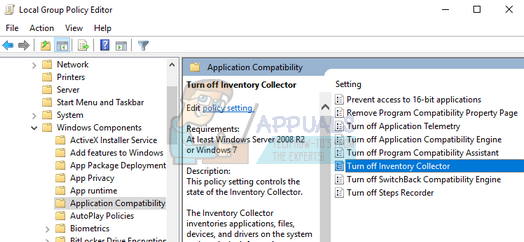
- Once in the properties, select “Enabled”. Press Ok to save changes and exit. Restart your computer and check if the problem got fixed.
Solution 8: Amending ProgramDataUpdater
Many users reported that the task “ProgramDataUpdater” belonging to the category of Application Experience by Microsoft was causing high CPU/Disk usage on their computer. We have two options: either we can disable the task permanently or we can change the settings so the task gets automatically killed if it processes for more than a minute. We will guide you on how to disable the task completely first.
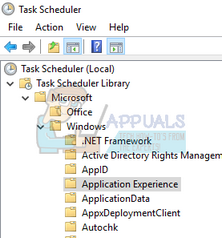
- Press Windows + S to launch the search bar and type “task scheduler” in the dialogue box. Open the first result which comes forth.

- Once in the scheduler, navigate to the following file path:
Microsoft > Windows > Application Experience
- Once in the folder, you will see three entries on your right. Right click on “ProgramDataUpdater” and select Disabled.
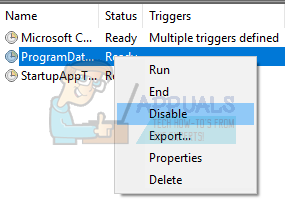
- Restart your computer and check if the problem at hand got solved.
Now we cover on how to set a time limit as discussed above. You can either set the limit or disable the task permanently as mentioned above.
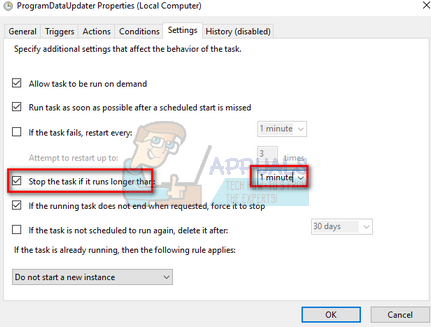
- Right-click on “ProgramDataUploader” and select “Properties”.

- Navigate to the Settings tab. Make sure that the checkbox “Stop the task if it runs longer than” is checked. Edit the value in front of it and type “1 minute”. Press OK to save changes and exit.
- Restart your computer for the changes to be implemented and check if your disk/CPU usage got better. If it didn’t, feel free to revert the changes.
Solution 9: Booting in Safe Mode
By using the safe mode, we can determine whether the problem is due to any applications or the problem lies in the operating system. If the machine works perfectly in safe mode and the disk/CPU usage is normal, it means that some external application or service is causing the problem as all of these is disabled in safe mode.
- Follow the instructions on our article on how to boot your computer in safe mode.
- Once booted in the safe mode, open your task manager (by press Windows + R and typing “taskmgr”). Check if the disk usage and CPU usage are normal.
If there were no problems detected in the Safe mode, then you should perform a clean boot and determine which application/service is causing you the problem. If the problem still occurs in safe mode, it means the problem is with the operating system.This boot allows your PC to turn on with a minimal set of drivers and programs. Only the essential ones are enabled while all the other services are disabled.
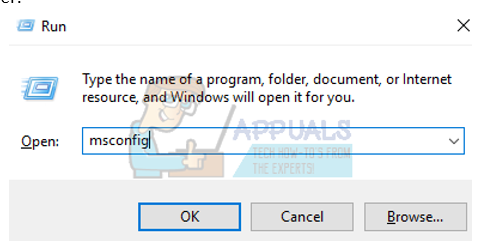
- Press Windows + R to launch the Run application. Type “msconfig” in the dialogue box and press Enter.
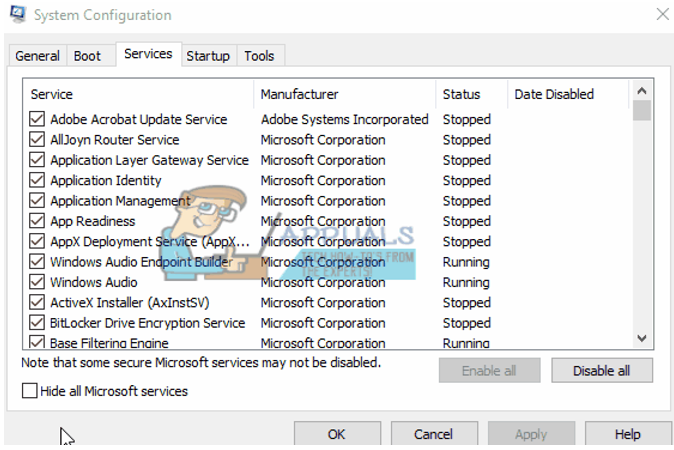
- Navigate to the Services tab present at the top of the screen. Check the line which says “Hide all Microsoft services”. Once you click this, all Microsoft related services will be disabled leaving behind all the third-party services.
- Now click the “Disable all” button present at the near bottom at the left side of the window. All the third-party services will now be disabled.
- Click Apply to save changes and exit.
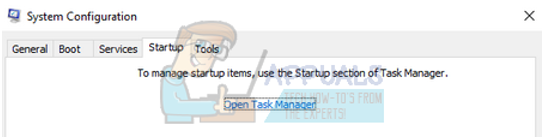
- Now navigate to the Startup tab and click the option of “Open Task Manager”. You will be redirected to the task manager where all the applications/services which run when your computer starts will be listed.
- Select each service one by one and click “Disable” at the bottom right side of the window.

- Now restart your computer and check if the high CPU/Disk usage persists. If it does, it means there was an external program which was causing the problem. Search through your installed programs and determine which application is causing your problems. You can also run Microsoft Security Scanner to check for Malware or any other threat causing problems to your computer.
Solution 10: Restoring Windows from Restore Point (Only if the problem doesn’t get fixed in Safe Mode)
If the problem still persists in Safe Mode (Solution 9), we can try restoring your Windows to a previous restore point you created. Save all your work correctly and backup any important data. Do note that all the changes to your system configurations after the last restore point will be removed.
- Press Windows + S to launch the start menu’s search bar. Type “restore” in the dialogue box and select the first program which comes in the result.

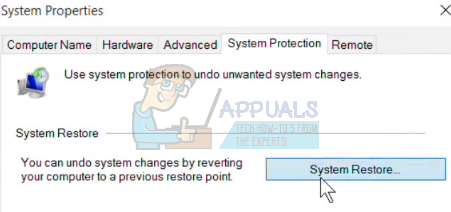
- One in the restore settings, press System Restore present at the beginning of the window under the tab of System Protection.
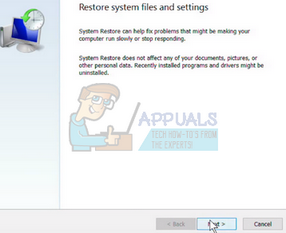
- Now a wizard will open navigating you through all the steps to restore your system. Press Next and proceed with all the further instructions.
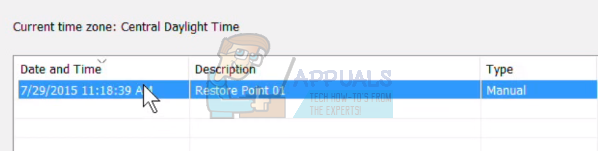
- Now select the restore point from the list of options available. If you have more than one system restore points, they will be listed here.
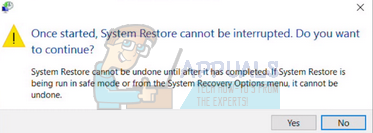
- Now windows will confirm your actions for the last time before it starts the system restore process. Save all your work and backup important files just in case and proceed with the process.
You can learn more about system restore to gain more knowledge about what it does and what are the processes involved.