Fix: Windows Search Bar Missing from Taskbar
A missing Windows 10 search bar from the taskbar is a common issue that surfaces when users upgrade from Windows 7 or Windows 8 (or 8.1) to Windows 10. It also occurs if the users apply the Creators Update or the Anniversary update to an old Windows 10 build. The issue occurs because the new Cortana feature overrides the classic search box behavior that was used on Windows 7 and Windows 8.
There are built-in ways to get the Cortana equivalent search box feature, but if you want the old feature, you have little choice but to use a third-party application.
Update: Before the Anniversary Update, you would be able to disable Cortana and get the classic search box back. However, this is no longer an option because Microsoft eliminated the toggle that was previously used to disable Cortana conventionally.
If you’re struggling to get the conventional search box back, there are a few methods that other users in a similar situation have used to resolve the issue. Please follow the methods below in order until you come across a fix that is satisfactory in helping you get the search box back.
But before moving on with the solutions, make sure your taskbar is located at the bottom of the screen.
Method 1: Enable the Search Bar From Cortana’s Settings
If the issue has appeared after an upgrade to Windows 10 or after installing a major update, the start bar was most likely hidden by a change in Cortana’s settings. This is typically encountered with users who are using desktop mode and is quite a regular occurrence after applying the Anniversary update.
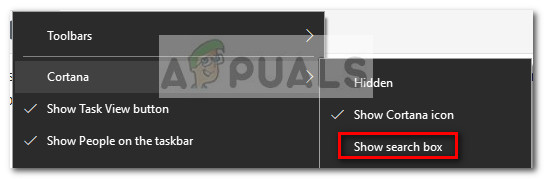
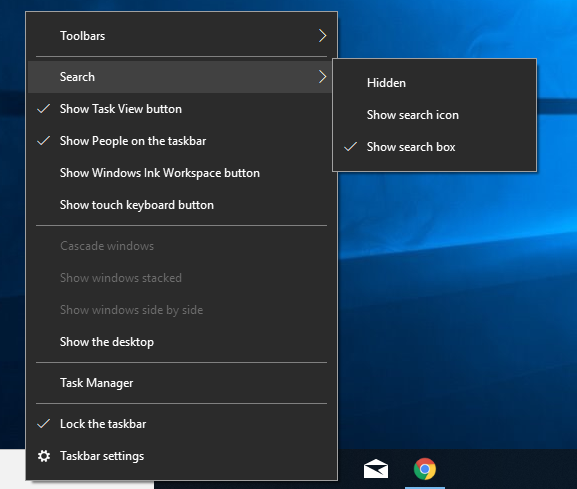
If this is the cause of the issue, you can get the search bar back by right-clicking on your taskbar, expanding the Cortana menu and clicking on the Show search bar.
Keep in mind that if you’re using tablet mode, the search bar will not appear even if the Cortana menu is set to Show search bar.
If this method didn’t enable you to get your search box back, continue down to Method 2.
Method 2: Disable the Tablet Mode
The search box in your taskbar might not be displayed because you are using Tablet mode. Tablet mode is a new Windows 10 feature that will automatically activate itself when if you detach a tablet from its dock.
However, tablet mode is designed to use with a touchscreen. It will only allow you to run applications in full screen and you will have certain restrictions. Among other restrictions, the search box is not available during tablet mode.
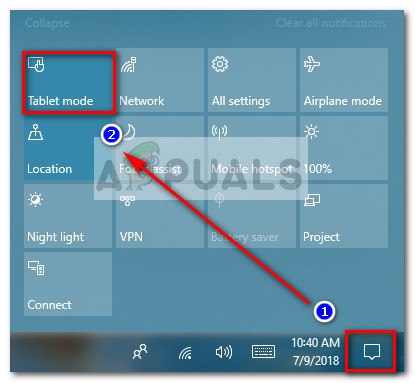
If you want to get your search box back, make sure that Tablet mode is disabled. The quickest way to do this is to open the notification tray menu and click on Table mode to disable it.
Note: If you find that Tablet Mode automatically re-enables itself without your say so, you can configure it to remain disabled. To do this,
- Open a Run box (Windows key + R), type
ms-settings:tablet mode
and hit Enter to open the Tablet mode tab of the Settings app.
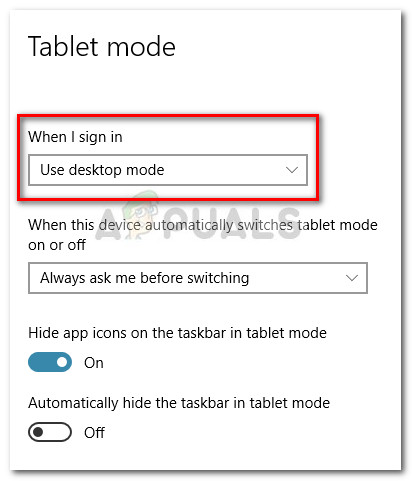
- In the Tablet mode tab, use the drop-down menu associated with When I sign in to change the default behavior to Use desktop mode. With this setting active, you just ensured that Tablet mode will not re-activate by itself.
Once Table mode is deactivated, you should regain the search box feature in your taskbar. If the search box is still not visible, continue down with Method 3.
Method 3: Disable the Use of Small Taskbar Buttons
Another popular reason why your taskbar no longer shows the search bar is because the Use of small taskbar buttons is enabled. Keep in mind that if the Use small taskbar buttons checkbox is enabled, the search box won’t be visible if you specifically enable it from Cortana’s settings.
Here’s a quick guide on how to make sure you’re not using small taskbar buttons:
- Right-click anywhere on your taskbar and choose Taskbar settings.
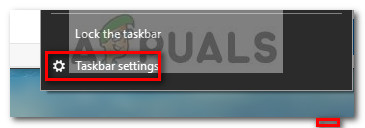
Open Taskbar Settings - Inside the Taskbar tab of the Windows Settings app, make sure the toggle associated with Use small taskbar buttons is set to Off.
Note: You can reach the same location by opening a Run box (Windows key + R), typingcontrol.exe /name Microsoft.TaskbarandStartMenu
and pressing Enter.
- Once the Use of small taskbar buttons is disabled, right-click on your taskbar, go to the Cortana menu and make sure that Show search box option is checked.
If you’re still unable to use to see the search box in your taskbar, continue down with Method 4.
Method 4: Set Up a Local User
Microsoft decided to prevent users from disabling Cortana – the thing that is interfering with the classic search box. You can no longer disable the assistant from Cortana’s menu on PC’s that have already applied the Anniversary update. However, there is a way of disabling Cortana forcibly and get the old search box back.
By setting up and using a local user with admin rights, you will ensure that Cortana will not replace the classic search bar. Cortana will only work as long as you are using a Microsoft account.
Here’s a quick guide on creating a new local account:
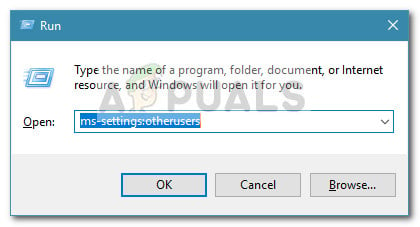
- Press Windows key + R to open up a Run box. Then, type
ms-settings:otherusers
and hit Enter to open the Family & other people tab of the Settings app.
Run ms-settings:otherusers Command - In the Family & other people tab, click on Add someone else to this PC (under Other people)
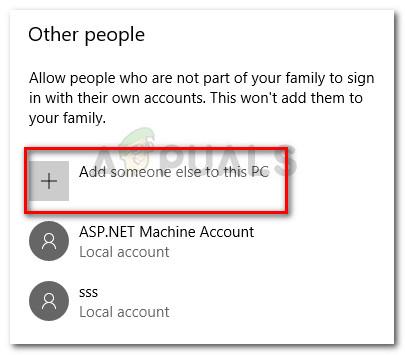
Add someone else to this PC - At the next screen, click on I don’t have this person’s sign-in information. Then, click on Add a user without a Microsoft account.
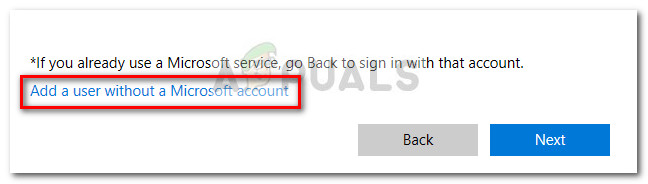
Add a user without a Microsoft account - Enter a username and password (optionally), then hit Next to complete the creation of the new user account.
- Next, click on the newly created account in the Family & other people and select Change account type.
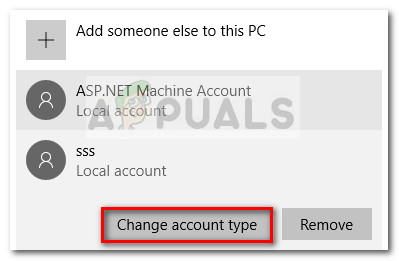
Change account type - In the next screen, use the drop-down menu to change the Account type from Standard User to Administrator and hit Ok to save the changes.
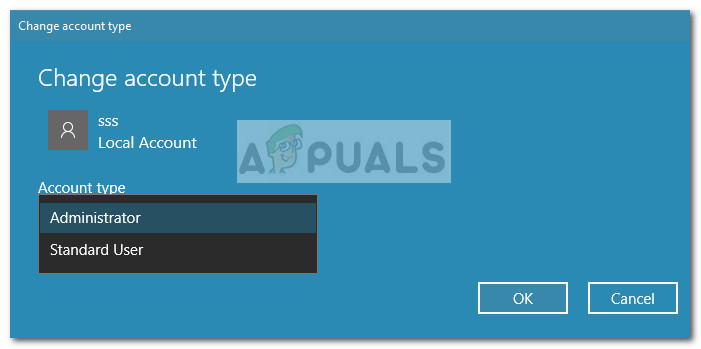
Change Account Type to Administrator - Then, log out from your current user and log in with the newly created local account. Next, follow the on-screen prompts to initialize the new account.
- You will notice that Cortana is disabled. In addition to this, a search box is integrated inside the Start menu.

Search Bar is Shown - If you want to include a visible search box in the taskbar, right-click anywhere on your taskbar and go to Search > Show search box.
Select Show Search Box
If this method doesn’t apply to your situation or you want to keep using a Microsoft account, continue with the next method below.
Method 5: Enable Search Box Via Registry Editor
You can also force the old search box to appear on your Taskbar by operating some changes using Registry Editor. By creating the SearchboxTaskbarMode value and setting the appropriate value, you can hide, unhide or replace the search box with the Cortana icon.
Here’s a quick guide on how to enable the search box via Registry Editor:
- Press Windows key + R to open up a Run box. Then, type “Regedit” and hit Enter. Next, hit Yes at the UAC (User Account Control) prompt to open Registry Editor with administrative privileges.
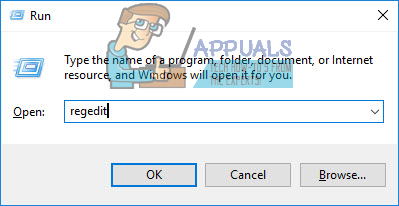
Run Regedit Command - Inside Registry Editor, use the right-hand pane to navigate to the following location:
HKEY_CURRENT_USER \ SOFTWARE \ Microsoft \ Windows\ CurrentVersion \ Search
Note: if the Search key is not created, right-click on CurrentVersion and choose New > Key and name it Search.
- With the Search key selected, right-click inside the right-pane and choose New > Dword (32-bit) value. Then, name the newly created Dword SearchboxTaskbarMode.
- Double click on SearchboxTaskbarMode, set the Base to Hexadecimal and the Value data to 2.
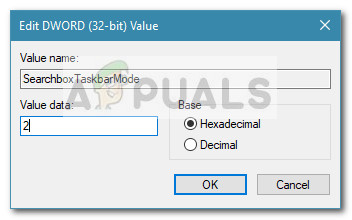
Change Registry Value to 2 Note: You can play with this value to trigger different behaviors: 0 = Hidden Search bar, 1 = Cortana icon instead of the search bar.
- Once the modification is done, close Registry Editor and reboots your computer to enforce the changes. At the next startup, you should see that the startup is back into your startup.
If this method wasn’t effective or you’re looking for a different approach, continue down with Method 6.
Method 6: Disable Cortana Via Registry Editor
If you want to keep using your Microsoft account, another workaround that will enable you to get the search box back into your taskbar is to operate a small Registry change that will disable Cortana.
Keep in mind that with Cortana disabled, the old search bar behavior will be enforced as soon as you reboot your computer. Here’s a quick guide on how to disable Cortana via Registry Editor:
- Press Windows key + R to open up a Run box. Then, type “Regedit” and hit Enter, then choose Yes at the UAC (User Account Control) prompt to open Registry Editor with administrative privileges.
Run Regedit Command - Inside Registry Editor, use the right-hand pane to navigate to the following location:
HKEY_LOCAL_MACHINE \ SOFTWARE \ Policies \ Microsoft \ Windows \ Windows Search.
- With the Windows Search key selected, right-click on the right pane and choose New > Dword (32-bit) Value. Then, name the newly created Dword to AllowCortana.
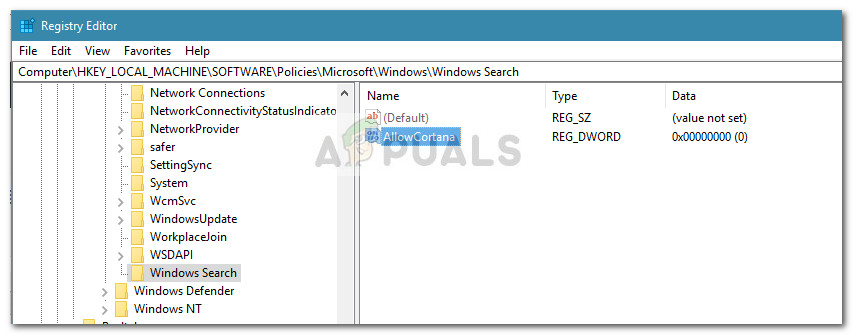
Create AllowCortana Registry Entry - Double-click on the AllowCortana value and set the Base to Hexadecimal and the Value data to 0. Then, hit Ok to save the new value.
- Close Registry Editor and reboot your computer to force the changes to take effect. At the next startup, you will notice that Cortana is disabled. If the old search bar is not visible right away, right-click on the taskbar and choose Search > Show Search box.
Note: If you ever want to re-enable Cortana, simply return to the location of the AllowCortana value in Registry Editor and change the value to 1 or delete it altogether.
If you’re looking for a different way of re-enabling the old search box behavior, move down to Method 6.
Method 7: Turn On Taskbar For All Displays
If you are using more than one display with your system, then, by default, the taskbar will not show for multiple displays. In that case, enabling the taskbar for multiple displays will bring out the Search Box on all displays and the problem will be solved.
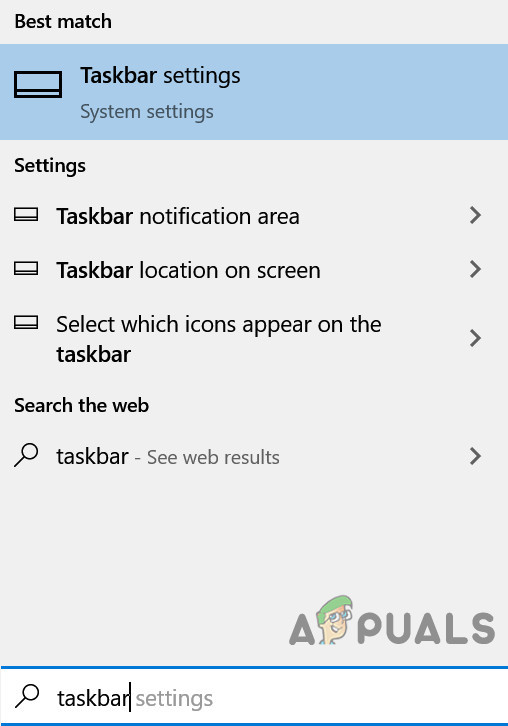
- Press Windows key and type Taskbar in the primary window where search bar is present. Then in the resulting list, click on Taskbar Settings.
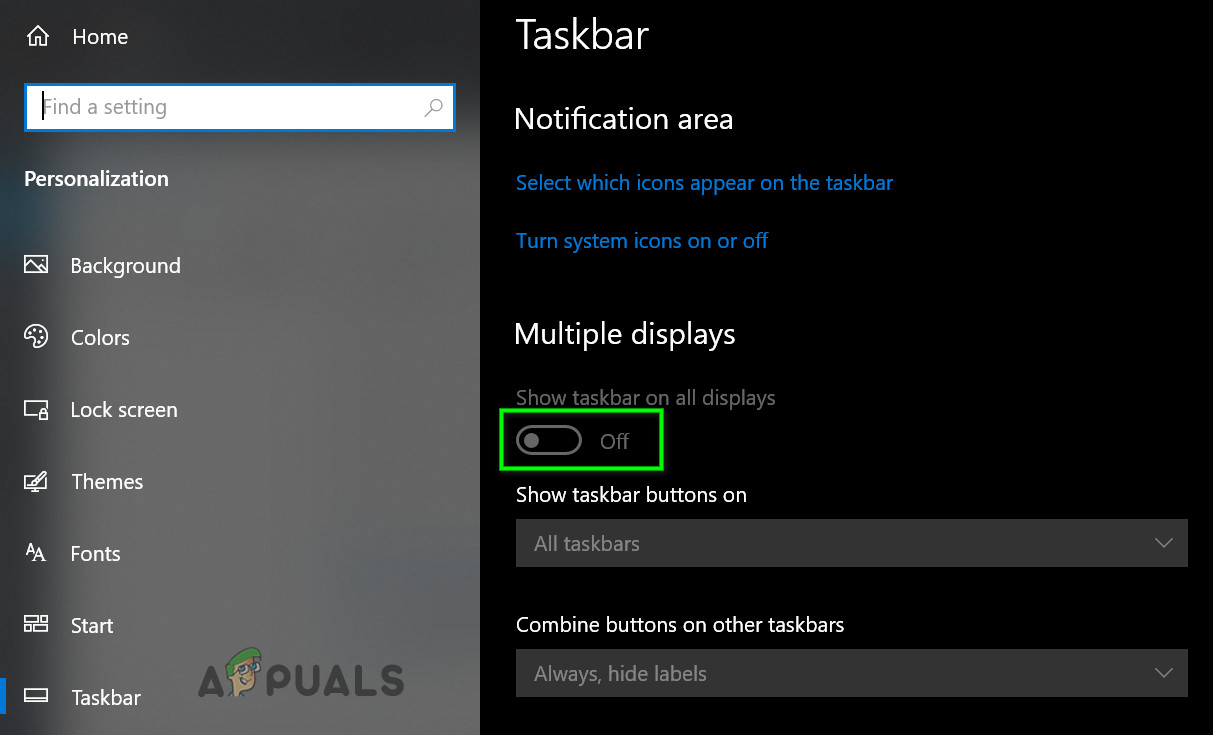
Open Taskbar Settings - In the Taskbar Settings window, scroll down till you find the option of Multiple Displays.
- Now toggle the switch of Show Taskbar on All Displays to On and then check if the problem is solved. If there is no effect, restart your computer or disconnect and connect all your multiple displays again.
Show Taskbar on All Displays
Method 7: Use Start Is Back or Classic Shell
The fact of the matter is, the only way to get back a search box that is identical to the old search box is to use a third-para third-party solution. Classic Shell or Start Is Back are both great candidates that will enable you to return your start menu to the style that was featured on XP, Windows 7 and Windows 8.
In addition to the aesthetic aspect, these programs will also implement the advanced search feature onto a taskbar next to the start menu (but not in it).
Most users agree that Start Is Back is more stable and more efficient than Classic Shell, but the disadvantage is that it’s only available for a free trial and becomes paid after a short while. Here’s a quick guide on installing Start Is Back:
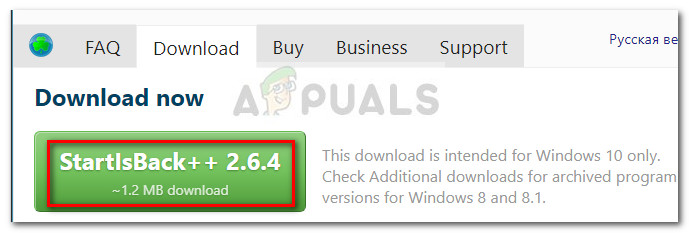
- Visit this link (here) and download the latest version of StartIsBack.
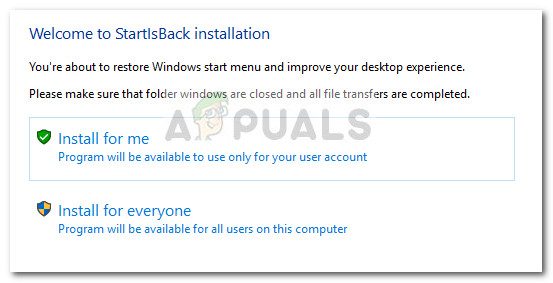
Download StartIsBack - Open the StartIsBack installer and click on Install for everyone or “Install for me”, depending on your personal preferences.
Select Type of Installation - Choose the location where you want the software to be installed, then click the Install button to begin the installation process.
- Once the software is installed, you will see that the Start menu along with the search function was promptly changed to the old format.
Old Search is Showing - If you ever decide to remove it, you can do it conventionally from Programs and Features.
If you want to avoid paying any money, you can use Classic Shell instead, but make sure to download the latest version available to avoid any incompatibilities with the latest Windows 10 updates. Here’s a quick guide on how to install Classic Shell:
- Visit this link (here) and click the Download Now button. Then, download the latest stable version of Classic Shell.
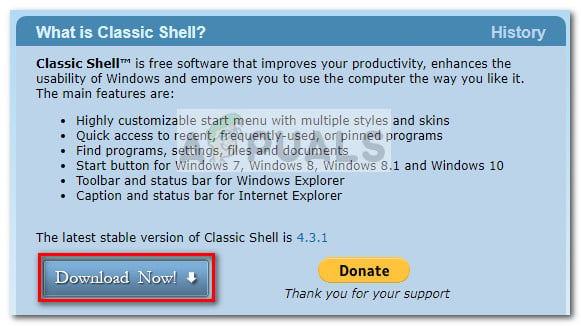
Download Classic Shell - Once the download is complete, open the installation executable and follow the prompts to install Classic Shell to your computer.
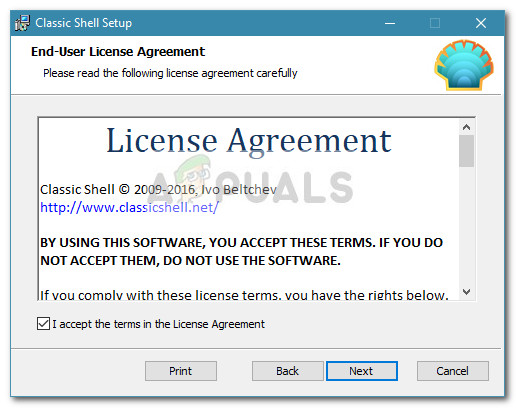
Install Classic Shell - Click Yes at the UAC (User Account Control) prompt to accept the changes.
- Click the Start icon to open the initial settings preferences of Classic Shell and choose the style of your Start menu.
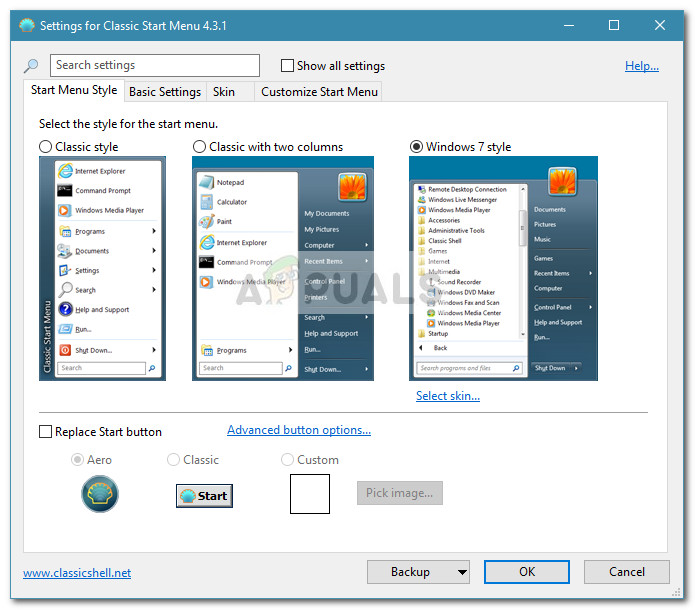
Classic Shell Settings If nothing has worked for you, then you may try SFC scan to rule out any system’s files corruption.