How to Fix Windows 10 Freezes Randomly?
The issues most commonly encountered by users are related to hardware and driver incompatibility. Initially, these components were designed to operate on your original version of Windows, but after upgrading to Windows 10, they might not be compatible anymore, which often results in random hangs and freezes.

While some programs and drivers may work without issues post-upgrade, others may become incompatible, with the Video/Graphics driver being the most commonly affected. There are also other potential causes for these issues, but we will first troubleshoot the Video/Graphics driver as it is a frequent reason.
Before proceeding with the troubleshooting steps, you may consider a clean install; however, this is not a guaranteed solution for flawlessly running Windows 10. It is often better to address the specific issues being experienced using various methods that have helped others.
If your Windows 10 started freezing after the Creator’s Update, please refer to our Creators Update Crashes guide.
1. Reset the Winsock Catalog
When you reset the Winsock catalog, it clears out the current configuration and restores it to the default state, which can often resolve any remaining network-related issues that might cause system freezes, particularly those resulting from corrupted network activity or malware.
This step can help you re-establish a clean slate for network communications, potentially fixing freezing problems linked to network service disruptions or software conflicts.
- Press the Windows Key + X and select Command Prompt (Admin). In the Command Prompt window, type the following and press Enter:
netsh winsock reset
- Reboot the PC and test.
2. Increase Virtual Memory
Virtual Memory is a backup when the physical memory (RAM) is insufficient while running demanding programs. It combines RAM with temporary storage on your hard drive. Some users have reported that increasing Virtual Memory to 8 GB can resolve freezing issues.
- Press Windows Key + R, type sysdm.cpl and click OK. Then go to Advanced > Settings > Advanced > Change.
- Uncheck Automatically manage paging file size for all drives and select Custom size.
- Set Initial size to 1000 and Maximum size to 8192.
- Click OK and Restart your PC for the changes to take effect.

3. Update Graphics/Video Drivers
Many drivers created for Windows 7 and Windows 8.x are compatible with Windows 10. However, if you’ve installed old drivers on Windows 10 or if they were carried over from a previous installation of Windows 7/8/Vista, they’ll need to be updated.
- Press the Windows Key + X and select Device Manager. Navigate to Display adapters, right-click your graphics card (note the adapter name for later reference), and select Update driver software.
- Choose to Search automatically for updated driver software and follow the on-screen instructions. If the driver is updated successfully, restart your PC and observe performance. If issues persist, visit the manufacturer’s website, download the latest drivers, install them, and then reboot your computer. If updating the graphics driver doesn’t resolve the issue, proceed to update the audio driver similarly.
- If problems continue, issues with Winsock may be to blame.
4. Turn Off Link State Power Management
Link State Power Management (LSPM) is a power-saving feature with two options: Moderate Power Savings and Maximum Power Savings. Turning off LSPM has helped users experiencing blank screens and freezing, especially when using NVIDIA/AMD graphics cards.
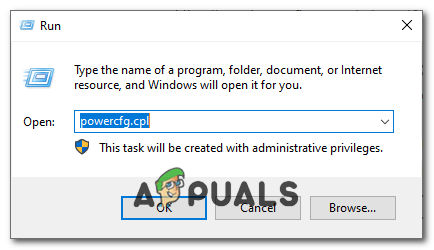
- Press Windows Key + R.
- Type powercfg.cpl and click OK.
- For your active plan, click Change Plan Settings.
- Go to Change Advanced Power Settings, scroll to PCI Express > Link State Power Management, and set it to Off. Test to see if this resolves the issue.
5. Turn Off Fast Startup
Deactivating the Fast Startup feature in Windows 10 can sometimes be the secret to overcoming system instability. Fast Startup basically limits the shutdown process and can retain system issues upon startup. By turning it off, your computer performs a more complete shutdown and a fresh start upon booting, potentially clearing any temporary glitches and preventing the persistent freezing.
- Right-click the Start Menu button to open the WinX Menu.
- Select Power Options.
- Click on Choose what the power buttons do.
- Click Change settings that are currently unavailable.
- Uncheck the option for Turn on Fast Startup (recommended) to disable it.
- Click Save changes.
6. Diagnose Your Hard Disk for Issues
Given that hard drives have a finite lifespan and their functionality deteriorates over time, identifying and resolving any disk-related issues can effectively eliminate these disruptions and restore smooth operation to your computer. By following the provided link to test your hard disk, you’re taking an important step to makes sure that your hardware is in good health and isn’t contributing to the freezing problem.
To test your hard disk, click here.
7. Switch your Broadcom Network Adapter’s Driver Software to the Microsoft one
Occasionally, Broadcom network adapters use proprietary driver software that conflicts with Windows 10, which can cause your system to freeze. By switching to the Microsoft-provided driver—a version tailored for smooth integration with the Windows operating system—you may eliminate these compatibility issues and enhance system stability.
This switch makes sure that your network adapter communicates more effectively with the OS, potentially resolving the freezing problems you’ve been experiencing.
- Right-click the Start Menu button and select Device Manager.
- Expand Network adapters, right-click your Broadcom adapter, and choose Properties.
- Go to the Driver tab.
- Click Update Driver… and choose Browse my computer for driver software.
- Select Let me pick from a list of device drivers on my computer.
- Choose the Microsoft driver variant and click Next. Wait for the installation to complete.
- After installation, restart your computer and check if the problem is solved.
8. Disable Unwanted Apps
Disabling unwanted apps helps free up valuable system resources. These apps can consume memory and processor power, potentially leading to performance issues and unexpected freezing. By carefully selecting which apps are allowed to run in the background, you can make sure smoother operation and prevent system slowdowns.
- Click the Start button, select Settings, then choose Privacy.
- Scroll down to Background Apps and click on it.
- Toggle off the apps you prefer not to run in the background.
9. Removing Temporary Files
When your Windows 10 system accumulates too many temporary files, it can slow down processes and lead to freezing. These files are often leftovers from system or application operations.
By clearing out these temporary files, you’re eliminating potential conflicts or resource clogs that might be causing the system to hang, thus restoring smoother performance. This step is like giving your computer a fresh start without the baggage that may be impacting its efficiency.
- Press Windows Key + R to open the Run dialog.
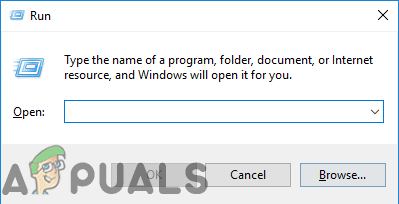
- Type Temp and hit Enter.
- Select all files by pressing Ctrl + A.

- Delete the files permanently by pressing Shift + Delete.
10. Disabling C-States in BIOS
Essentially, C-States are various power-saving states that your processor can enter when it’s not being fully utilized. While these states are fantastic for reducing energy consumption, they can sometimes lead to performance problems, such as system freezes or sluggishness. By switching them off, you basically instruct your CPU to maintain full alertness, even during periods of low demand, which can help stabilize system performance and eliminate freezes.
Remember, it’s important to strike a balance between energy efficiency and reliability, especially if you’re running critical applications that demand consistent processing power.
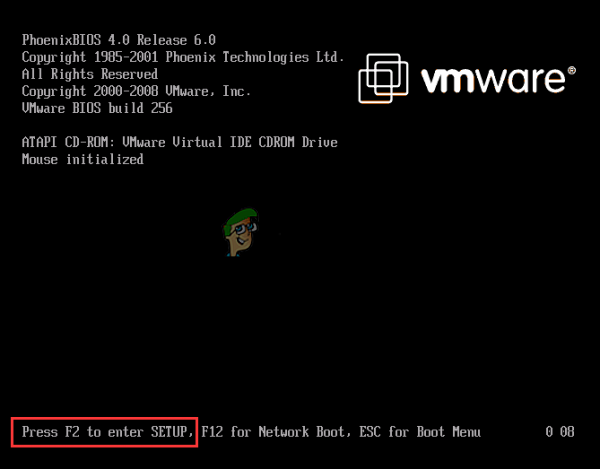
- Restart your computer and press the Setup key shown during the startup screen. Common keys are F12, F2,
F1, Del, or Esc.
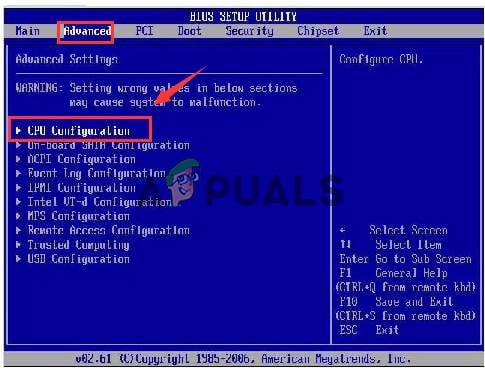
- In BIOS, navigate to Advanced then select CPU Configurations.
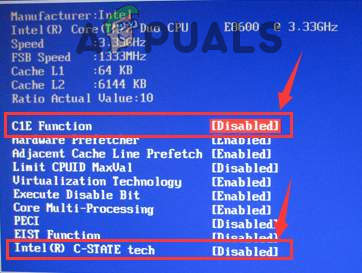
- Disable C1E function and Intel(R) C State function.
- Save changes and exit BIOS.
11. Restoring Computer
By reverting your computer’s state to a previous point—before the freezing issues began—this powerful tool undoes recent changes in system files, installed applications, and settings that might contribute to the problem. It’s similar to turning back the clock to a golden hour when your system functioned without interruption, effectively fixing issues introduced by recent software updates or configurations.
- Press the Windows + S keys and type Restore. Select Create a Restore Point from the results.

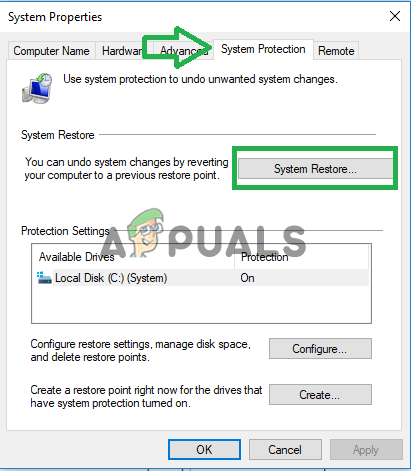
- Click the System Protection tab and then System Restore.
- Follow the wizard instructions, select a restore point, and confirm your choice.
12. Defragging your HDD (Skip if you have an SSD)
When you defrag an HDD, it reorganizes fragmented data, so your hard drive works more smoothly. This process can reduce system sluggishness and freezing, which occur when the drive takes longer to access scattered pieces of data. However, this step doesn’t apply to SSDs as they store data differently and don’t benefit from defragmentation—in fact, doing so could shorten their lifespan.
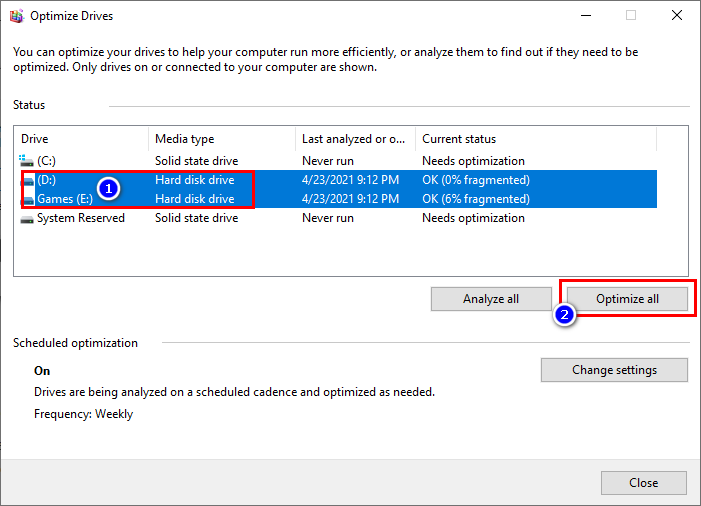
- Open the Run dialog by pressing Windows Key + R and type dfrgui.
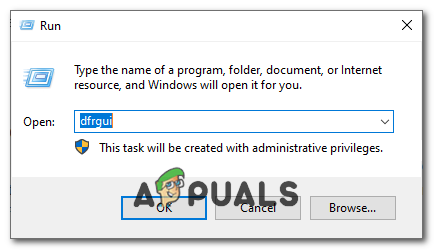
- Select your hard drives and click Optimize All.
13. Selecting High-Performance Power Plan
By shifting to a High-Performance Power Plan, your computer prioritizes performance over energy efficiency. This change can provide your processor and other components with the full power they need to operate effectively, potentially reducing the likelihood of freezing and sluggish behavior that might occur with power-saving settings enabled.
It’s a quick adjustment that could make a significant difference, especially on systems that aren’t battery-dependent.
- Press Windows Key + R and type powercfg.cpl.
- Expand Show additional plans and select the High-Performance option, then restart your computer.

Please note that you can access these features and settings within your respective system configurations, and physical hardware variations may result in different steps for your machine.