8 Ways to Fix Apple ID “Verification failed” Error
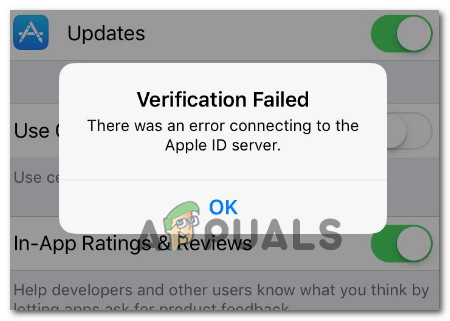
After installing the latest iOS update, many users have found themselves unable to sign in to iCloud or restore from backups. Even when login credentials are entered correctly, the following error message appears:
“Verification failed: There was an error connecting to the Apple ID Server.”
Upon investigating this issue thoroughly, it turns out that there are several different scenarios that might directly or indirectly cause the “Verification failed: There was an error connecting to the Apple ID Server.” error in iOS:
- Inconsistent date & time – Keep in mind that when you attempt to restore from a cloud backup or create a new one, your phone is programmed to cross-check the device date & time against the date and time of the Cloud servers. If the two don’t match, expect the attempt to fail and to see the error message discussed in this article. To fix it, you’ll need to ensure that you are using the correct date and time on your iOS device.
- iTunes Auth token glitch – Another scenario that is known to cause this problem is when the phone has been idle for a long period of time while also connected to iTunes. This might end up facilitating the apparition of an Auth token glitch that can be resolved by signing out from both iTunes and the App Store.
- The iPhone is using mobile data – Even with the fact that Apple doesn’t explicitly say this, a LOT of users are reporting that they fixed the issue immediately after switching from 3G, 4G, or 4G data to Wi-Fi and repeated the backup operation. This seems to suggest the possibility that the backup transfer protocol is somehow interrupted on mobile data.
- Wi-Fi Network glitch – As it turns out, older iPhone methods might be affected by this weird issue where the backup protocol stops working after a long period of being connected to a Wi-Fi Network. If you’ve been spending too much time at home or work, you can get it fixed by logging out and back on to your Wi-Fi.
- Network Settings Inconsistency – Depending on your circumstances, this problem can also be related to corrupted or invalid cached data generated by your network usage. Another scenario is an incompatible setting that you previously established for your current network connection. To fix this issue, you need to clear the current Network settings.
- Apple ID password is not correct – Don’t dismiss this possibility even if you are 100% convinced that you’re using the right password. Take the time to verify if you’re inputting the right Apple ID password and change it if necessary in order to bypass the error.
- iOS glitch – As it turns out, some affected users managed to fix the issue simply by force-restarting their devices. If you haven’t tried this yet, reboot your iOS device and attempt to restore the previously created backup once the system boots back up.
- Missing Verification code – Keep in mind that depending on the nature of your iOS level of security, you might be prompted to use a verification code in order to be able to restore from an iCloud backup. If that’s the case, make sure you follow the instructions correctly.
Now that we went over every potential cause, let’s go over a list of verified fixes that other affected iOS users have successfully used to get to the bottom of this issue.
1. Update the Time & Date to Correct Values
It’s important to remember that when you’re trying to make a new cloud backup or restore from an existing one, your phone checks the device date and time against the date and time on the Cloud servers.
If they don’t match, you’ll probably see the error message described in this article. If this is an application scenario on your particular iOS device (as you see the date & time being off), you can fix it by updating the time & date to the correct values.
Follow the instruction for instructions on setting the correct date & time on your iOS device:
- Unlock your iOS device and tap on the Settings icon from your home screen.
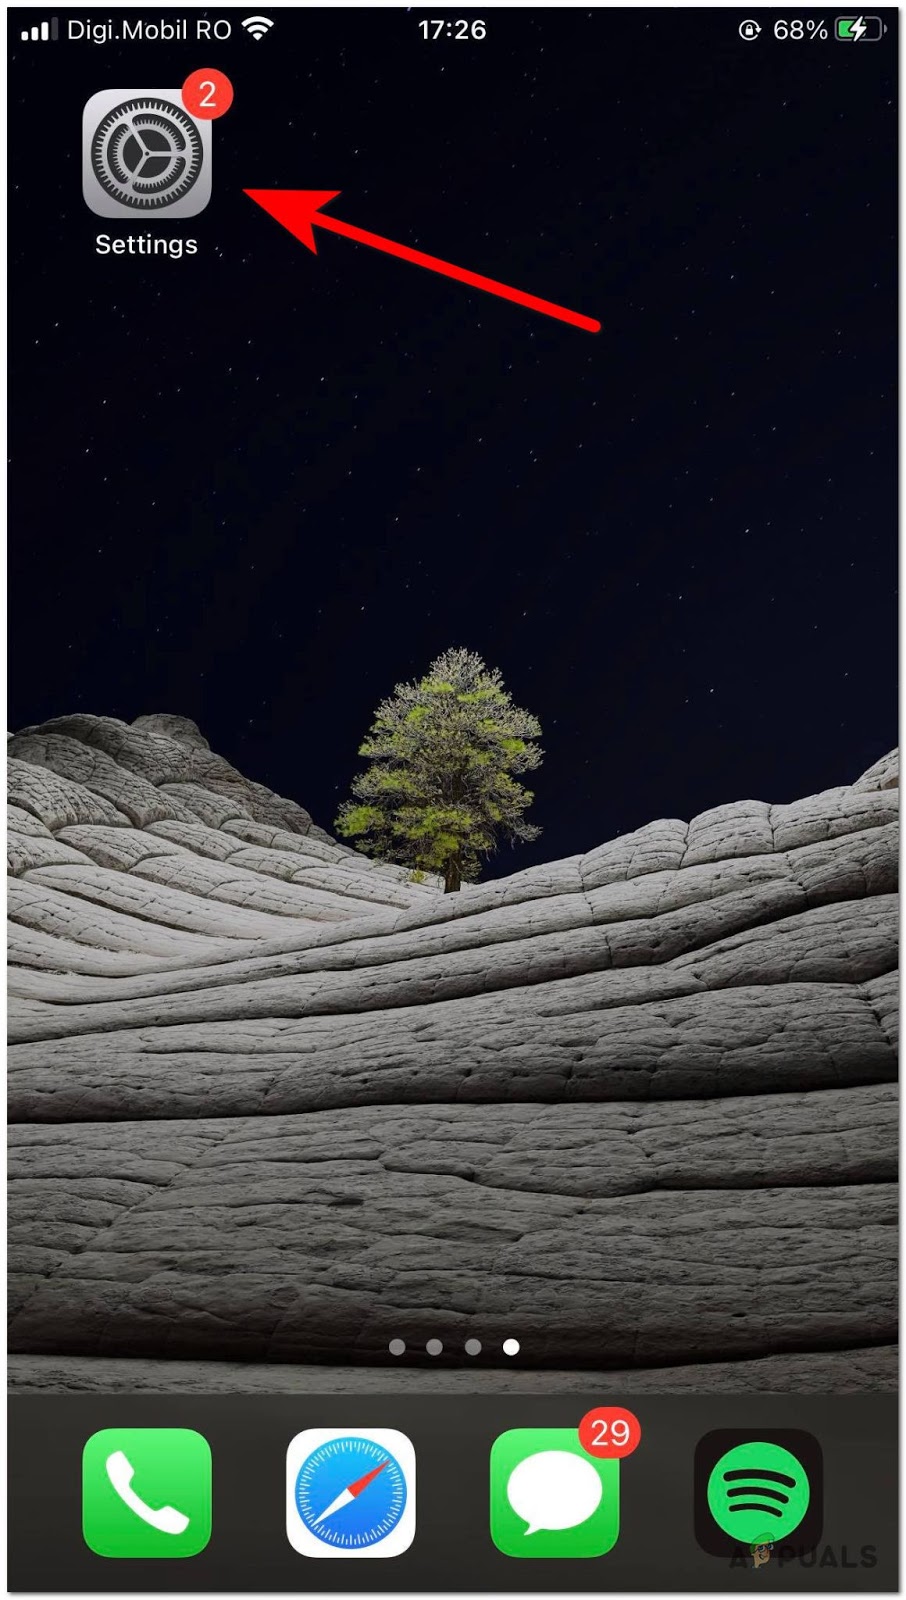
Accessing the Settings menu on iOS - From the Settings menu, tap on the General tab.
- From the General Tab, tap on Date & Time.
- Scroll down through the list of available options, then make sure that the toggle named Set Automatically is turned on.
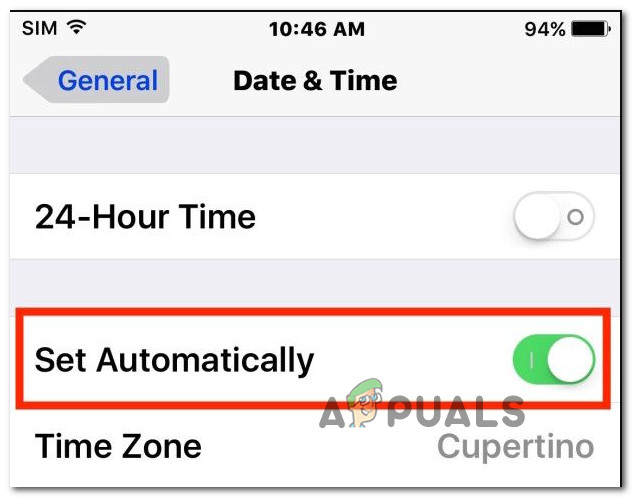
Setting the Date & Time automatically - Once you’ve made this change, reboot your phone and see if you can now restore from an existing iCloud backup.
If you’re still dealing with the sam “Verification failed: There was an error connecting to the Apple ID Server.” error, move down to the next method below.
2. Sign Out from iTunes & App Store
One potential reason this glitch occurs is if the phone has been inactive for a while still being connected to iTunes. This could end up causing an Auth token issue that can be fixed by signing out of both the App Store and iTunes.
Several affected users that were also dealing with this particular issue have confirmed that the problem was resolved simply by signing out from iTunes & App Store, then back again.
If you’re looking for instructions on how to do this, follow the steps below:
- Launch the Settings app, and open both iTunes & App Store – even if you have a problem while signing in to iCloud.
- From iTunes, tap on your Apple ID at the top, and a pop-up window will appear.
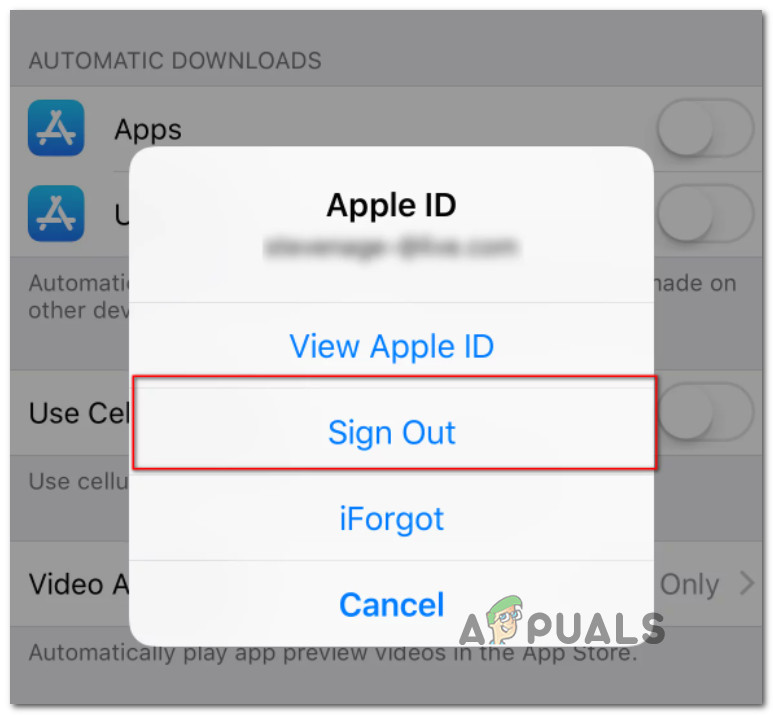
Signing out of your Apple ID from iTunes and App Store - Next, tap on the sign out from the window that just appeared.
- Repeat step 2 and step 3 with the Apple Store too.
- Sign back in with your Apple ID, then retry the backup operation and see if the problem is now fixed.
If the same problem is still occurring, move down to the next method below.
3. Use a Wi-Fi connection
Apple users have found that switching from 3G, 4G, or 4G data to Wi-Fi and repeating the backup operation fix the issue immediately. This suggests that the backup transfer protocol is somehow interrupted on mobile data.
If you’re currently connected to the Internet via Mobile data on your iOS device, switch to a Wi-Fi connection before attempting to leverage the iCloud backup again. and while you’re at it, also make sure that your VP is turned off.
Follow the instructions below to connect to a Wi-Fi network:
- To join a Wi-Fi network from your Home screen, go to Settings > Wi-Fi and turn on Wi-Fi.
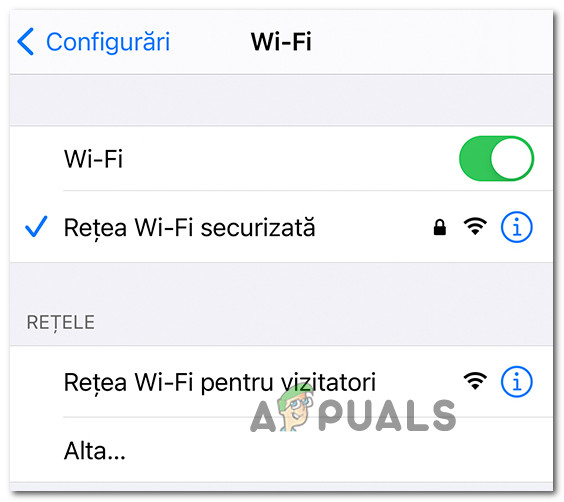
Enabling Wi-Fi and connecting to a network Note: After you do this, your device will automatically search for available networks.
2. Tap the name of the network you want to join. Depending on the network, might need to enter the password or agree to terms and conditions before you can connect. - Once you are connected to a Wi-Fi network, go ahead and attempt doing the backup once again.
If the problem is still not fixed yet, move down to the next method below.
4. Reconnect to Wi-Fi Network
Older iPhone methods may be interrupted by a strange issue where the backup protocol stops responding after an extended time being connected to a Wi-Fi network. If you have been spending significant time at home or work, you can try resolving the issue by logging out and back into your Wi-Fi.
Several affected users have confirmed that after they made the OS ‘forget’ the Wi-Fi and connected to it again, the “Verification failed: There was an error connecting to the Apple ID Server.” error stopped occurring:
- To change your Wi-Fi settings, go to Settings > Wi-Fi.
- If you want to forget a Wi-Fi network, tap the info button next to the network name and then tap Forget This Network.
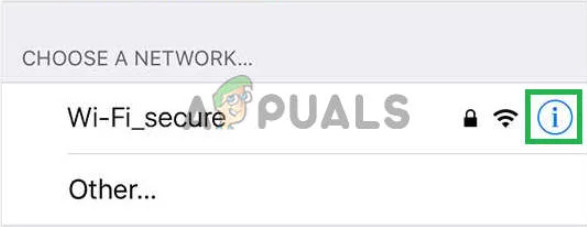
Accessing the info button - A message will ask you to confirm your action; select Forget when you see the prompt.
- Turning off and then back on your Wi-Fi can often fix minor connection problems. To do this, turn off your Wi-Fi, wait a couple of seconds, and turn it back on again.
- Once the Wi-Fi networks appear, select the same network you were trying to connect to originally.
- Depending on the network, you might need to enter a password (also called a key).
- If the network is password-protected, type the password and then tap Join or Log in.
If this method didn’t work in your case, move to the 5th fix below.
5. Reset the Network settings
This problem might be caused by cached data from your network usage or by incompatible settings for your current network connection. To fix the issue, you should clear your current Network settings.
This method is typically reported to be effective in situations where the user has previously set some custom network parameters that ended up affecting certain iOS components.
Follow the instructions below for step-by-step instructions on resetting the network settings:
Note: This procedure will NOT delete any data from your phone memory. It will only delete your Wi-Fi passwords and network settings.
- First things first, access the Settings menu from your home screen, then navigate to General.
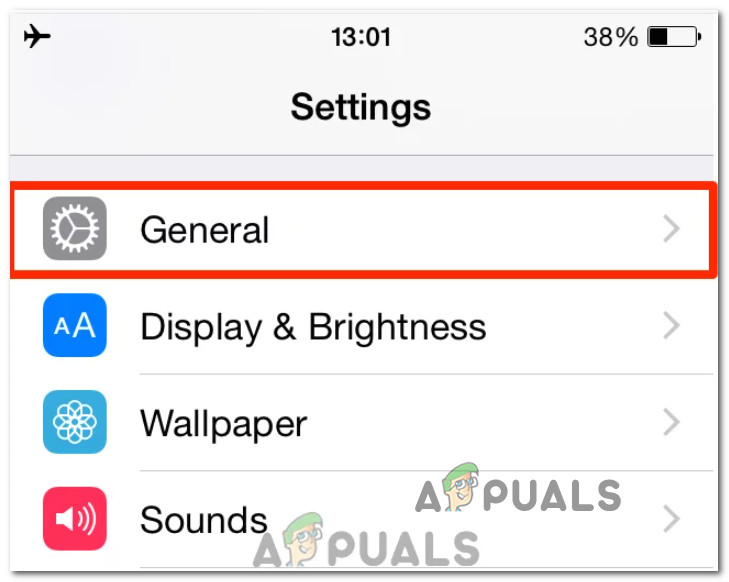
Accessing the General Settings menu 2. Scroll to the bottom, and select the Reset section.
3. Next, choose Reset Network Settings from the cluster of settings available on the screen.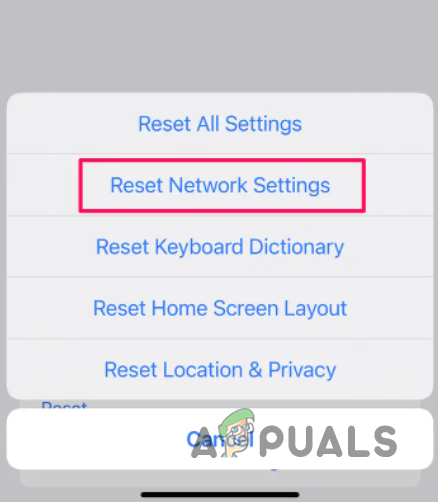
Resetting the Network settings Note: You may be prompted to enter your passcode depending on your security settings.
4. Finally, confirm your action by tapping Reset Network Settings on the pop-up dialog box. - Wait until the operation is complete, then restart your iOS device and see if the problem is fixed once the next startup is complete.
6. Change Your Apple ID Password
You shouldn’t disregard the possibility that you’re using the wrong password even if you’re totally convinced that you have the right one. Make sure to verify if you’re putting in the correct Apple ID password and change it if necessary to bypass the error message.
Plus, if your password is outdated, it might not meet Apple’s standards for strength. This could be the reason you’re having trouble with verification. Luckily, you can change it on any device with an internet connection.
Here’s what you need to do to change your Apple ID password:
- Access the official Apple ID website and sign in with the same account as the one you have active on the iOS device affected by this issue.
Signing in with Apple ID - Click on Manage your Apple ID, enter your Apple ID and Password, and then click on Password and Security located in the left menu.
- Answer your security questions to verify your identity or enter the code that Apple sends to your mobile device.
- Click Change Password, and a new page will open up.
Note: Type in your current (old) password, and choose a new one that you will need to type twice to verify. - Then, once the page accepts it, you will need to update it on all your iDevices.
Once the Apple-ID password has been changed, attempt to repeat the operation that was leading up to the “Verification failed: There was an error connecting to the Apple ID Server.” and move to the next method if this one was ineffective.
7. Force Restart
If you’re having trouble restoring a backup from iCloud, some users have found that restarting their device can fix the issue. If you haven’t tried this yet, reboot your iOS device and attempt to restore the previously created backup once the system boots back up.
Keep in mind that a Force restart is a little different than how you’d normally go about restarting your phone.
Follow the instructions below:
- To shut down your device, press and hold both the volume button (located on the left-hand side of the device) and the side button (located on the right) until the power-off slider appears.
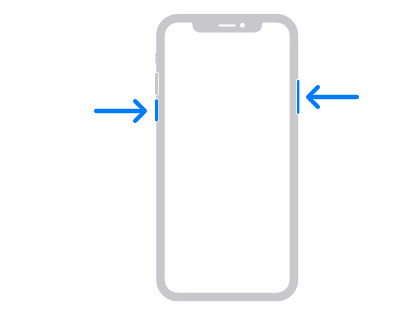
Press Volume + Power button on iPhone - Drag the slider to complete the shutdown process.
- Once it is off, wait 30 seconds before attempting to turn it back on. Wait this period out to ensure that the power capacitors are drained.
Note: If your device is frozen or unresponsive, you may need to force restart your device. - To turn your device back on after a successful shutdown, press and hold the side button (on the right-hand side of your iPhone) until you see the Apple logo.
- Attempt to restore the backup that was previously triggering the “Verification failed: There was an error connecting to the Apple ID Server.”
If the problem is still not fixed, move down to the final method below.
8. Use a verification code
Remember that depending on the security settings on your iOS device, you might need to enter a verification code to restore from an iCloud backup.
If your iPhone isn’t syncing up properly with your Apple ID, that might be why this issue is occurring. So in this step, we’ll use a verification code to confirm our login.
If that’s the case, be sure to follow these instructions carefully:
- To sign in on any other iPhone, use your Apple ID.
- Open Settings, then iCloud.

Accessing the iCloud - Select iCloud, then Password and Security.
- Click on Generate Verification Code.
- Enter this verification code into the iPhone with the error to fix it completely.
NOTE: Also, if you have installed any VPNs, OpenDNS, or Cisco Umbrella on your device, uninstall them completely because they can inhibit you from connecting to Apple servers if you’re using iOS.
Did this article help you in fixing the Verification Failed error on your iPhone? Make sure you let us know in the comment section below. Also, if you know any other methods which fix this issue, don’t be shy to share them with us.