How to Fix ‘Outlook isn’t Configured to have a Default Profile’ Error
Many people experience the error “Setup cannot continue because outlook isn’t configured to have a default profile” when they try to sync mail, contacts, tasks, and calendar entries between Outlook and iCloud on their computer.
This error primarily states that Outlook requires that all the protocols used for synchronization are not set to Outlook; instead, there may be some other application which is set to open that specific protocol. This usually happens when you install an application or by default, the protocols are not set to be opened by Outlook. We will go through all the available workarounds regarding this issue. Start with the first one and work your way down.
Solution 1: Setting Outlook Protocols
First, we will try to solve the error by targeting the error message. If this doesn’t work, we will move on to install a different version of iCloud and then try again. Mostly, after changing the required protocols, the problem is fixed.
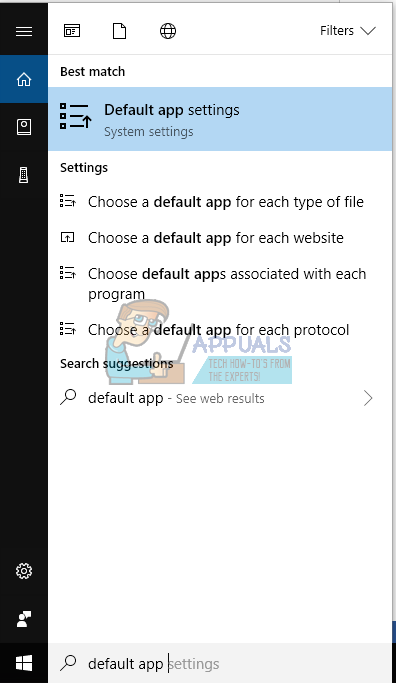
- Press Windows + S, type “Default app” in the dialogue box and open the application.
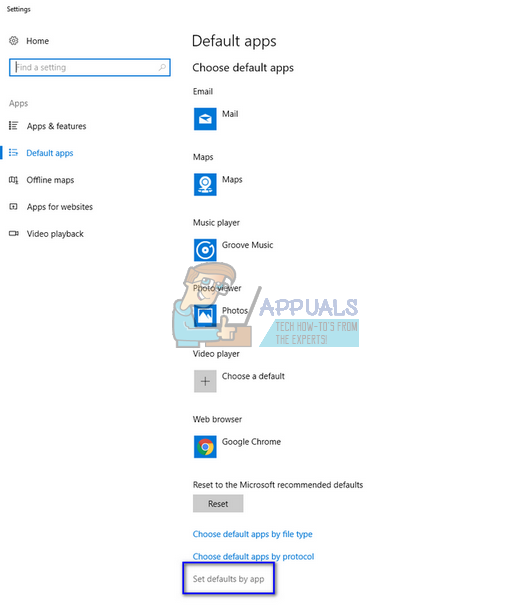
- Select “Set defaults by app” present at the lower end of the window.
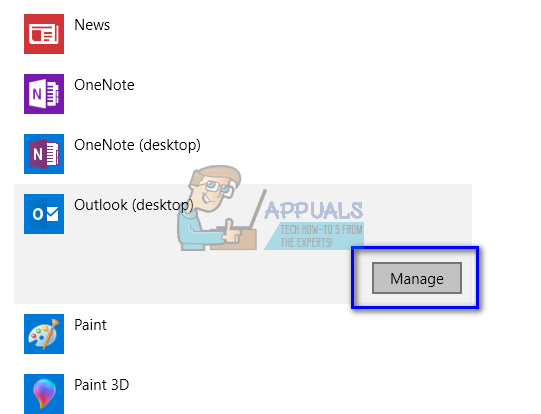
- Search through the list of application for “Outlook”. Click it and select “Manage”.
- Now make sure that all the necessary protocols are set to open with Outlook. If they are not, you can change them easily by selecting Outlook from the list.

- After making the necessary changes we have to repair the Outlook application to ensure that the new changes are implemented in the system. Press Windows + R, type “control panel” in the dialogue box and press Enter. Now click on “Uninstall a program” located under “Program and Features”.
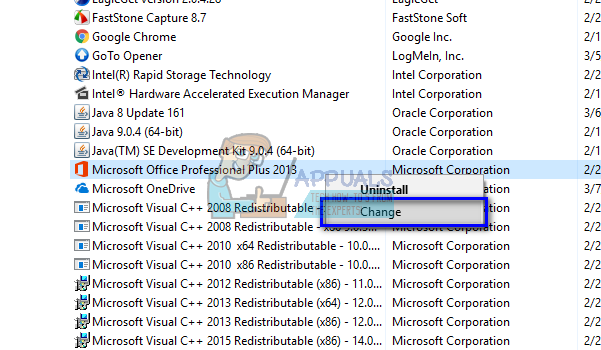
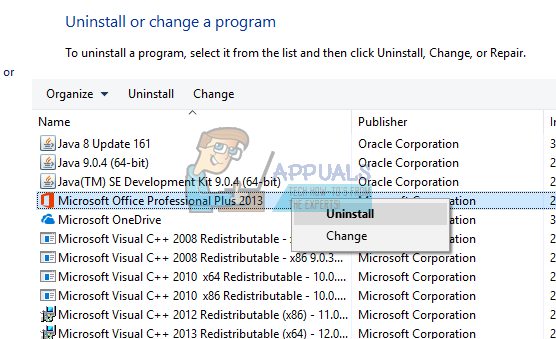
- Since Outlook is part of Microsoft Office installed on your computer, we need to repair outlook using it. After locating the office package, right-click on it and select “Change”.
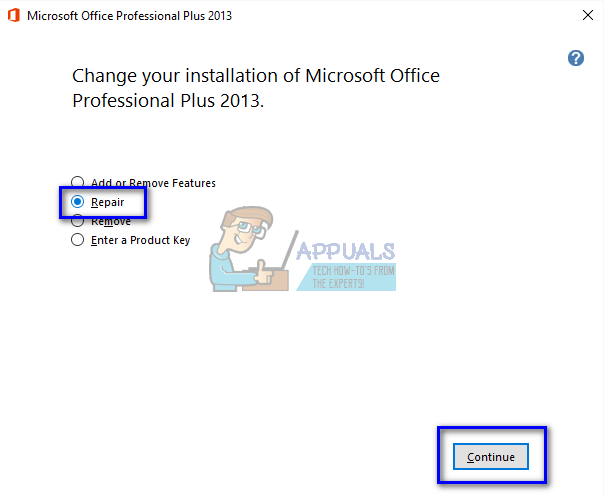
- Select “Repair” from the list of options, click “Continue”, and follow the onscreen instructions.
- Open iCloud and check if the synchronization process is successful.
You can use Office 365 repair utility if you are using 365 application.
Solution 2: Using an Older version of iCloud
If this method doesn’t work, you can try installing an earlier version of the iCloud application on your computer and try again. It seems that there are various problems with the new version which include some synchronization problems. After installing the older version, you should follow the first solution (set all the protocol associations and repair Outlook) and check if the problem gets solved.
You can easily download the iCloud installation file version 5.2.1 from the link provided. Remember to restart your computer after the installation and logging in.
Solution 3: Uninstalling Previous Versions of Office
There were also reports indicating that if there was a previous version of Office installed on your computer, it wouldn’t let the newer version (Office 365) synchronize properly across all accounts or modules. This is primarily due to the fact that both applications are the same (one is an older version and the other is the new one). If you have already installed 365, follow the steps listed below to uninstall any previous version. If you prefer to keep the older version of Office instead of the new one, you can uninstall the newer version. It all depends on your preferences.
- Press Windows + R, type “appwiz.cpl” in the dialogue box and press Enter.
- All the programs listed will be in front of you. Navigate through them until you find the older version of Office. Right-click it and select Uninstall.
- Restart your computer after the uninstallation and check if the problem at hand got solved.
Solution 4: Running PowerShell Commands
If all the above steps fail to produce any results, we can resort to running some PowerShell commands on your computer to reconfigure the application. Do note that you will require administrator privileges to follow this solution. Also, you might be required log back into Outlook so keep your credentials at hand. After executing the commands, we will reinstall/repair Office and see if this produces any results.
- Press Windows + S, type “PowerShell” in the dialogue box, right-click on the application and select “Run as administrator”.
- Once in PowerShell, execute the following commands:
Get-AppxProvisionedPackage -Online | where-object {$_.packagename –like “*Outlook*”} | Remove-AppxProvisionedPackage –Online
Get-AppxPackage “*Outlook*” | Remove-AppxPackage
- Now close the PowerShell window. Press Windows + S, type PowerShell and open the application. Do note that we are not running PowerShell with administrative privileges in this step. Now execute the following command:
Get-AppxPackage “*Outlook*” | Remove-AppxPackage
- Restart your computer. By now, the installer for all the accounts and folder that iCloud is using will be removed. Now we have two options; either repair the Office application like we did earlier or reinstall the entire package. Suit yourself.
Note: You should also make sure that the application type which is installed on your computer is correct (32-bit operating systems should have 32-bit application. Same goes for 64). You can easily check your system type by typing “system info” after pressing Windows